How to Draw a Mandala with Uni Pin Pens
Mandala designs are a very popular way of practising creativity and mindfulness. The act of creating this circular design requires patience and meditation and can be hugely rewarding.
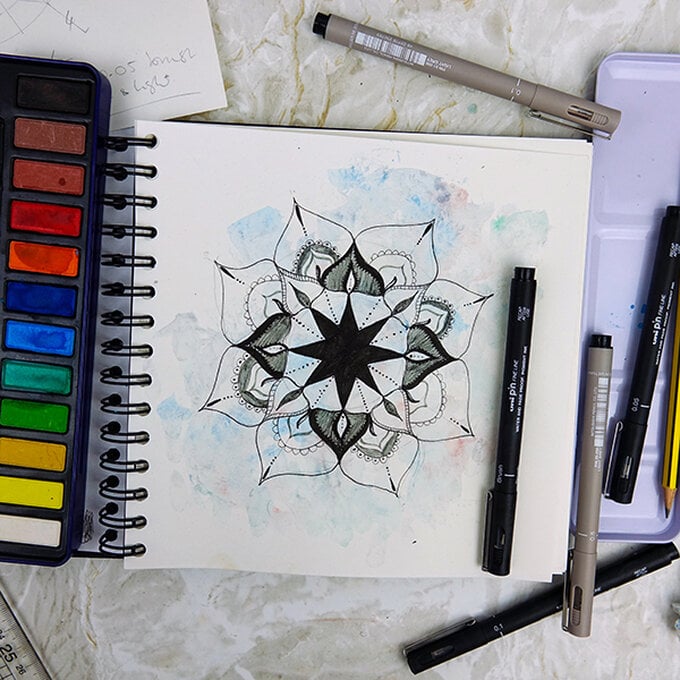
The design below is easy to recreate and the initial step by steps will show you how many mandala designs start; with concentric circles and intersecting lines. We've used a variety of uni-PIN pens in our design as they have a variation in nib sizes, allowing you to produce both fine lines and expressive brush strokes.
You will need
Subtotal
Is $ 6.49
Subtotal
Is $ 11.00
How to make
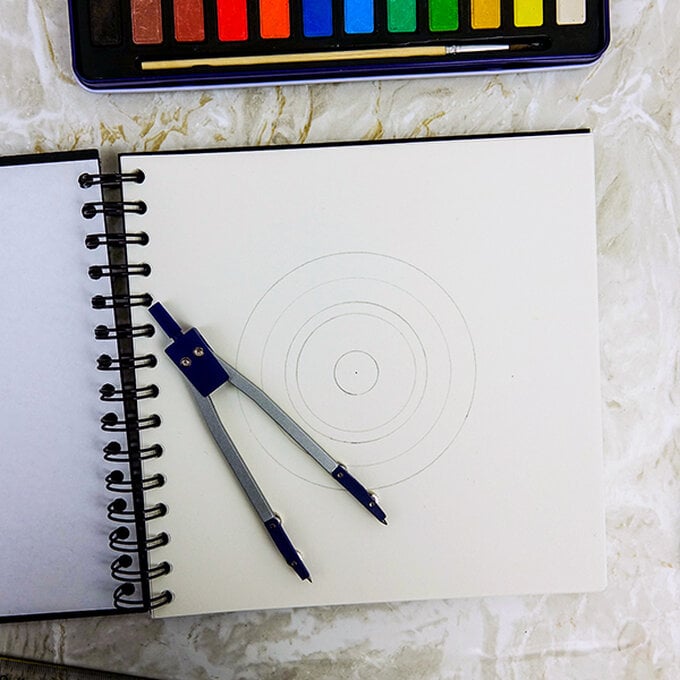
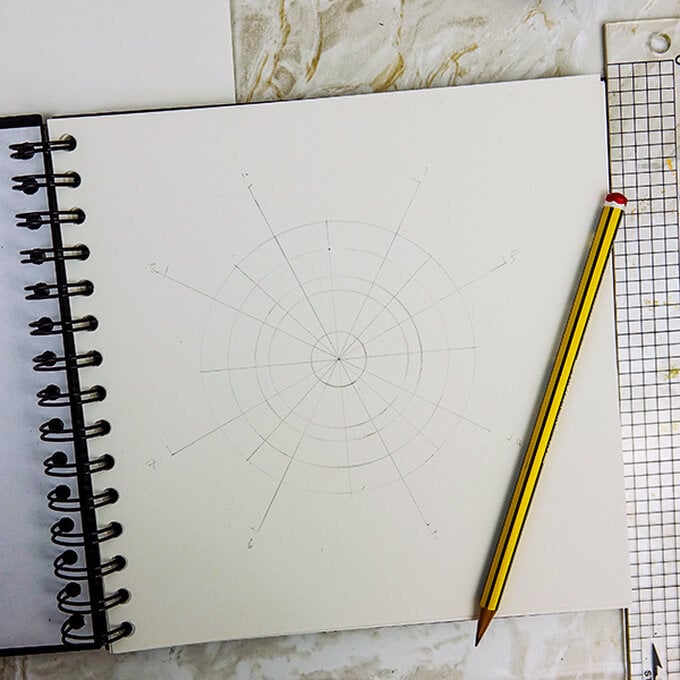
Use a ruler and pair of compasses to create smooth, accurate circles nesting inside one another.
Use a pencil to draw one line horizontally in the centre of the circle, then another vertically to create four equal quadrants.
Twist the circle and make additional intersecting pencil lines through the quadrants so you have eight sections through the circle.
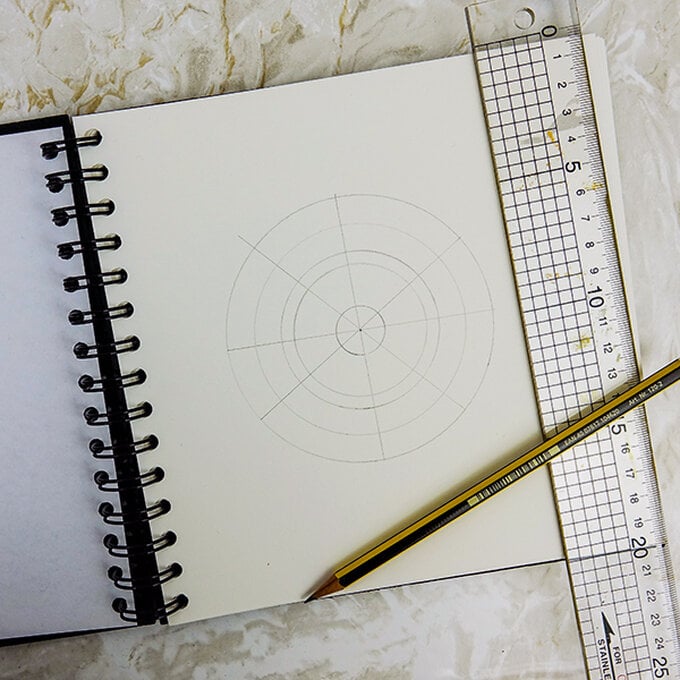
Now use your rulers and pencil to create lines in-between the sections. Make these lines longer so they go outside the circle.
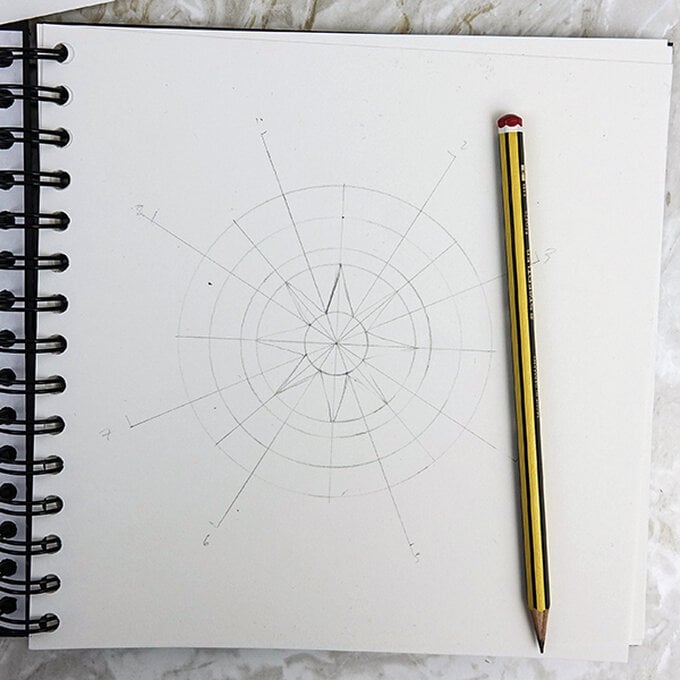
Use these lines as a guide to create your design in pencil. First draw-in a central star shape by making diagonal lines outside the central circle to the second circle from one intersecting line to another as shown.
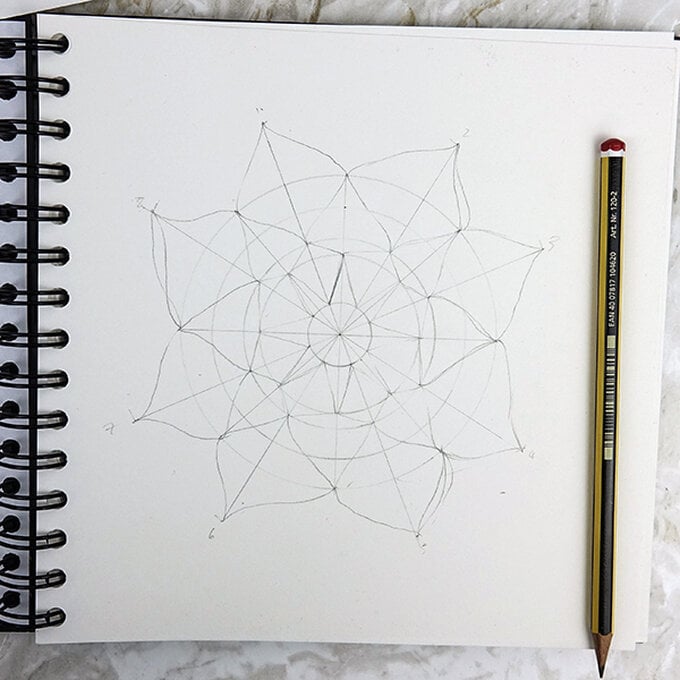
Using the concentric nesting circles and intersections as your guide. Draw triangular, scallop or petal shapes, joining along your intersecting lines as pictured.
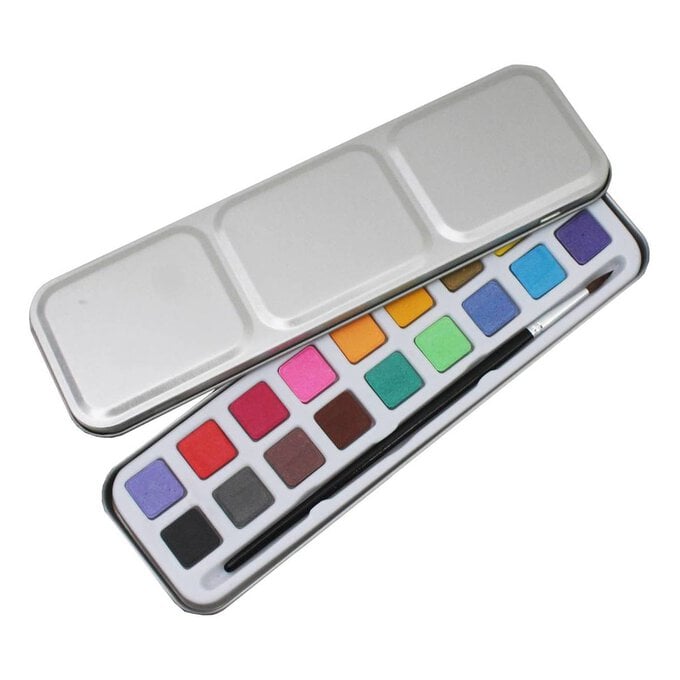
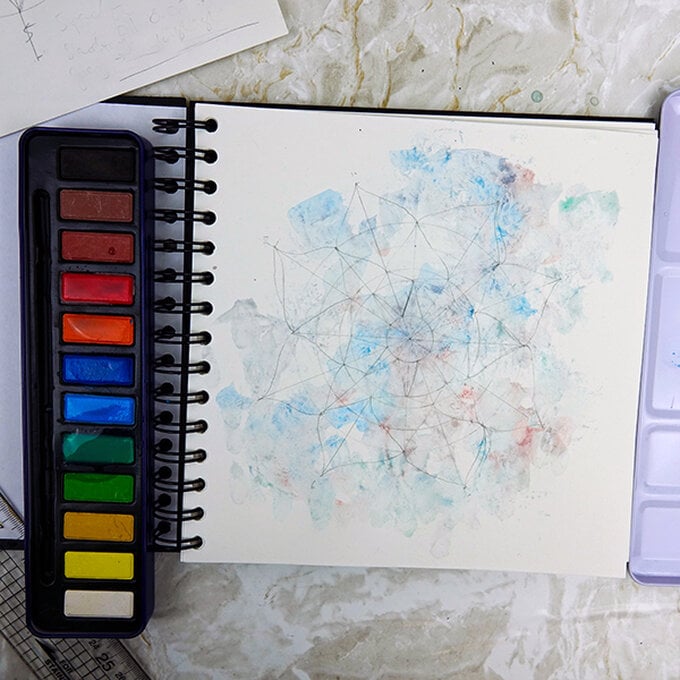
Apply loose watercolour washes over your pencil outline.
Use the brush PIN pen to colour in the inner star design. Draw dotted lines coming out of the star.
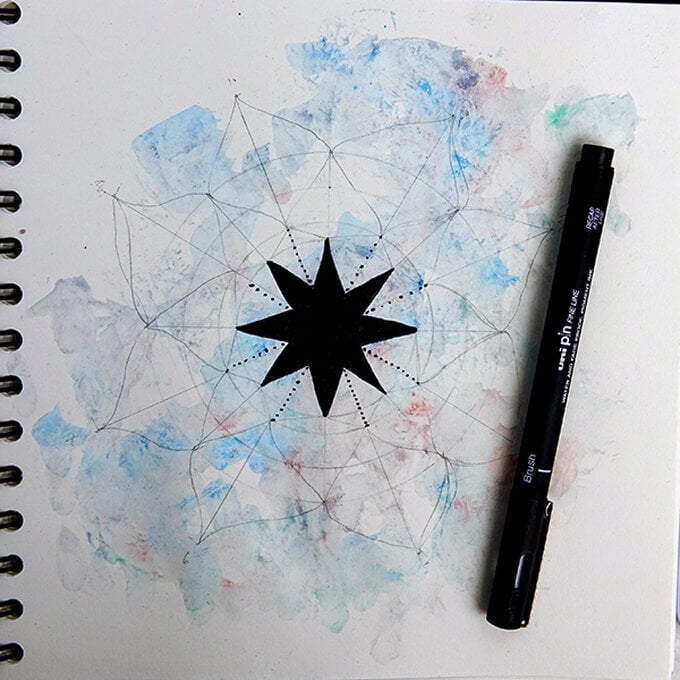
Continue going over the penciled design, using the various sized PIN nib sizes to create variation in alternating petals. Edges can be given a ribbon effect by adding accented lines on the outer lines and colouring in
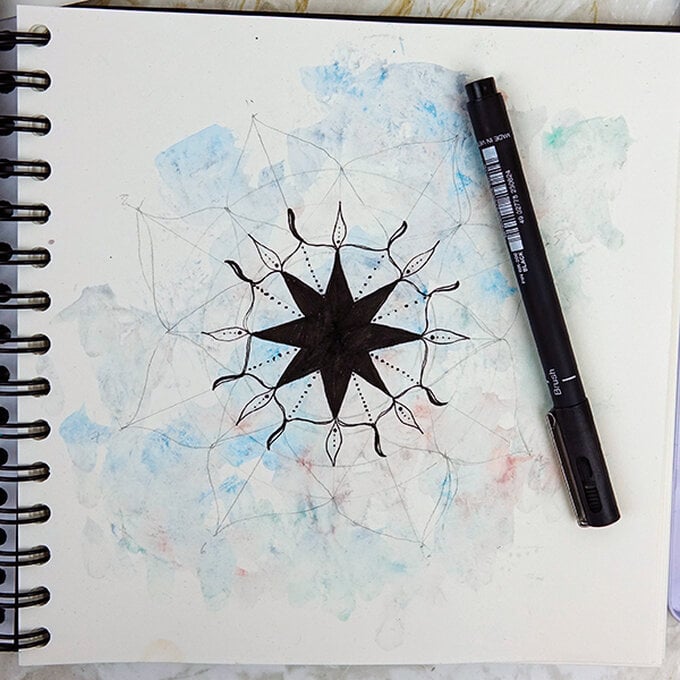
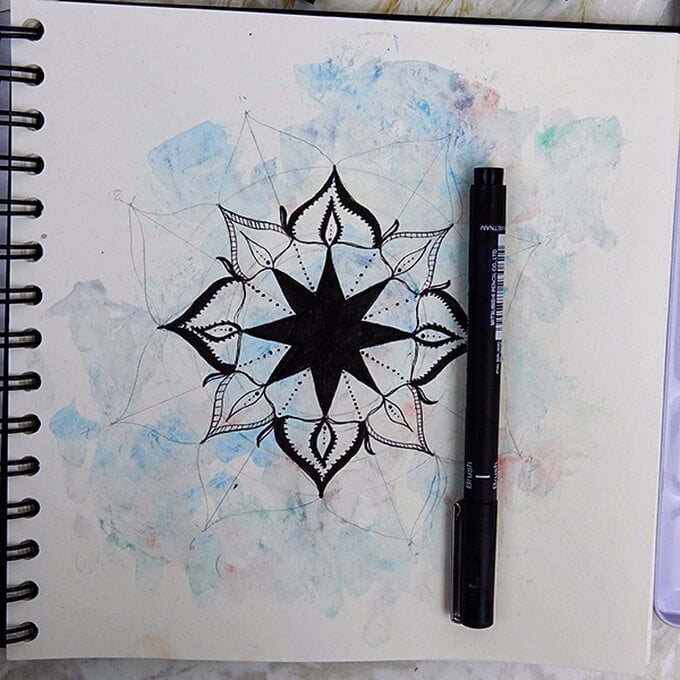
Add outer petals with the very fine 0.1 black and grey pen nibs.
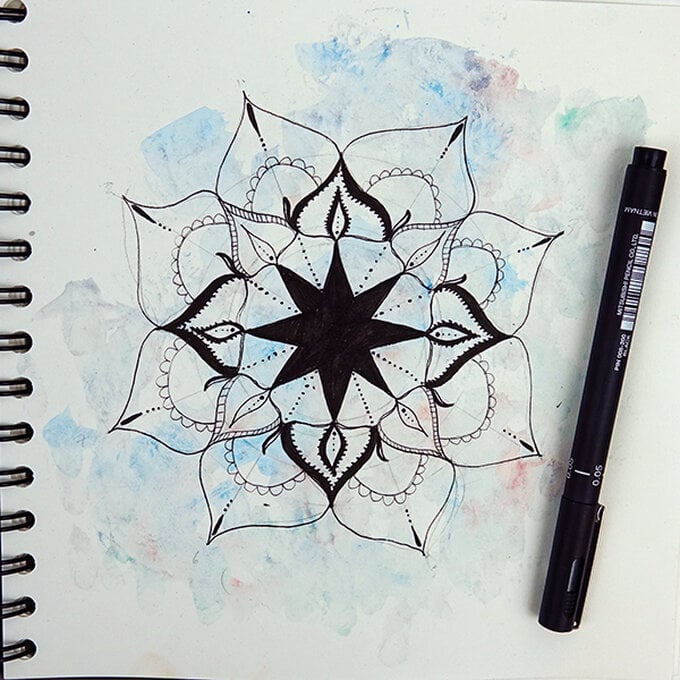
Use the grey PINs to colour in the areas shown.
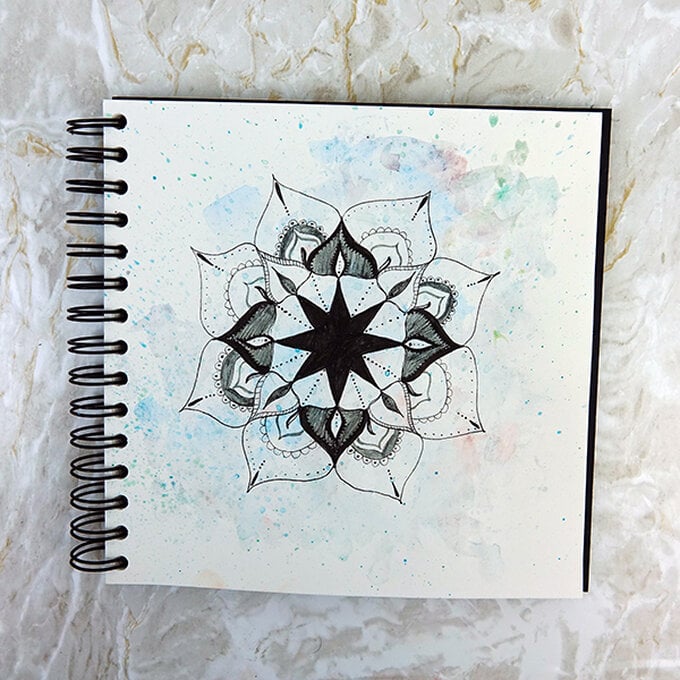
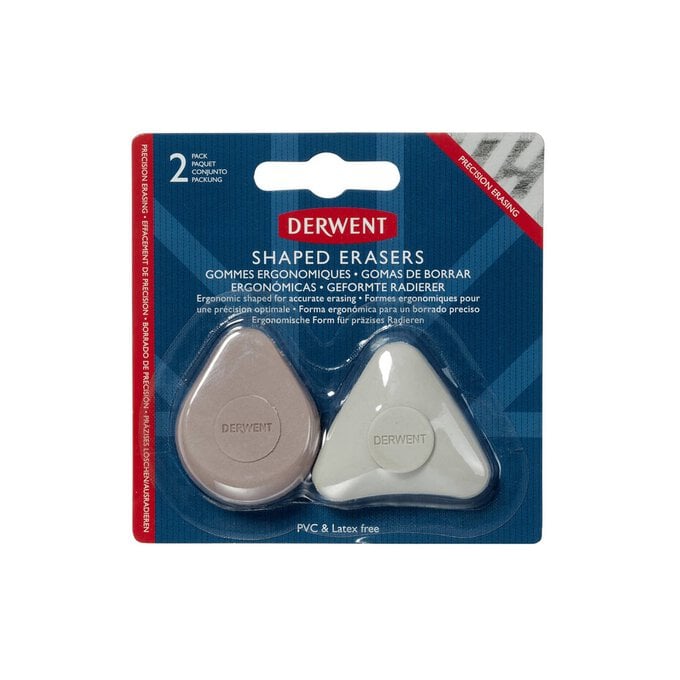
Rub out any pencil outlines and flick-on extra splashes of watercolour.
