Cricut: How to Make a Christmas Tree Jumper
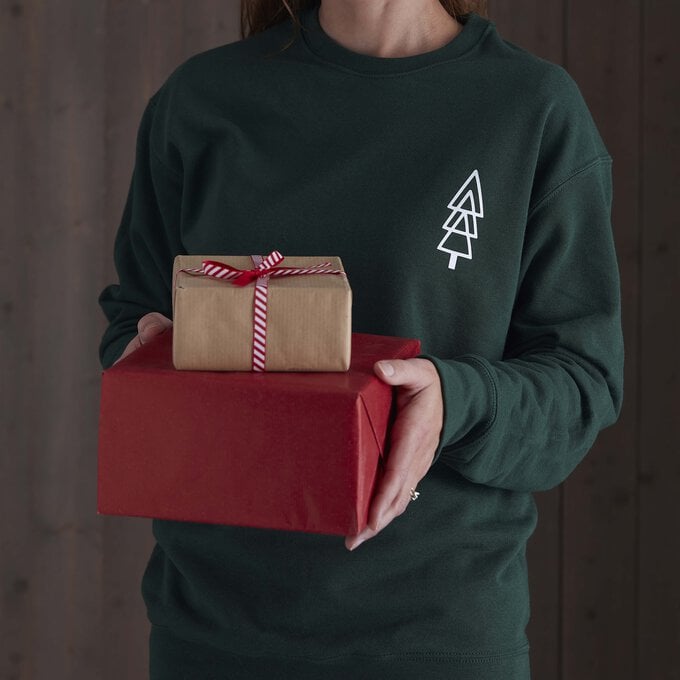
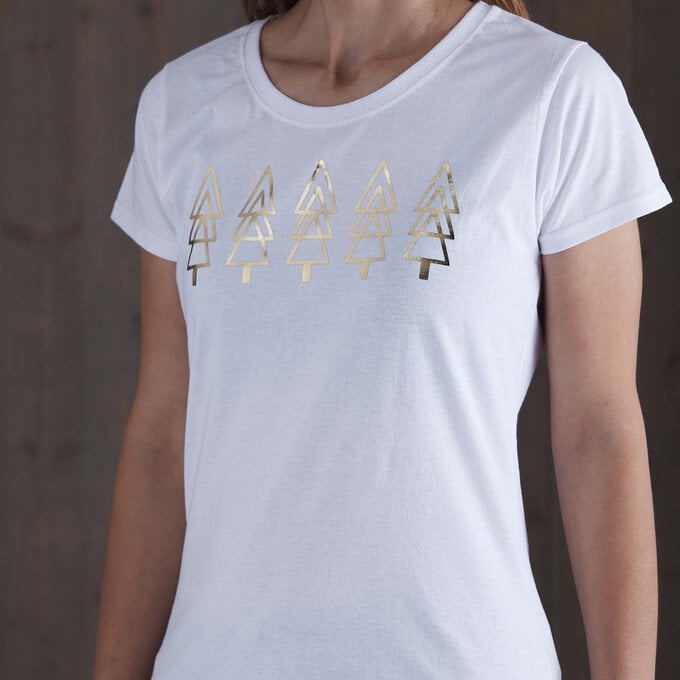
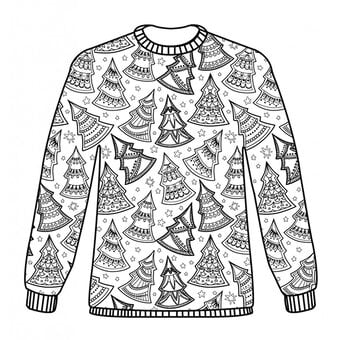
Create your own unique Christmas jumper or t-shirt with our free, exclusive Christmas tree download designed by Hobbycraft Artisan and Cricut expert Chrissie Ellson! It's the perfect way to embrace the festive season.
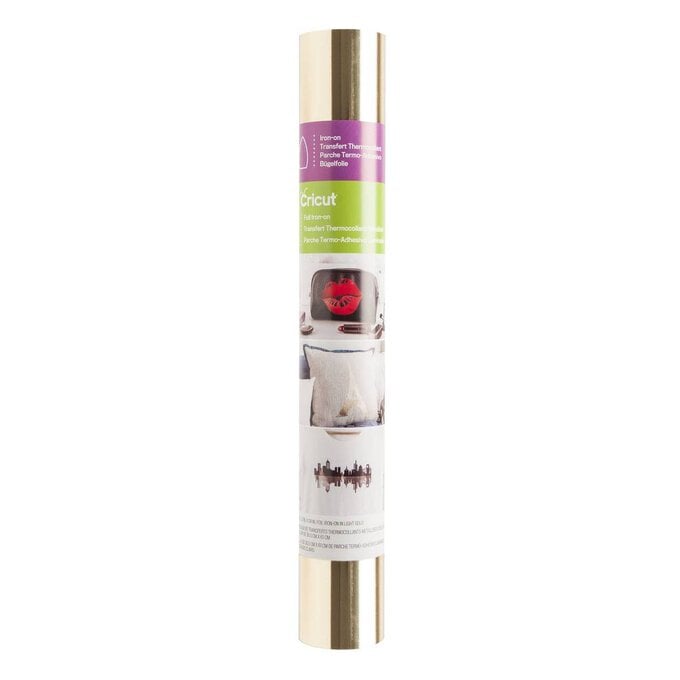
Using your Cricut machine and Cricut Foil Iron-on, this project is ideal for Cricut beginners. It'll be a great way to personalise a festive gift for someone special in your life. You could even make matching jumpers for the whole family!
Project and instructions by Hobbycraft Artisan Chrissie Ellson.
Discover more Cricut ideas here
Please note: Screen reference images are taken from the desktop version of Design Space. We've used the Cricut Maker for this project; however, it can also be made on the Cricut Explore or Cricut Joy machines.
You will need
Subtotal
Is $ 657.00
Subtotal
Is $ 25.00 , was $ 31.00
Subtotal
Is $ 11.00 , was $ 14.00
Subtotal
Is $ 11.00 , was $ 14.00
Subtotal
Is $ 20.00 , was $ 25.00
You will also need:
* Cricut Design Space app installed on a laptop, PC, Tablet, or mobile device
* A Jumper or T-Shirt of your choice
Use the link at the bottom of this post to download the free template onto your laptop, dekstop or mobile device.
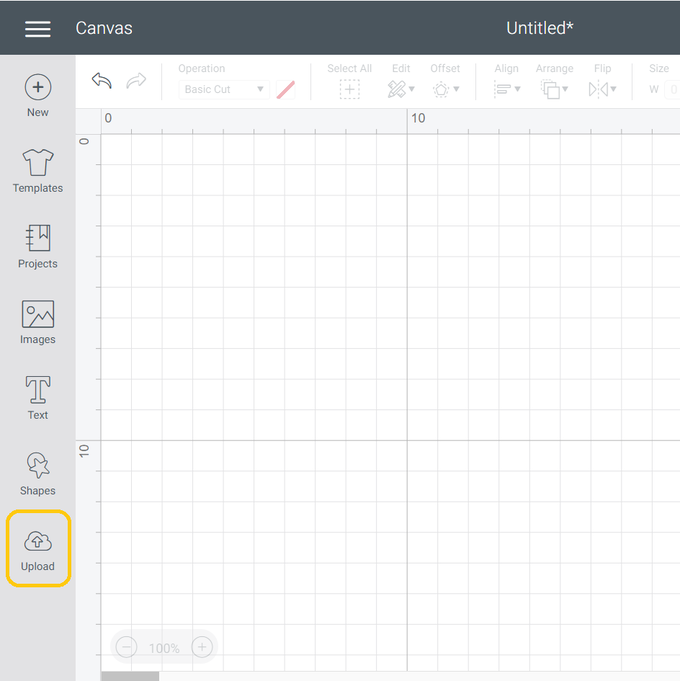
Open Design Space and click “New Project”. Select “Upload”, then select “Upload Image”.

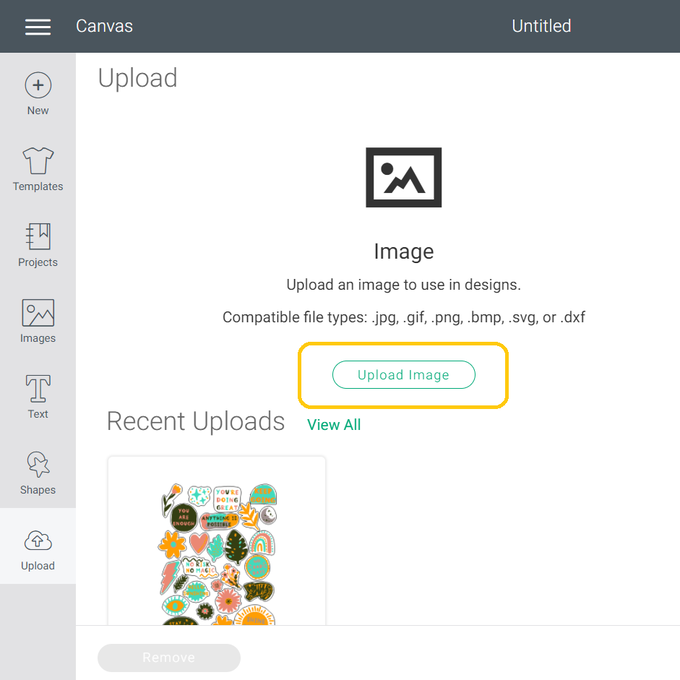
Click browse and locate the downloaded file or drag and drop it in to place.
Name your image and click “Upload”.
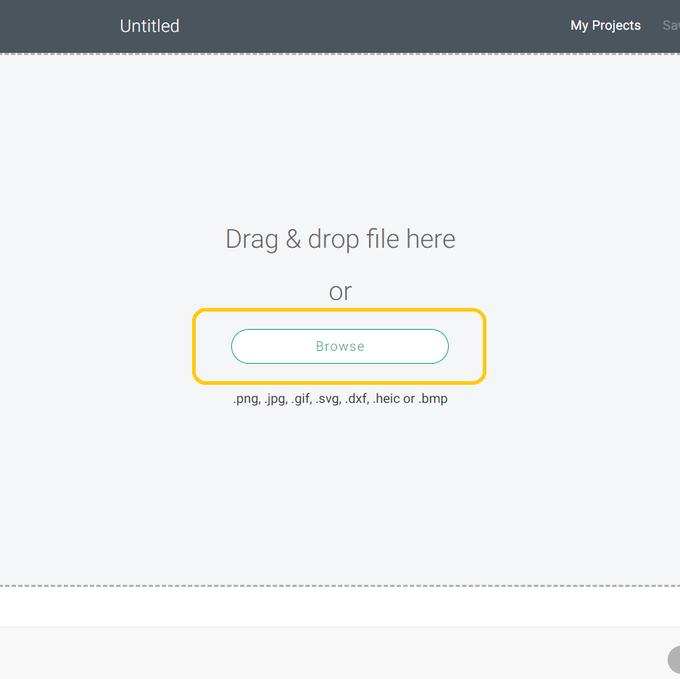
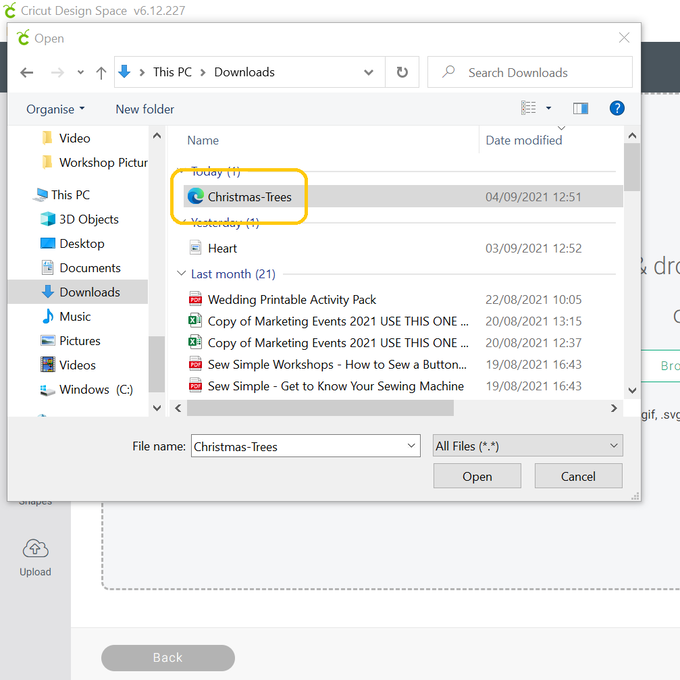
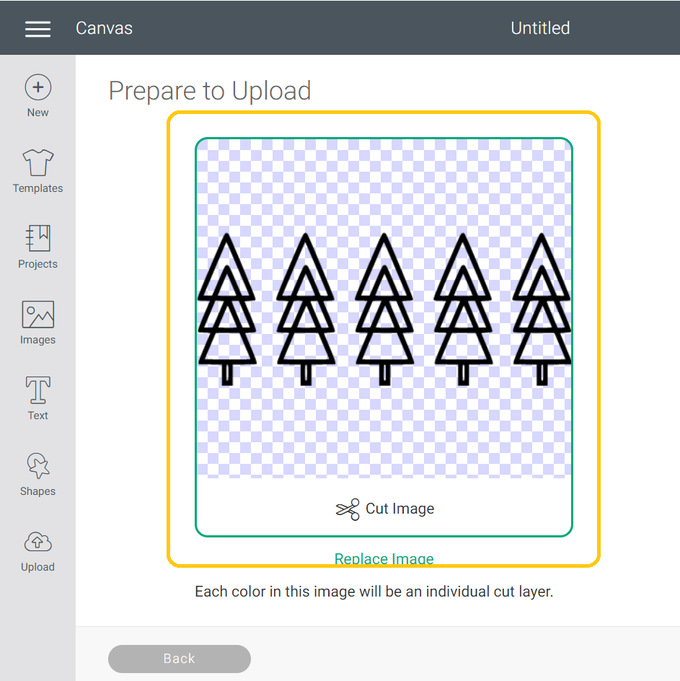
Once the image has been uploaded, 'Insert' it on to your canvas.
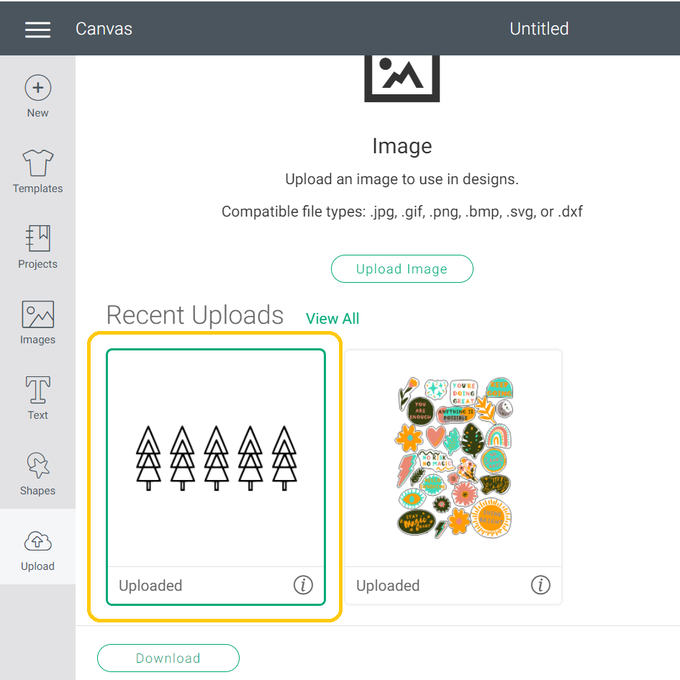
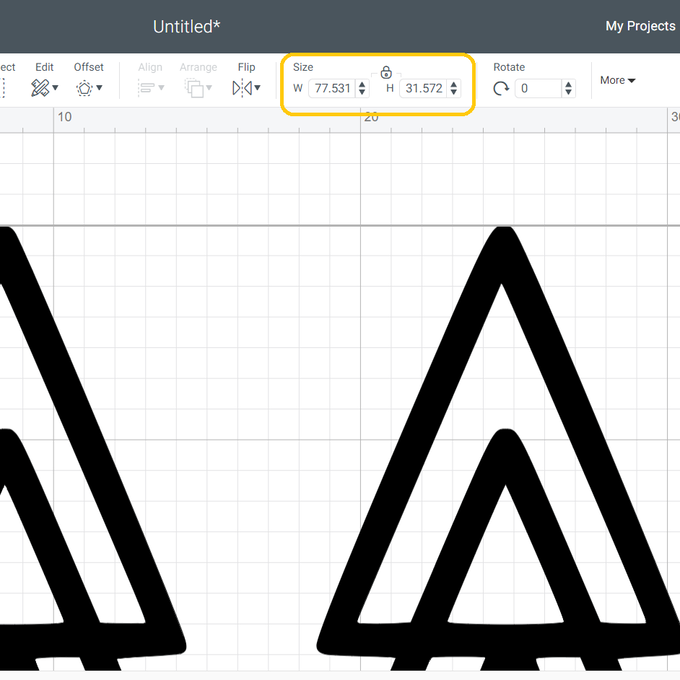
To resize, change your measurement in the size box located in the troolbar at the top of the screen, we have resized ours to 24.13cm x 9.826cm (9.5” x 3.869”).
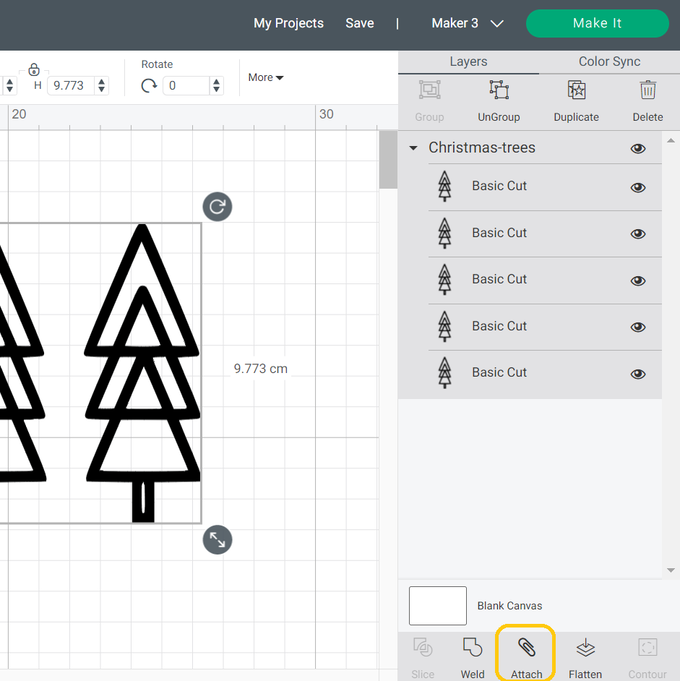
To keep the trees separated as they appear to be on the screen select “Attach”. Should you only want one tree on your project delete the excess ones by using the 'Delete' button on the 'Layers' panel.
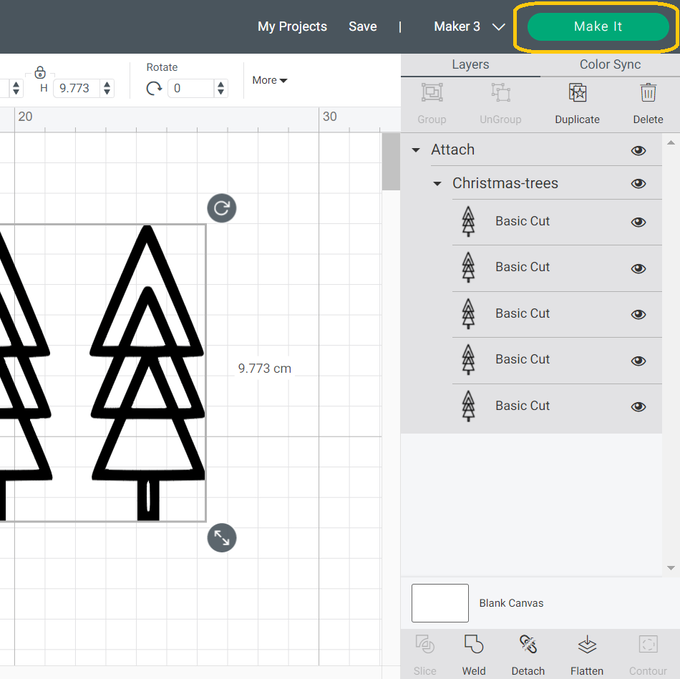
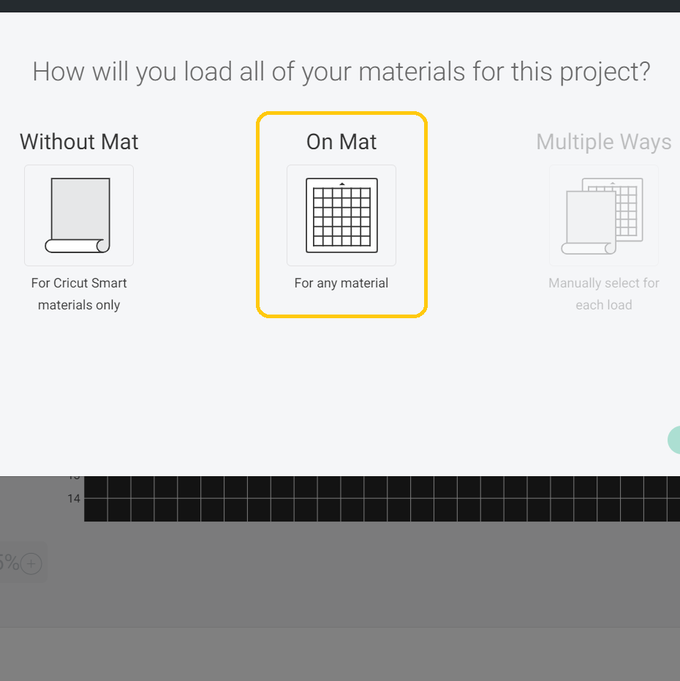
Now you're ready to “Make It”. If you have a Maker 3, Explore 3 or a Joy you will need to select how you cut your iron on, on a mat, matless (using Smart Materials only) or a combintaion of the two.
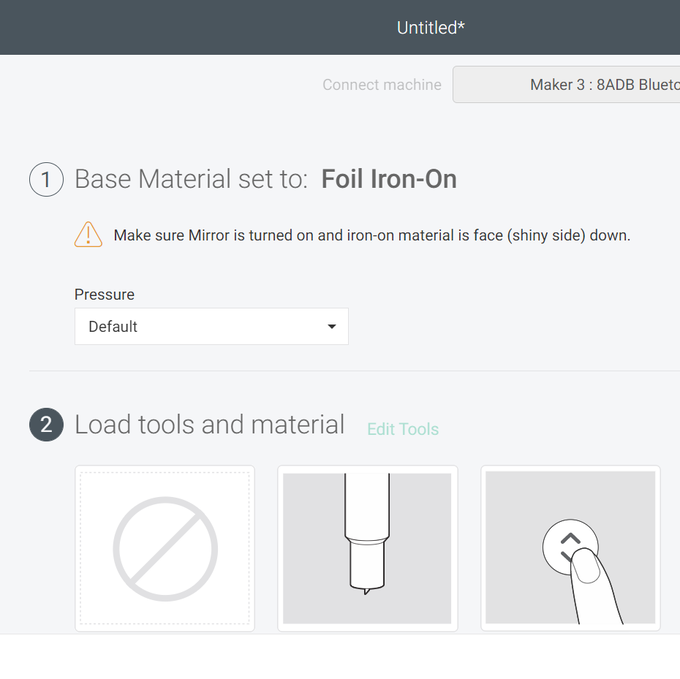
We've used Cricut Foil Iron-on, which need this needs to be applied to a cutting mat before loading it into the machine.
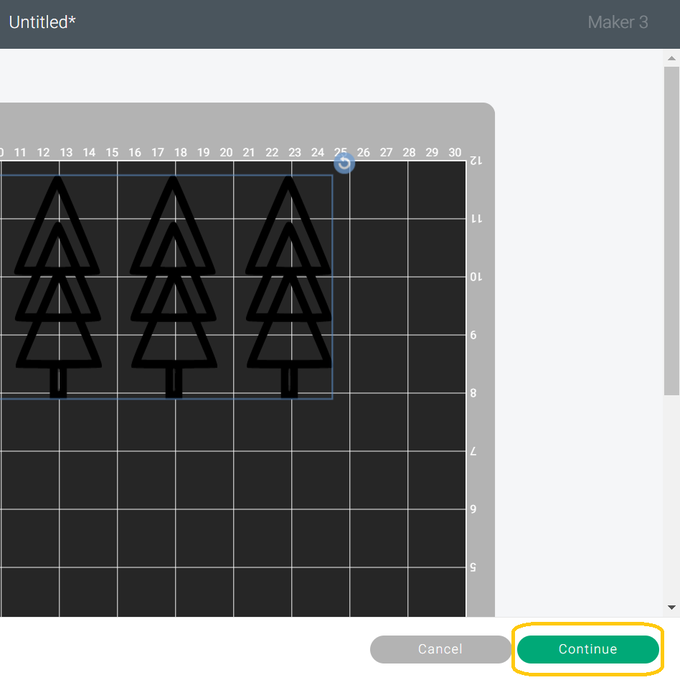
Once through to the Mat Preview screen, you would normally need to mirror the design as Iron-on vinyl is being used however, as the trees are symmetrical this will not need to be selected.
Click “Continue”.
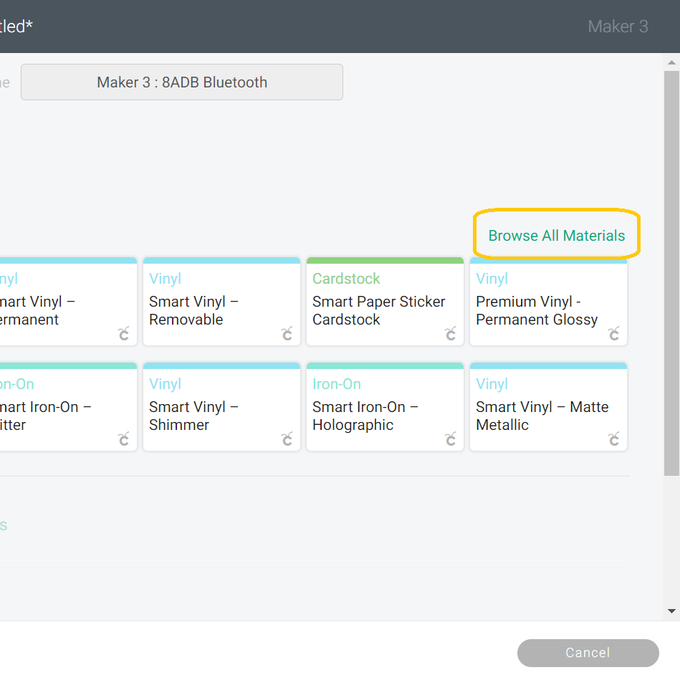
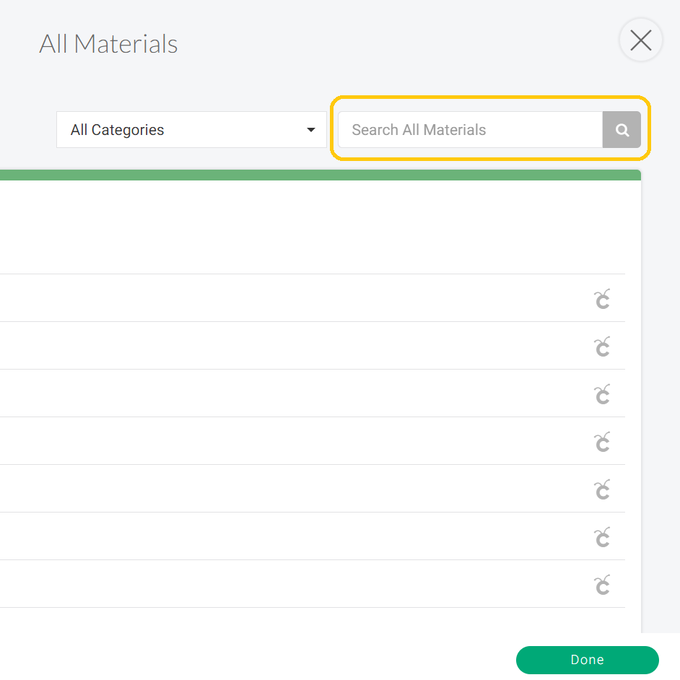
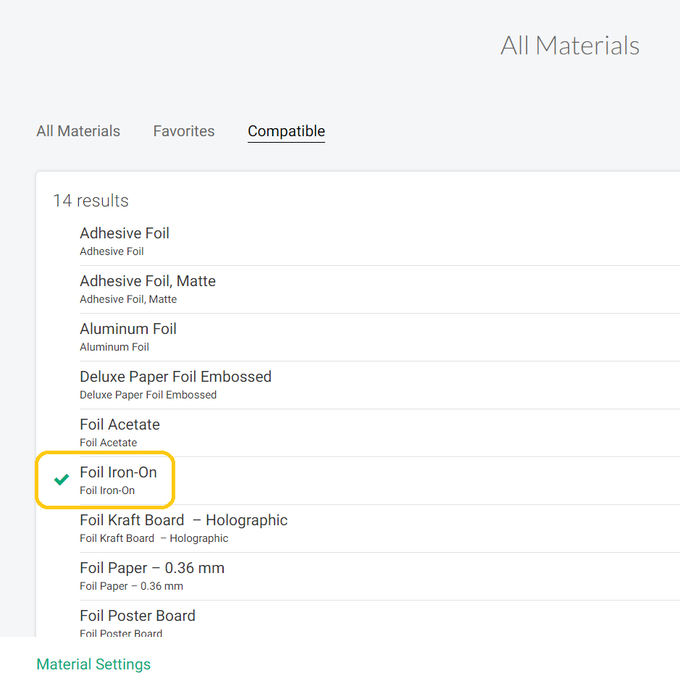
Once through to the machine set-up screen, select the most suitable cut setting, to do this, if you haven't already saved it as one of your favourites, click “Browse All Materials”, then search for your material. As we're using Cricut Foil Iron-on, we searched foil and opted for the 'Foil Iron-on'.
Select the correct material, click on the one you want to use and then press “Done”.
Load the cutting mat into your machine making sure the iron-on is shiny side down.
Press the go button to begin the cut.
Once the design has been completly cut, weed your design, removing any parts you do not wish to transfer to your t-shirt or jumper.
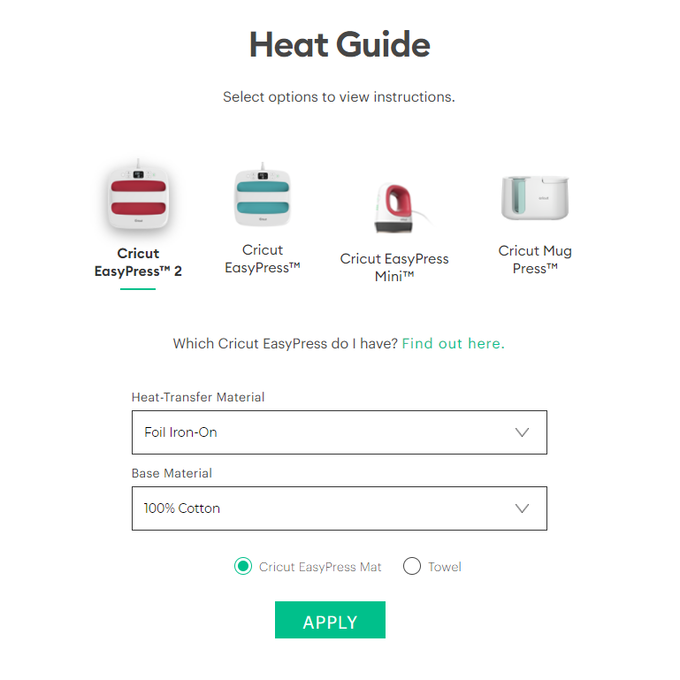
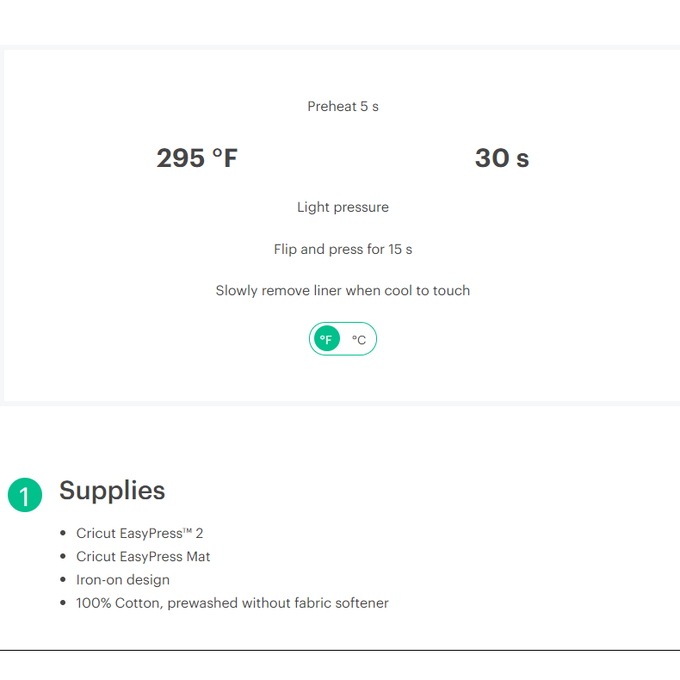
Press the design onto your garment, using the Cricut Heat Guide - https://cricut.com/en_gb/heatguide - to find the optimum settings for your EasyPress.
Once cooled, the garment is then ready to wear!
