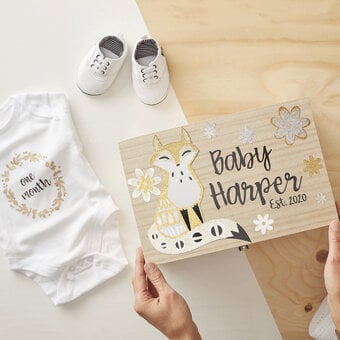
Cricut: How to Make a Personalised Make Up Bag
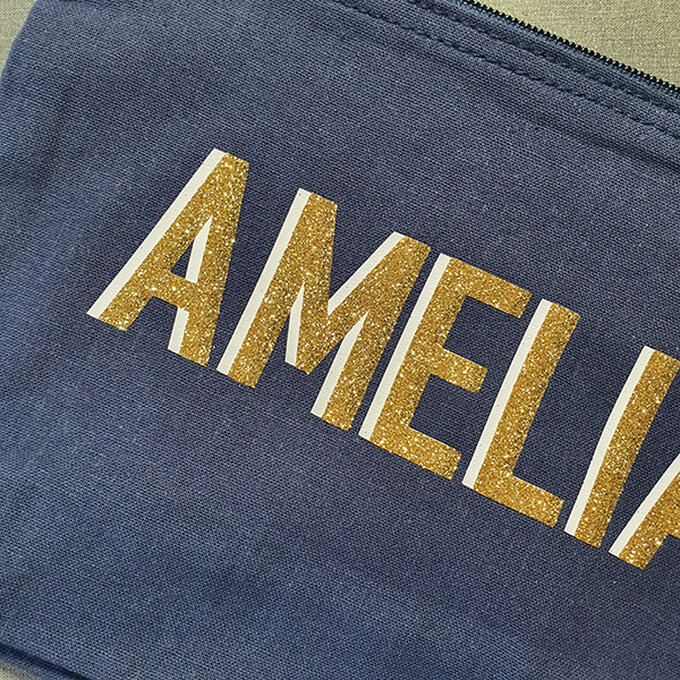
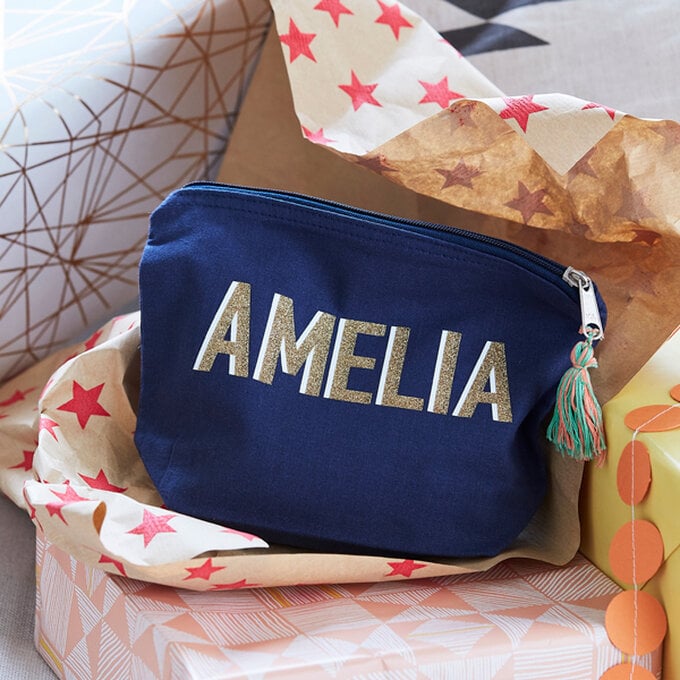
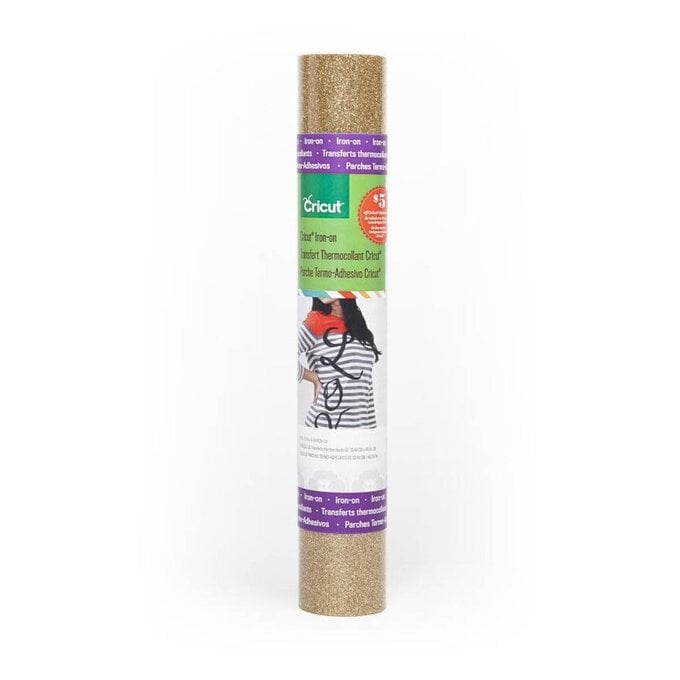
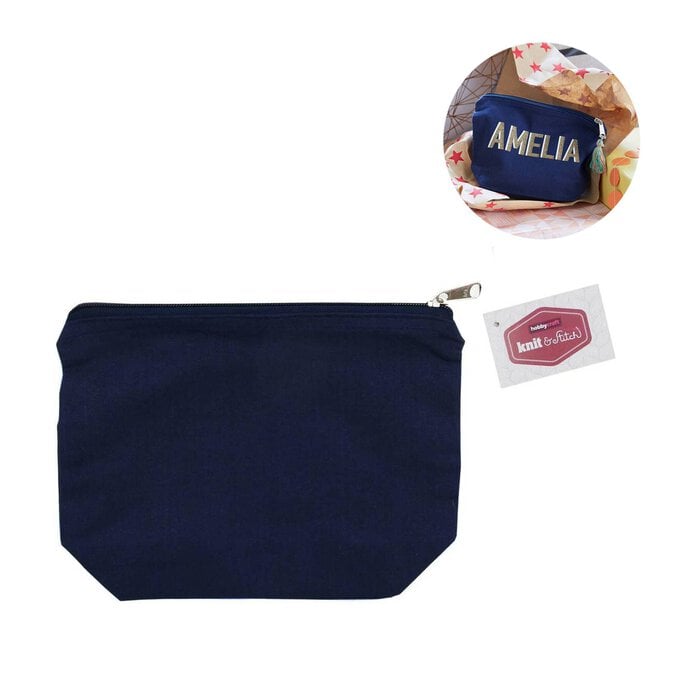
Create your own unique accessories pouch layering two types of vinyl. Made using your Cricut machine (we've used the Cricut Maker, however this project can be made on the Explore) to cut Cricut Iron On vinyl.
This project contains paid for content from Cricut's Design Space app. Screen reference images are taken from the Android version of Design Space.
Project and instructions by Chrissie Ellson
You will need
Subtotal
Is $ 657.00
Subtotal
Is $ 19.00 , was $ 24.00
Subtotal
Is $ 33.00 , was $ 41.00
Subtotal
Is $ 25.00 , was $ 31.00
Subtotal
Is $ 11.00 , was $ 14.00
Subtotal
Is $ 13.00 , was $ 17.00
Subtotal
Is $ 3.49 , was $ 6.49
Subtotal
Is $ 2.49
Subtotal
Is $ 2.49
Subtotal
Is $ 145.00 , was $ 218.00
How to make
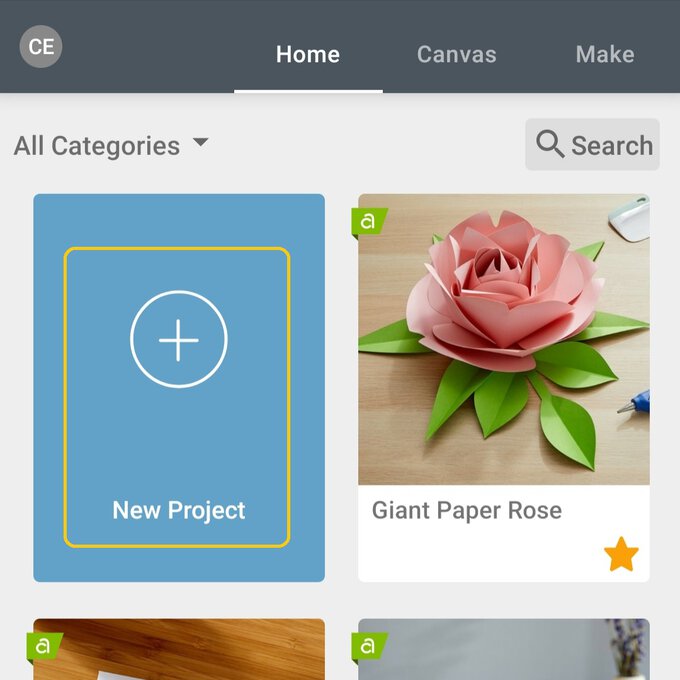
To make the vinyl sentiment and photo frames open Design Space and open a “New" project.
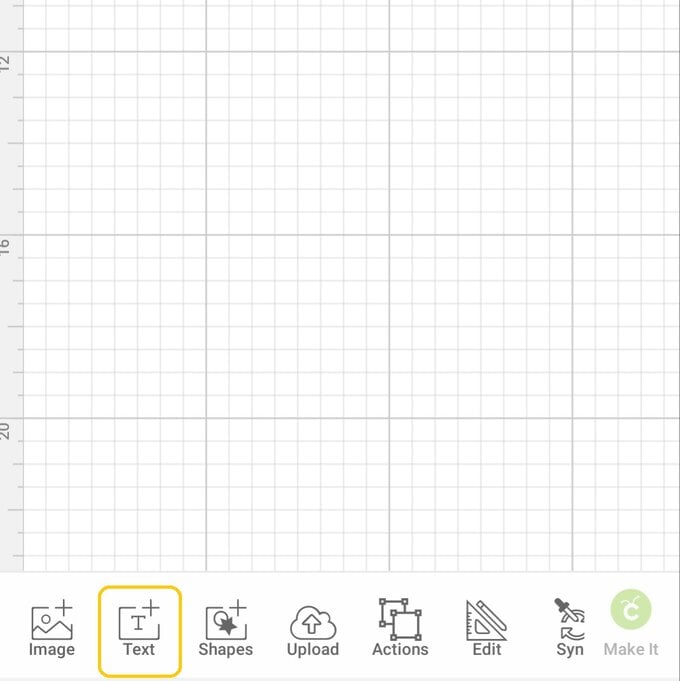
To make your own words to your design click on “Text".
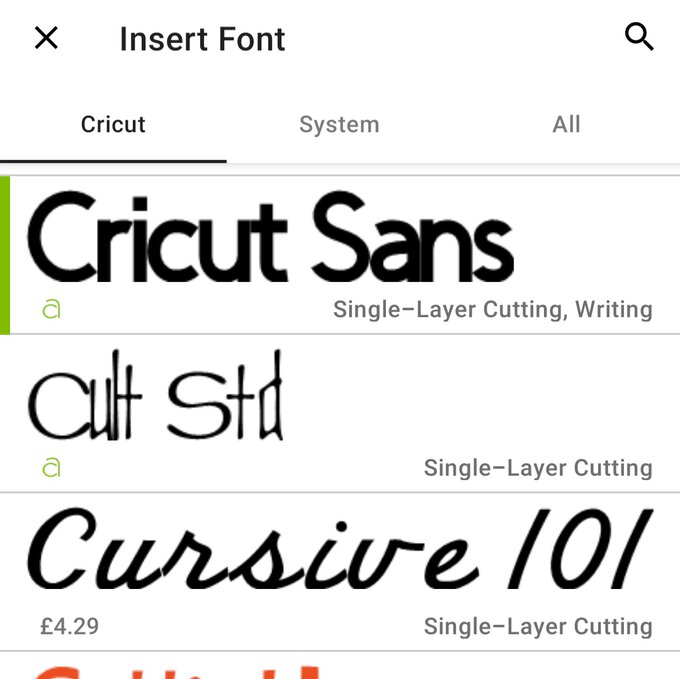
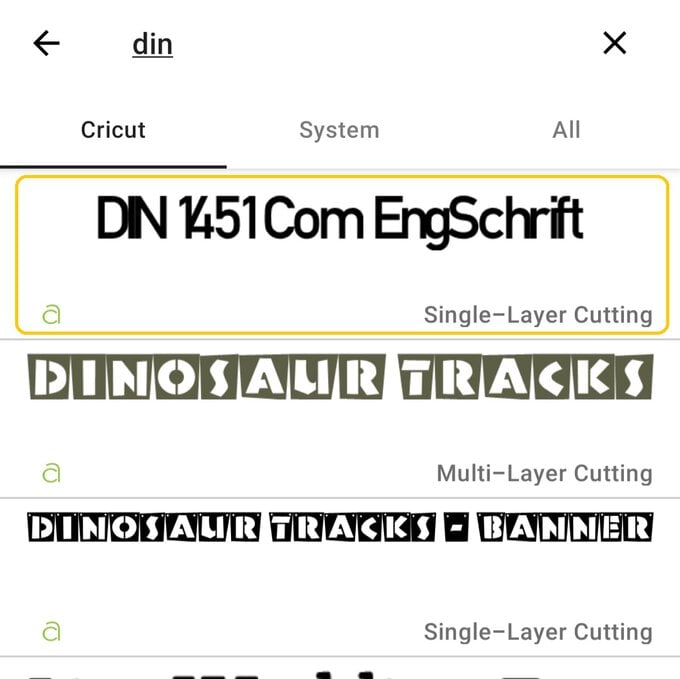
Choose your font. We've used the “DIN 1451 Com EngSchrift" font.
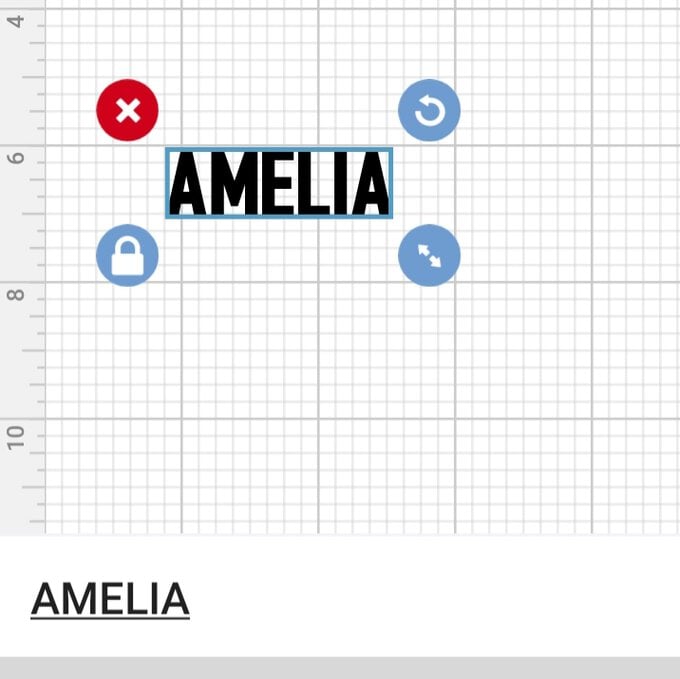
Type your chosen word.
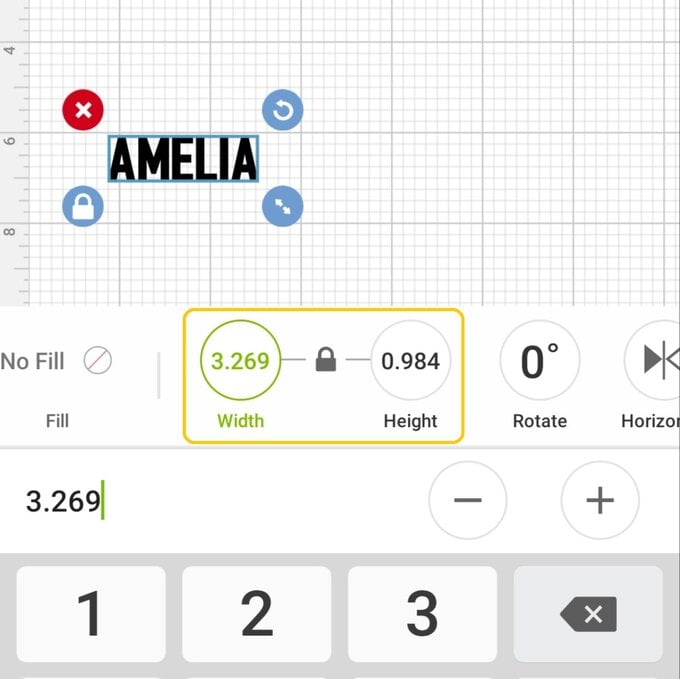
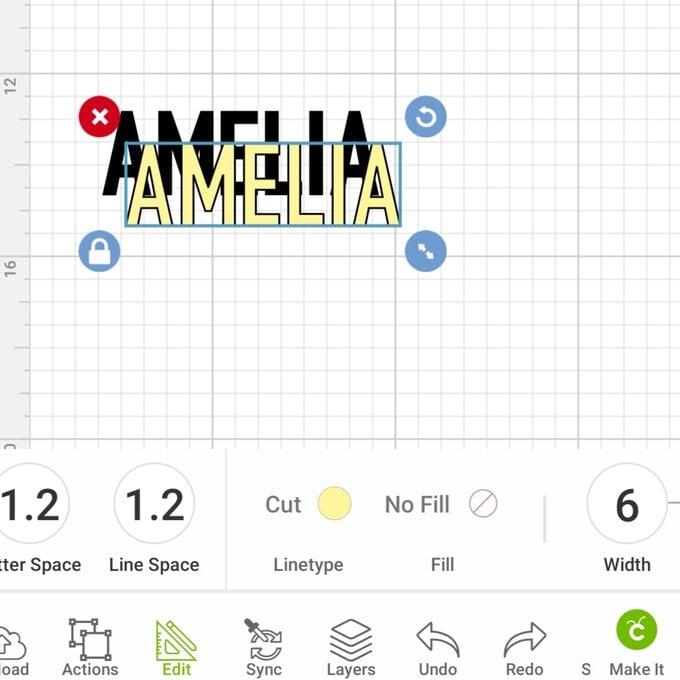
To change the size of your word select go to the Edit menu and change the sizes.
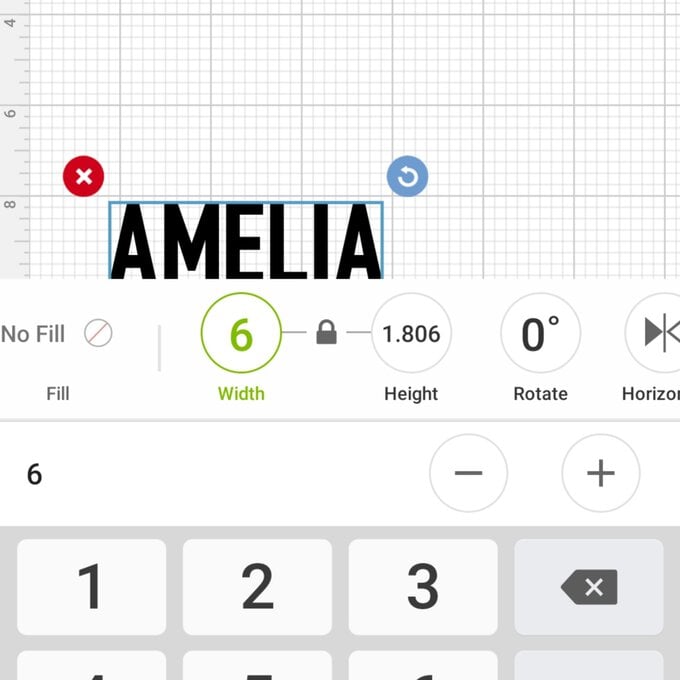
To create your second layer of your word go to the “Actions" menu and select “Duplicate”
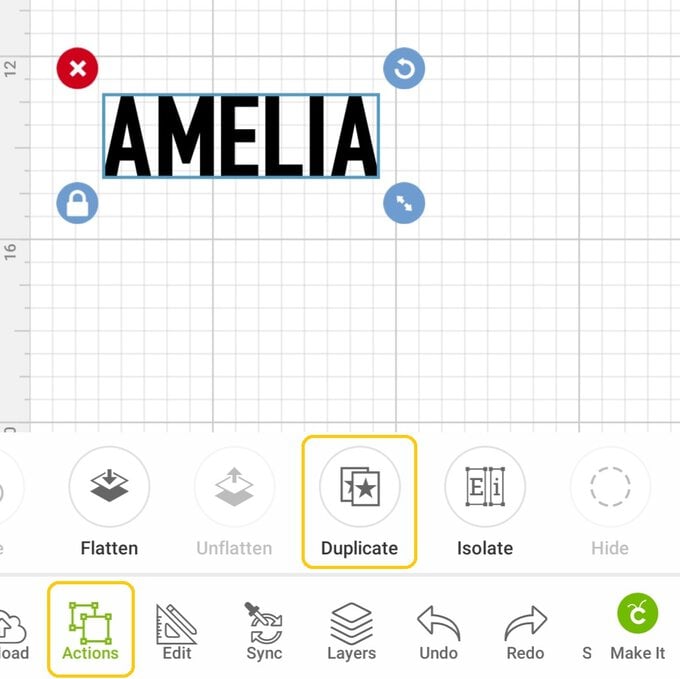
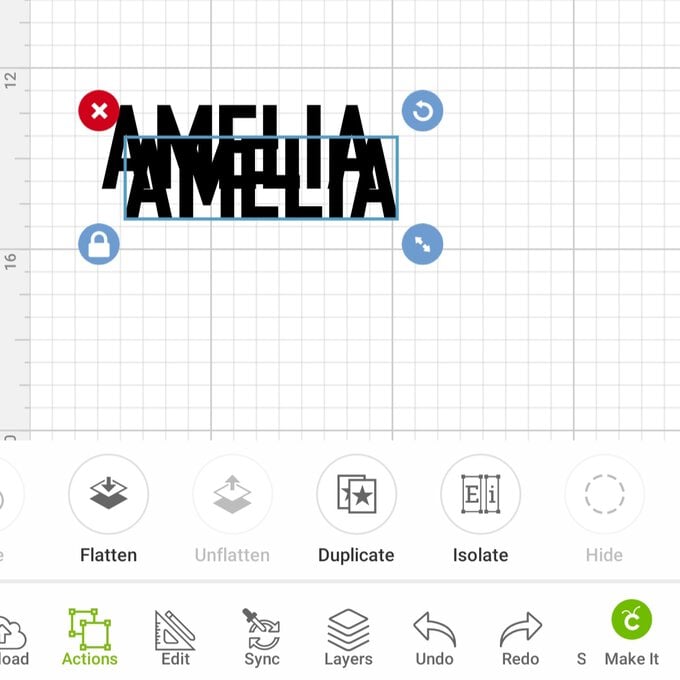
To ensure your two layers are cut on separate mats (for different colours) go to the “Edit" menu and change the “Linetype” colour.
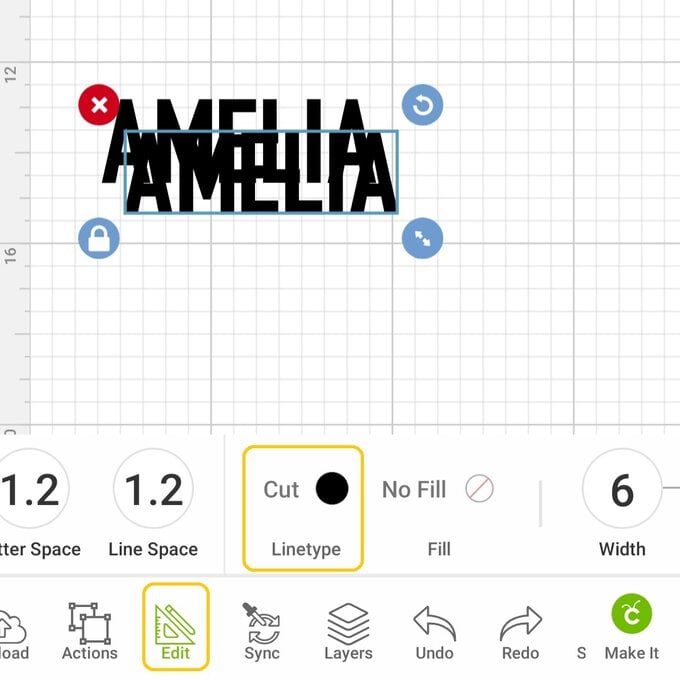
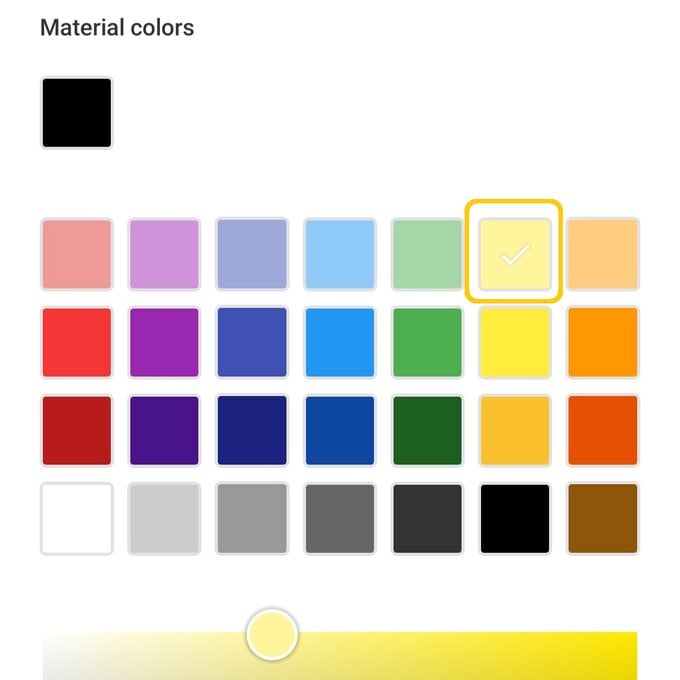
It doesn't matter what colour you change it to. This is just so it knows to be a different layer on a different mat. Then go to “Make It".
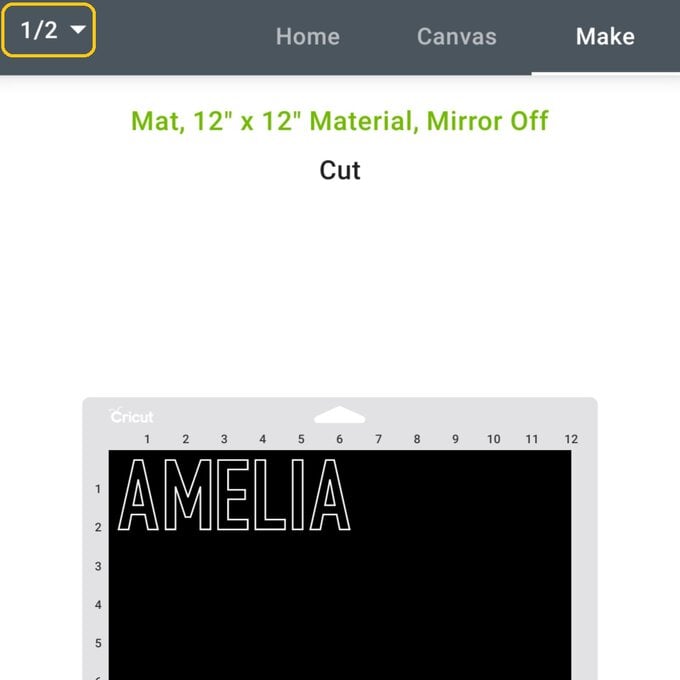
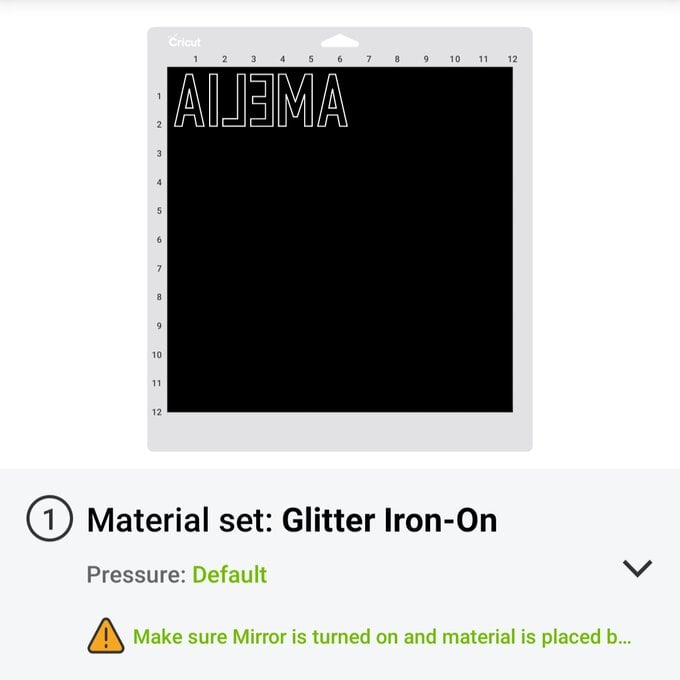
As you are using Iron on vinyl you will need to mirror your image. To do this click on the mat number.
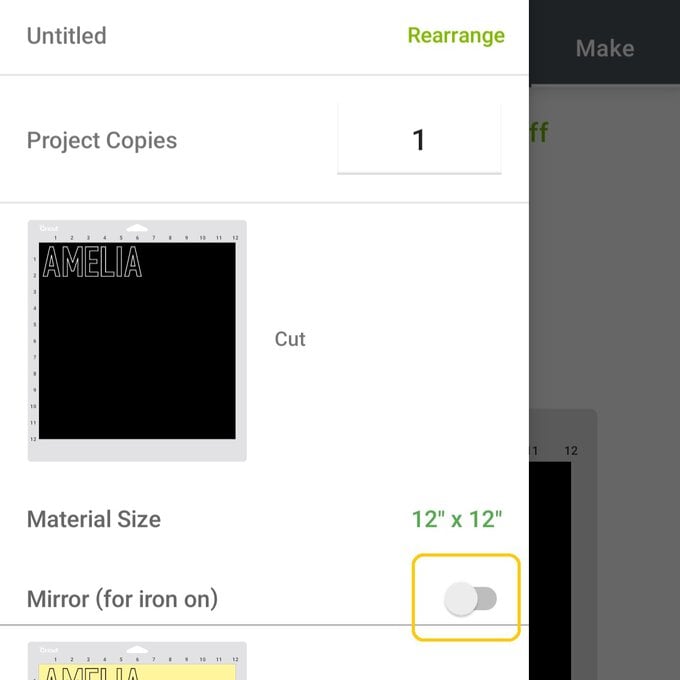
On the side bar you will see a button marked “Mirror". Slide that over. You will need to repeat this for each mat. Click continue.
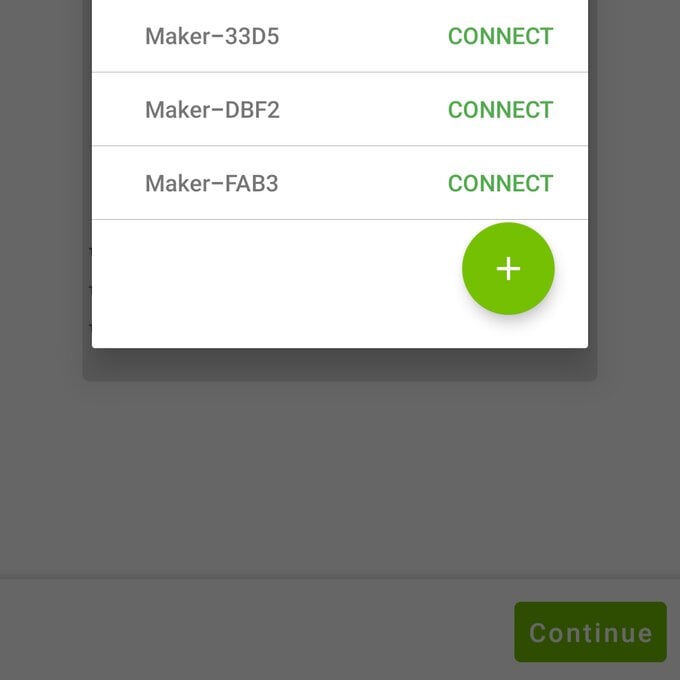
Connect your device to your machine.
To find your correct cutting setting click “All Materials".
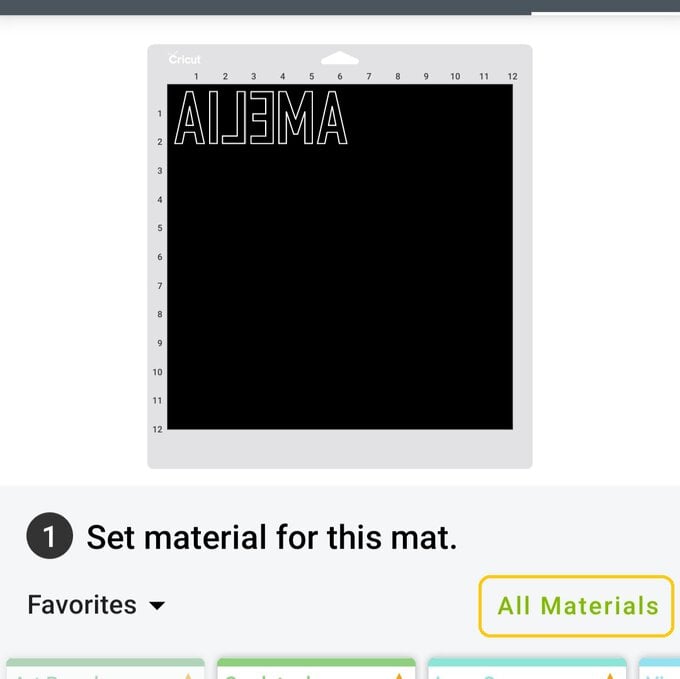
Search for your material.
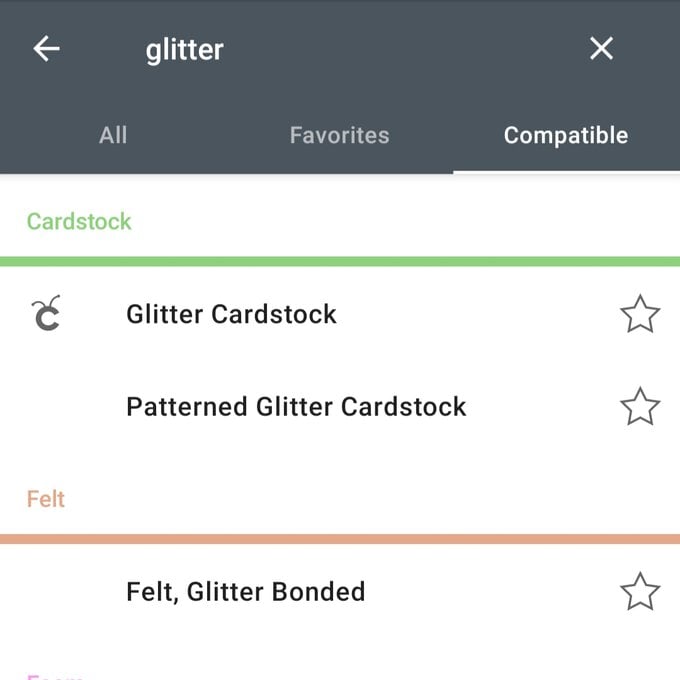
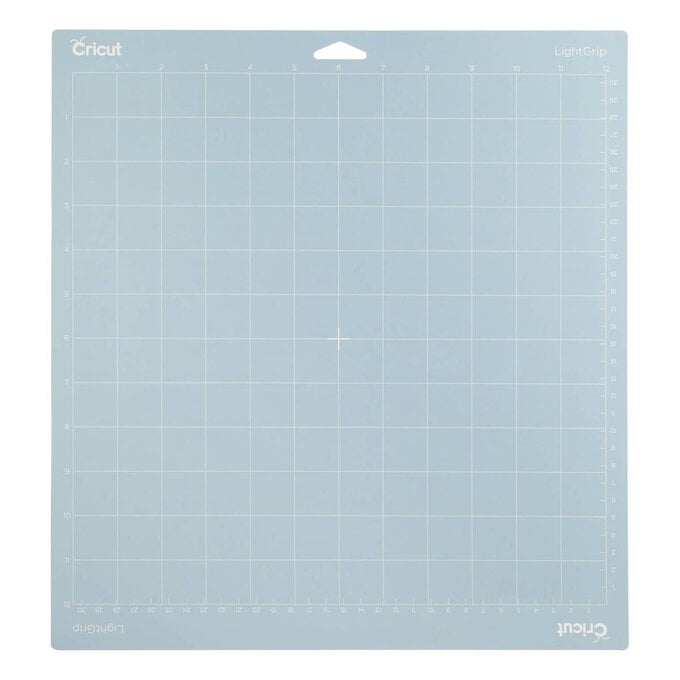
Cut your two designs from your two materials.
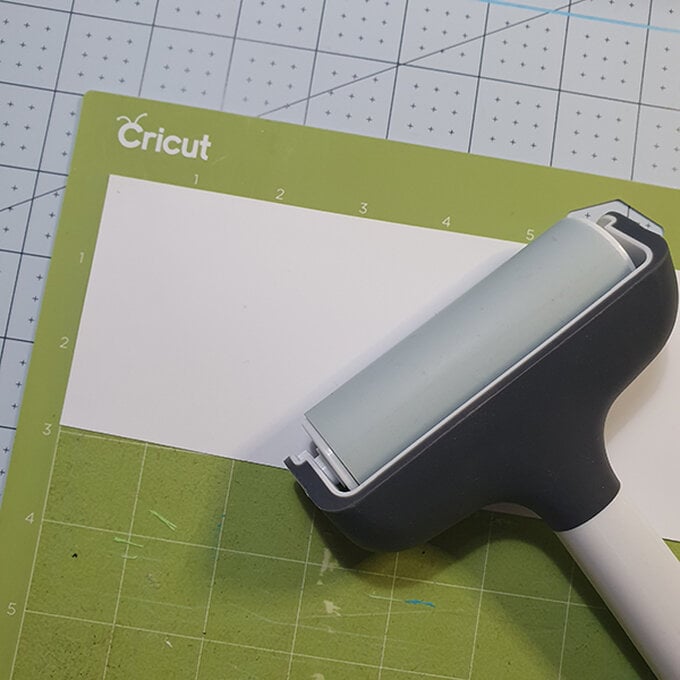
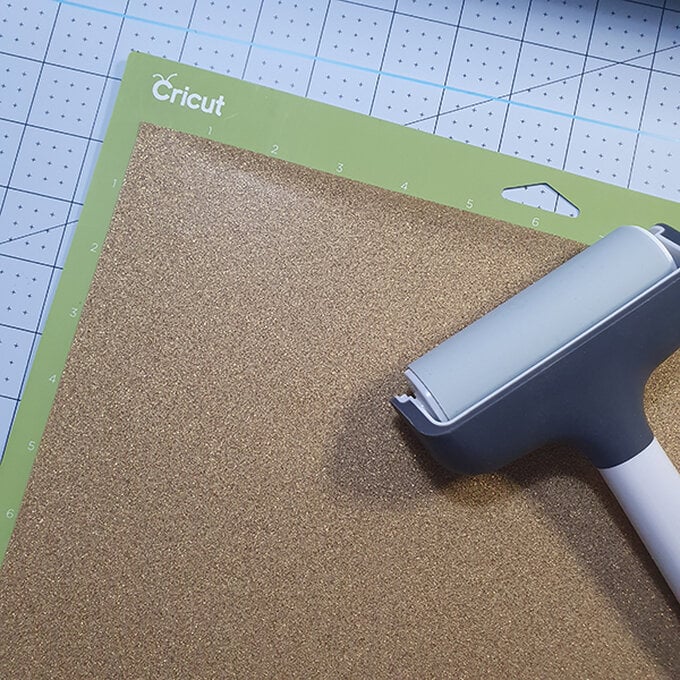
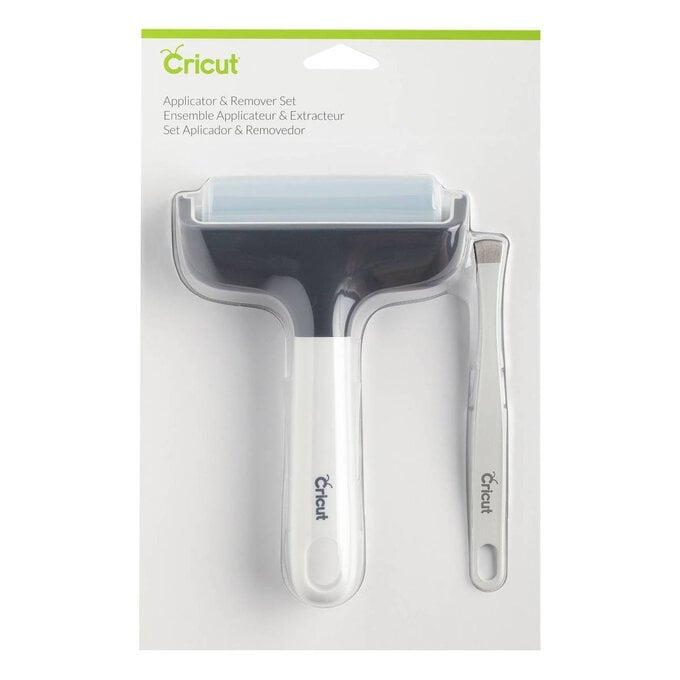
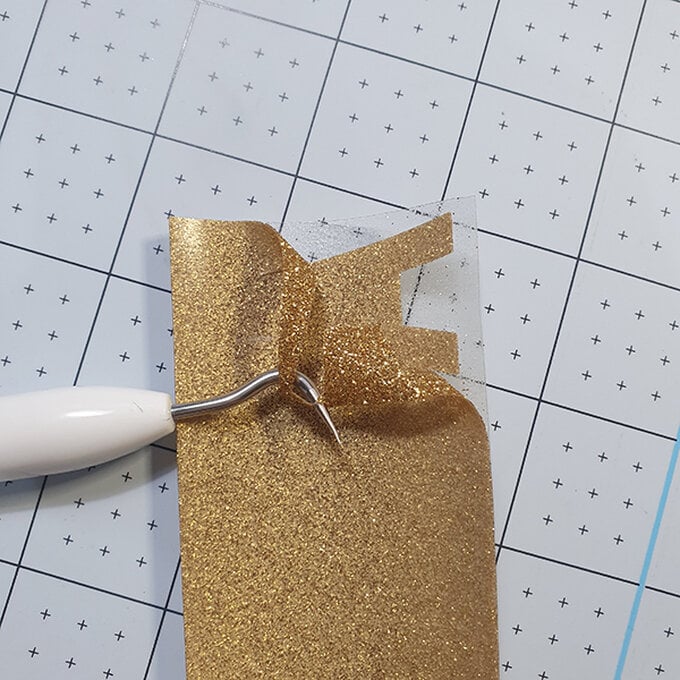
Weed your vinyl so your design is ready to press.
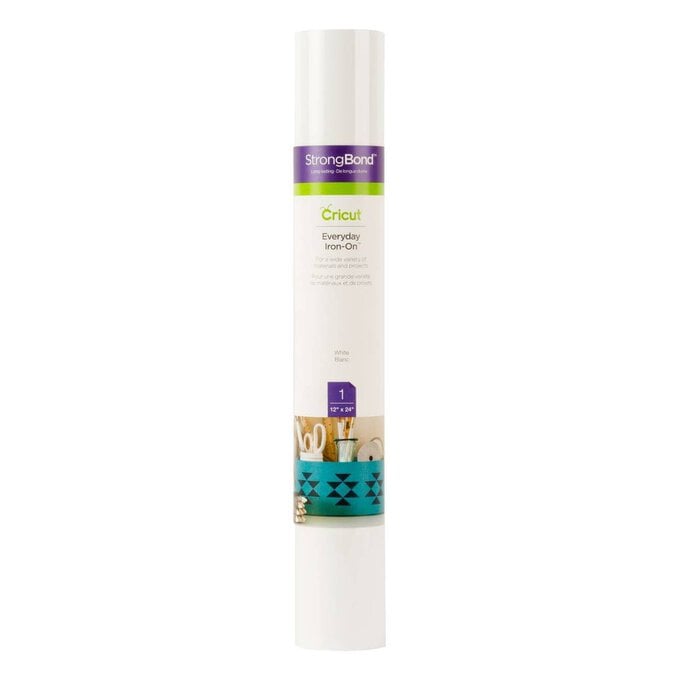
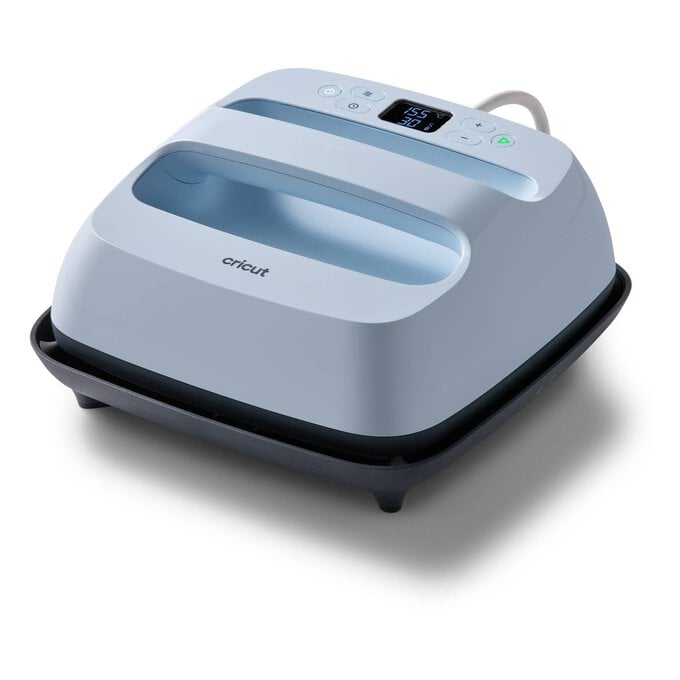
Firstly press your bottom layer on to your pouch with your Easy Press 2. Once that layer is pressed and the backing removed press the glitter layer on top. Glitter iron on must always be the top layer as no other vinyl will press on top of it. Follow Cricuts Online Heat Guide for the correct setting for your material.
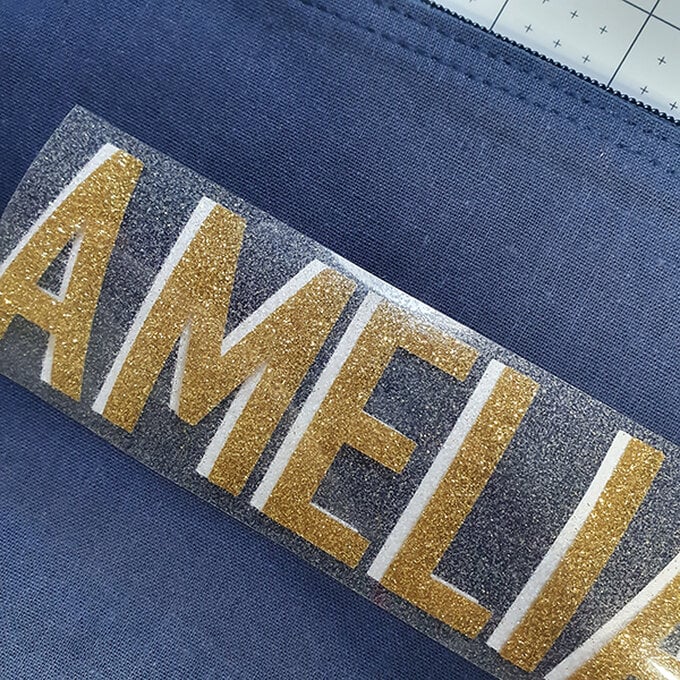
Once you have your design pressed remove the top layer of backing. Then make tassels to finish of your design.
