Cricut: How to Make an Adhesive Vinyl Tray for Eid
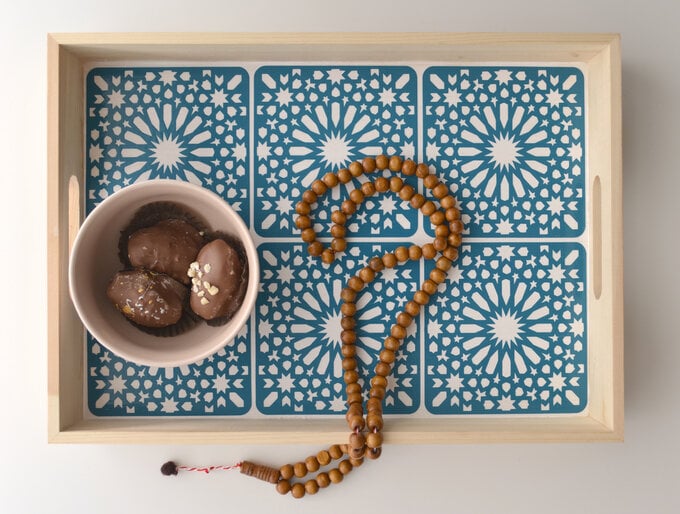
Create this beautiful, tile-effect tray to add something special to your Eid table this year. With the wide range of vinyl colours available you'll be able to personalise easily to match your décor.
Project and instructions by Rumana, The Little Pomegranate.
Discover more Eid projects here andgt;
Please note: This project contains paid-for content from Cricut's Design Space app. Screen reference images are taken from the tablet/phone app version of Design Space.
The Cricut Maker was used to create this project, however it can also be created using the Cricut Explore and Joy (tiles will need to be cut individually rather than grouping them together).
You will need
Subtotal
Is $ 604.00
Subtotal
Is $ 34.00 , was $ 43.00
Subtotal
Is $ 11.00 , was $ 14.00
Subtotal
Is $ 11.00 , was $ 14.00
Subtotal
Is $ 4.49
Subtotal
Is $ 6.49
Subtotal
Is $ 9.49 , was $ 12.00
Out of stock
Subtotal
Is $ 8.49
How to make
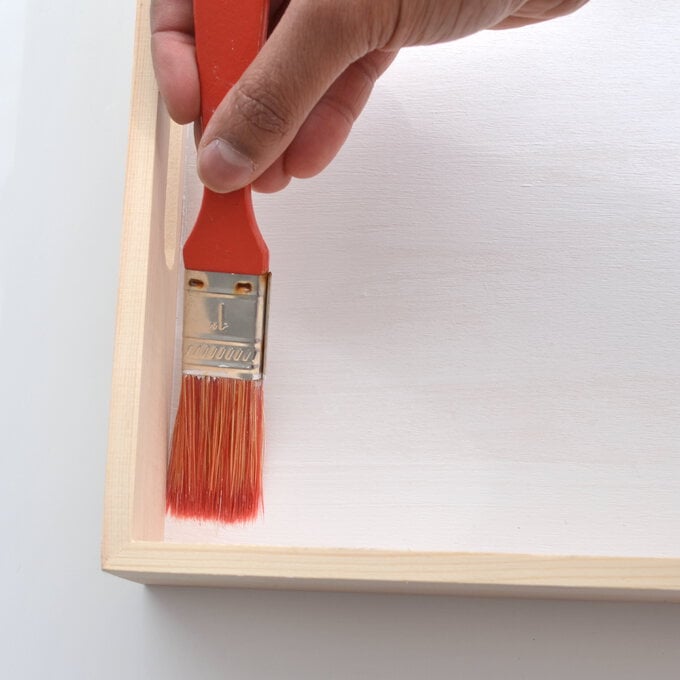
Start by painting the base of the wooden tray.
Top Tip: Use painters tape or masking tape to protect the edges.
Leave to dry according to the instructions.
You may need to apply a second coat depending on the paint and finish you want.
Open up the Cricut design Space app and start a new project by opening a blank canvas.
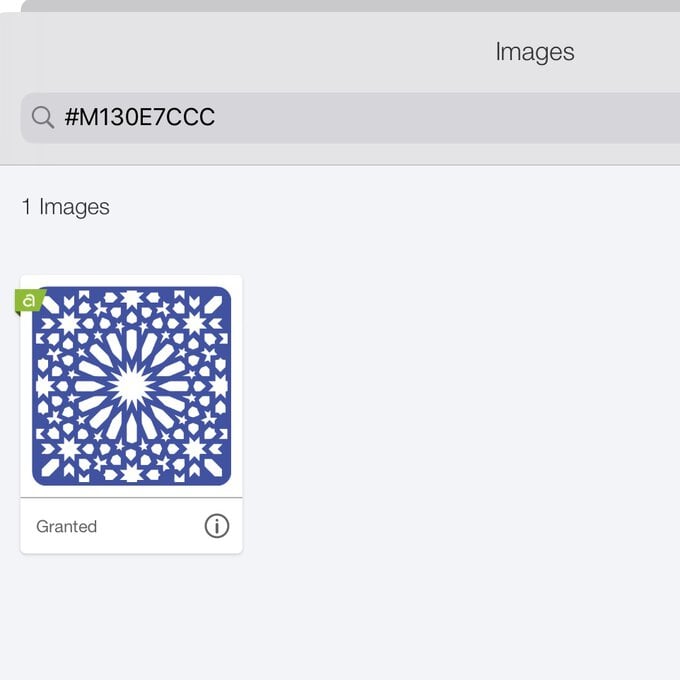
Click the "Image" menu from the menu toolbar on the left-hand side of the screen, then search for the image #M130E7CCC and click 'Insert'.
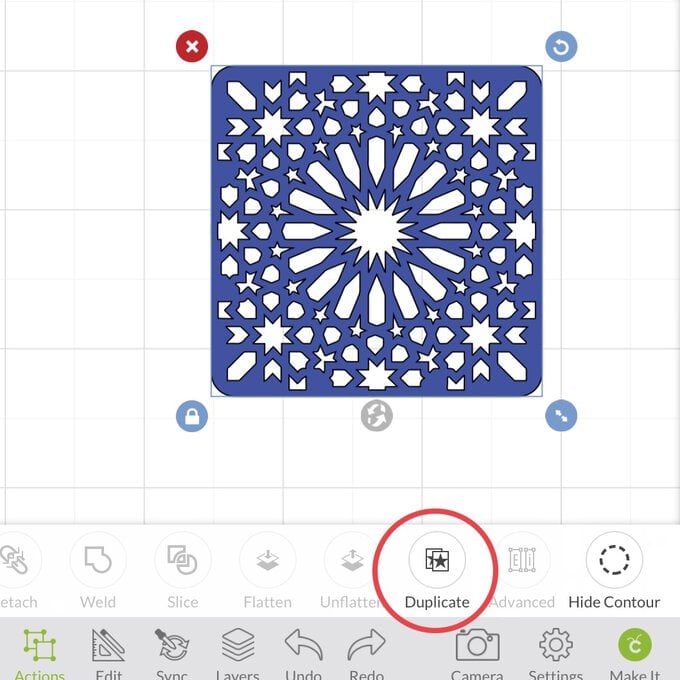
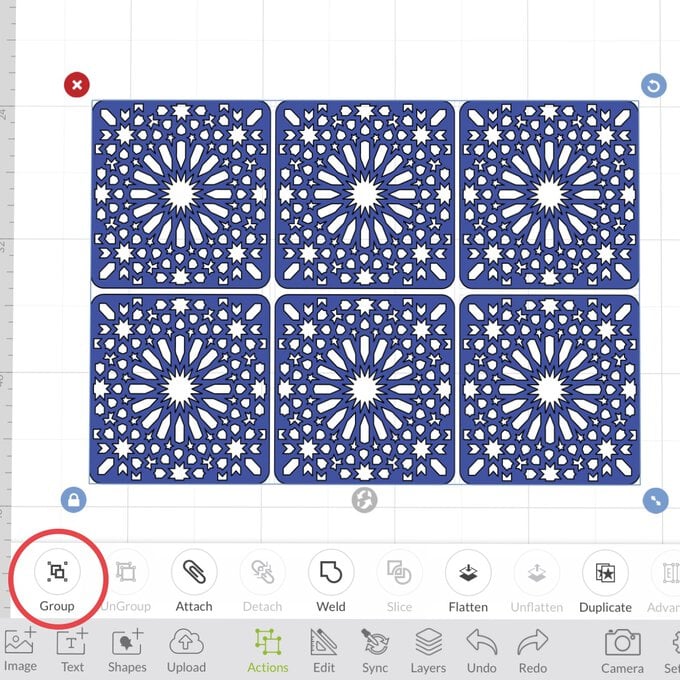
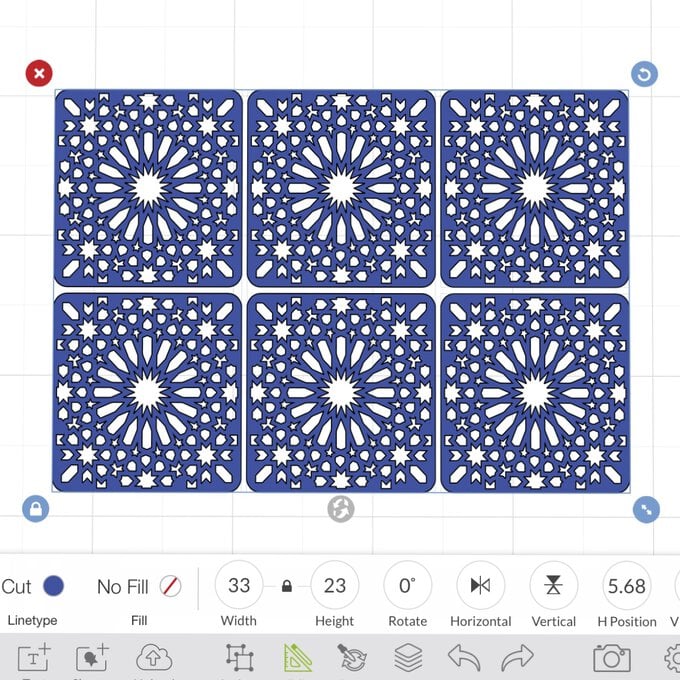
"Duplicate" the image to create six 'tiles' and rearrange them so they are equally spaced in a rectangular shape.
"Group" the images together.
Measure the height and width of the inside of the tray and make a note of the dimensions.
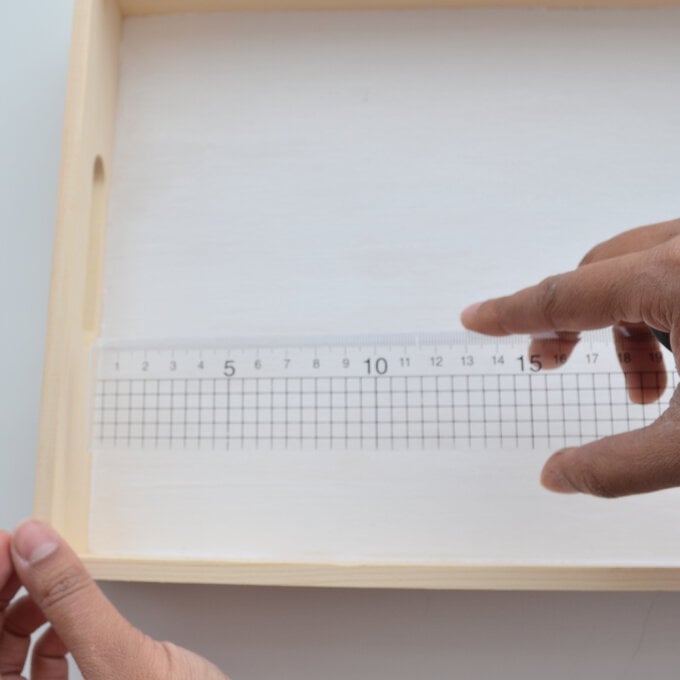
Resize the grouped image to just smaller than the size you've measured out.
For this tray I have resized the image to 33cm wide x 23cm height.
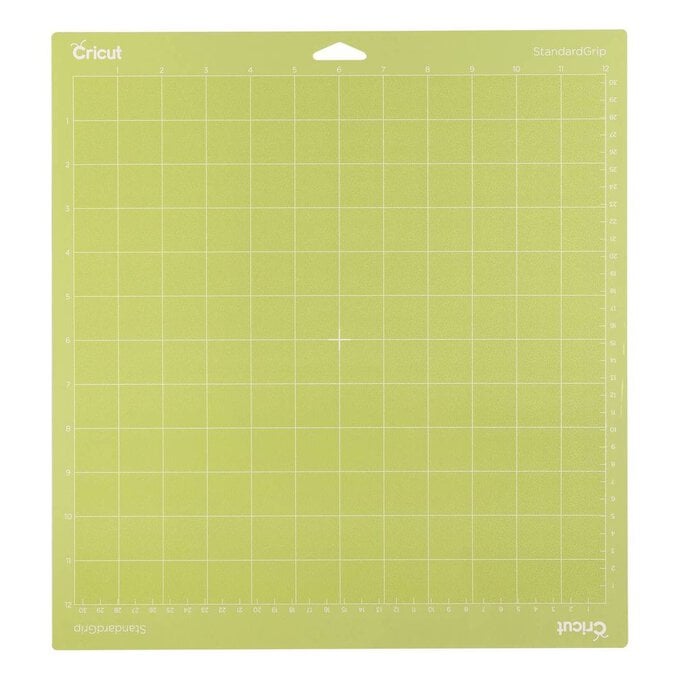
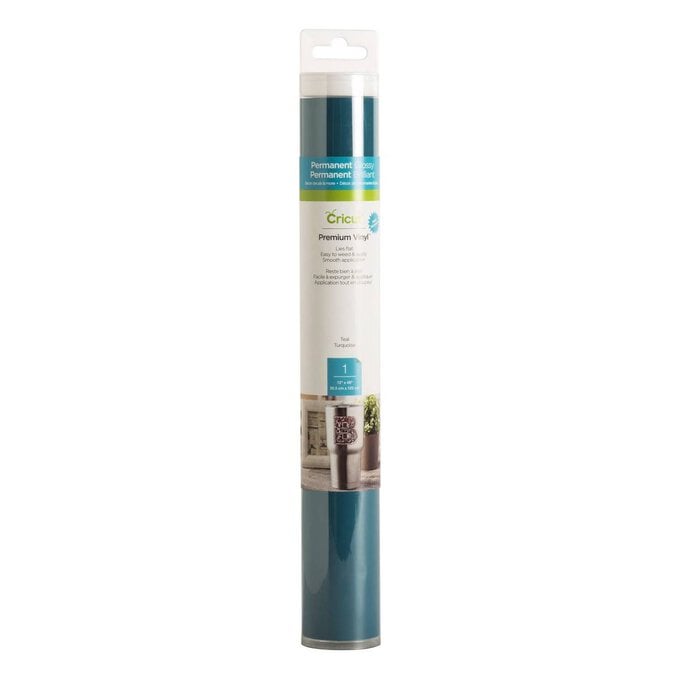
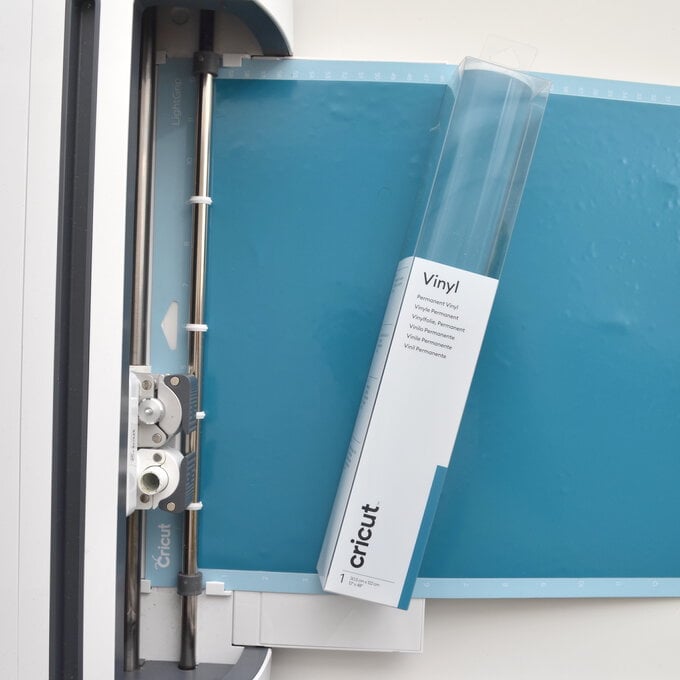
Secure the vinyl onto the cutting mat and follow the instructions on Design Space to cut out the design.
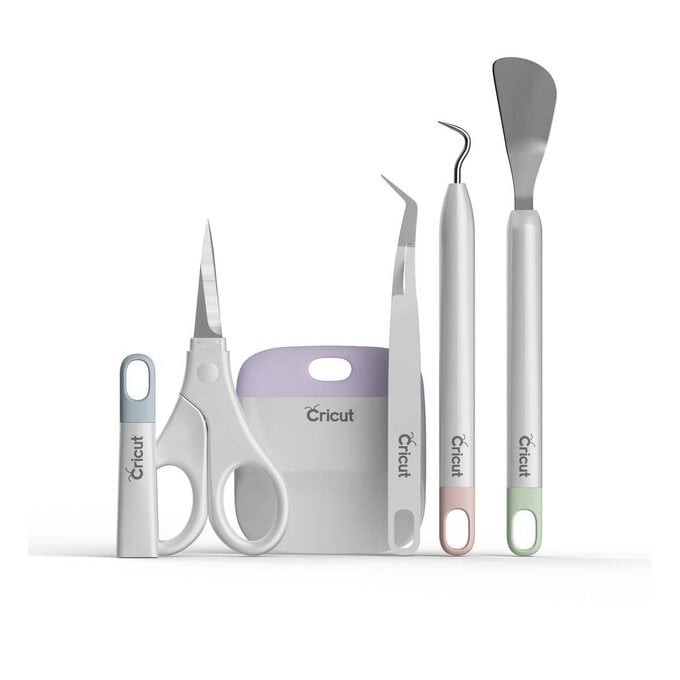
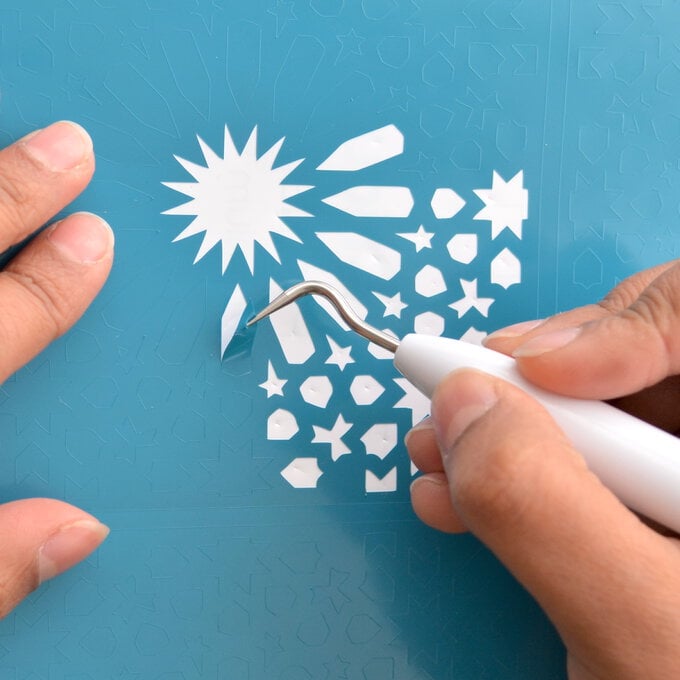
Weed your designs by carefully removing the areas of vinyl you don't want to transfer to your final project.
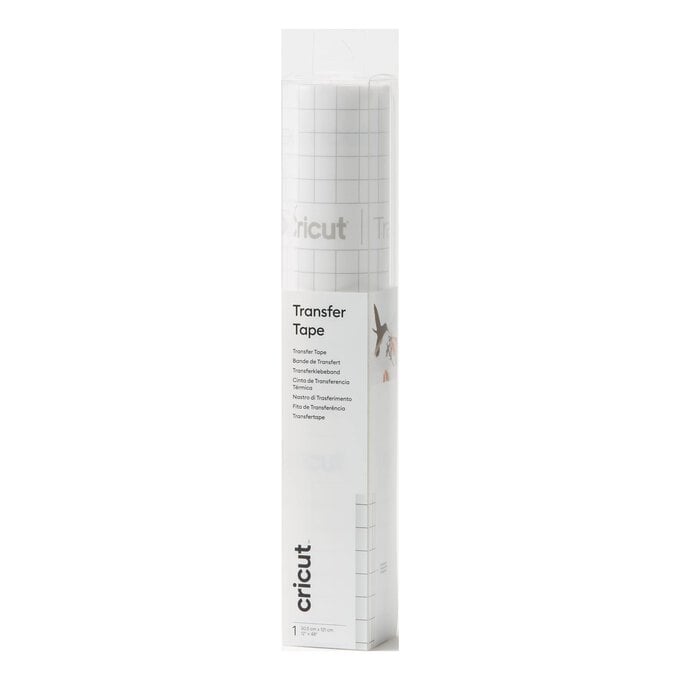
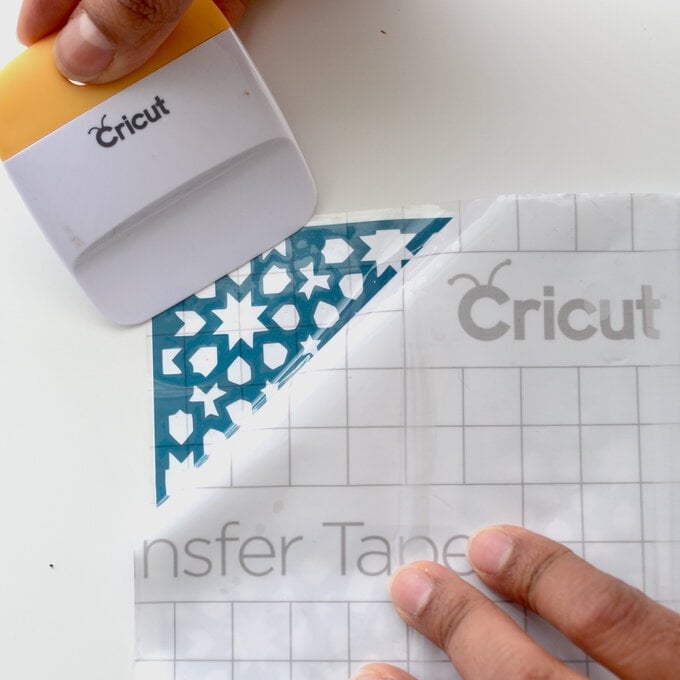
Cut a piece of Transfer Tape to slightly larger than the image.
Peel away the backing sheet and place it sticky side down on top of the vinyl design.
Use the scraper tool to burnish (ensure good contact).
Prepare the surface of the tray by wiping it clean with a cloth.
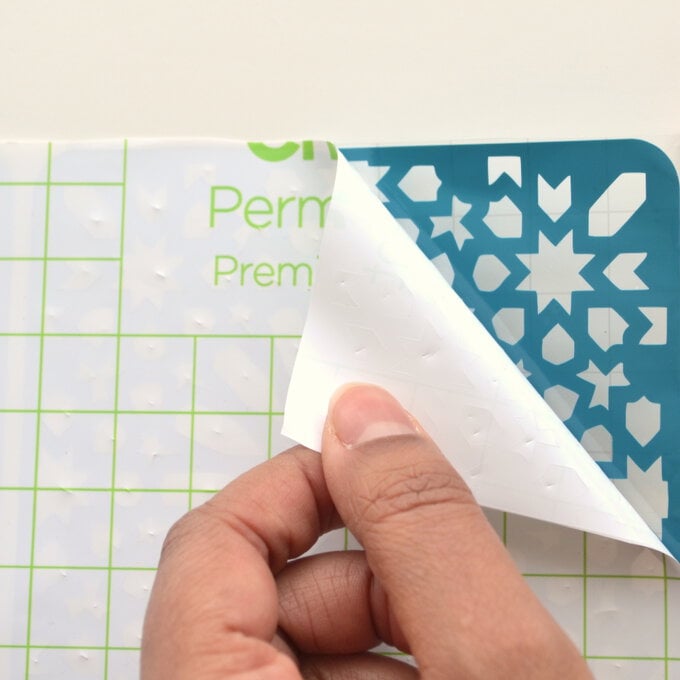
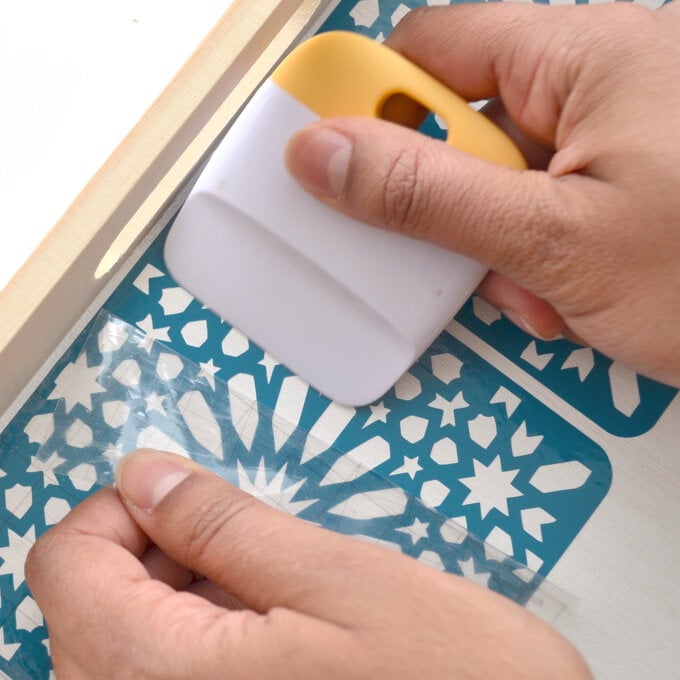
Remove the white backing from the vinyl and position the design onto the tray, once happy smooth down the design onto the tray using the scraper tool once more.
Top Tip: You may want to cut out the individual tile shapes and apply them individually.
Carefully remove the Transfer Tape, leaving the vinly design adhered to the tray.
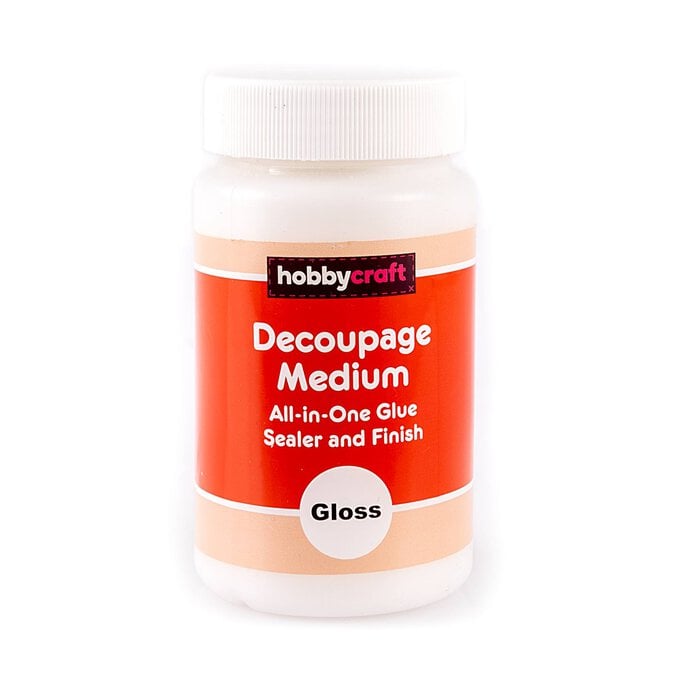
Seal the design with Modge Podge and leave to cure following the instructions on the bottle.
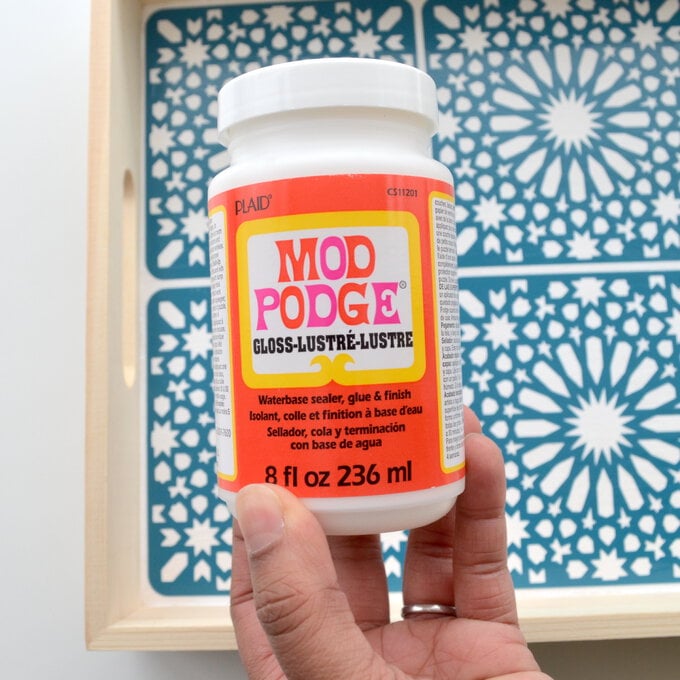
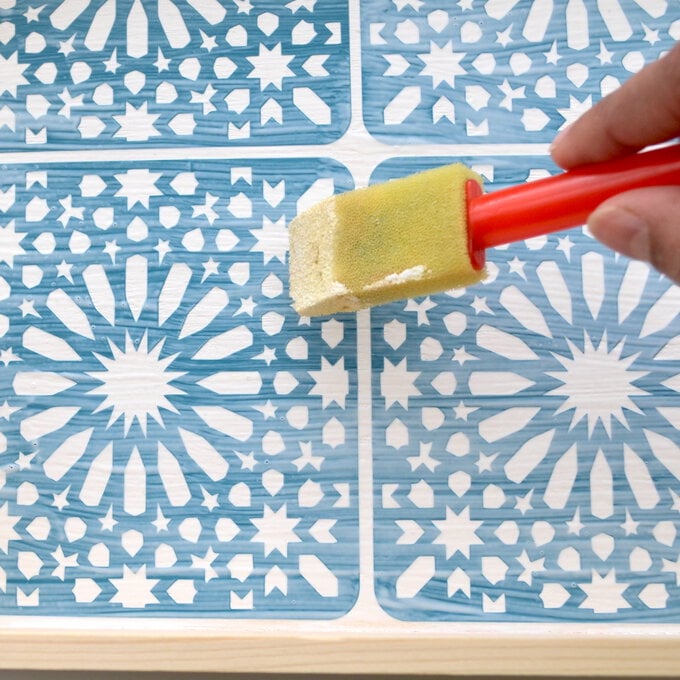
Once dry, the tray is then ready to be used!
