How to Make an Eid Countdown Calendar
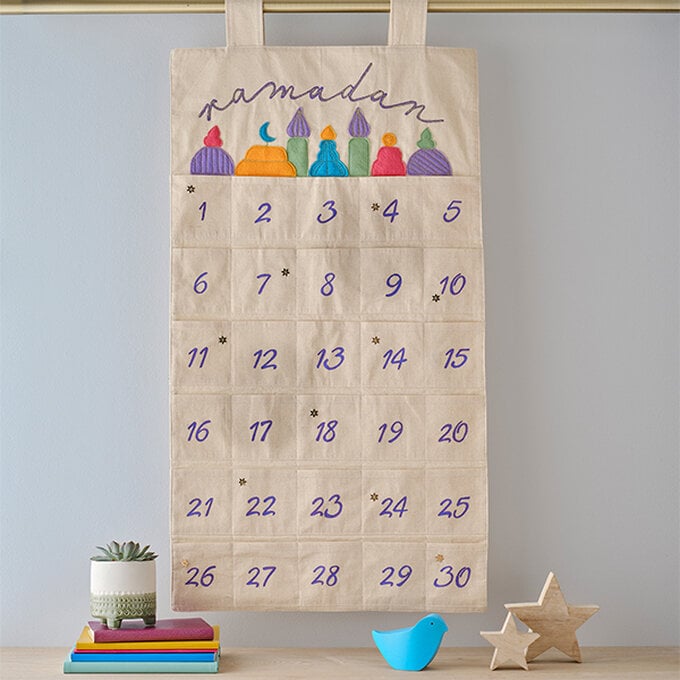
Mark Ramadan and count down to Eid with this bright, fabric calendar. Personalise with colours to match your décor and create a decoration that you'll love every year!
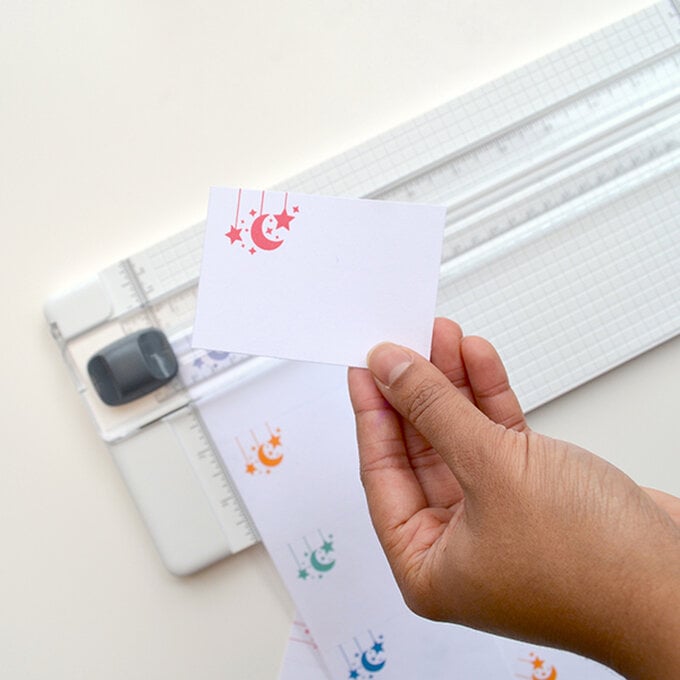
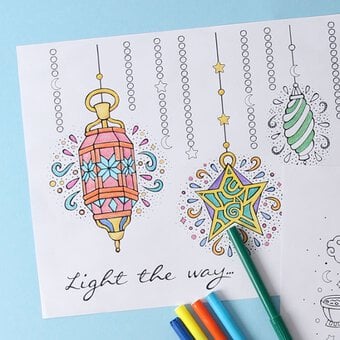
Use our free templates to create a skyline at the top of your calendar or draw your own. Download and print our free cards to fill each day with gratitude.
Project and instructions by The Little Pomegranate
You will need
Subtotal
Is $ 15.00
Subtotal
Is $ 1.49
Subtotal
Is $ 7.49
Subtotal
Is $ 33.00
You Will Need
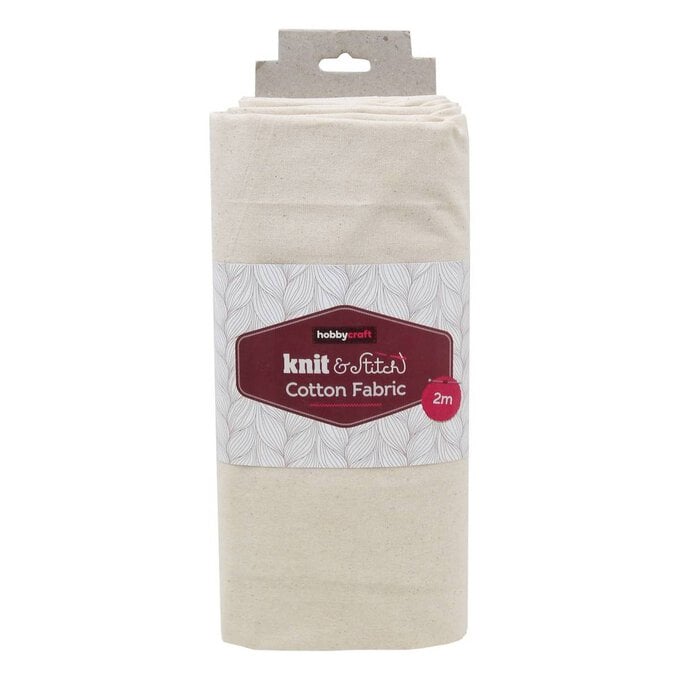
* Cotton Fabric Bolt (119cm x 2m)
* Fabric Scissors
* Felt Sheets - Mint, Bright Pink, Golden, Lavender and Aqua
* Gold Star Sequins
* Gold Metallic Thread
* Washable Pen or Fabric Chalk
* White Thread
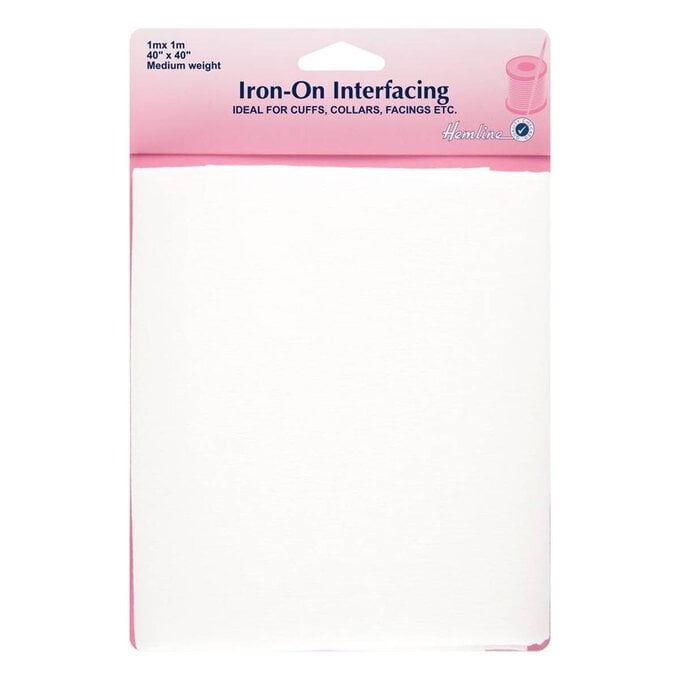
* Iron-On Interfacing
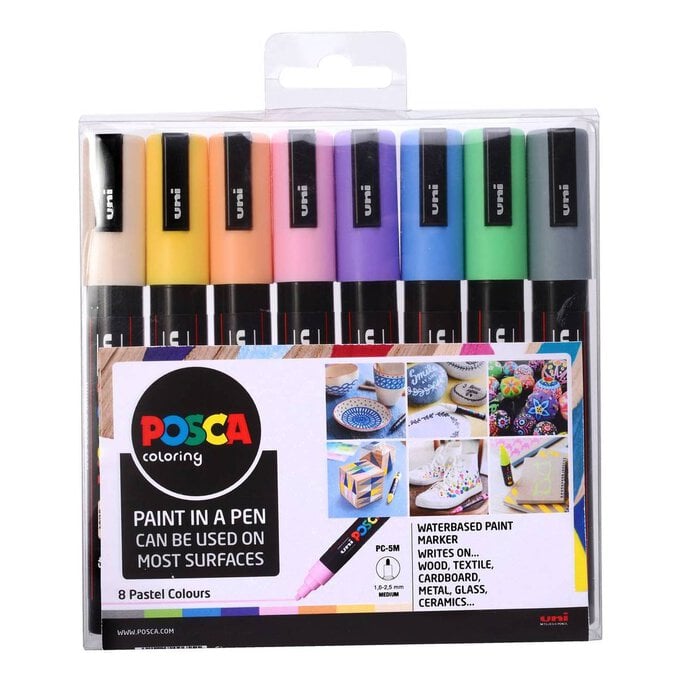
* POSCA Pen Pastel Set
* Newspaper or Pattern Paper (optional)
* Wooden Macrame Dowel (optional)
How To Make
Mark out the pattern pieces onto the fabric. You can do this directly onto the fabric using a washable pen/fabric chalk or make paper templates using newspaper/pattern paper to trace around. Cut out the pieces from the cotton using a rotary blade or fabric scissors.
You'll need to make and cut out these rectangles:
x2 Calendars: 92cm x 52cm
x4 Hanging tabs: 20cm x 8cm
x6 Pockets 13cm x 52cm
You'll also need to cut these pieces from the iron-on interfacing:
x1 Calendar: 90cm x 50cm
x2 Hanging tabs: 20cm x 8cm
x6 Pockets: 13cm x 50cm
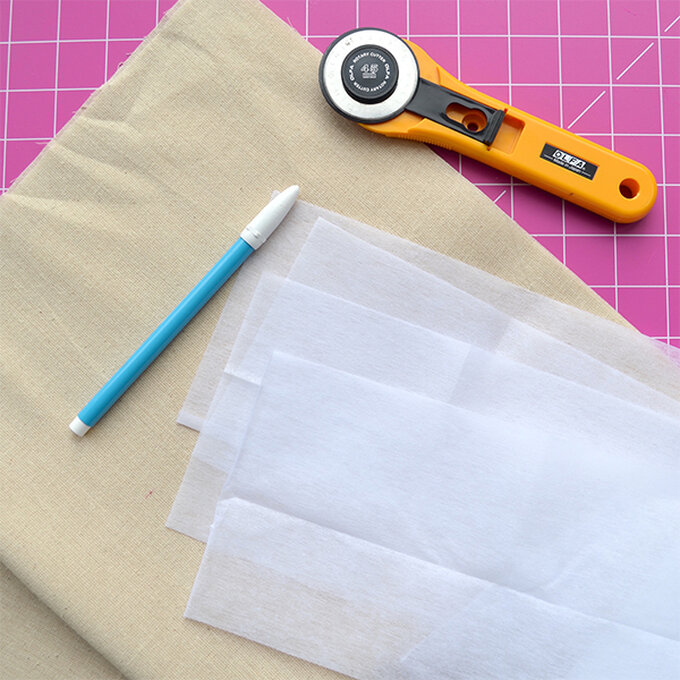
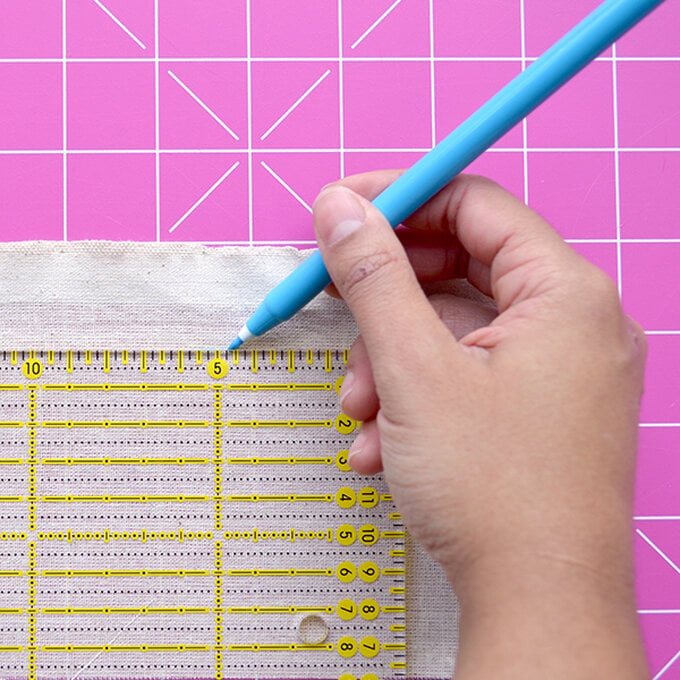
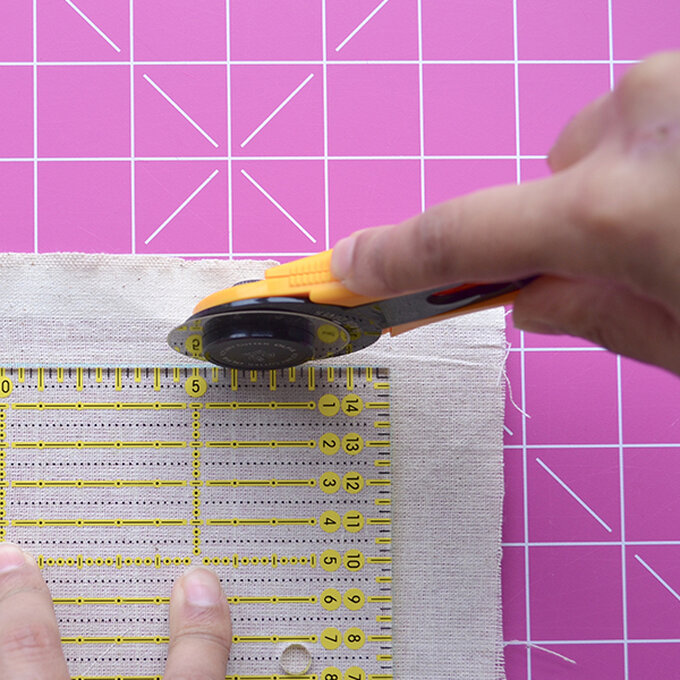
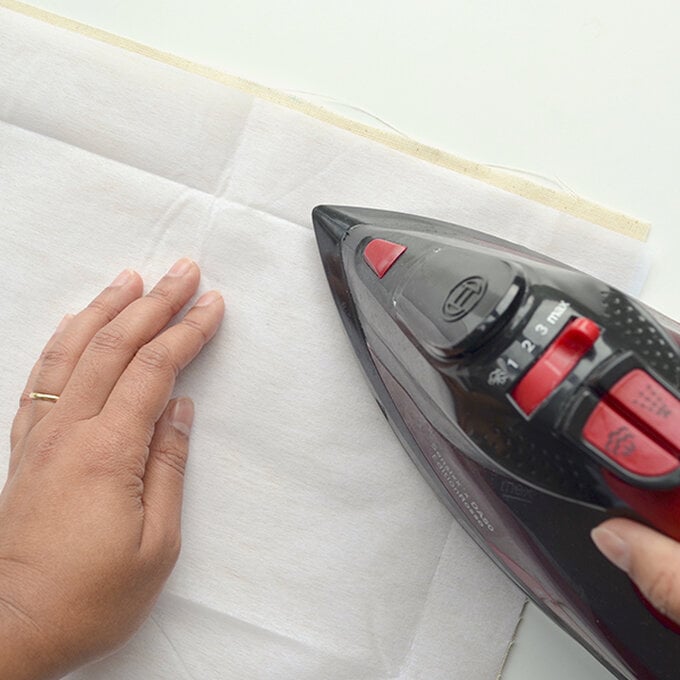
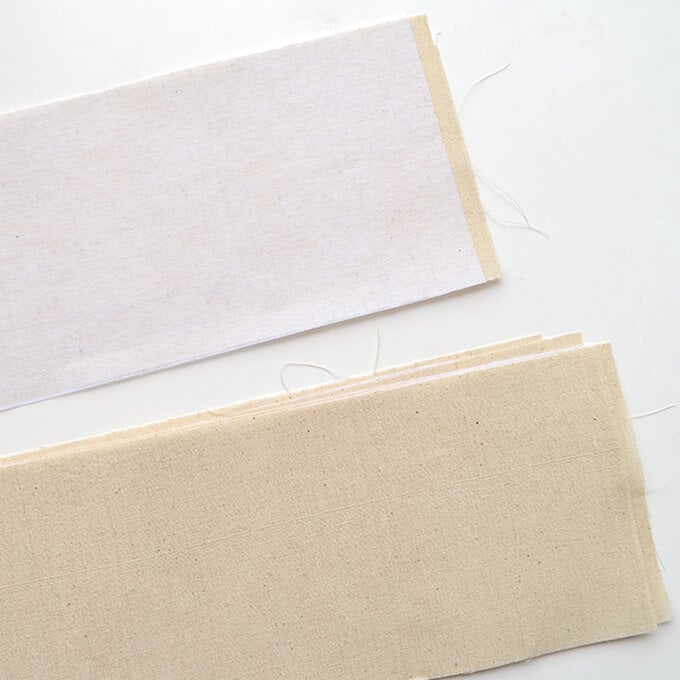
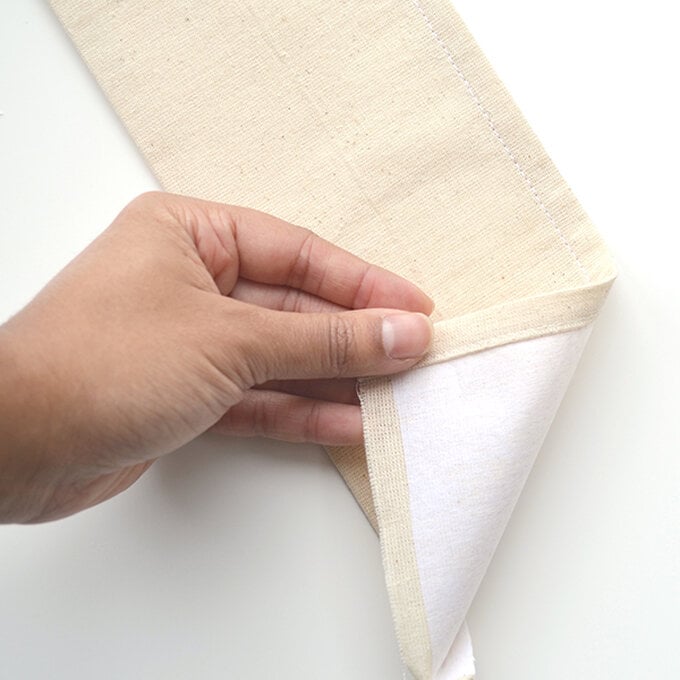
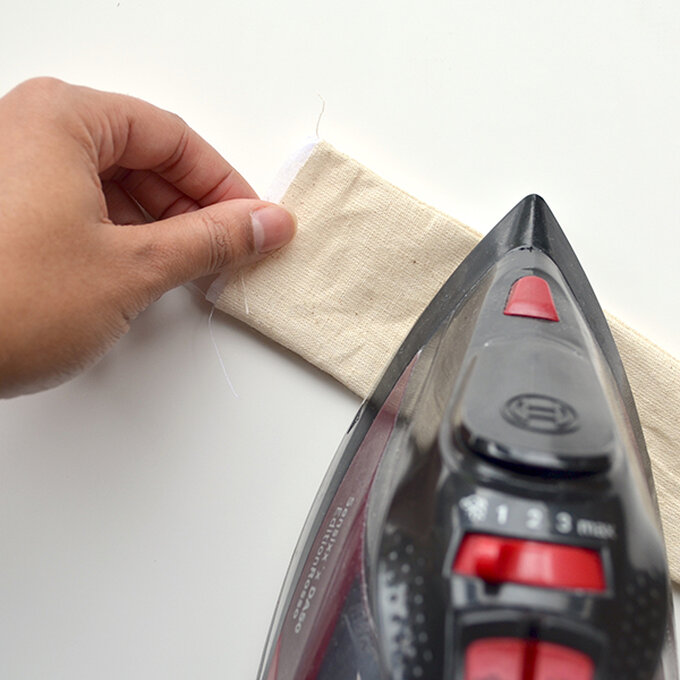
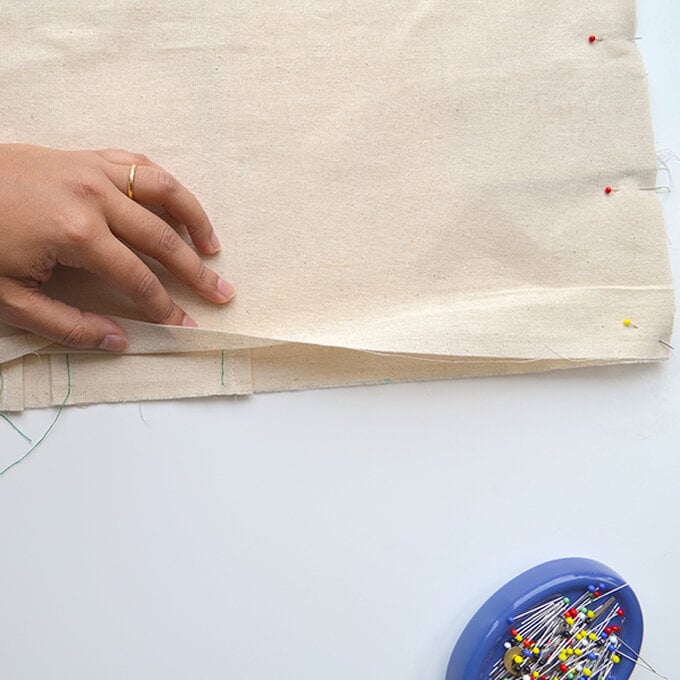
Iron on the interfacing to the back of the matching fabric pieces: x1 of the main calendar pieces (this will be the front), x2 of the hanging tabs (these will be the front pieces) and the pockets - centre the interfacing so there is a 1cm gap on either end on the short sides (see photo).
Tip: Make sure the shiny side of the interfacing is down against the fabric before you iron.
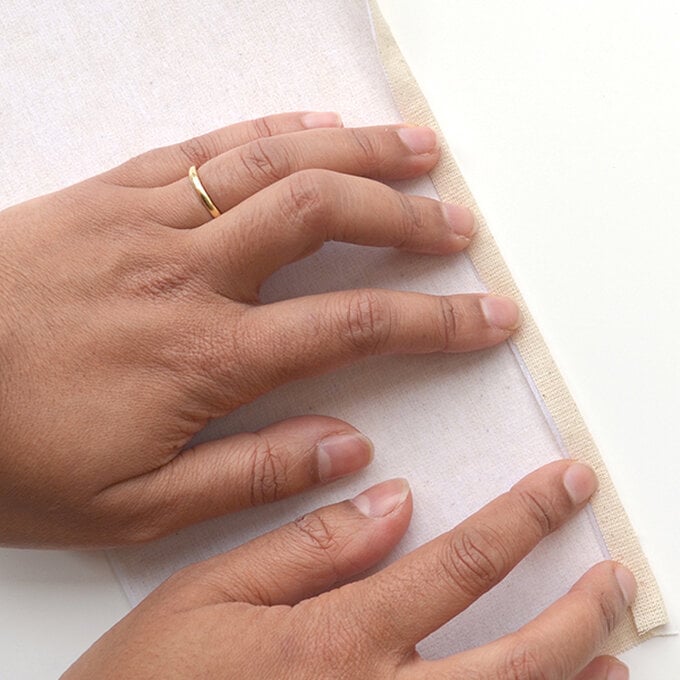
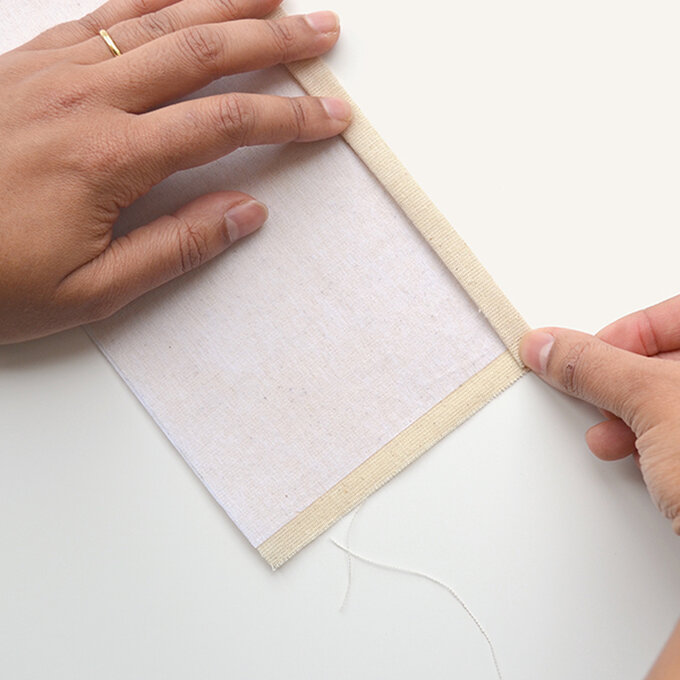
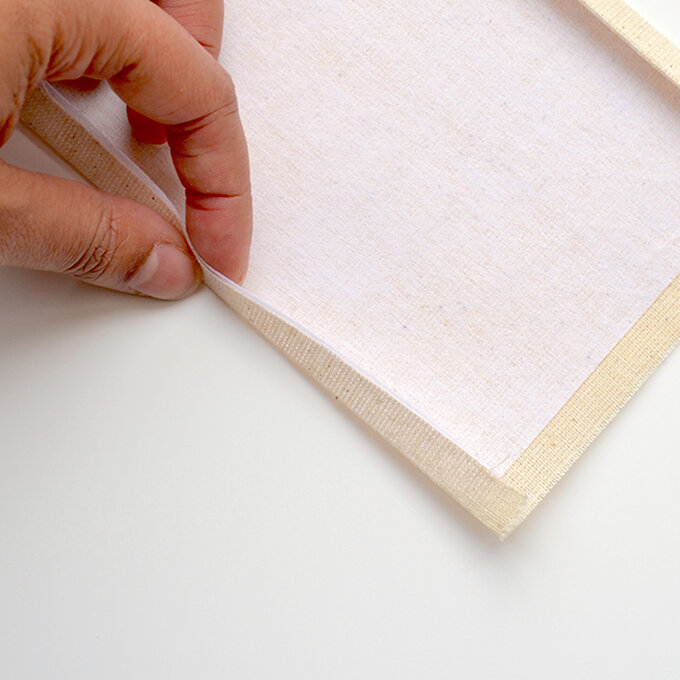
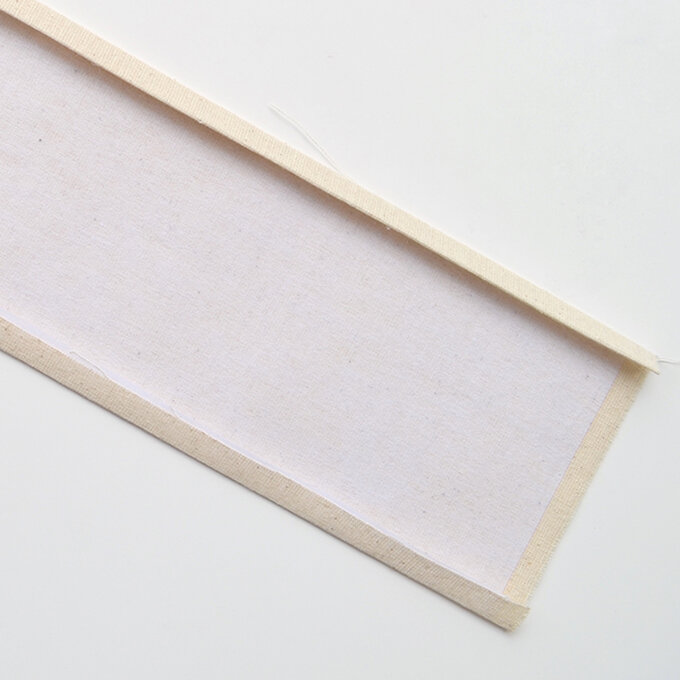
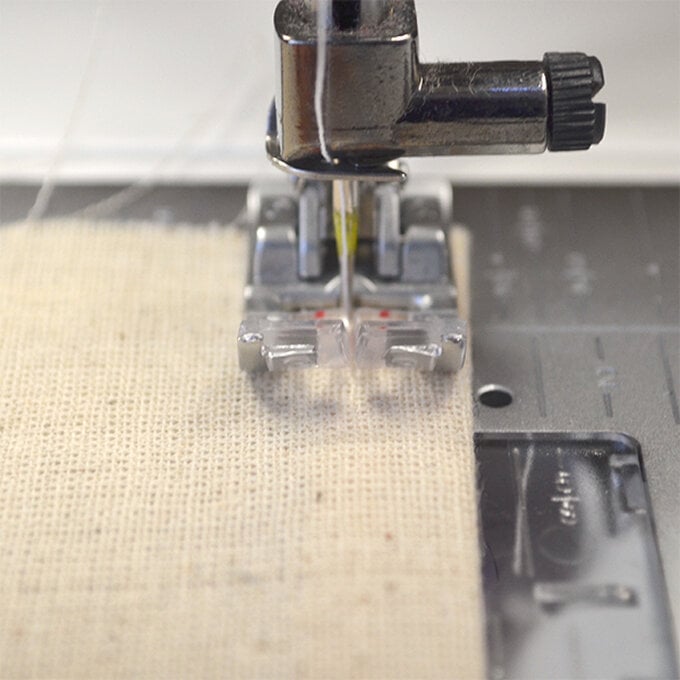
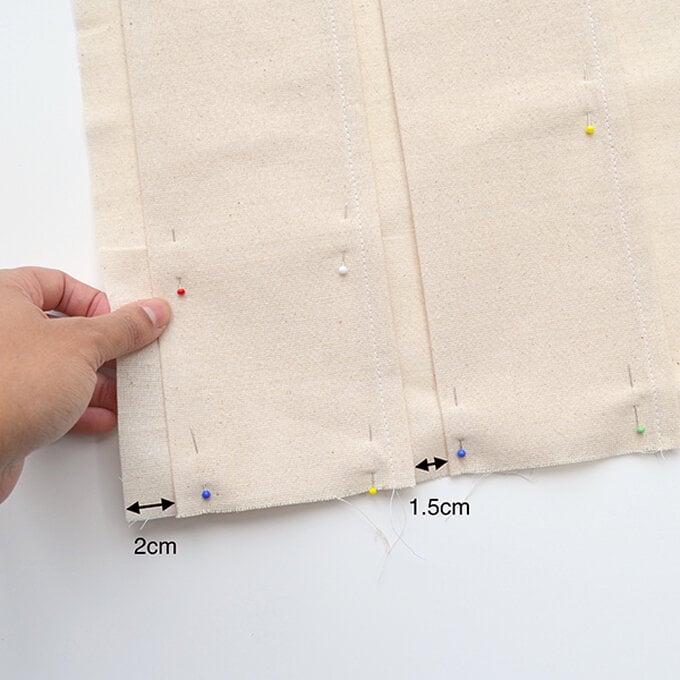
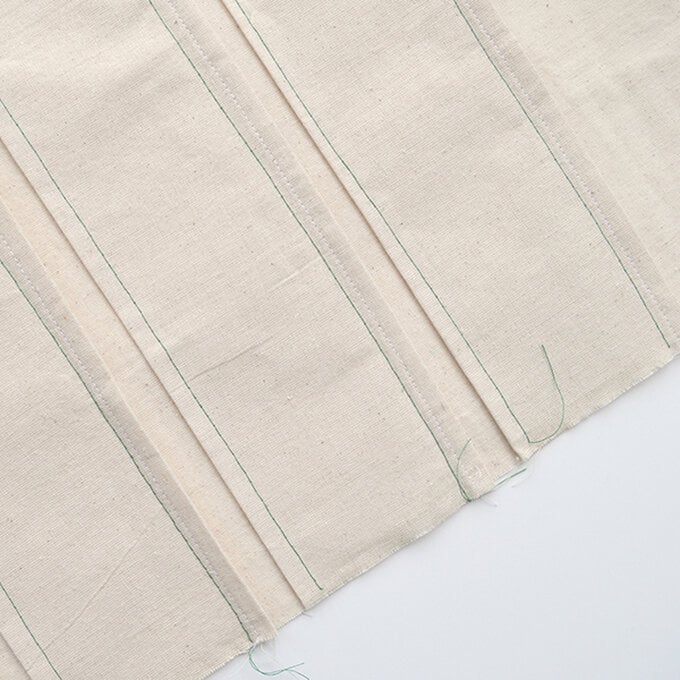
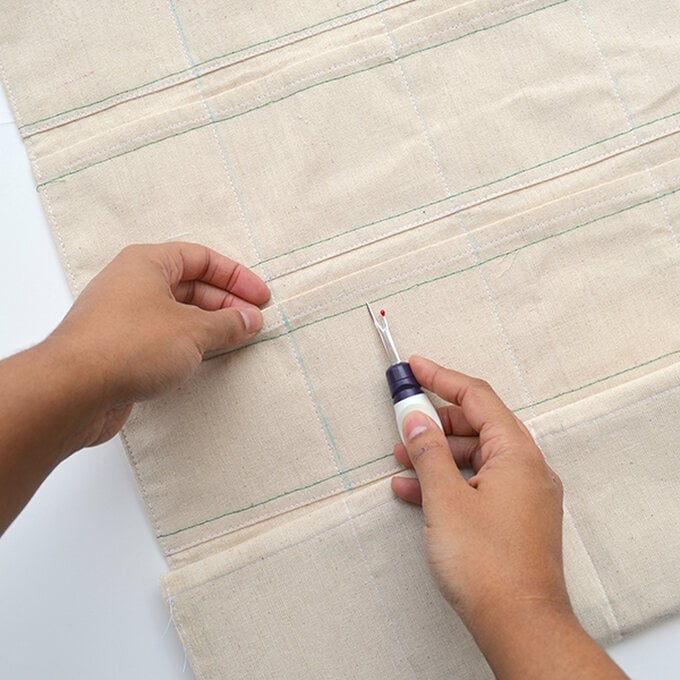
Use a basting stitch (5-6cm stitch length) to baste/hold the pockets in place. Stitch along the top and bottom edge of each pocket.
Using a contrast thread makes it easier to see and unpick later.
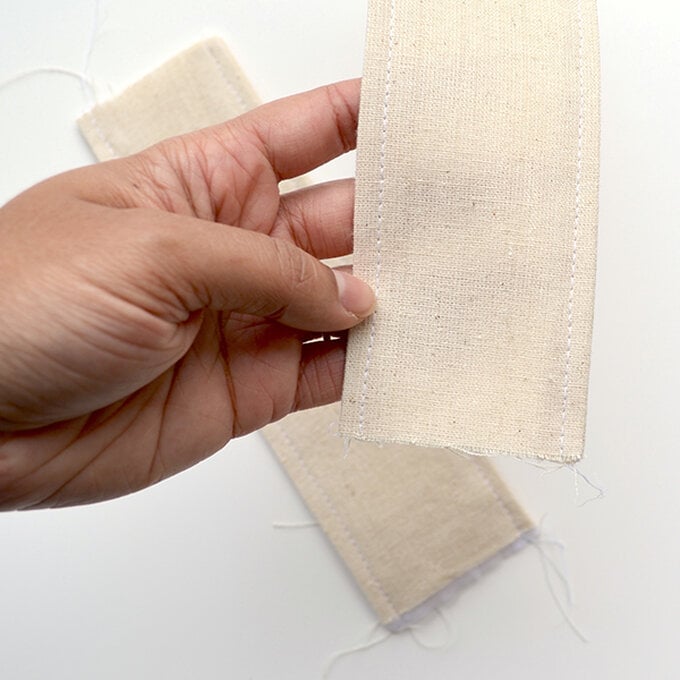
Now, make the hanging tabs. Pin one interfaced tab piece to one non-interfaced tab (right sides together).
Change back to a normal stitch length (and back to the matching thread colour) and stitch down the sides of the tabs using a 1cm seam allowance.
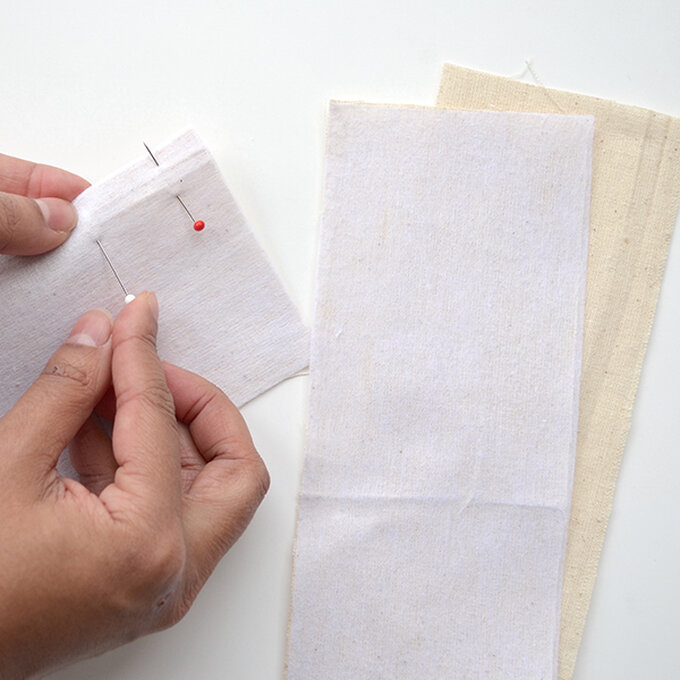
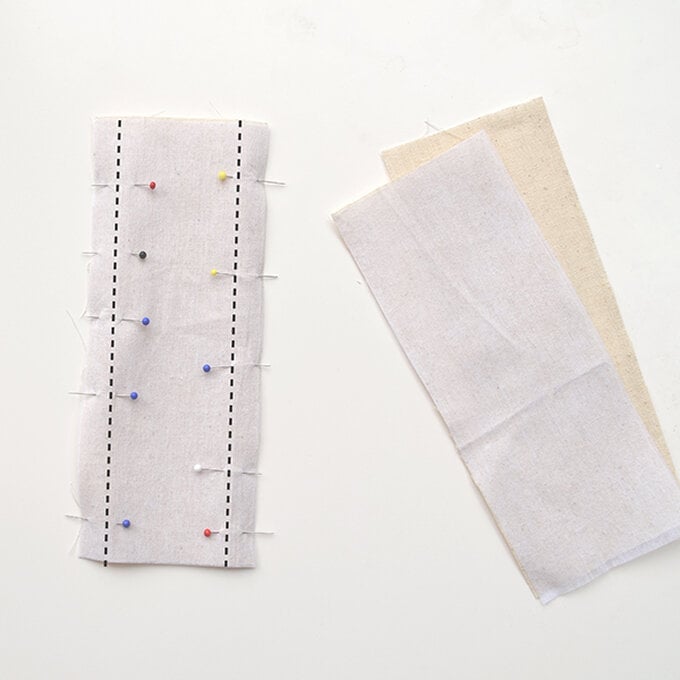
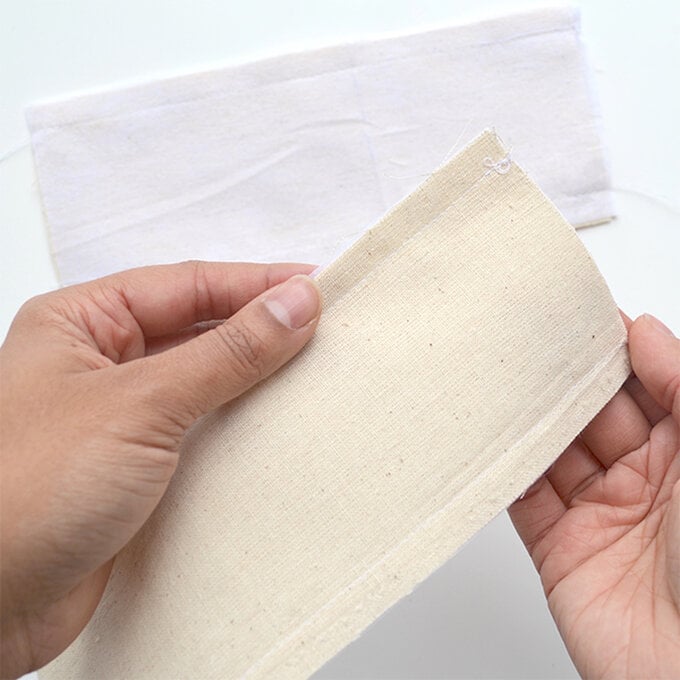
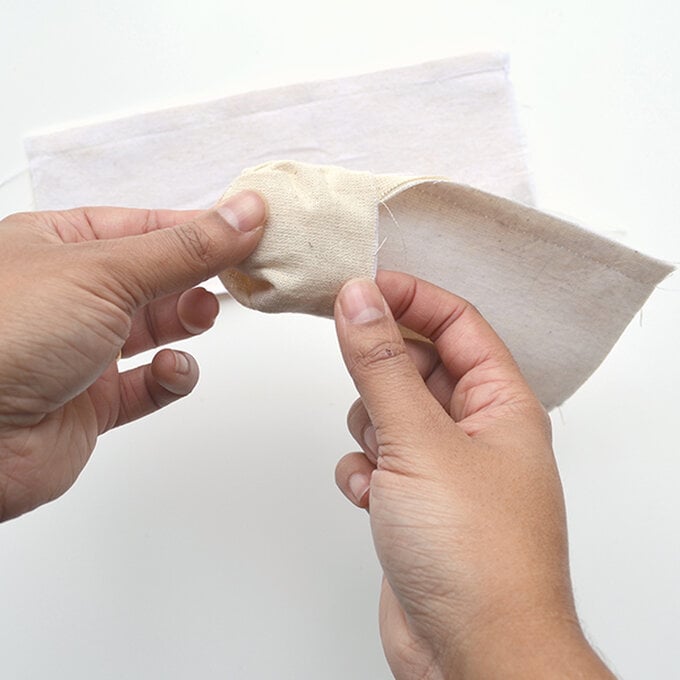
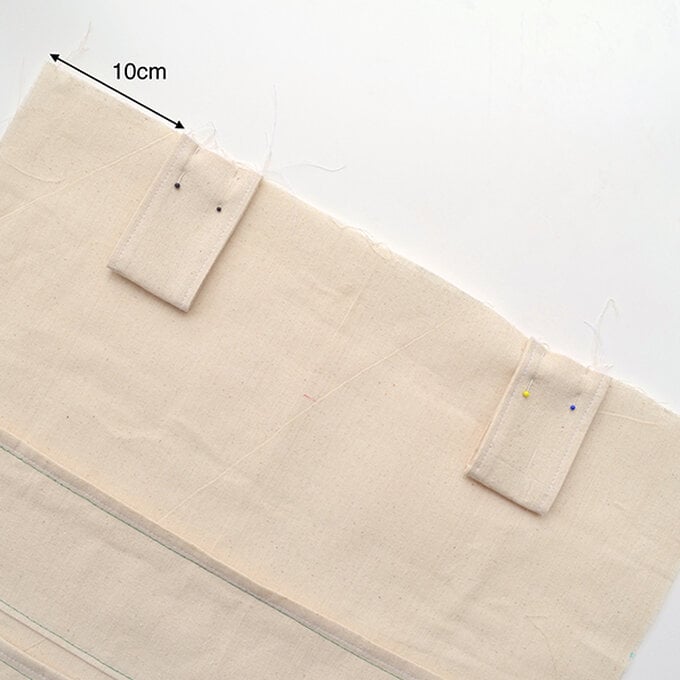
Pin the tabs along the top edge of the calendar. Position these 10cm from the sides.
Baste in place.
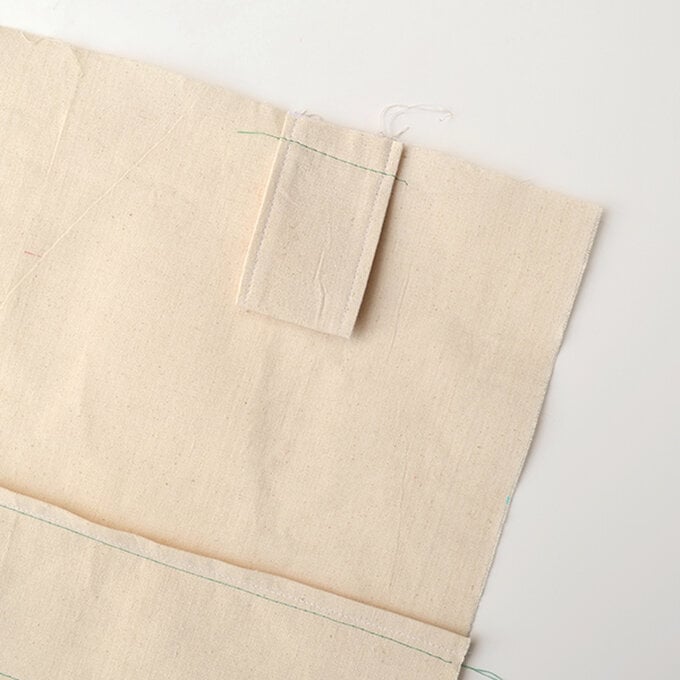
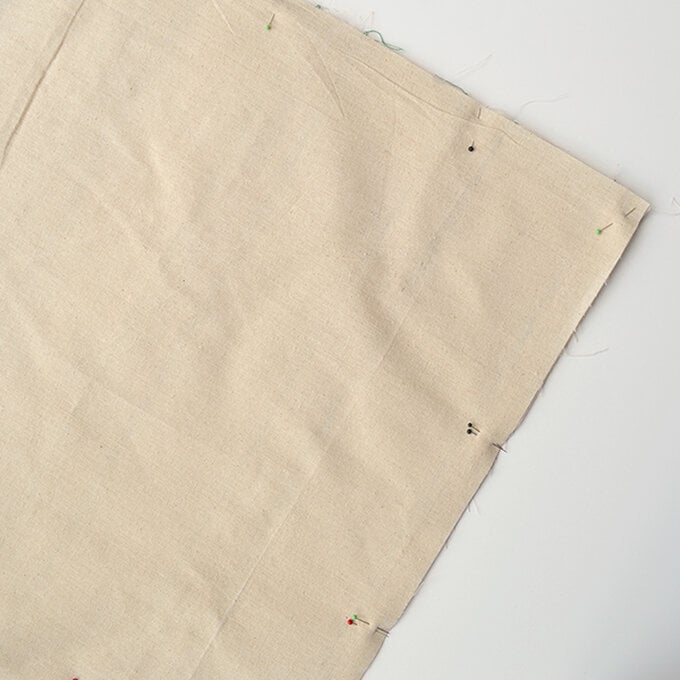
Place the back of the calendar onto the front, right sides together. Pin around the edge and leave a 10-15cm gap at the bottom (marked with double pins).
Stitch around the edge using a 1cm seam allowance, leaving this gap unstitched.
Trim the corners.
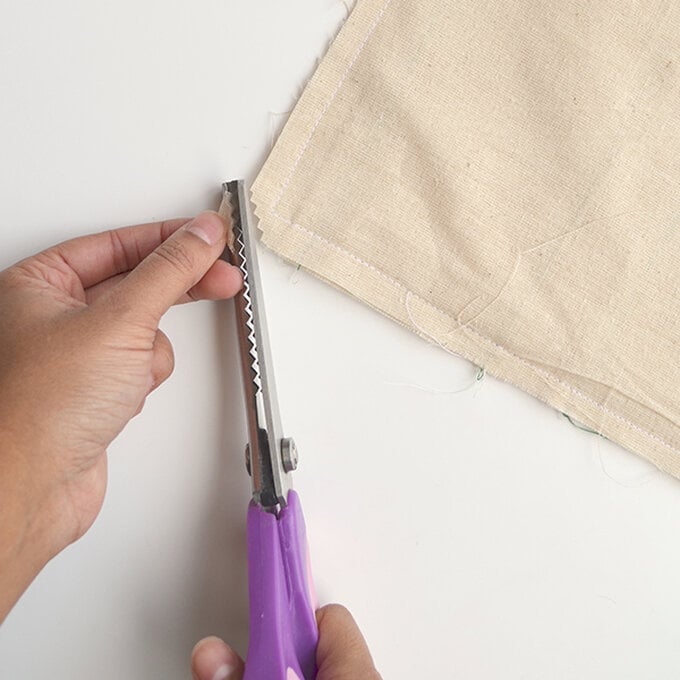
Gently turn the calendar inside out through the gap you left in step 11.
Unpick the basting stitches holding the tabs in place.
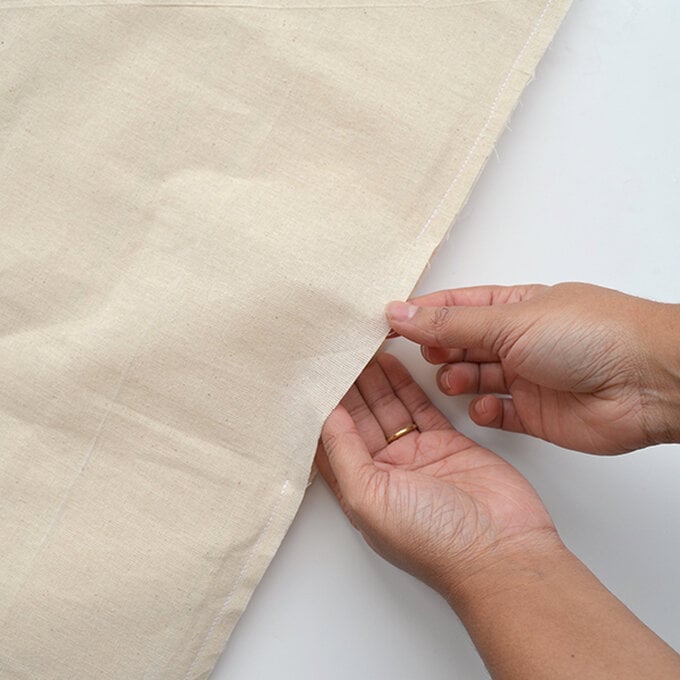
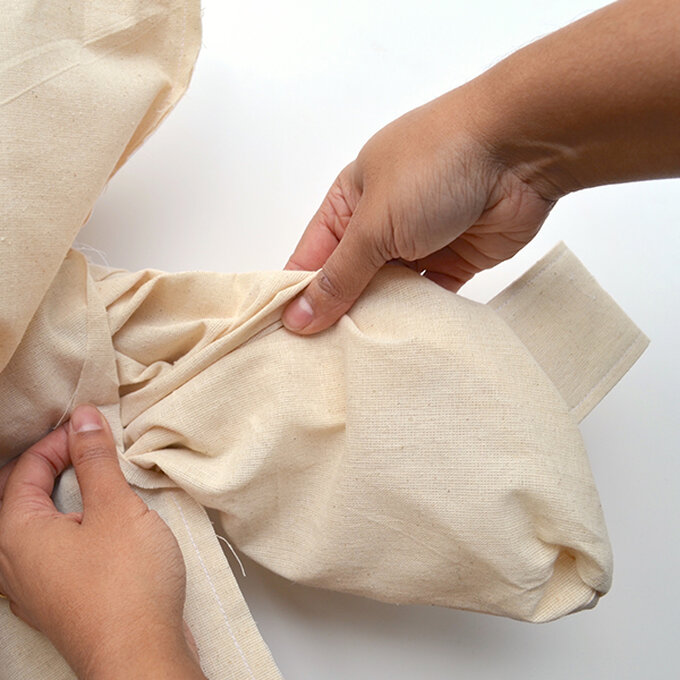
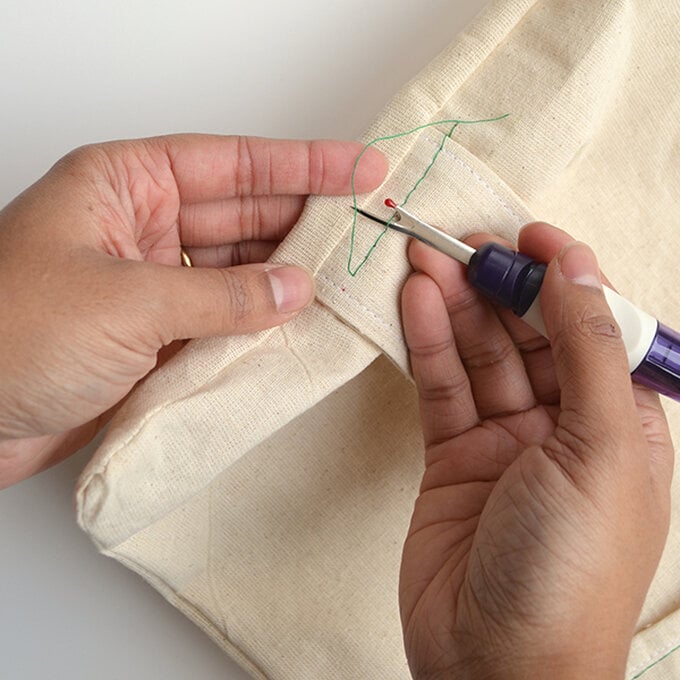
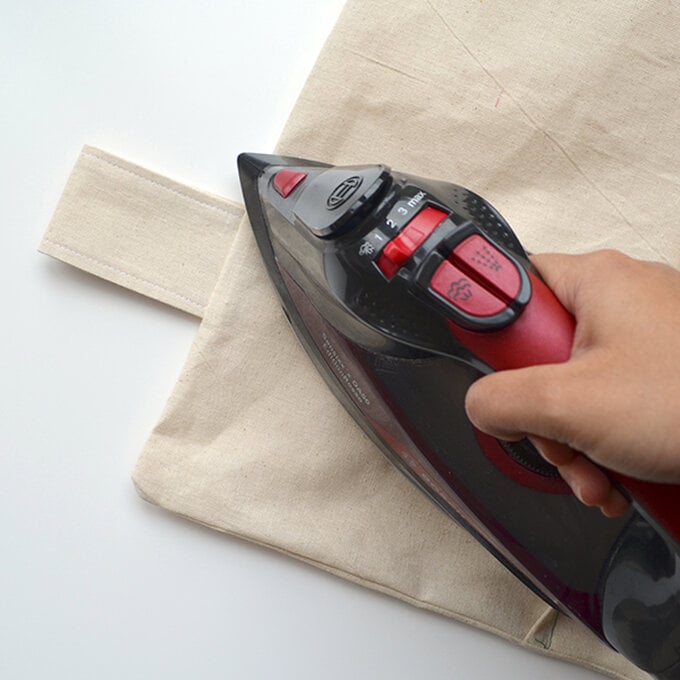
Poke out the corners gently and then press the edges of the whole calendar to make it lay flat and neat.
For the gap, press the seam allowance to the inside (see photo).
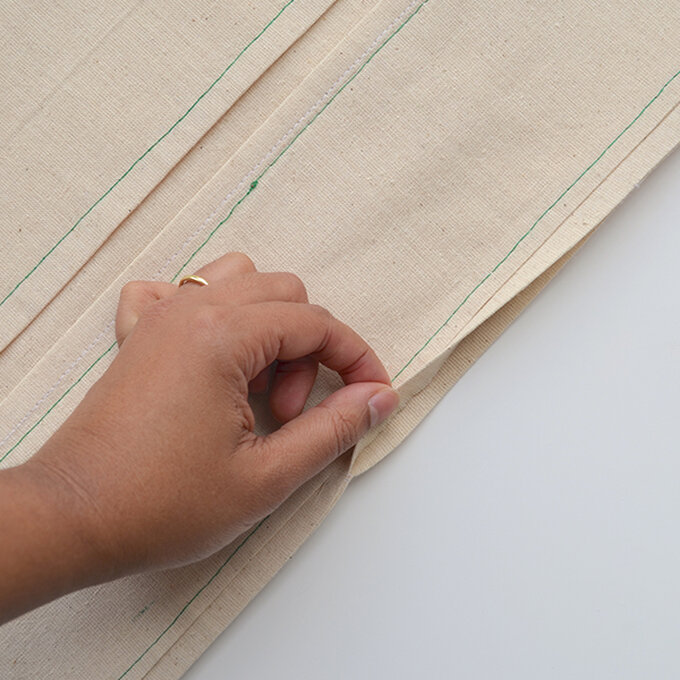
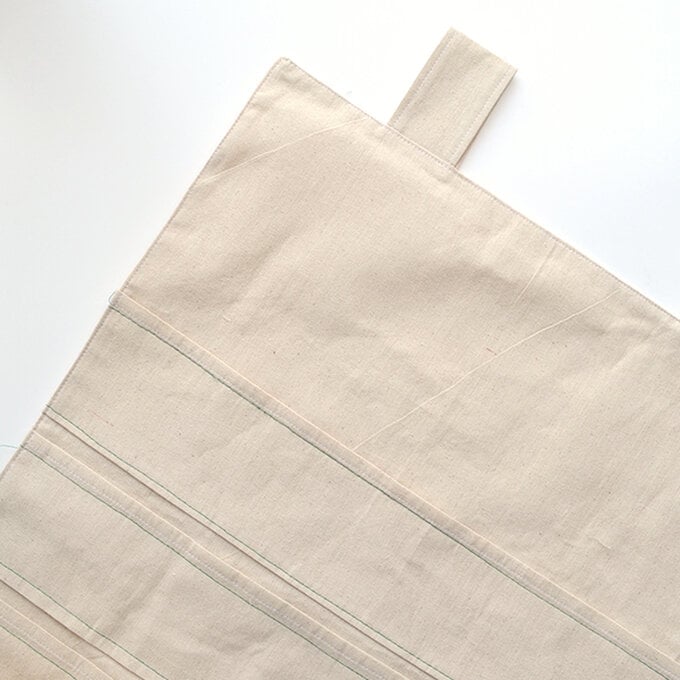
Measure the width of your calendar divide by 5 - this will give you the width of your pockets (9.8cm). Mark this verticle line from the to pocket down to the bottom. You should have 4 lines.
Topstitch along these lines.
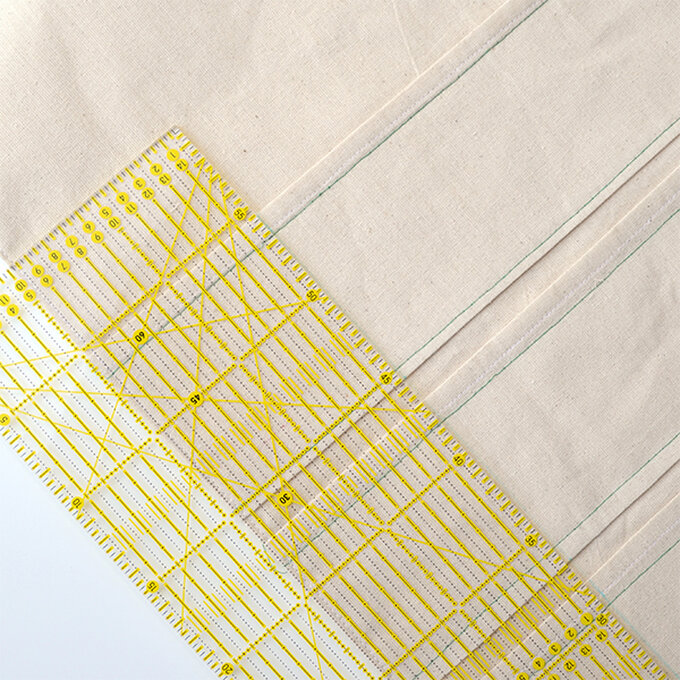
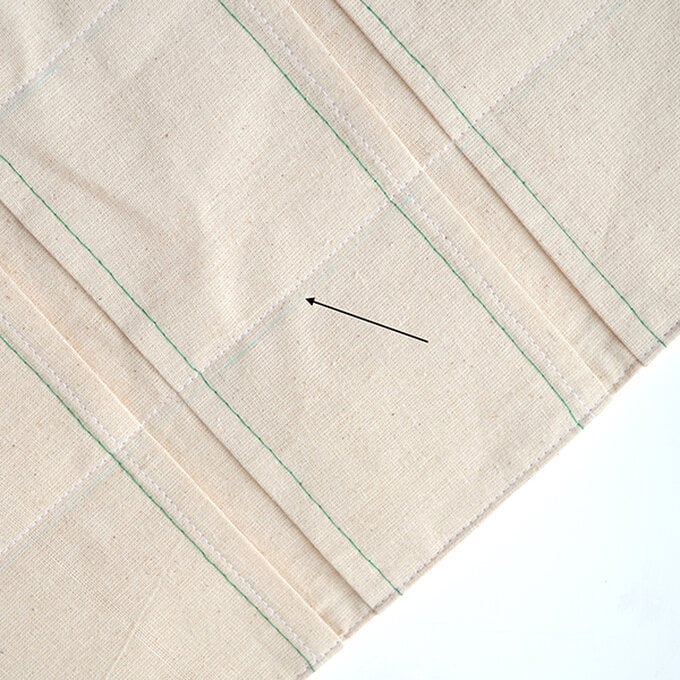
Unpick all the basting stitches.
That's the main calendar complete!
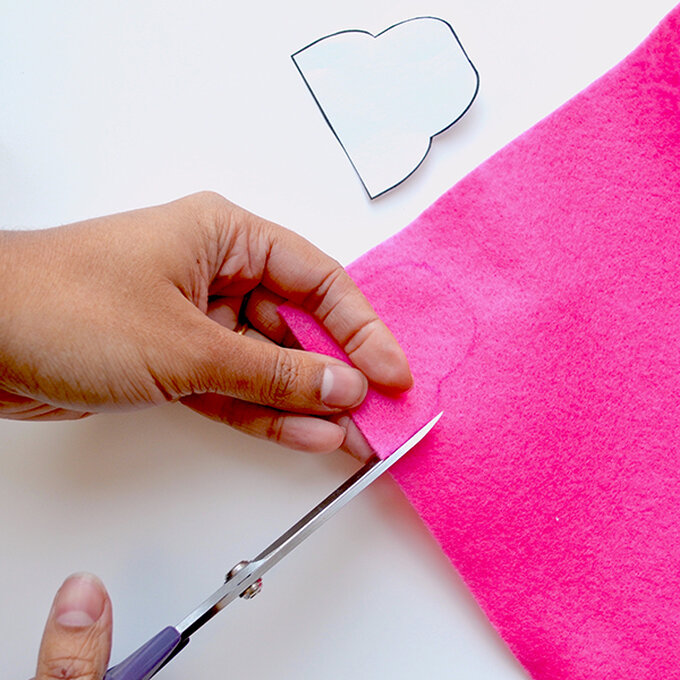
Cut out the shapes for the mosque using the felt and the templates.
Pin in place.
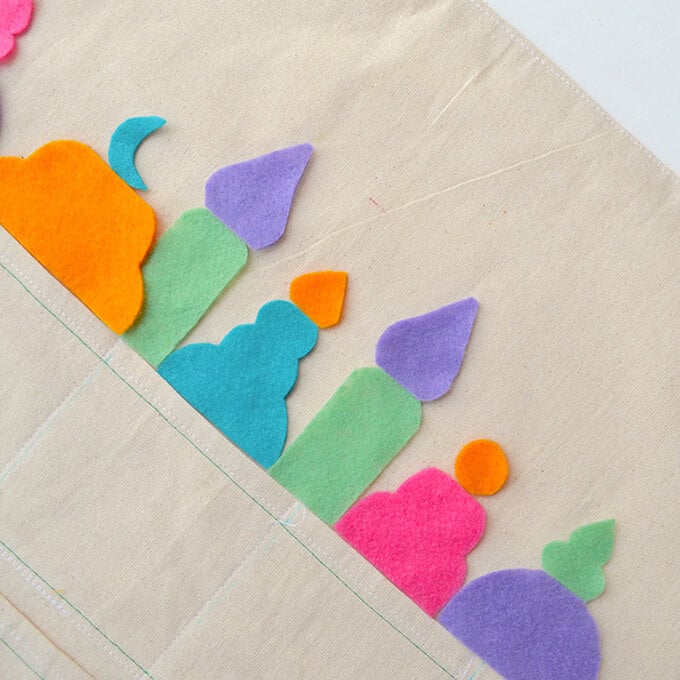
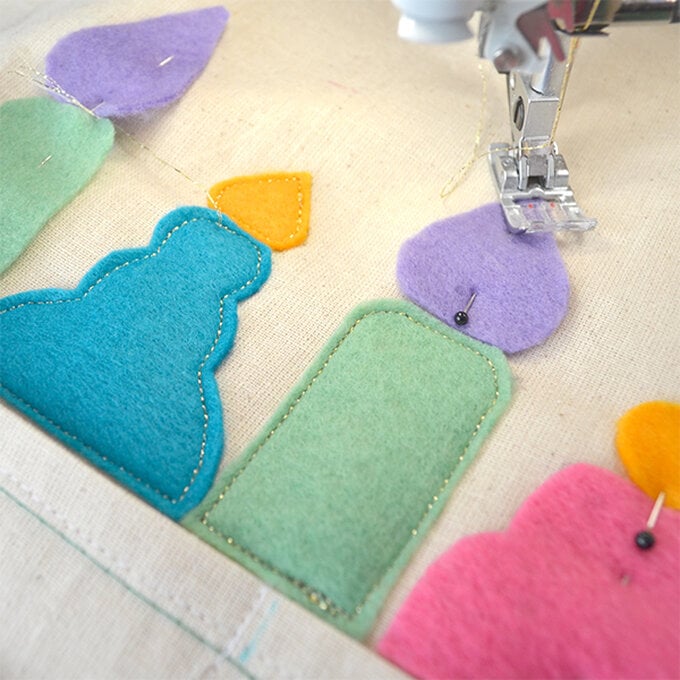
Topstitch the felt using the gold thread (leave the bobbin thread white). You can vary the stitch length for different effects.
Add some applique designs - stripes using a straight stitch, detailing with a zig zag stitch (I used a stitch length 2 and width 2.5).
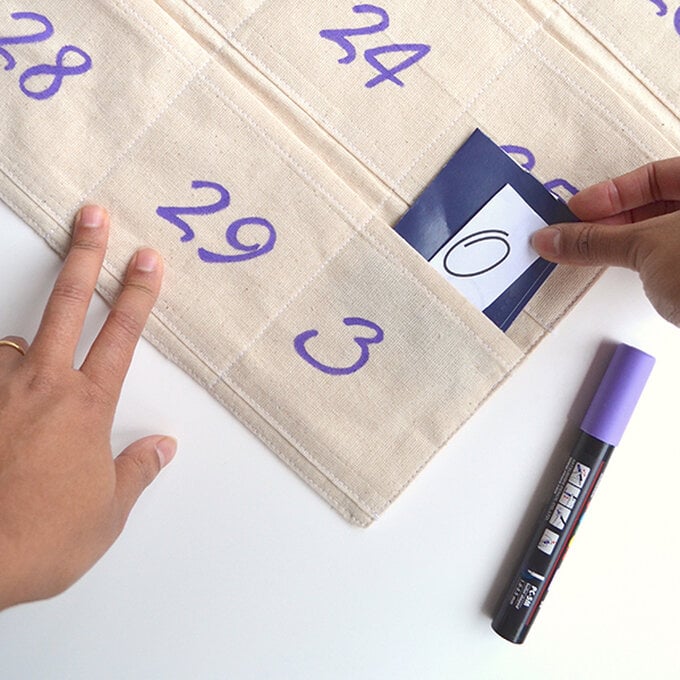
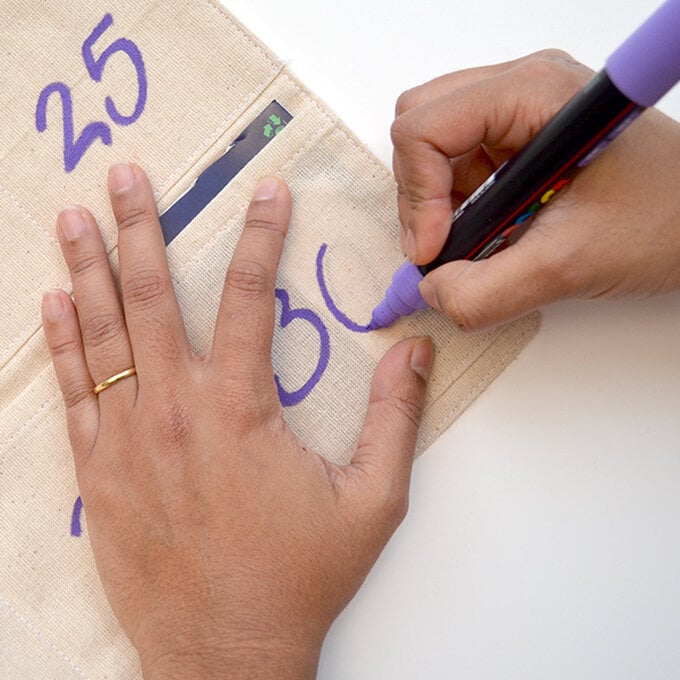
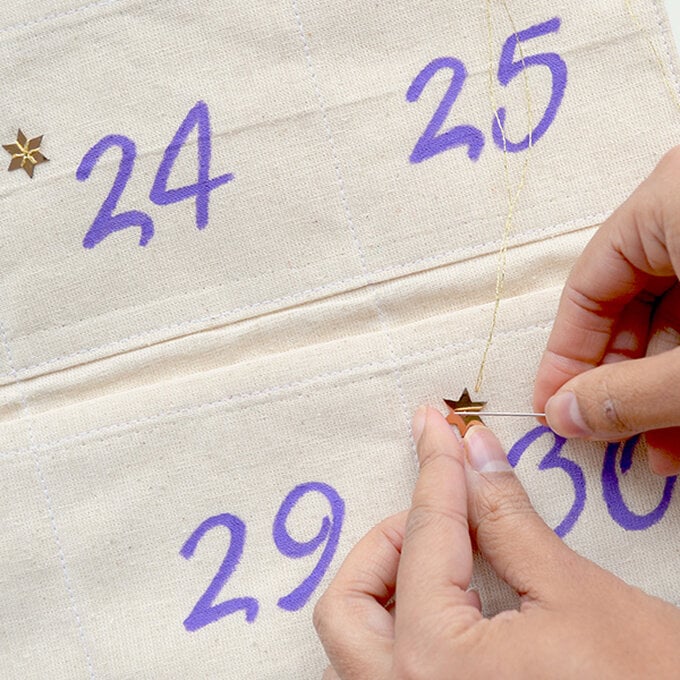
For the numbers, print out a font of your choice (or use the template) and cut out the numbers. Position these in the pockets with a bit of scrap cardboard underneath (to stop the pen leaking through). Trace over the numbers using POSCA Pen.
Tip: Use light strokes and add layers to make the colour bolder.
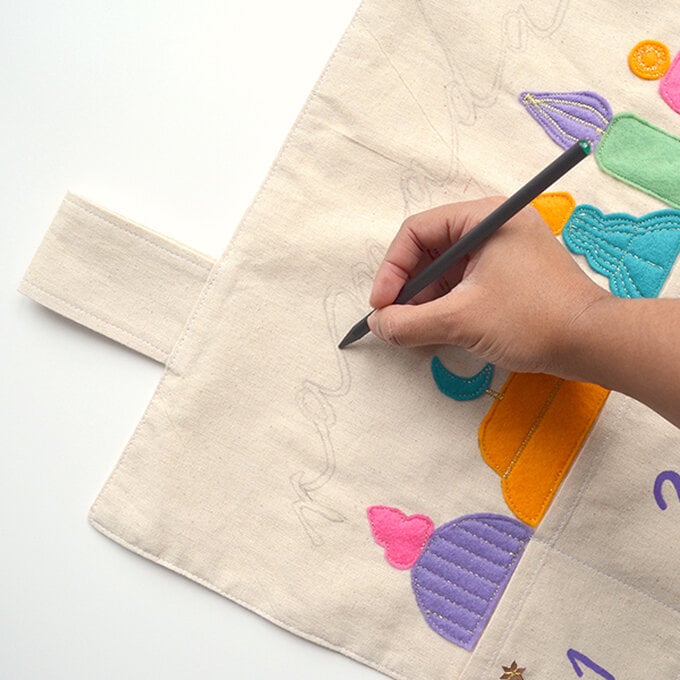
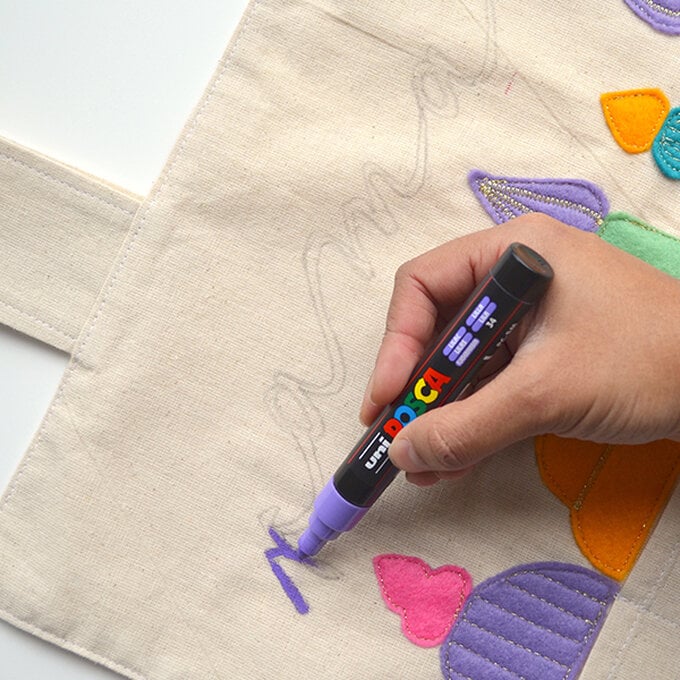
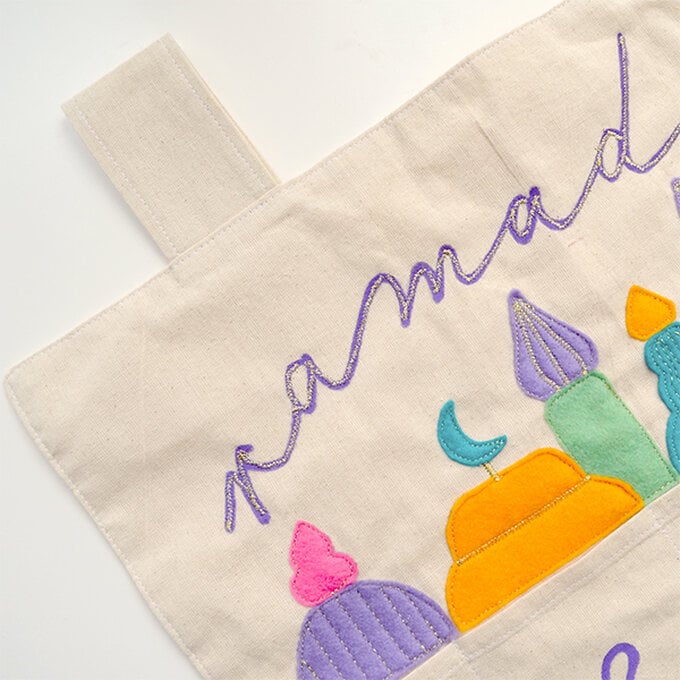
To add a bit more sparkle, you can stitch over the Ramadan lettering with the gold thread using a straight or zig-zag stitch.
Go slowly around the curves but don't worry if it's not perfect!
Print out and use scissors or a guillotine to cut out the daily cards to add your own prompts.
