Cricut: How to Create a Decorative Frame with Adhesive Vinyl for Your Kitchen
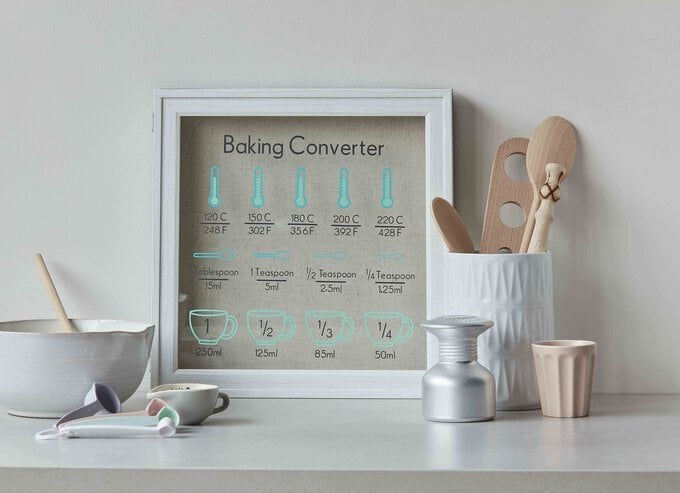
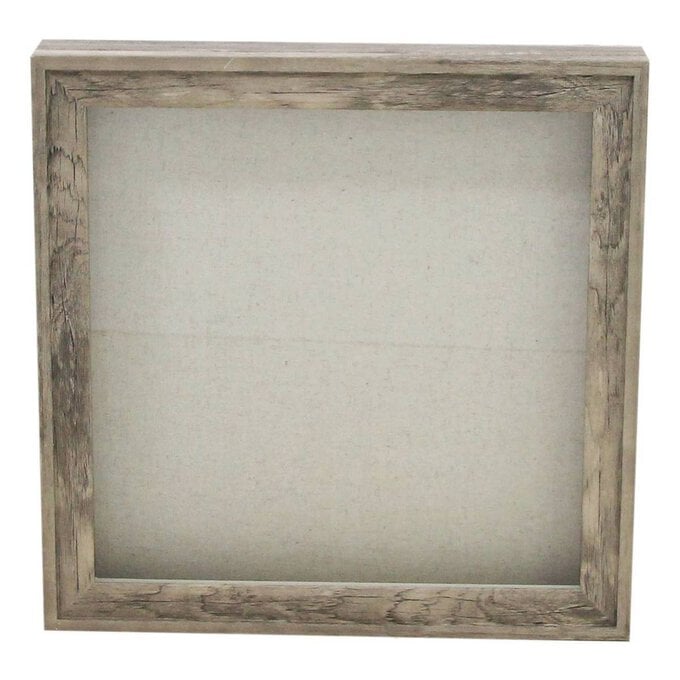
On your marks, get set, bake! This baking conversion frame is ideal for having on display in your kitchen, ready and waiting for your next baking project.
All you need to do is copy and paste the project link below into your web browser, then let your Cricut machine cut the design.
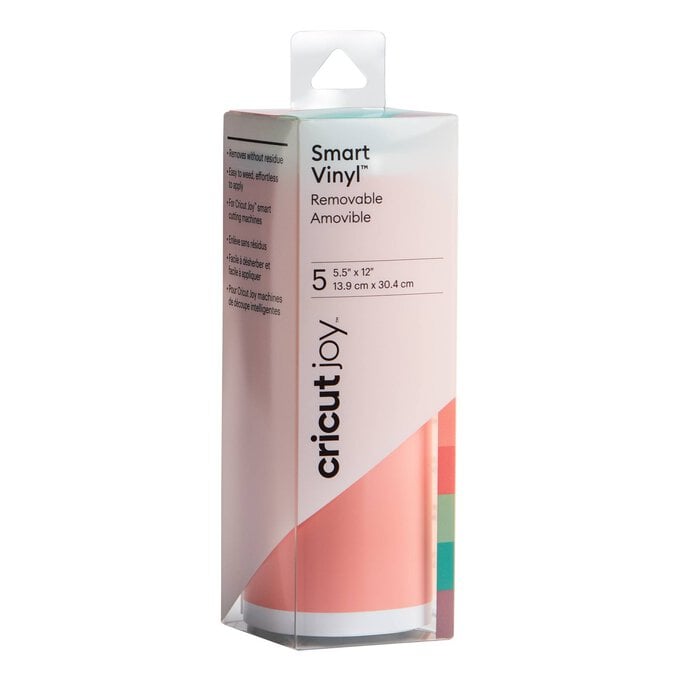
Cricut removable adhesive vinyls have been used to create this project, which means they can easily be removed, should you wish to amend or update the design in the future.
Project and instructions by Aisha Cluitt.
Please note: This project contains paid-for content from Cricut's Design Space app. Screen reference images are taken from the desktop version of Design Space. The Cricut Joy has been used to create this project; however, the Explore and Maker can also be used.
You will need
Subtotal
Is $ 20.00 , was $ 25.00
Subtotal
Is $ 8.49 , was $ 11.00
Subtotal
Is $ 10.00 , was $ 13.00
Subtotal
Is $ 27.00
Out of stock
Subtotal
Is $ 233.00 , was $ 248.00
How to make
You will also need:
* Cricut Design Space app installed on a laptop, PC, Tablet or mobile device
To access the project copy and paste the link below into your web browser:
https://design.cricut.com/landing/project-detail/605fe8aa7e10aa103412a91e
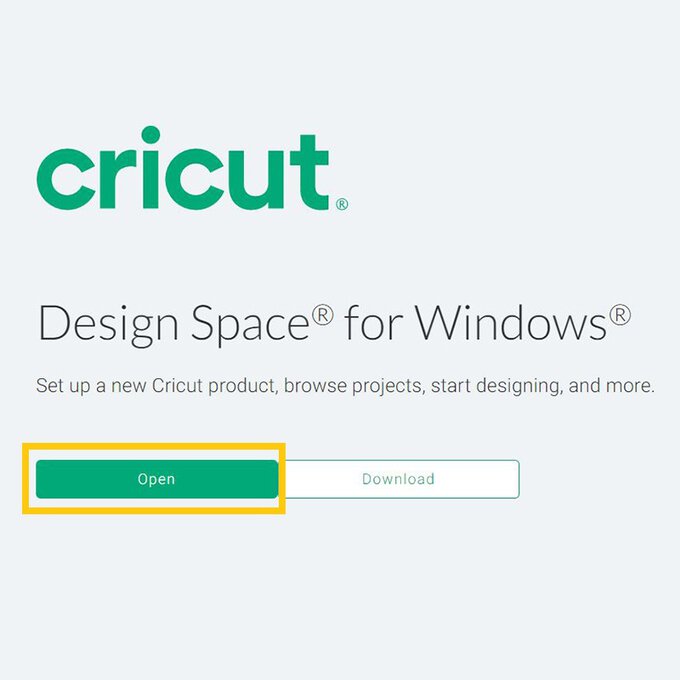
This will open the Cricut Design Space webpage, click "Open".
Then select "Open Cricut Design Space application" from the pop-up that appears on screen.
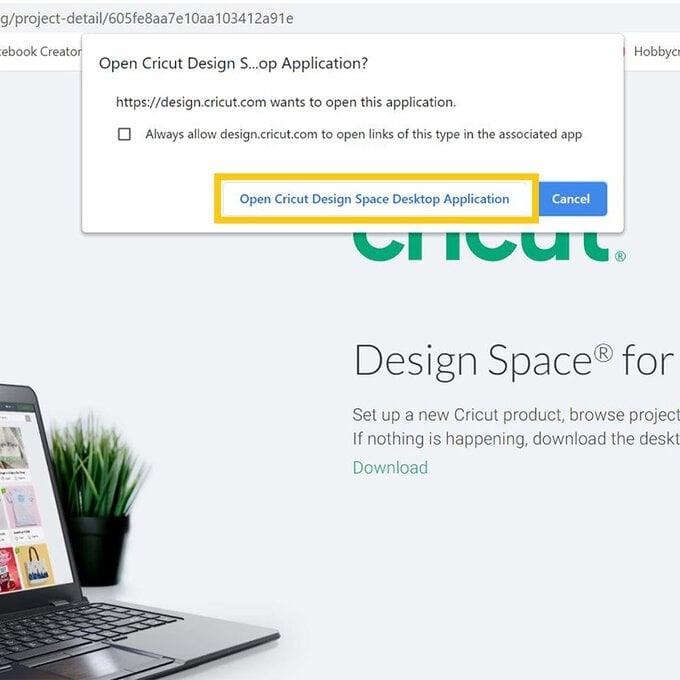
This will then prompt the app to open, allow a minute or so for the project to load.
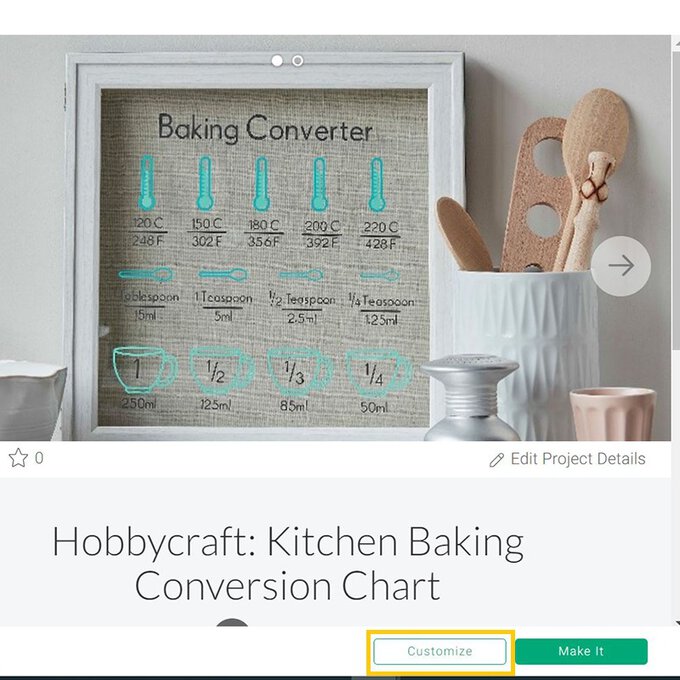
Once loaded a project pop-up will appear on screen, select "Customise".
Using a measure tape or ruler, measure the area on your frame where you would like the project to sit.
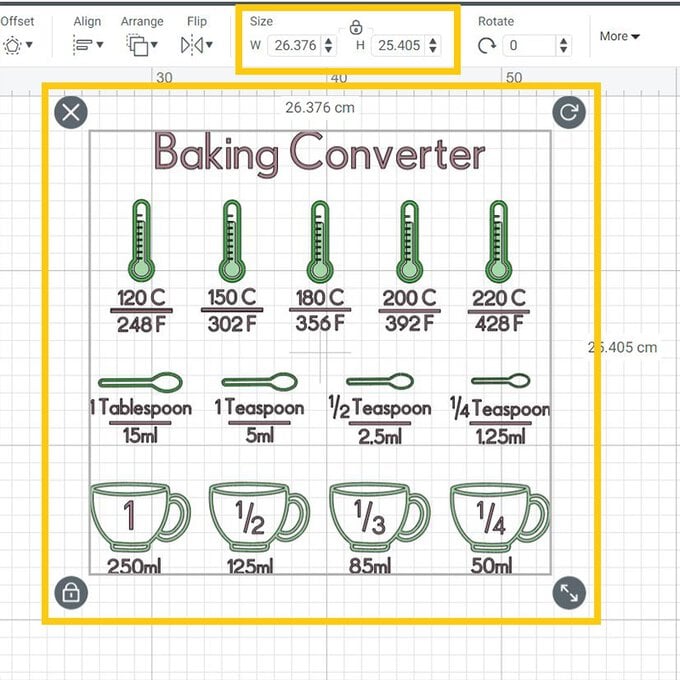
Drag a selection box over the entire project and re-size as desired, making sure the padlock icon is locked so that the design re-sizes proportionately.
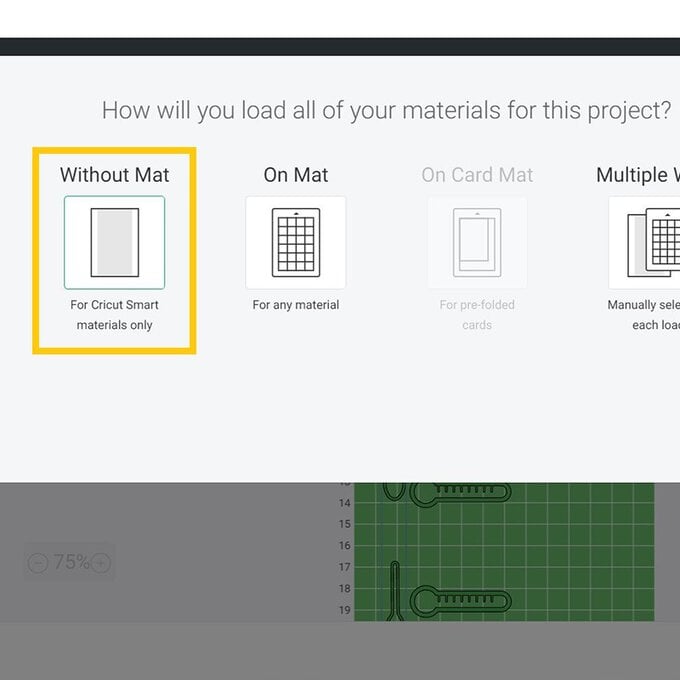
You'll then be taken through to the mat preview screen, select the without mat option, as we'll be cutting the design from Smart Vinyl.
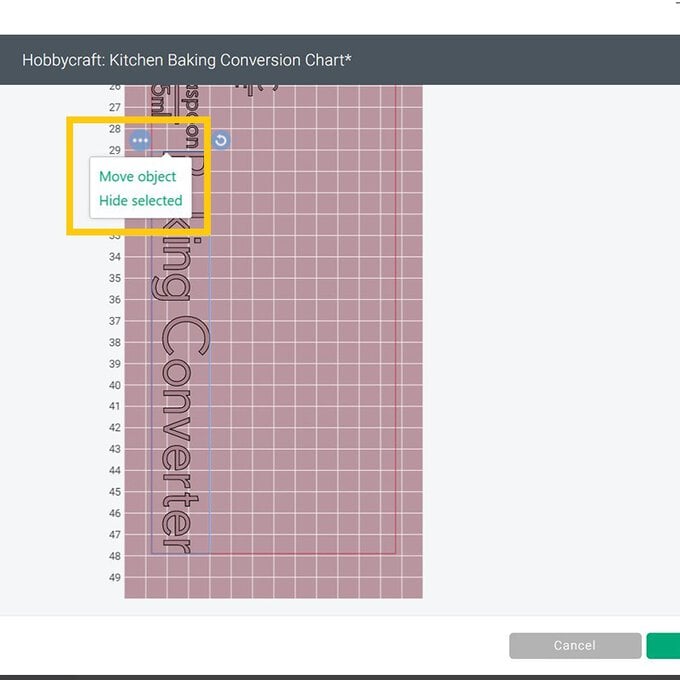
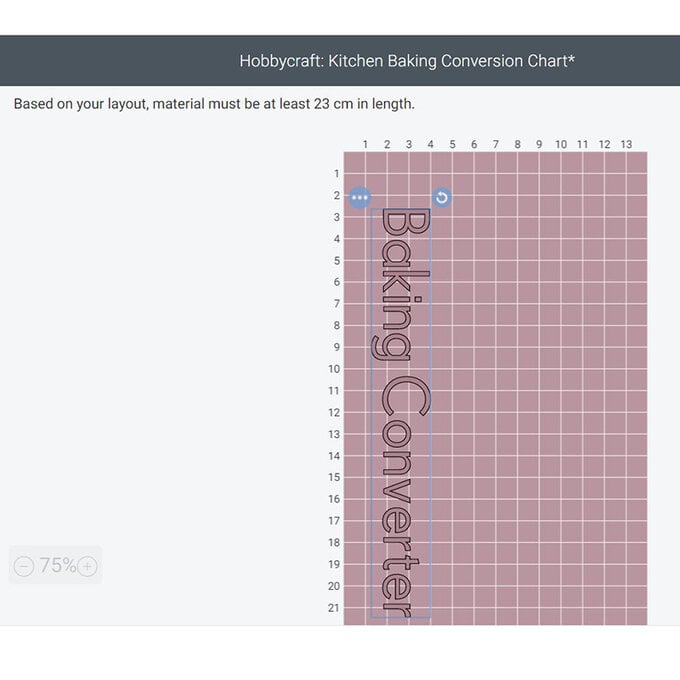
The Smart Vinyls used for this project measures 30cm in length and will therefore not be long enough to cut all the elements on the purple mat, a second sheet will need to be fed into your machine.
To relay this information to your Cricut Joy, naviagte to the purple mat and click on the project title "Baking Converter". Click on the three dots and select "Move Object".
On the pop-up that appears on screen select "New" followed by the purple colour swatch, this will move the element onto a new 'Mat'.
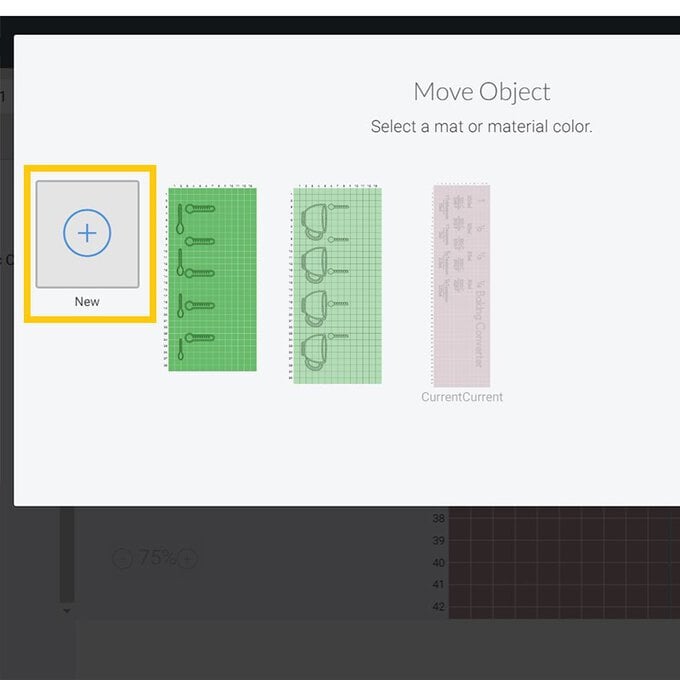
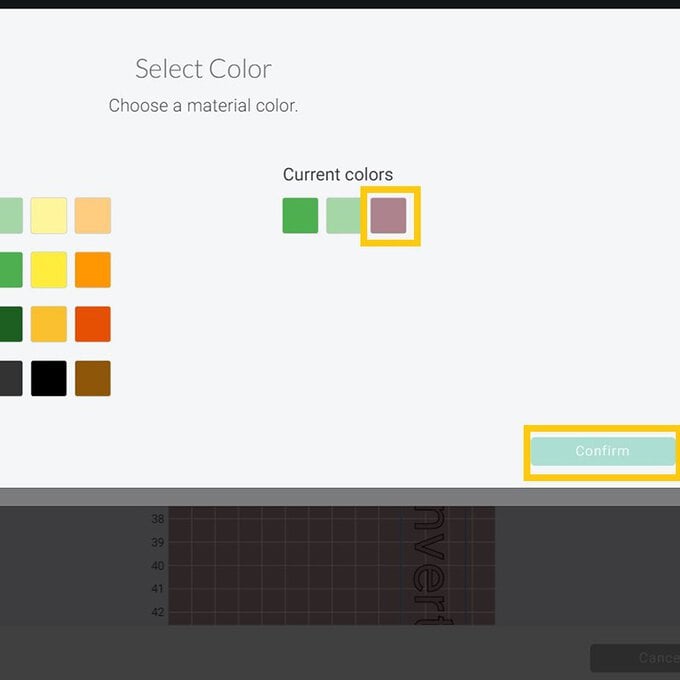
This element will then populate onto a new mat, move it to the top left-hand corner of the mat.
Once happy everything is correct on the other mats, select "Continue".
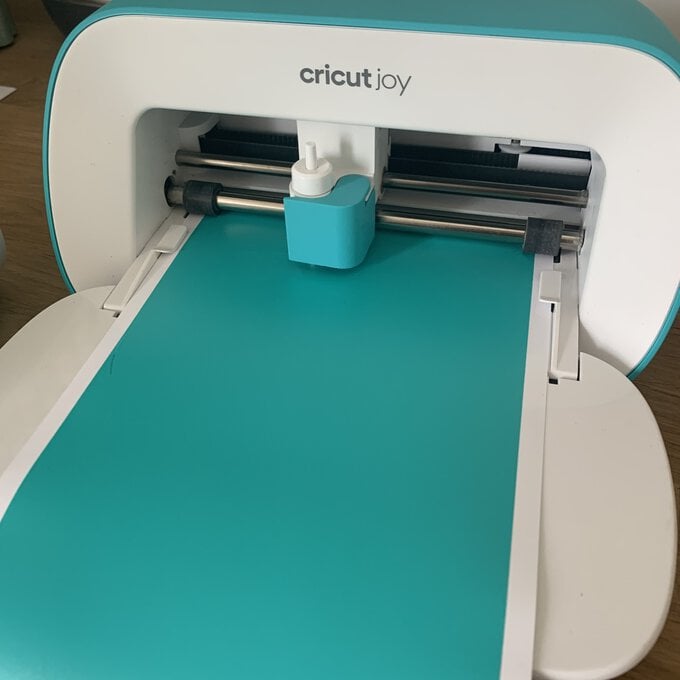
Once through to the machine set up screen select the "Smart Vinyl - Removable" option from the materials settings, and follow the on screen instructions to cut out the design.
Once all of the design has been cut, use a sharp pair of scissors to seperate each of the elements.
Top Tip - navigate back to the canvas screen to help with this, using the image as a guide.
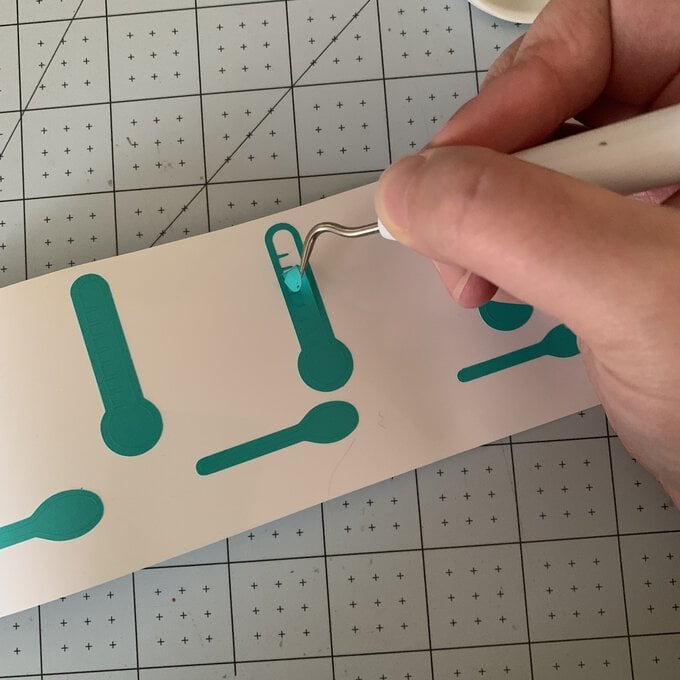
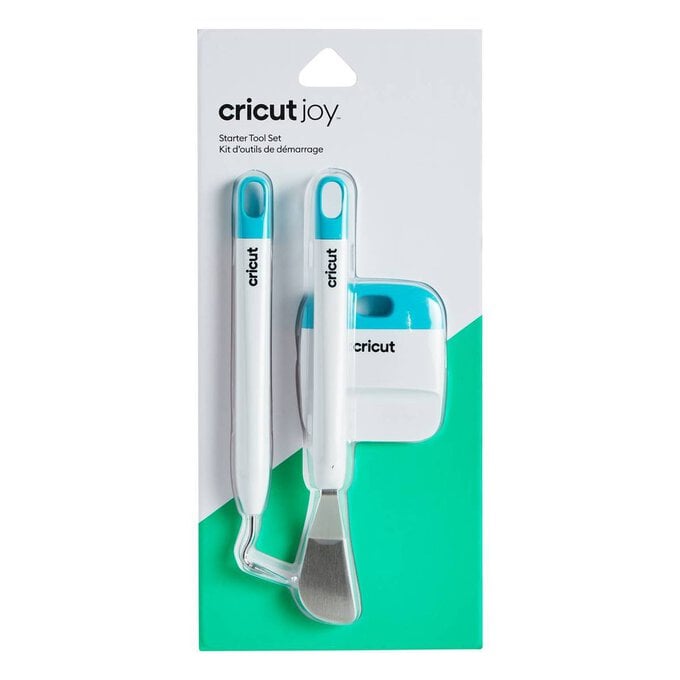
Use a weeding tool to remove all the vinyl that you do no wish to transfer to the frame.
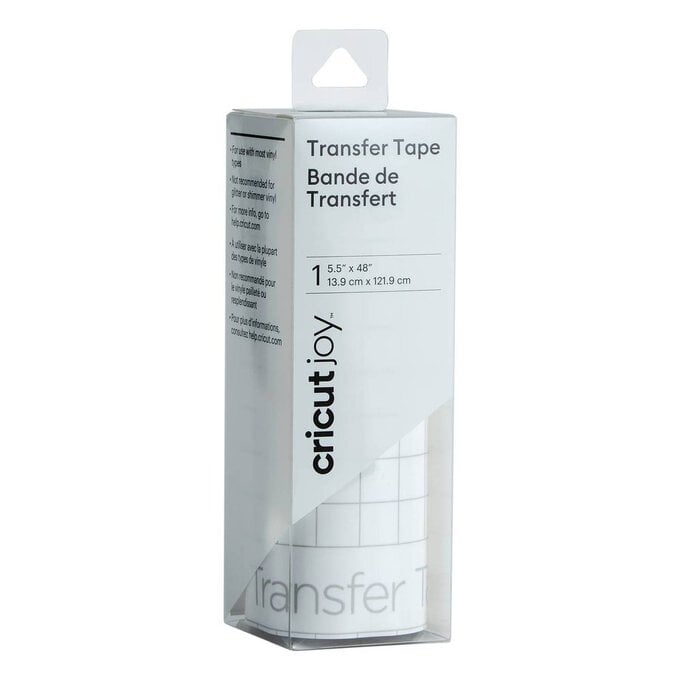
Cut a piece of Transfer Tape to slightly larger than the biggest deisgn element.
Remove the white backing sheet from the tape and place over the weeded title.
Use the scraper tool to ensure good contact between the Transfer Tape and the vinyl, then slowly remove the white backing sheet from the vinyl design, leaving the title on the Transfer Tape. Position the title onto the frame and smooth into place using the scraper tool once more.
Remove the Transfer Tape be peeling it back slowly at a 45 degree angle.
Repeat this process with the remaining elements on the canvas.
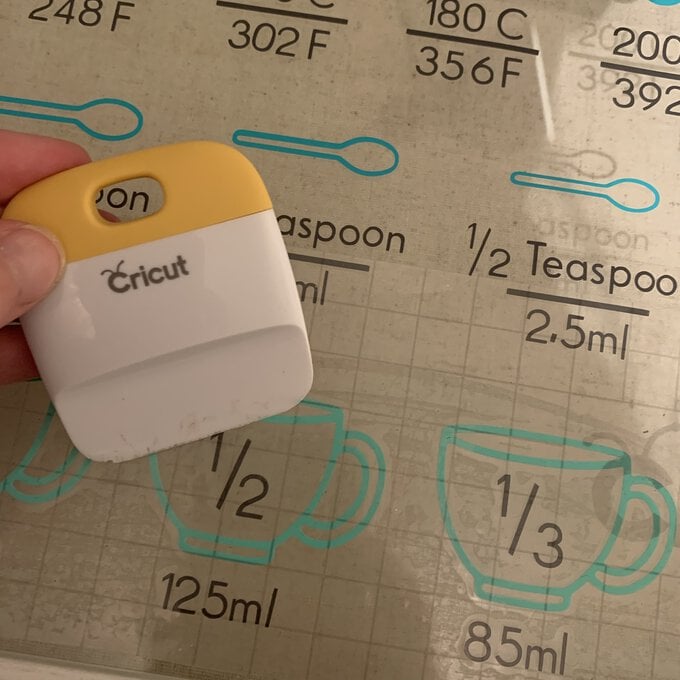
Once complete, display the frame in pride of place in yout kitchen, ready and waiting for your next baking project.



.jpg?sw=340&q=85)
.jpg?sw=340&q=85)
