Cricut: How to Create an Infusible Ink T-shirt
Rise and shine every morning with this super-cute top, perfect for brightening up even the greyest of days! Created using Cricut's Infusible Ink sheets and the Explore machine, this is a quick to make project that can be recreated any size and colour you like.
This project can also be made with the Cricut Maker.
Top tip: When transferring Infusible Ink designs onto your chosen Cricut base item, you'll need to make sure that the EasyPress you are using completely covers the design, as the sheet should not be heated more than once.
Project and instructions by Aisha Cluitt.
Please note: This project contains paid-for content from Cricut's Design Space app. Screen reference images are taken from the PC version of Design Space.
You will need
Subtotal
Is $ 42.00
Subtotal
Is $ 75.00
Subtotal
Is $ 12.00
Subtotal
Is $ 3.49 , was $ 4.49
Subtotal
Is $ 21.00
You Will Need
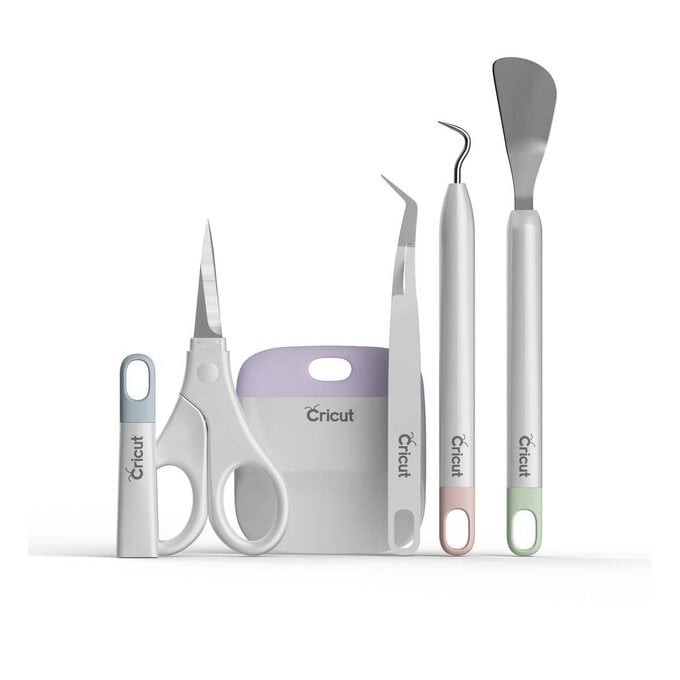
* Cricut Basic Pastel Tool Set
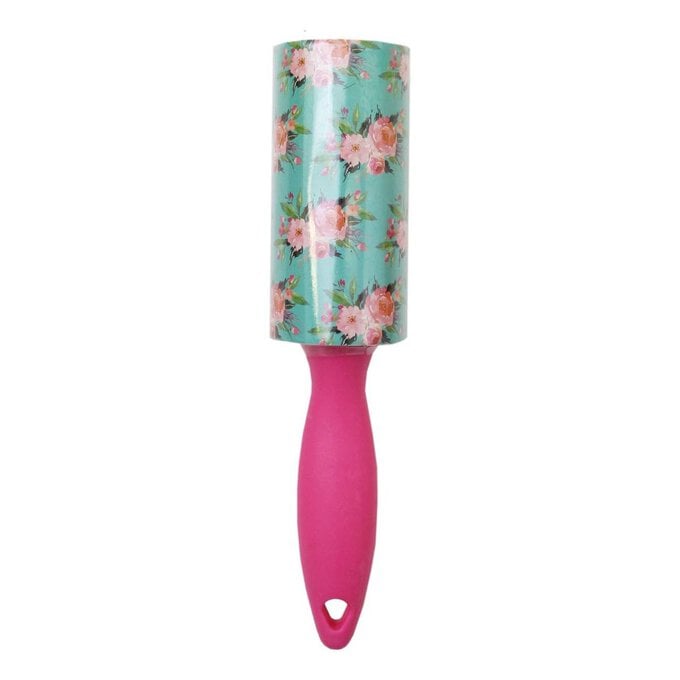
* A Lint Roller
* A Heat Press
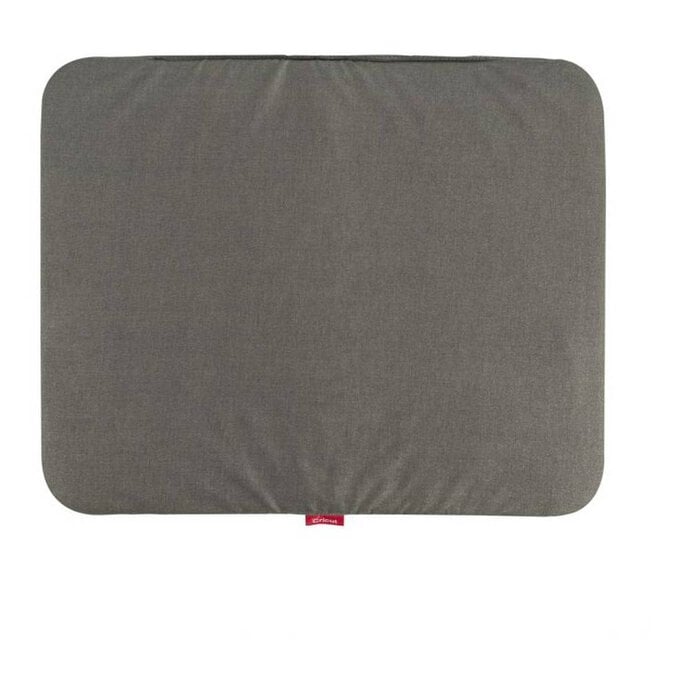
* Cricut Easypress Heat Resistant Mat
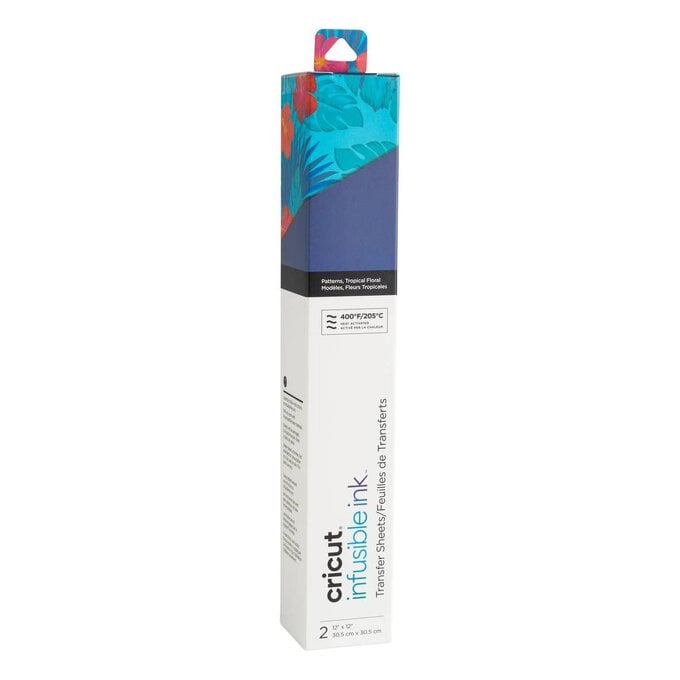
* Cricut Infusible Ink Transfer Sheets
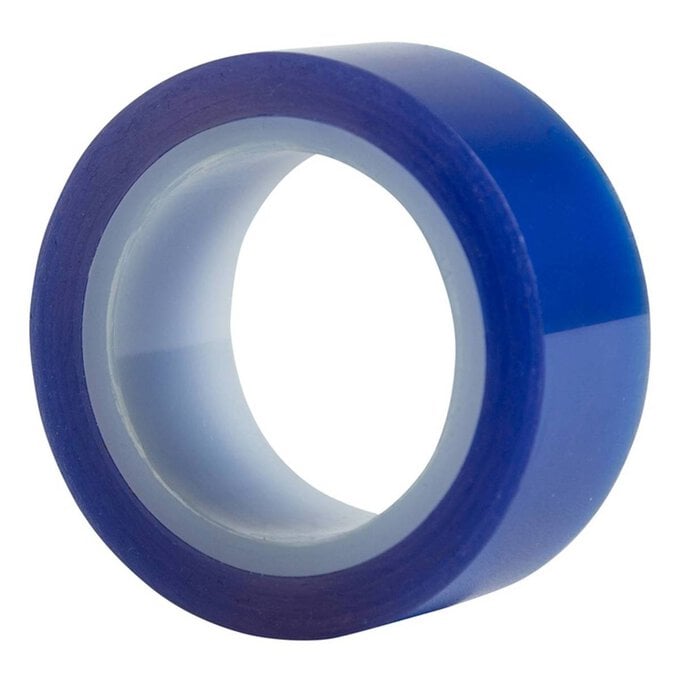
* Heat Resistant Tape
* Cricut Design Space app installed on a laptop, PC, Tablet or mobile device
* Sheet of cardstock
How to make
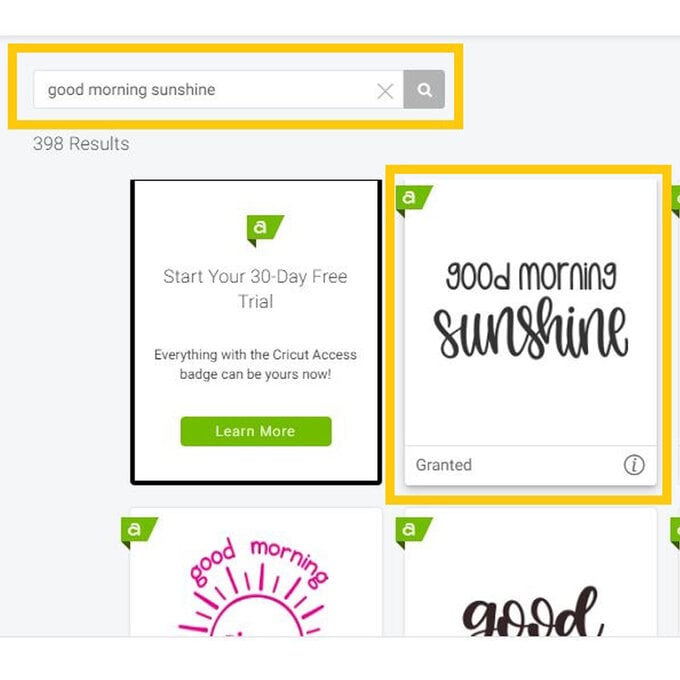
Log onto the Design Space app and start a new project. Select the "Images" menu and type "Good Morning Sunshine" into the toolbar at the top of the screen. Select the "Good Morning Sunshine" text design, and click "Insert Images".
Measure the area where you would like the design to sit on your t-shirt, making a note of this.
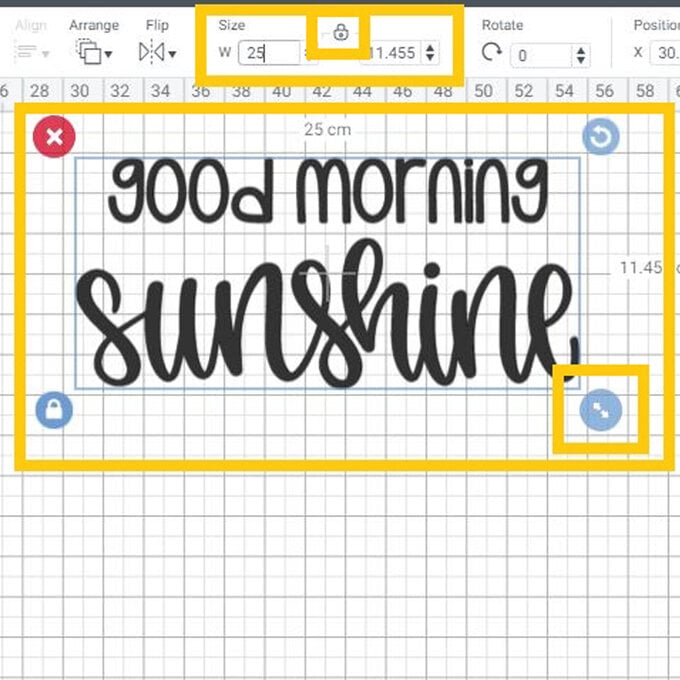
Once back through to the canvas screen, resize the image to the width measurement taken, ensuring the padlock icon is locked when you do this so that the image resizes proportionally.
Open the "Image" menu once more, and type "Summer Time" into the search bar at the top of the screen. Select the sun and text design, then click "Insert Images".

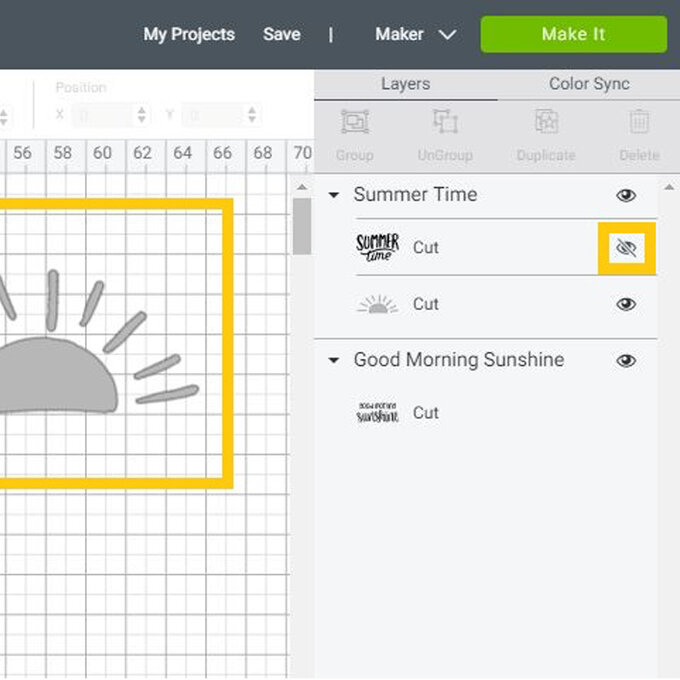
Once back through to the canvas screen, and with the "Summer Time" image selected, hide the text part of the image by selecting the eye icon from the "Layers" menu. You'll then be left with just the sun visible on the canvas.
Reposition the sun image and "Good Morning Sunshine" text how you would like them roughly laid out on your t-shirt, then resize the sun image. This can be done either by using the arrow icon in the bottom right-hand corner of the image (this will only show when the image is selected), or you can enter a specific measurement into the dimension boxes, once again ensuring the padlock icon is locked.
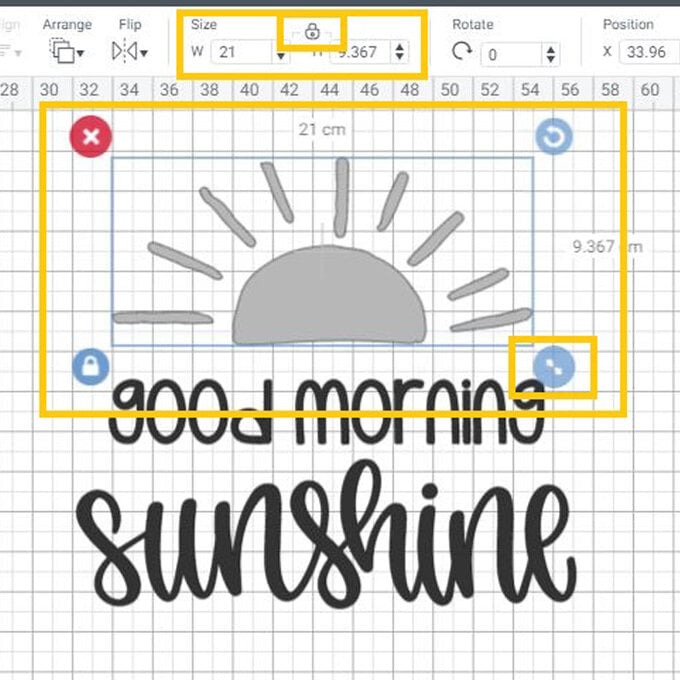
Once happy with the size of the image and text, drag a selection box over both parts of the design and select "Align" in the toolbar at the top of the screen (if you are using the Design Space app on your iPhone or iPad, the "Align" function can be found in the "Edit" menu). Select "Centre Horizontally", check you are happy with the placement, then select "Group".
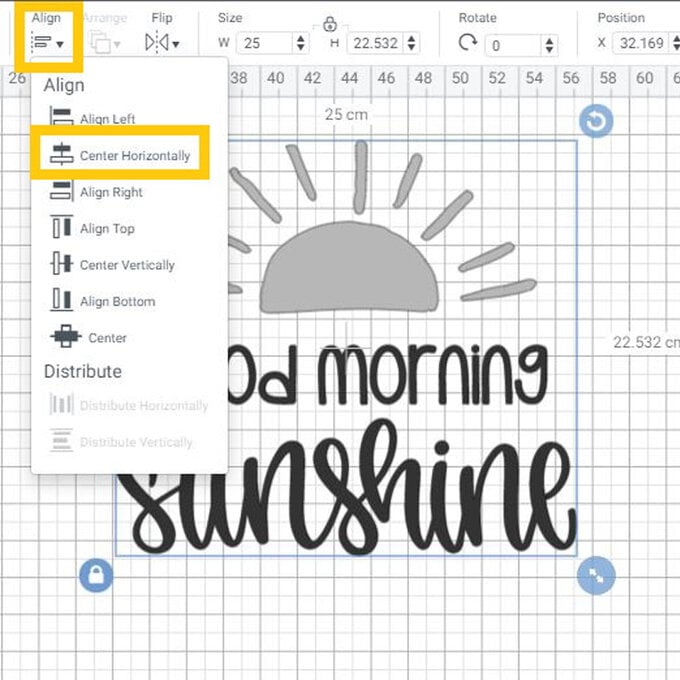

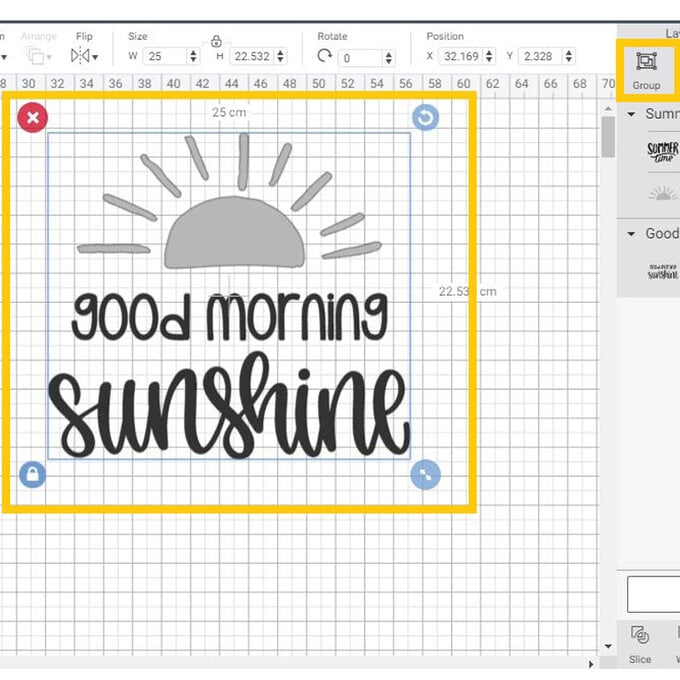
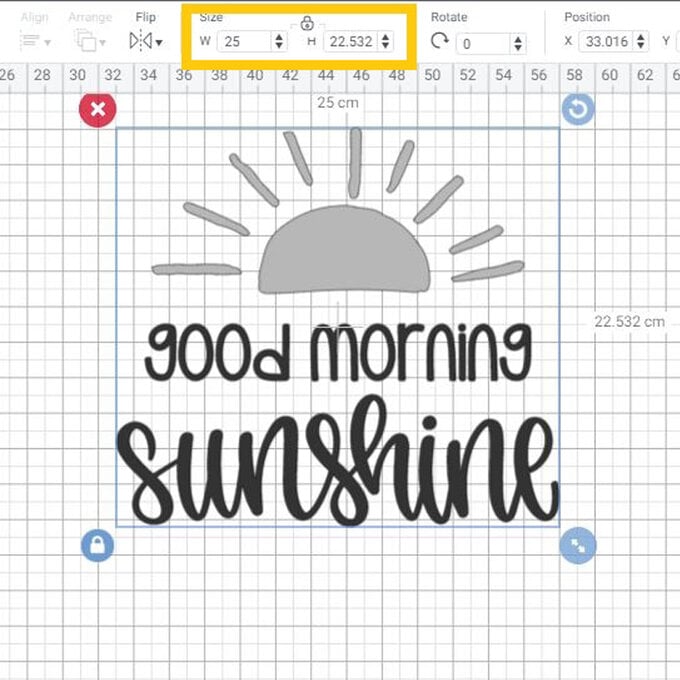
With the image selected, double-check that both the height and width measurments are equal to or less than the measurements taken in step two. If one of the measurements is too big, simply amend the measurement in the relevent box, once again making sure the padlock icon is locked.
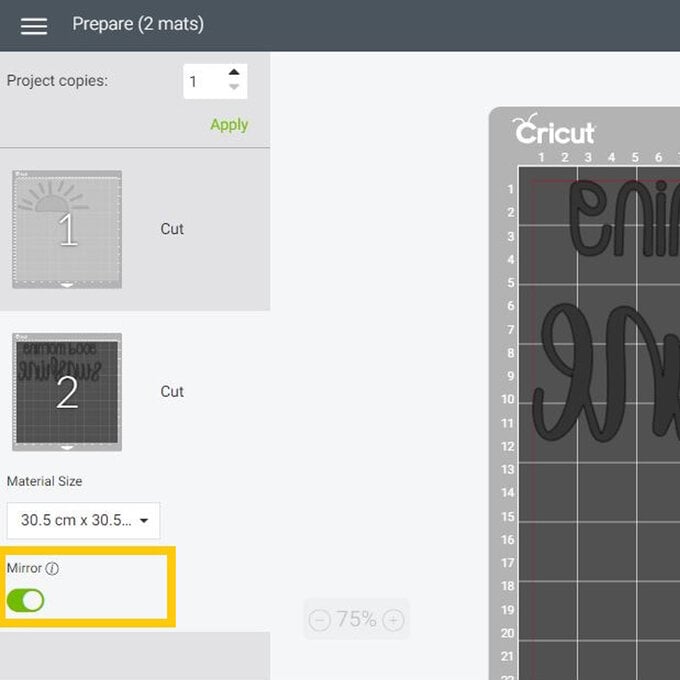
Once happy with the design, click on the green "Make It" button. You'll then be taken through to the mat preview screen. As we're going to be using Infusible Ink sheets for this project, the "Mirror for Iron-on" function will need to be turned on for both mats to ensure the design displays correctly once transferred onto the t-shirt. This is particulalry important when cutting out text.
Ensure your Cricut machine is switched on and then click "Continue".
On this screen, you'll need to tell your machine what material it is you'll be cutting. To do this, turn the SmartDial on your Explore to "Custom" to enable the "All Materials" setting to populate. If you're using a Maker, this will automatically appear.
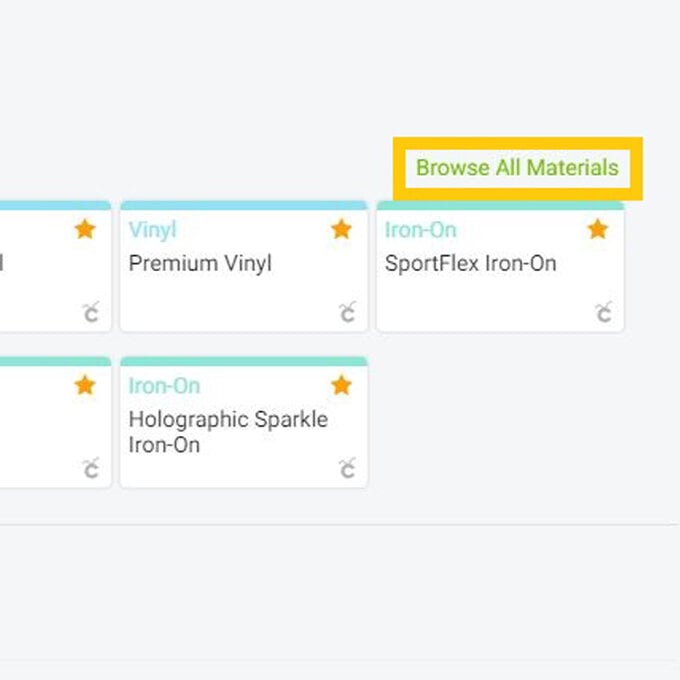
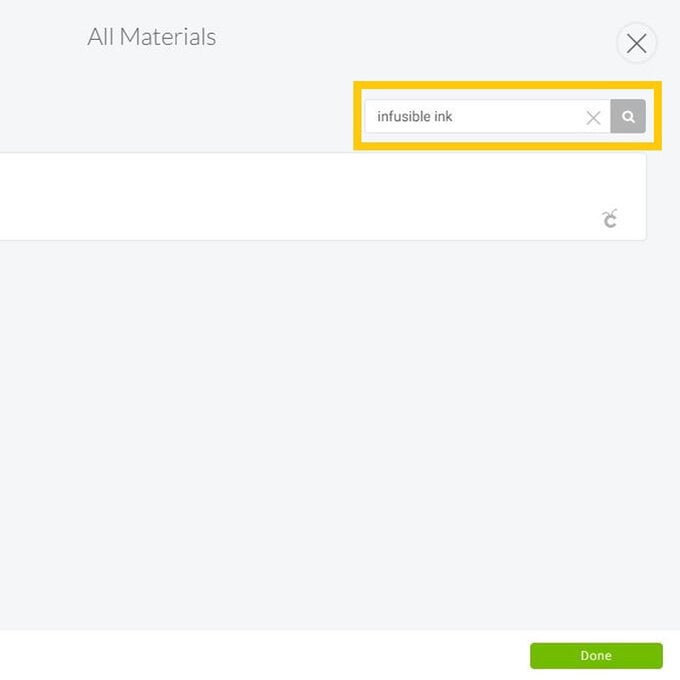
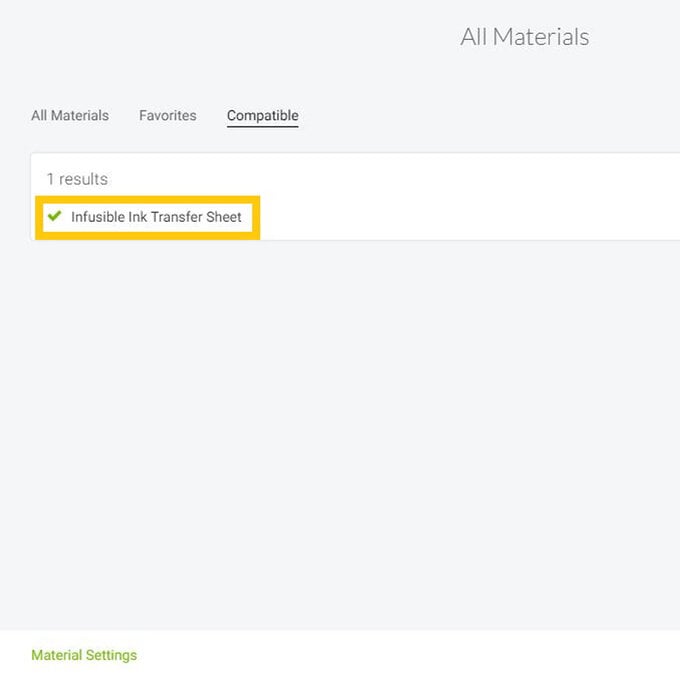
Select "All Materials", and search Infusible Ink in the search bar, selectigng the "Infusible Ink Sheets" option.
Carefully remove the relevant Infusible Ink sheet from it's packaging and apply to a StandardGrip Cutting Mat using the scraper or brayer tool.
Load the mat into the machine and press the flashing Cricut icon to start the cut.
Once the cut is complete unload the mat, carefully remove the Infusible Ink sheet and apply the second one, then start the cut.
Trim away any excess Infusible Ink sheet, keeping hold of larger pieces for future projects.
Use a weeding tool to remove away pieces of the design that you do not wish to transfer to your t-shirt.
Use a lint roller on the area of the t-shirt you wish to apply the design to remove any fluff or loose fibres.
Place both weeded designs onto the top, ensuring there is no overlapping backing sheet, and that all areas of the Infusible Ink sheet are in contact with the top.
Top tip: Use small pieces of heat resistant tape to keep the Infusible Ink sheets in place if you're worried about them moving.
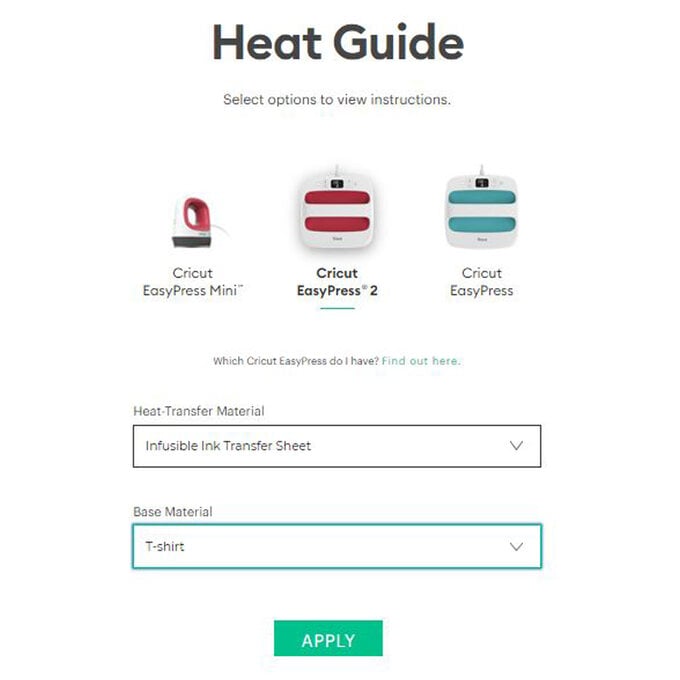
Use Cricut's Interactive Heat Guide to determine the settings for the EasyPress that you are using, selecting the relevant options from the "Heat Transfer Material" and "Base Material" dropdown menus, then click "Apply".
Follow the step-by-step guide to transfer your design, ensuring the your EasyPress covers the whole design when pressing.
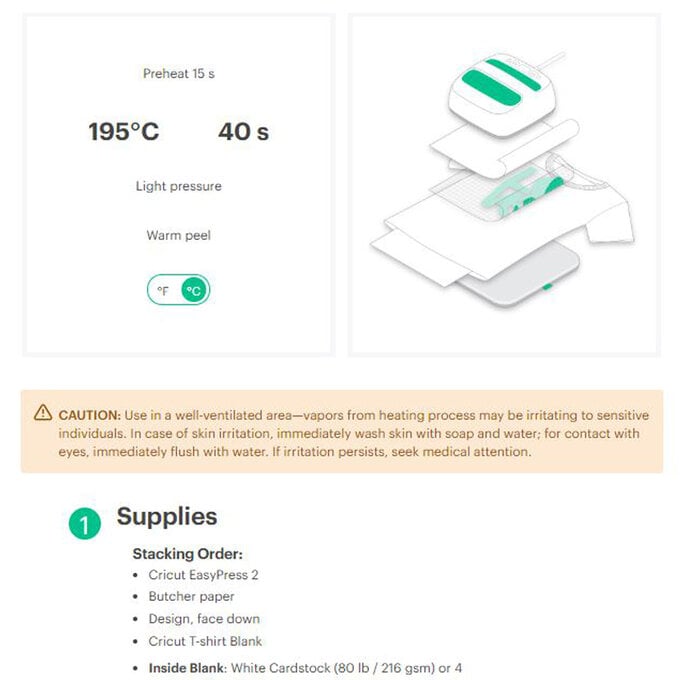
Once the timer reaches zero, place the EasyPress 2 back in its cradle and leave the items on top of the t-shirt to cool before removing.
Once the t-shirt has cooled completely, it's then ready to be worn!




.jpg?sw=340&q=85)
.jpg?sw=340&q=85)
