Cricut: How to Create a Matching Tray and Coaster Set
Create a beautiful matching tray and coaster set for the garden. This personalised set is perfect for spending summer nights outside entertaining, adding a little glamour to your outdoor space. With Cricut's Infusible Ink range, it's easier than ever to create lasting custom designs with a professional-quality finish.
Project by Emma Jewell.
Please note: This project contains paid-for content from Cricut's Design Space app. Screen reference images are taken from the desktop version of Design Space.
You will need
Subtotal
Is $ 659.00
Subtotal
Is $ 12.00 , was $ 15.00
Out of stock
Subtotal
Is $ 18.00 , was $ 23.00
Subtotal
Is $ 33.00 , was $ 42.00
Subtotal
Is $ 9.49 , was $ 12.00
Subtotal
Is $ 33.00 , was $ 42.00
Subtotal
Is $ 11.00 , was $ 14.00
How to make
To start, add shapes from the Image set “Finger painted shapes" into your Cricut Design Space canvas. Resize the shapes to fit your tray.
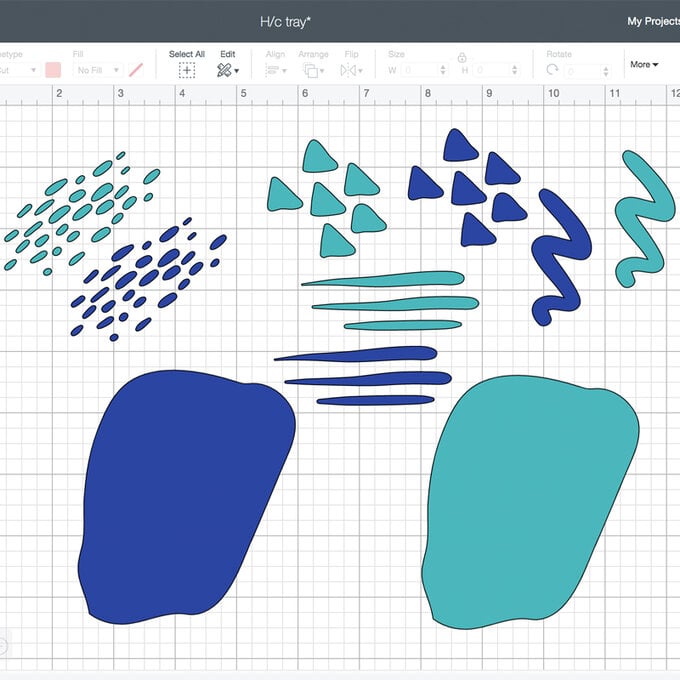
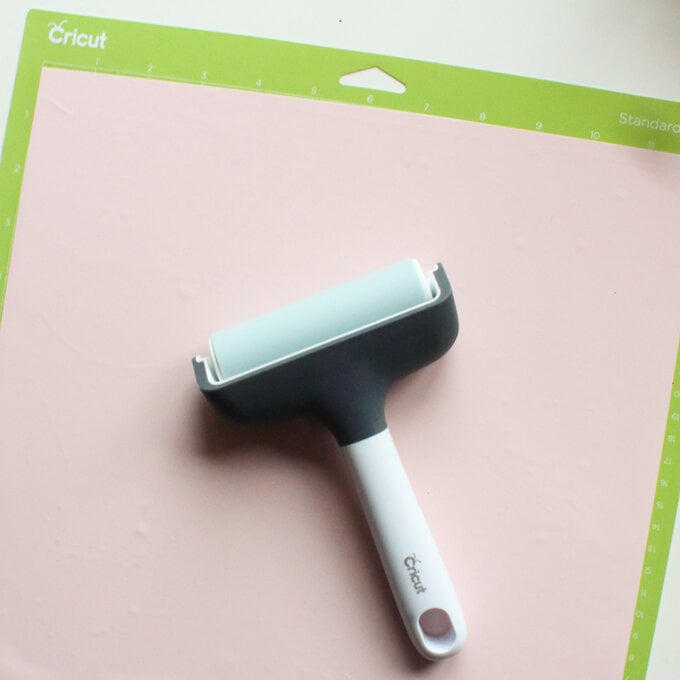
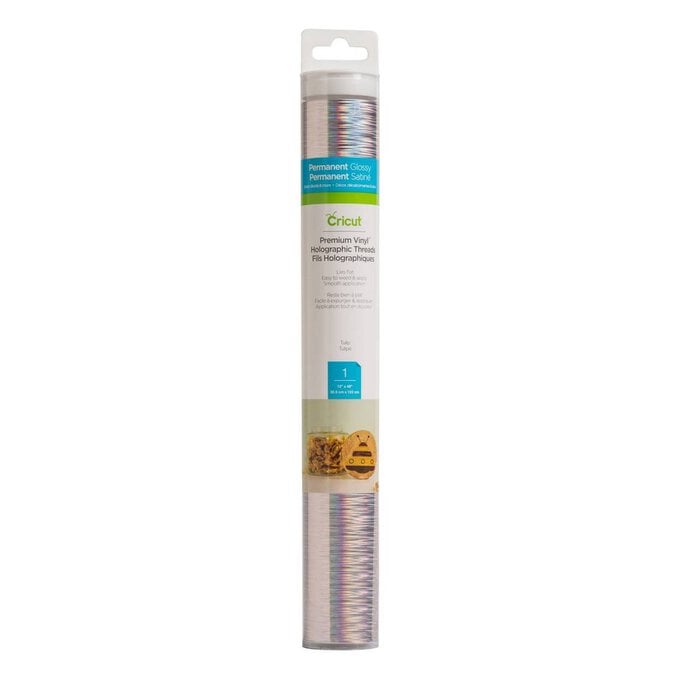
Next, prepare your vinyl colours. I cut all of the shapes out of both colours of vinyl. Load the first colour of vinyl onto a StandardGrip mat and secure in place using your brayer tool. Next, select vinyl as the material you are cutting.
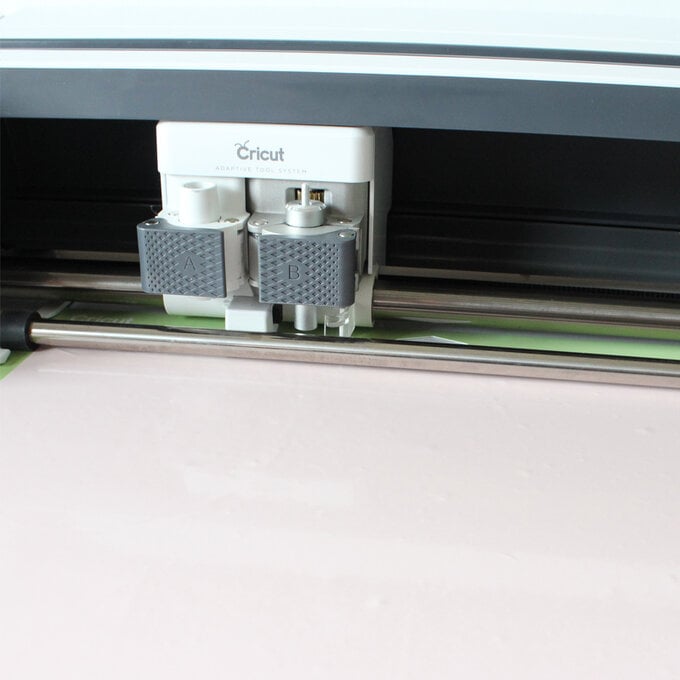
Load the mat into the machine and cut. Once cut, repeat the process with the second colour of vinyl.
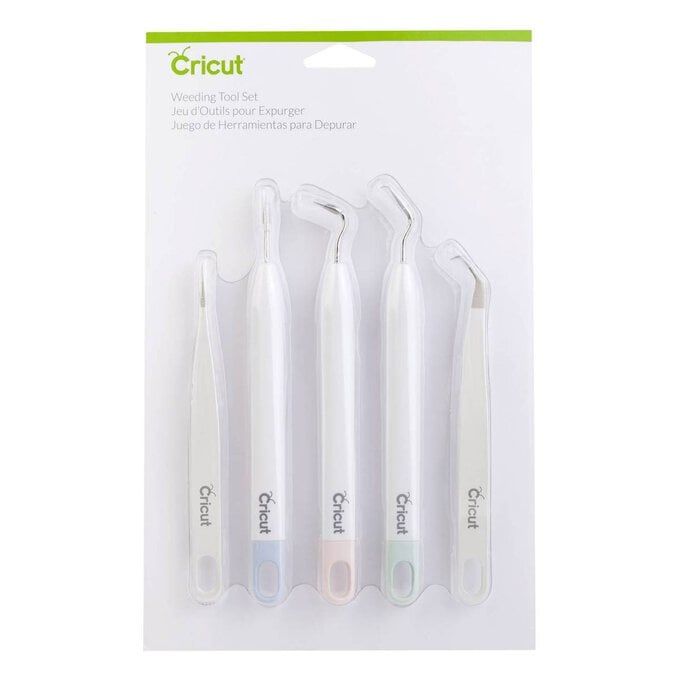
Weed away all of the excess vinyl around your shapes, using your weeding tool to pick away the small pieces. Cut around each individual shape so that they are separate pieces.
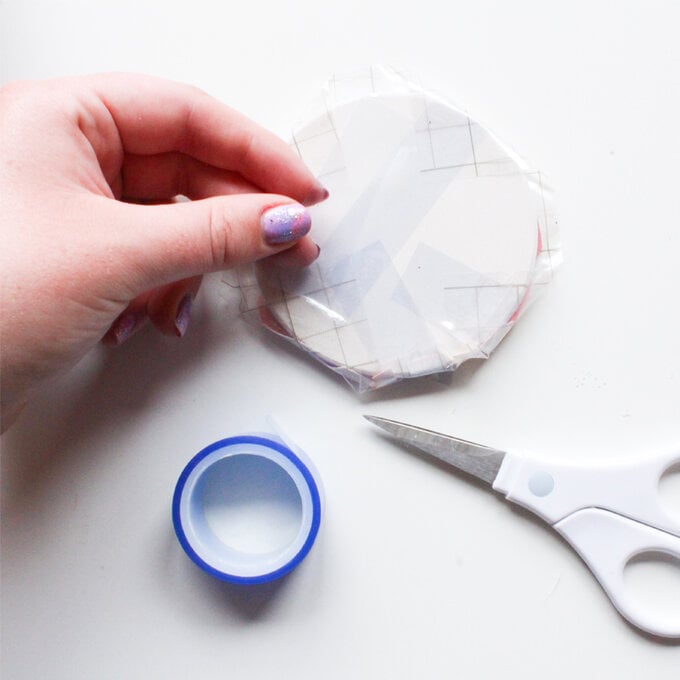
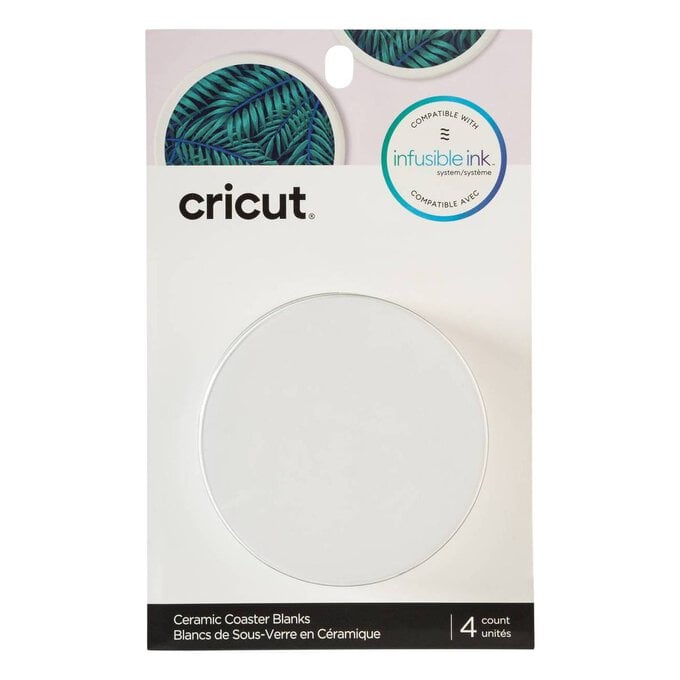
Wipe down your coaster with a lint free cloth. Then position your design face down on to the coaster, secure it with heat resistant tape.
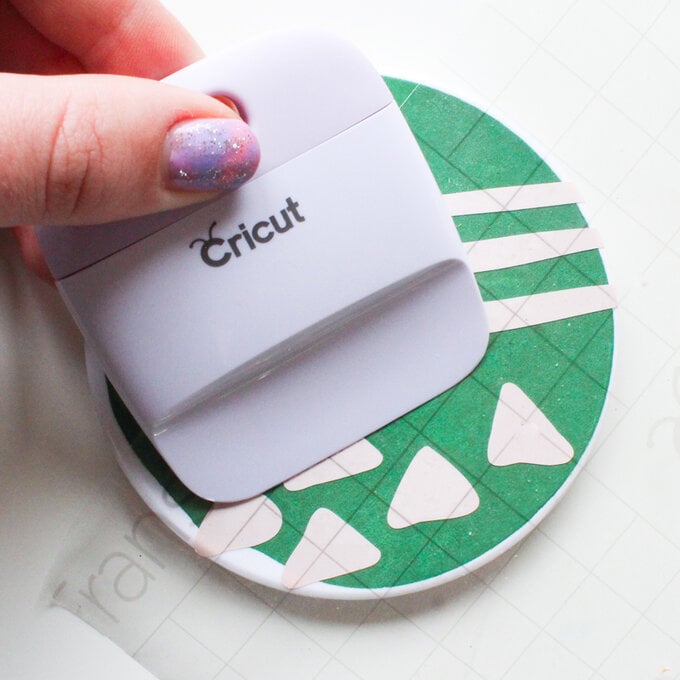
To finish, burnish the vinyl with the scraper tool to make sure that it is well stuck down.
Save the remaining shapes for your matching coaster project.
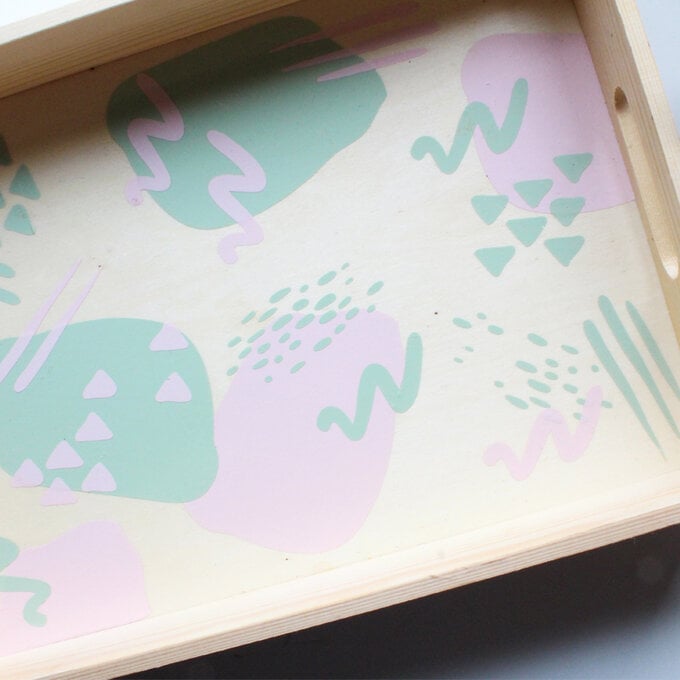
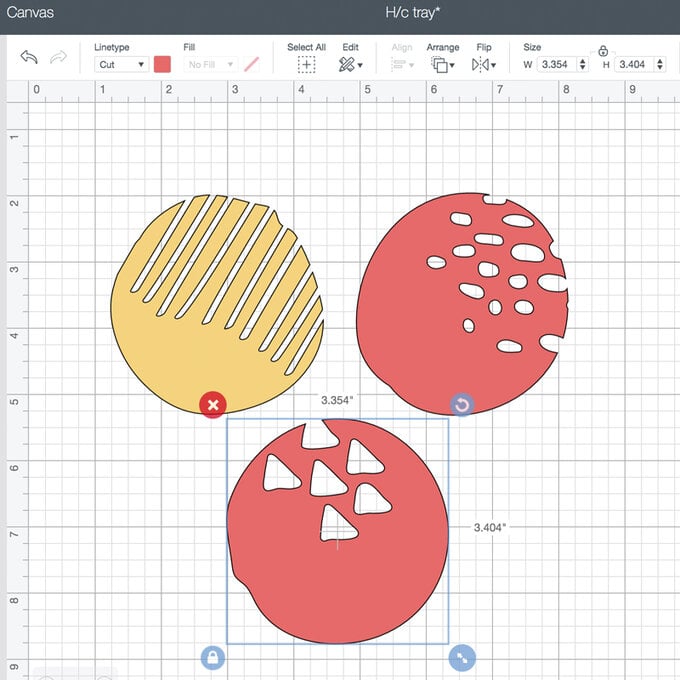
In a new canvas in Cricut Design Space, add the circle shapes from the image set 'Finger painted shapes'. Resize all of these to just under 3x3 inches.
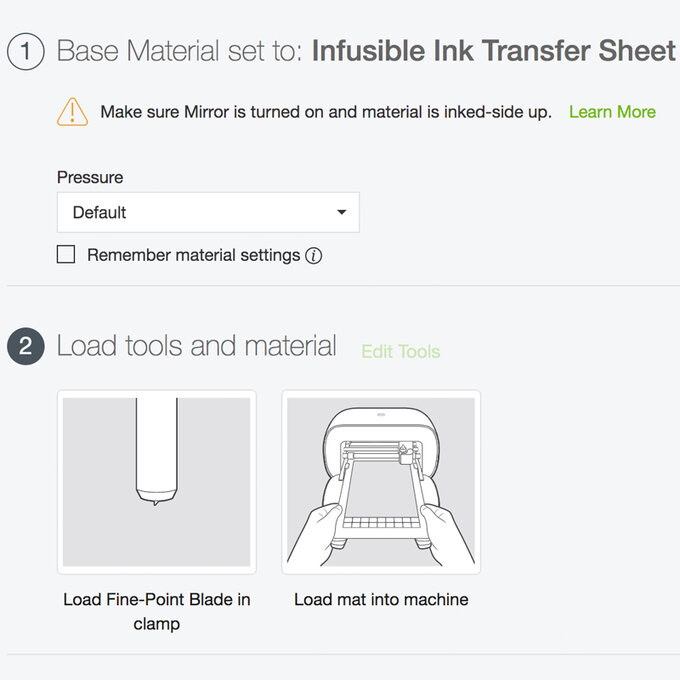
Make sure to mirror the images when you get to the mat screen.
Now load your Infusible Ink transfer sheet face up onto the mat before loading it into your machine.
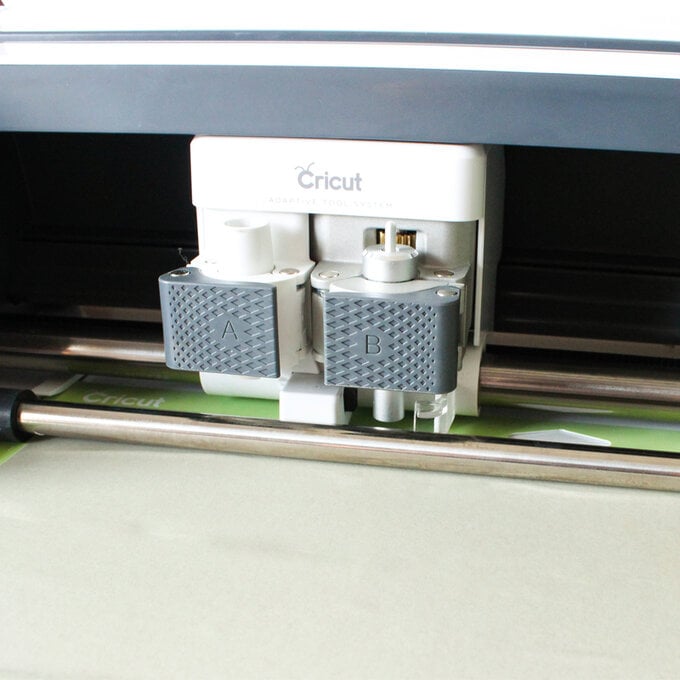
Choose Infusible Ink transfer sheet as the material you would like to cut, then begin cutting.
Once cut, remove the transfer sheet from the mat and crack it between your fingertips to loosen the pieces. Remove all of the unwanted pieces leaving just the design on the backing sheet.
Put a piece of paper on top of your EasyPress mat, then place the coaster face up on top of the paper. Cover with a piece of butcher paper (included in the box with the Infusible Ink transfer sheets). Centre your EasyPress, press with no pressure at 400°F for 90 seconds without moving the EasyPress. Once complete, lift press and remove butcher paper.
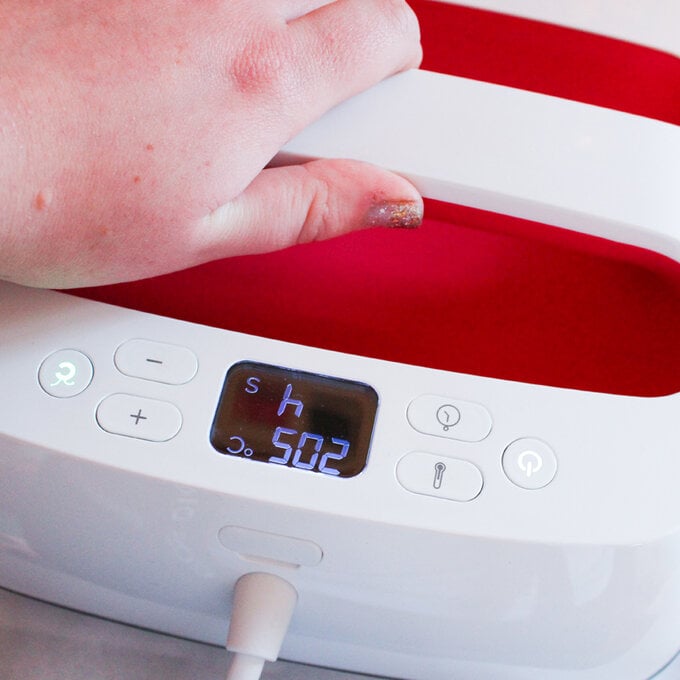
Be careful as your coaster will be very hot. Let it cool completely, then remove coaster from design.
Once cool, layer the vinyl shapes you have left over from your tray project on top of the Infusible Ink design. Use transfer tape to transfer them into place, giving them a good burnish with a scraper tool before peeling back the transfer tape to reveal your finished coaster set.




.jpg?sw=340&q=85)
.jpg?sw=340&q=85)