Cricut: How to Make a Foiled Card
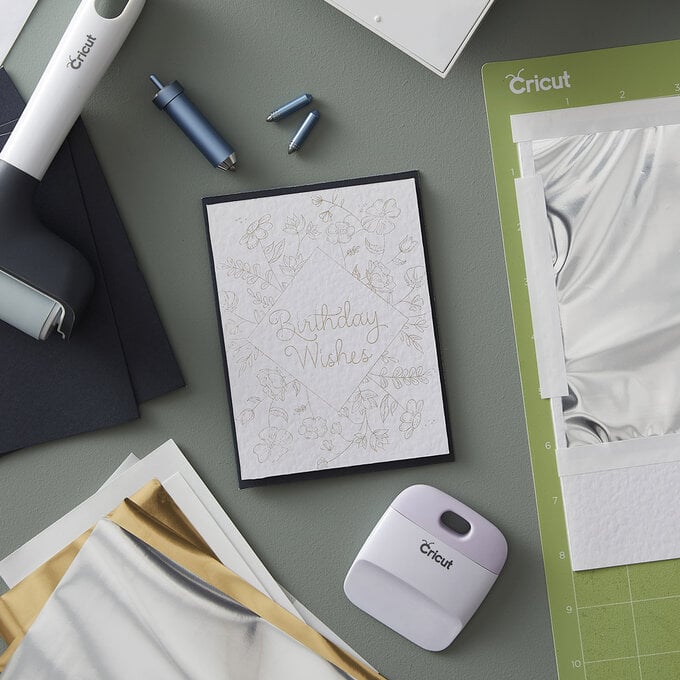
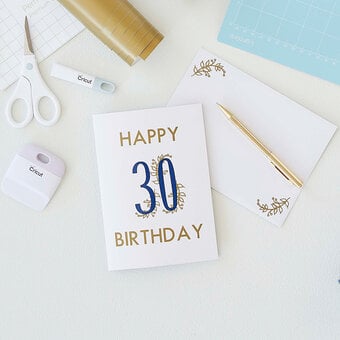
Creating professional foiled projects has never been easier thanks to the Cricut Foil Transfer System! With this simple tutorial, use your Cricut machine and the Cricut Foil Transfer Kit to personalise a handmade card in a whole new way. You'll be able to add shimmering accents to your design.
This project has been created using the Cricut Maker.
Project and instructions by Aisha Cluitt.
Please note: This project contains paid-for content from Cricut's Design Space app. Screen reference images are taken from the desktop Windows version of Design Space.
You will need
Subtotal
Is $ 585.00
Subtotal
Is $ 11.00 , was $ 14.00
Subtotal
Is $ 25.00 , was $ 31.00
Subtotal
Is $ 5.49
Subtotal
Is $ 52.00 , was $ 65.00
Subtotal
Is $ 3.49
Subtotal
Is $ 9.49
How to make
You will also need -
* Cricut Design Space app installed on your Mac, PC or laptop.
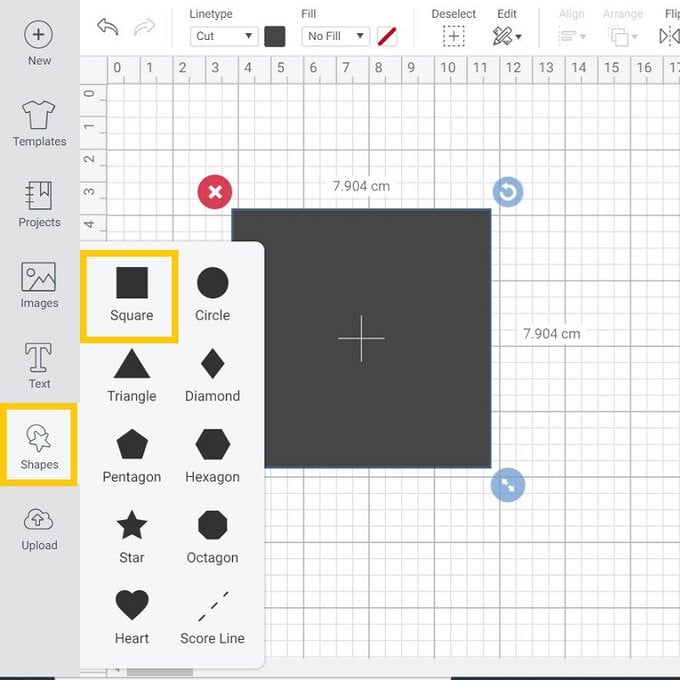
Open up the Design Space app on your desktop and start a new project. Select 'Shapes' from the toolbar on the left-hand side of the screen, and insert a square.
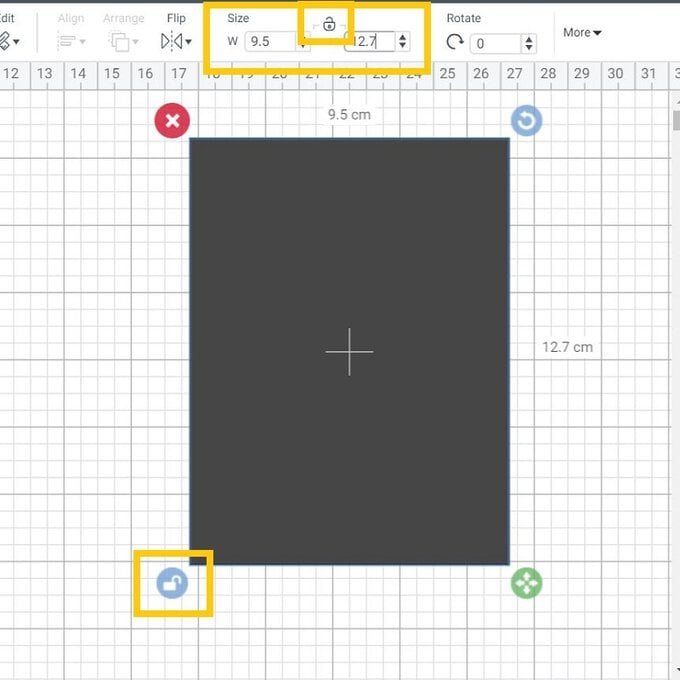
Unlock the padlock icon and resize the design to the size of the card front.
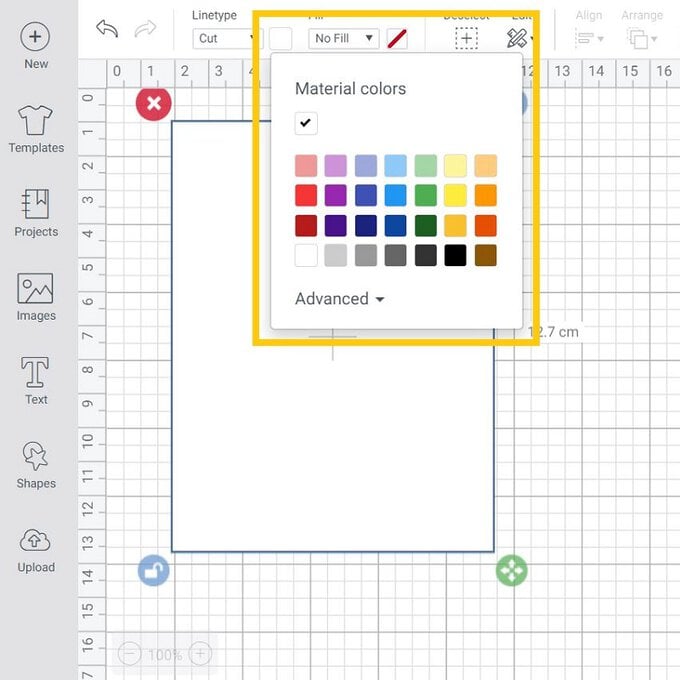
Change the cut colour to the same as the cardstock you intend to use.
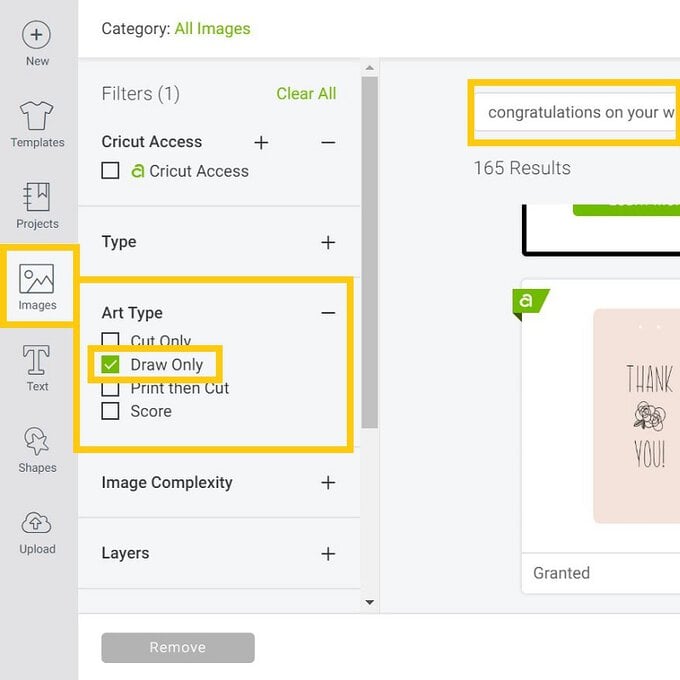
Open the 'Image' library and type "Congratulations on your Wedding" in the search bar, and select the highlighted image (#M1847AB2A).
Click 'Insert'.
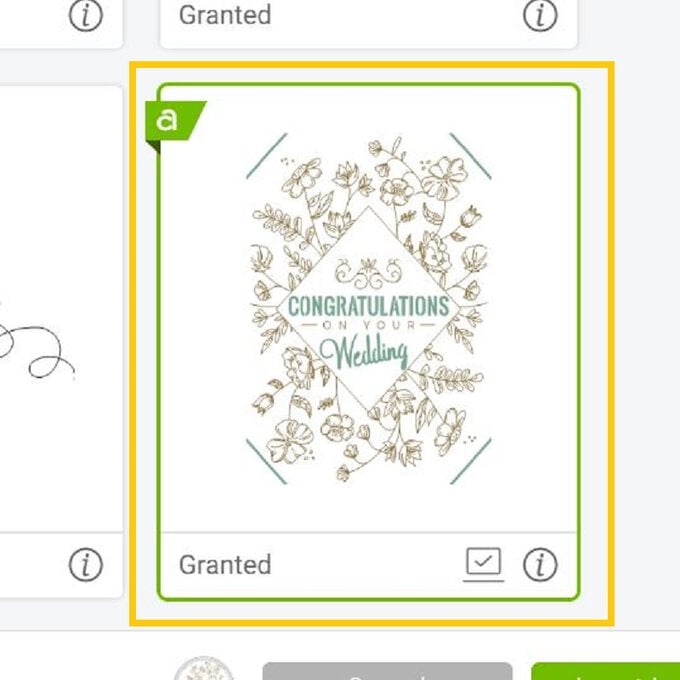
With the image selected, navigate to the layers panel and hide the cut layer.
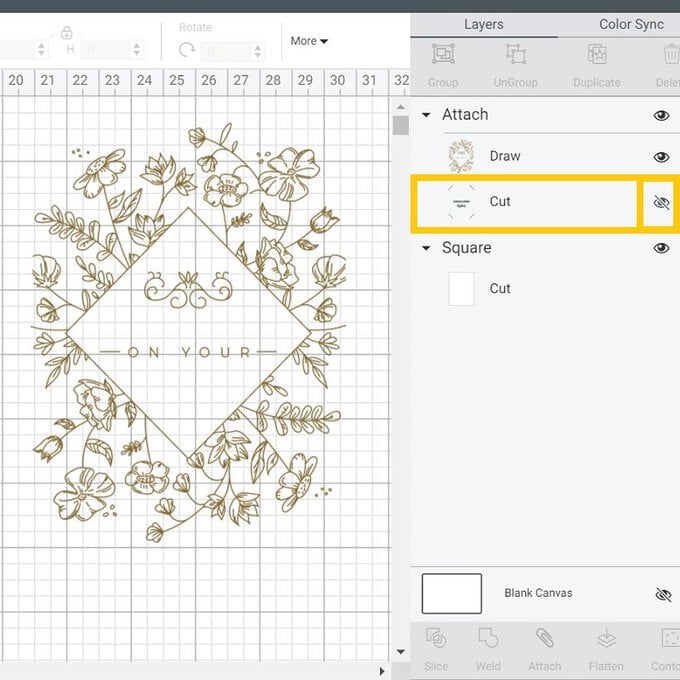
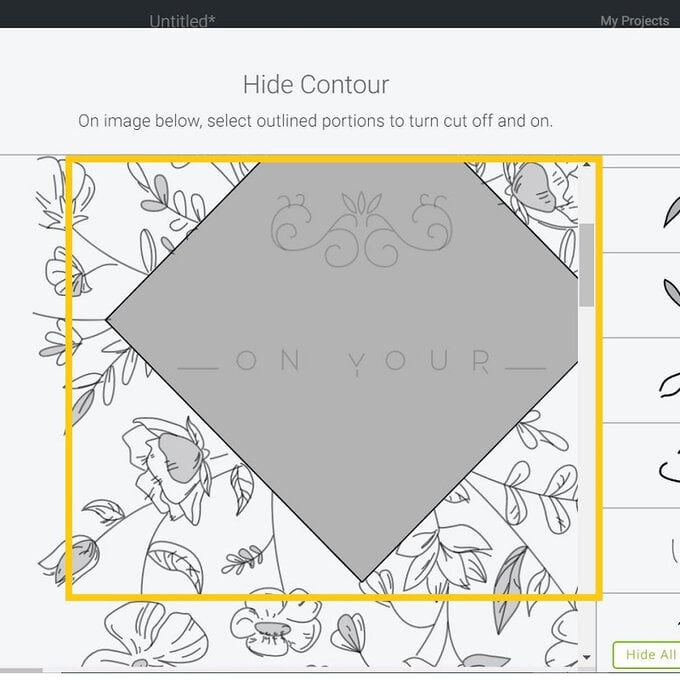
With the image still selected, select the 'Contour' button from the bottom of the layers panel and hide the elements that sit within the diamond shape - these will turn light grey once selected.
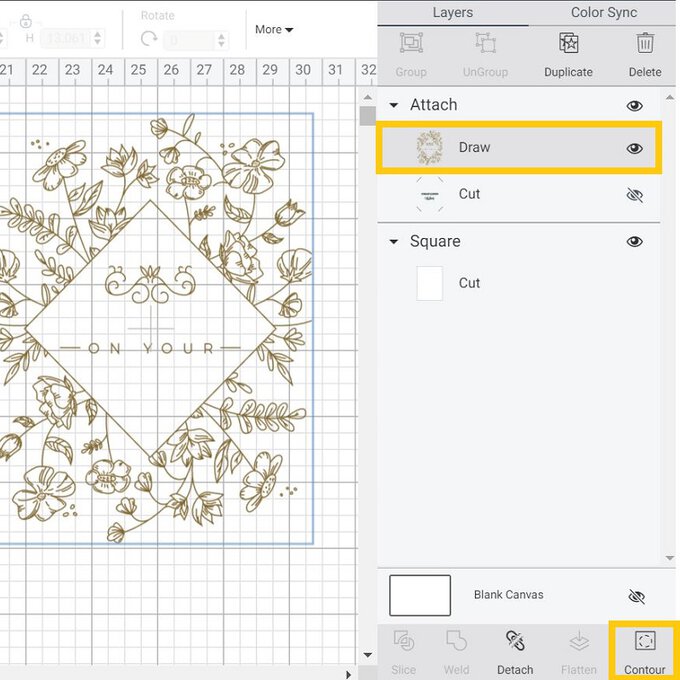
Amend the size of the image to match that of the white panel, then position centrally over the white panel.
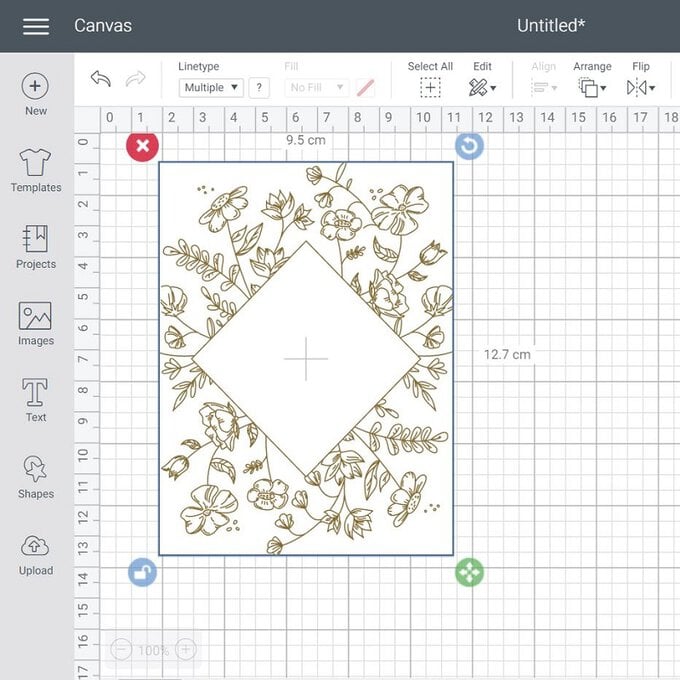
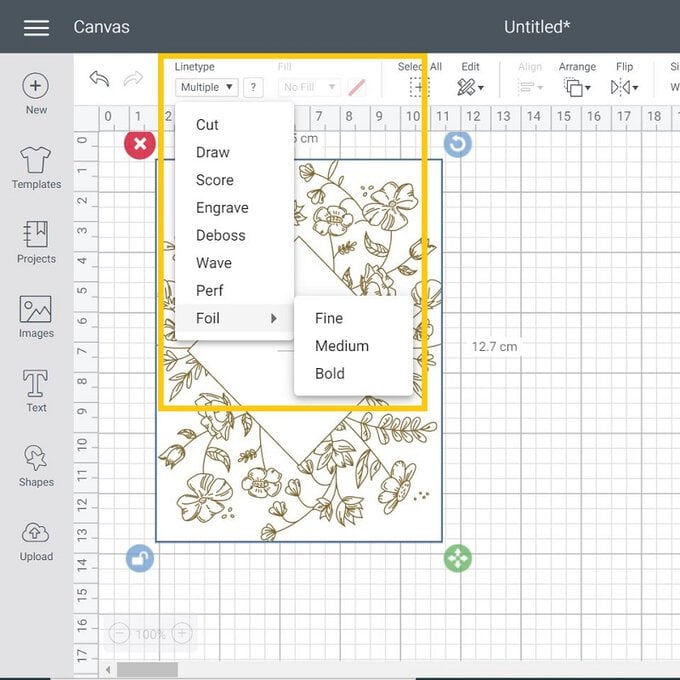
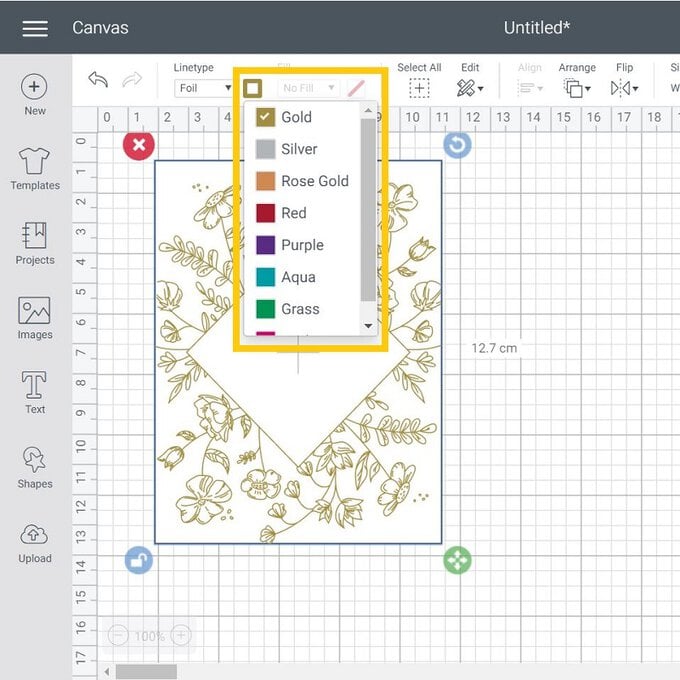
Change the line type to 'Foil' and select the 'Fine' option from the dropdown menu, then select the colour of foil you intend to use. We used gold.
Open the 'Images' library once more and type "Birthday Wishes" into the search bar and select the highlighted image.
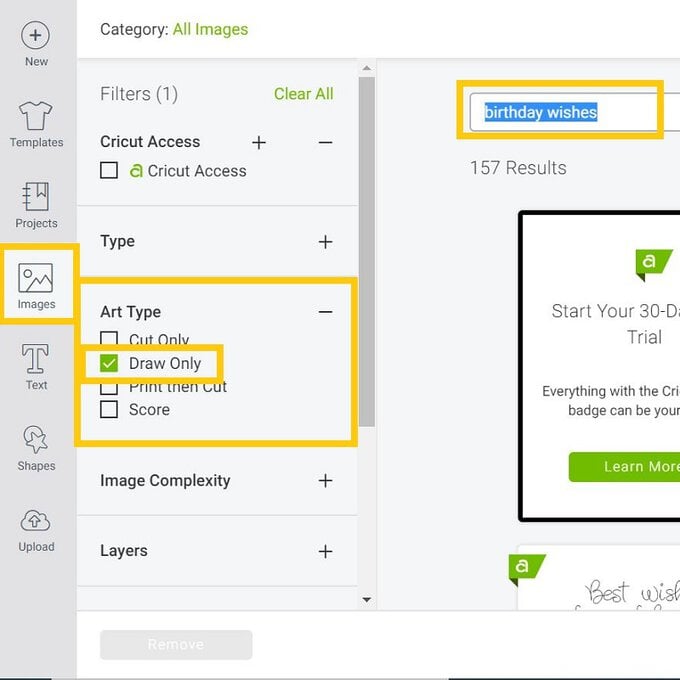
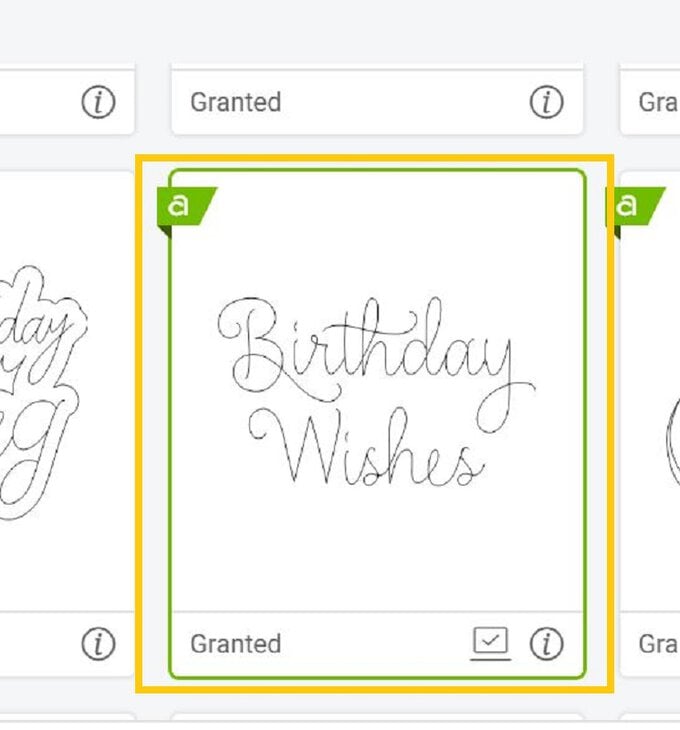
Resize the image to sit within the central diamond shape, then amend the 'Line Type' to 'Foil' from the dropdown menu, then select "Medium".
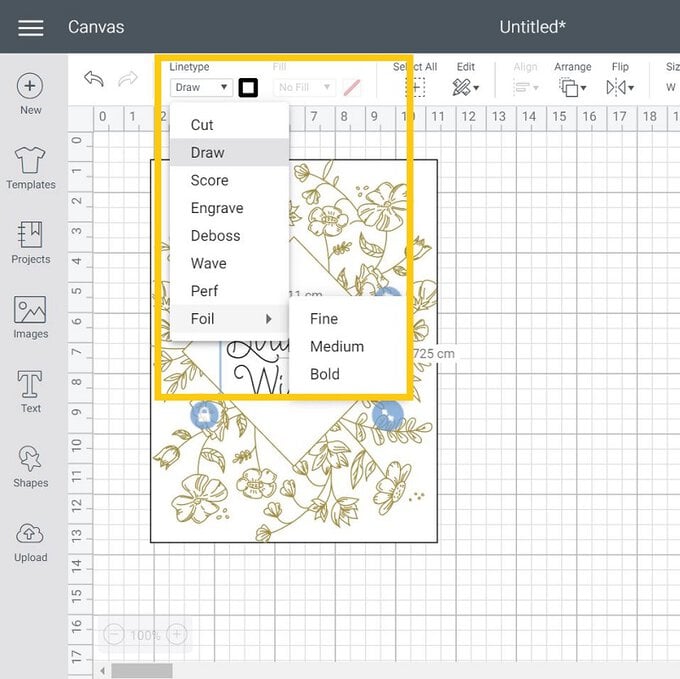
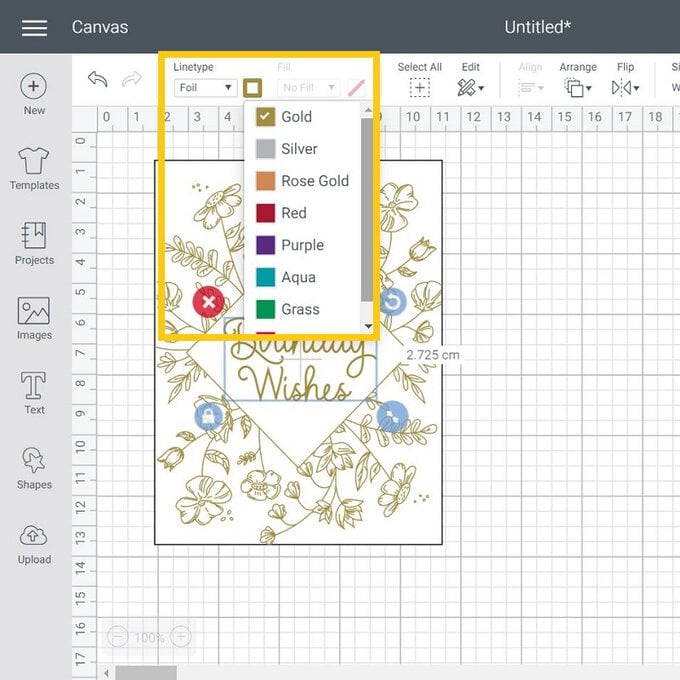
Once happy with the arrangement, drag a selection box over the entire panel and 'Attach' all of the elements, then click the green 'Make It' button.
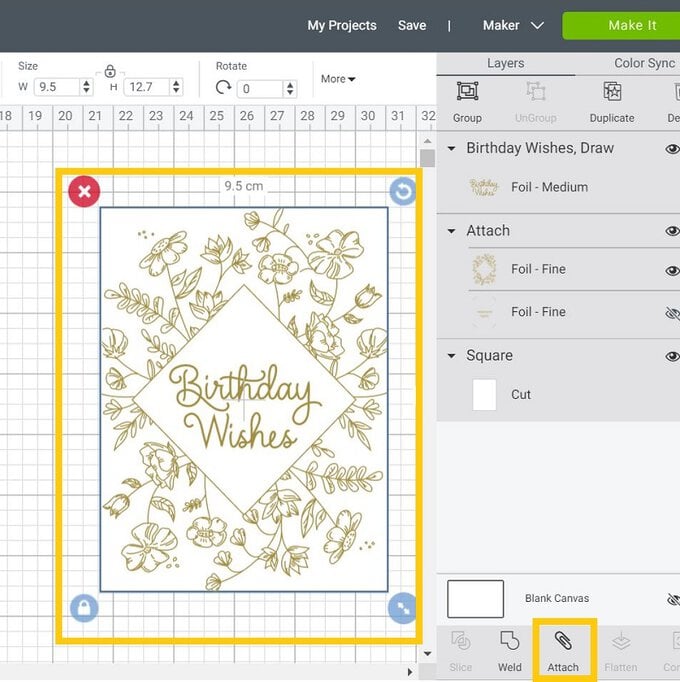
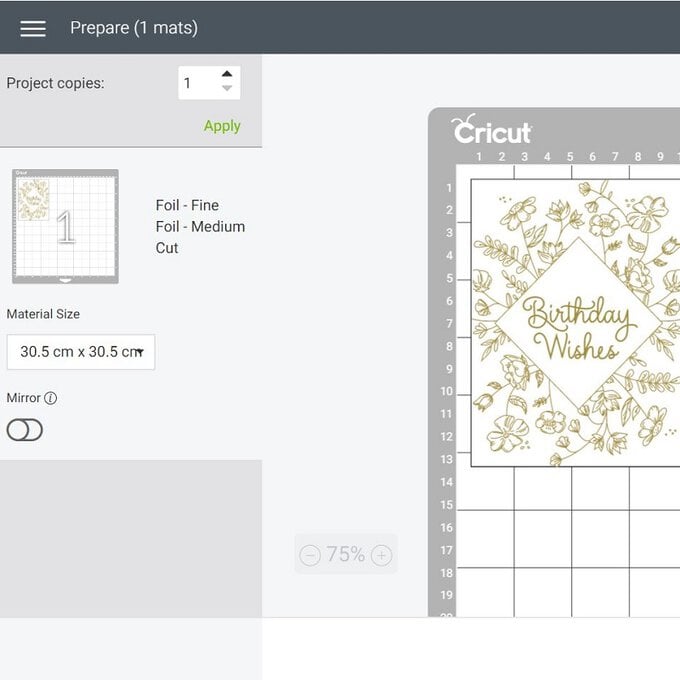
You will then be taken through to the mat preview screen. Check everything is correct before clicking 'Continue'.
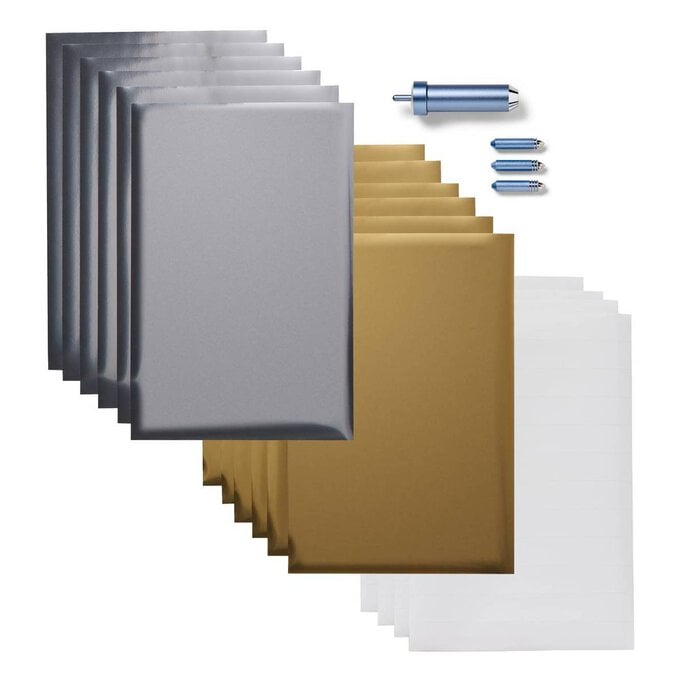
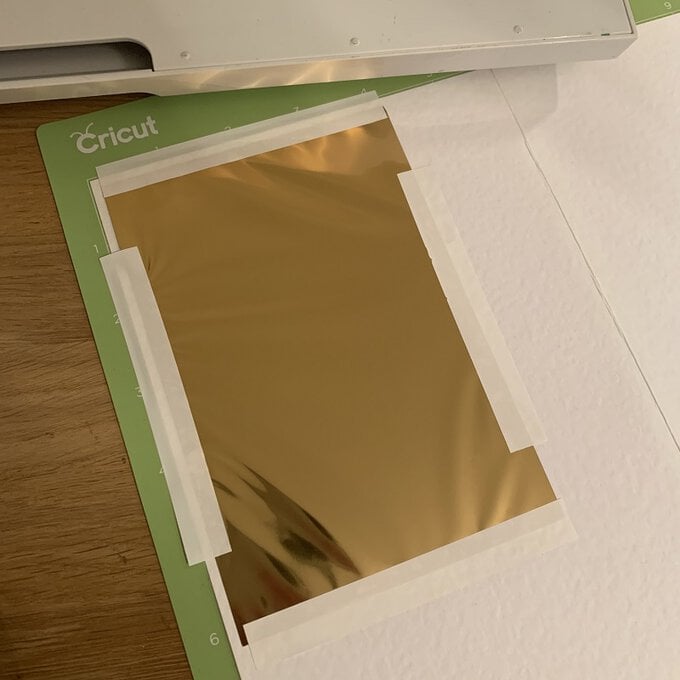
Apply the cardstock to the cutting mat with a brayer and then secure the foil sheet on top, using the supplied tape to secure it on all four sides.
Top Tip: Make sure the tape is taut across the material where the design will be foiled. Ensure the foil sheet is facing matt side down.
Try to avoid the foil touching the cutting mat in any way, as the foil will transfer onto it.
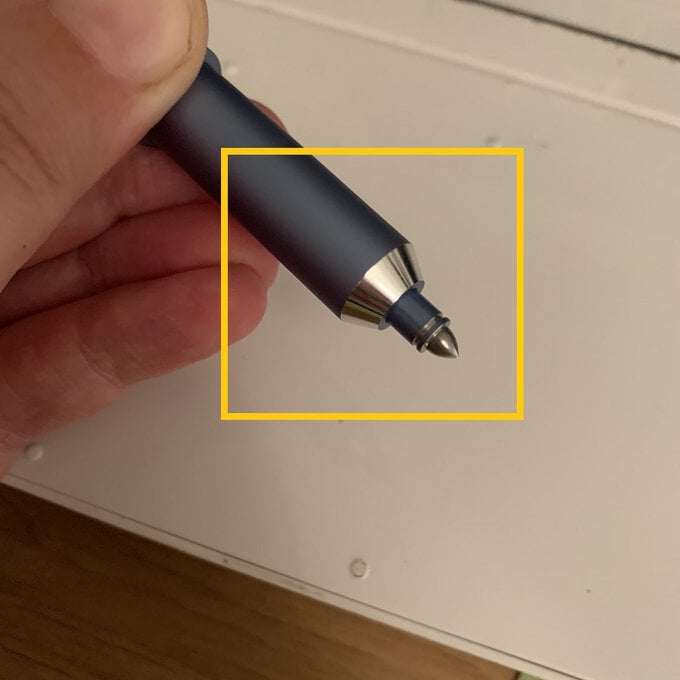
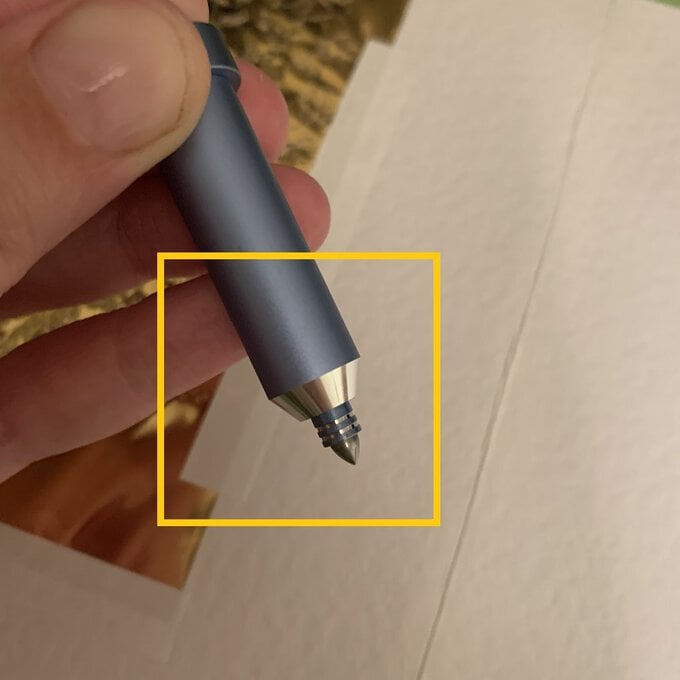
Add the correct foiling tip into the housing. The 'Fine' tip will have one silver ring around the base, the 'Medium' tip two silver rings, and the 'Bold' tip three rings.
Once the tip has been inserted into the housing, place it into port B of your machine.
Once through to the machine set-up screen, select the material you'll be foiling onto, then follow the on-screen instructions to foil and cut the design, switching over the foil nib when instructed to do so.
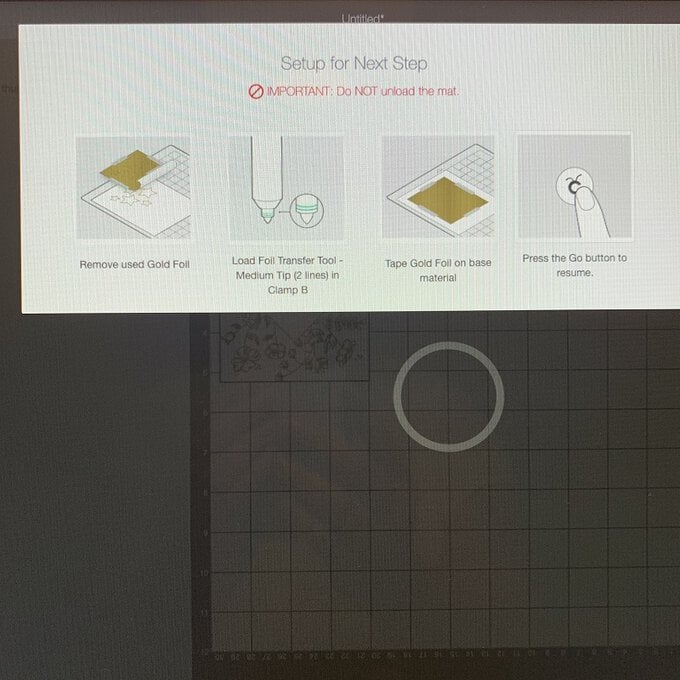
After the foiling part of the design has been completed, you'll be prompted to remove the foil sheet, DO NOT UNLOAD THE MAT! Carefully remove the sheet, then load the fine point blade to cut the rectangle panel.
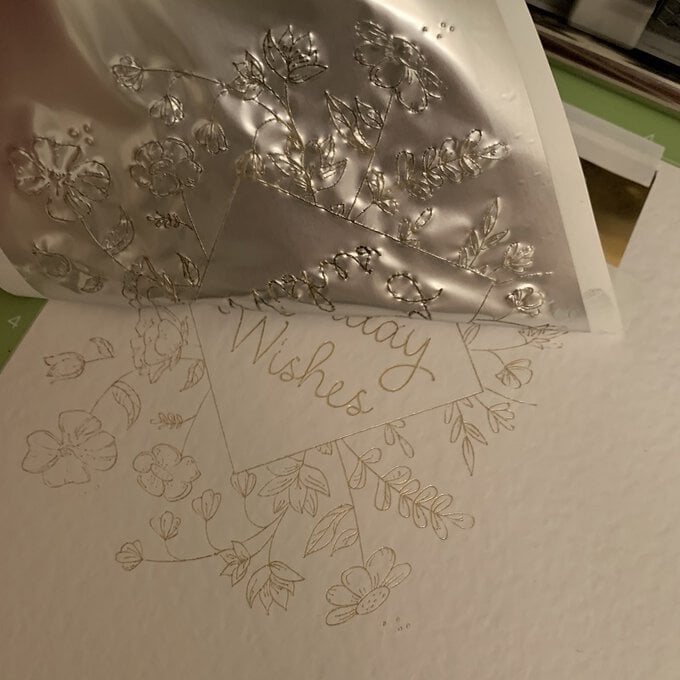
Once the cut is complete, remove the panel from the cutting mat, then gently rub your finger over the design to remove any loose flakes.
Secure the panel centrally to a white A6 card blank using 3D foam pads.
