Cricut: How to Make a Paper Halloween Garland
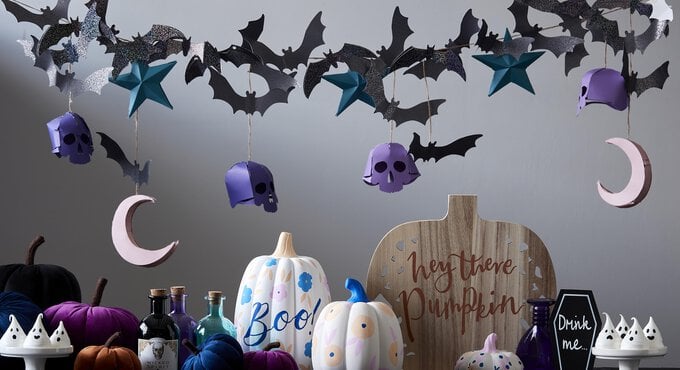
If you're looking to add something fun and colourful to your Halloween décor, then this paper Halloween garland project is just for you! With the help of your Cricut machine, you'll be able to create this stunning 3D paper garland and transform your fireplace or stairs into a spooky spectacle!
Ideal for intermediate Cricut users, this Halloween paper garland can be easily stored away and brought back out and enjoyed year after year.
Cricut Design Space Project Link: Paper Halloween Garland andgt;
Project and instructions by Emma Jewell.
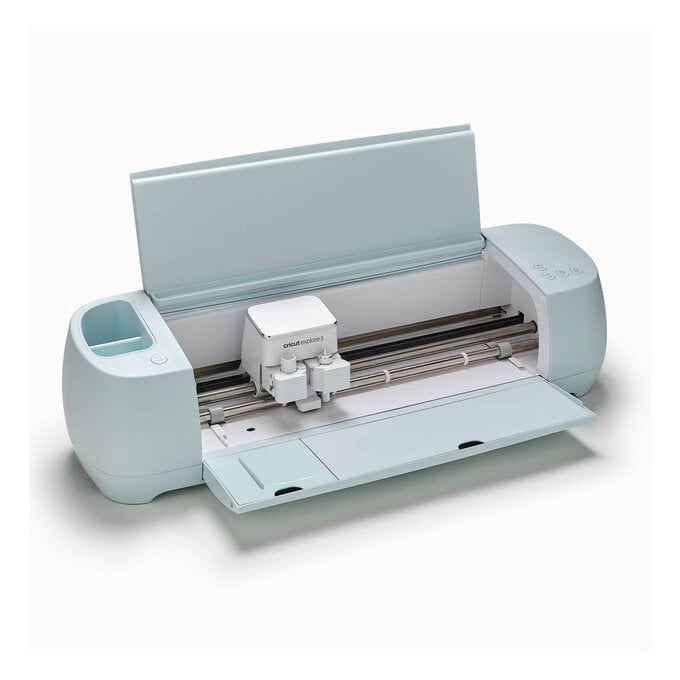
This project contains paid for content from Cricut's Design Space app. Screengrab references images are taken from the desktop version of Design Space.The Cricut Explore 3 has been used to create this project however, it can be created on any of the Cricut Explore or Maker machines.
You will need
Subtotal
Is $ 427.00
Out of stock
Subtotal
Is $ 16.00
Subtotal
Is $ 30.00
Subtotal
Is $ 13.00
Subtotal
Is $ 10.00
Subtotal
Is $ 9.49
Subtotal
Is $ 3.49
Subtotal
Is $ 5.49
You Will Need
* Cricut Machine
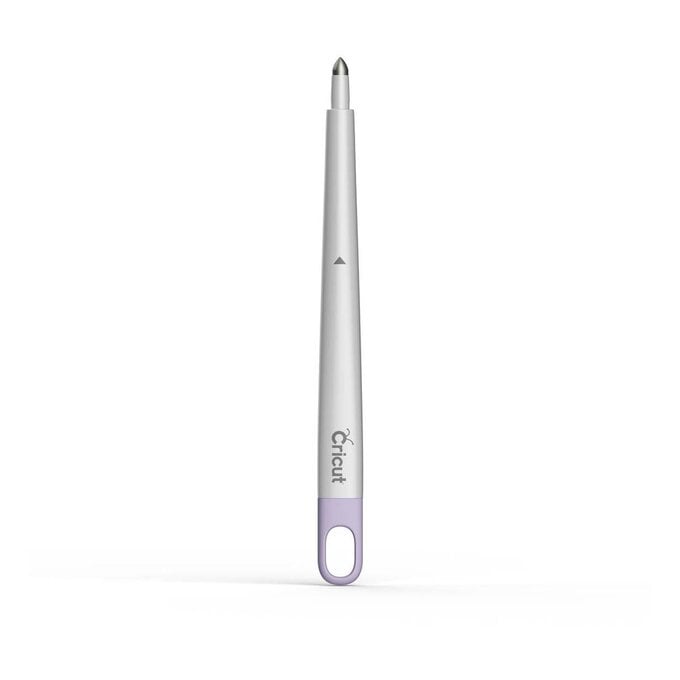
* Cricut Scoring Stylus
* Cricut FIne Point Blade
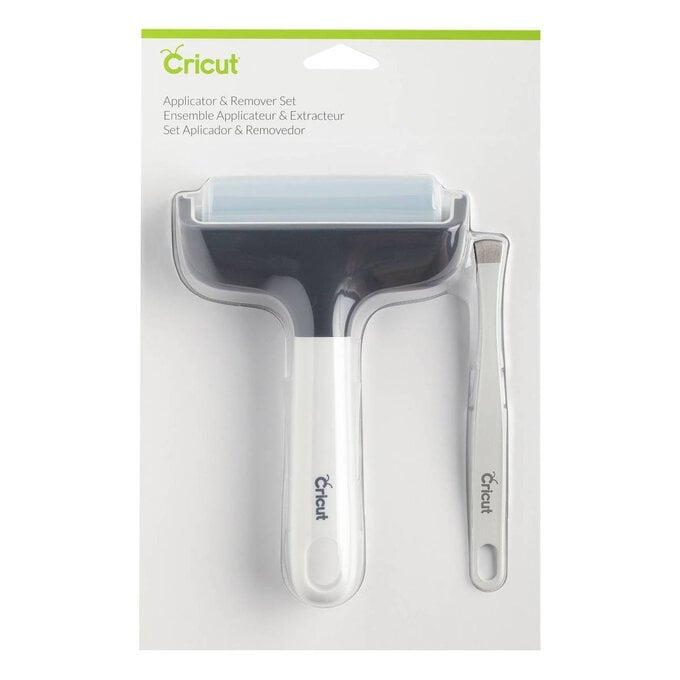
* Cricut Brayer and Remover
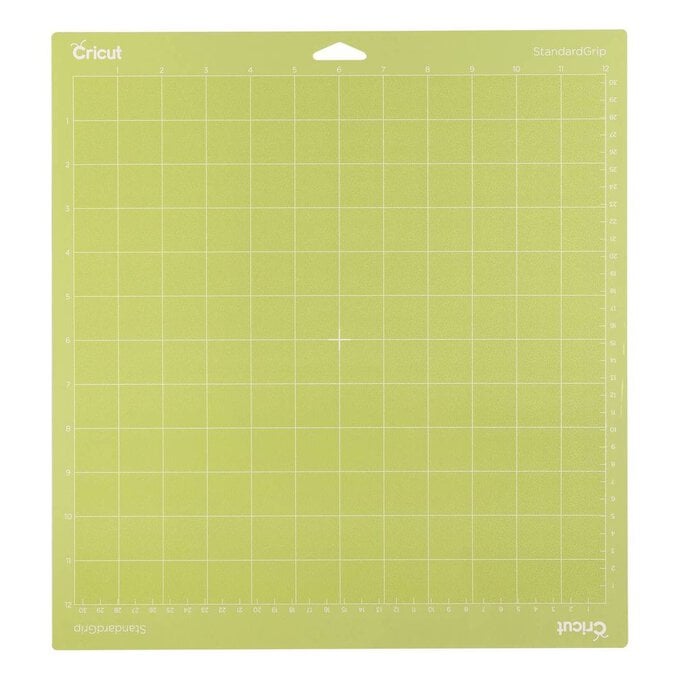
* Cricut Standard Grip Mat
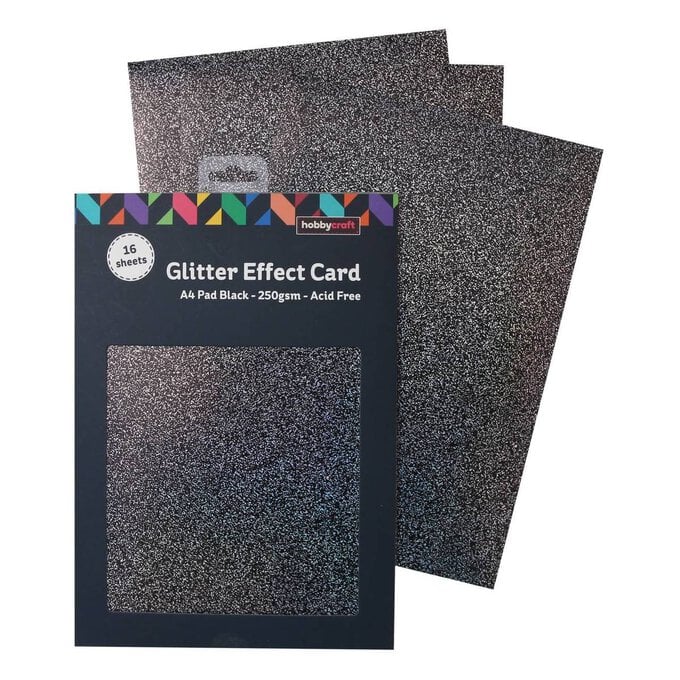
* A4 Card - Black Glitter, Blue, Purple, Light Pink
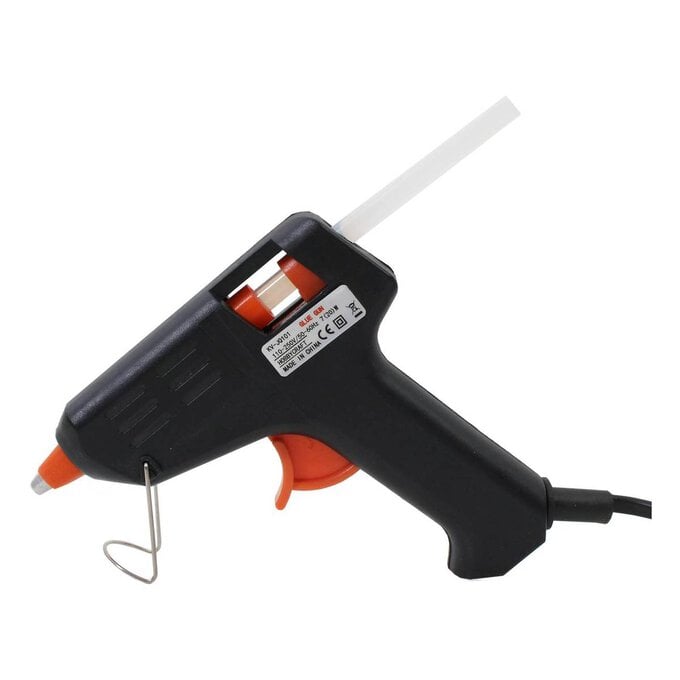
* Glue Gun & Glue
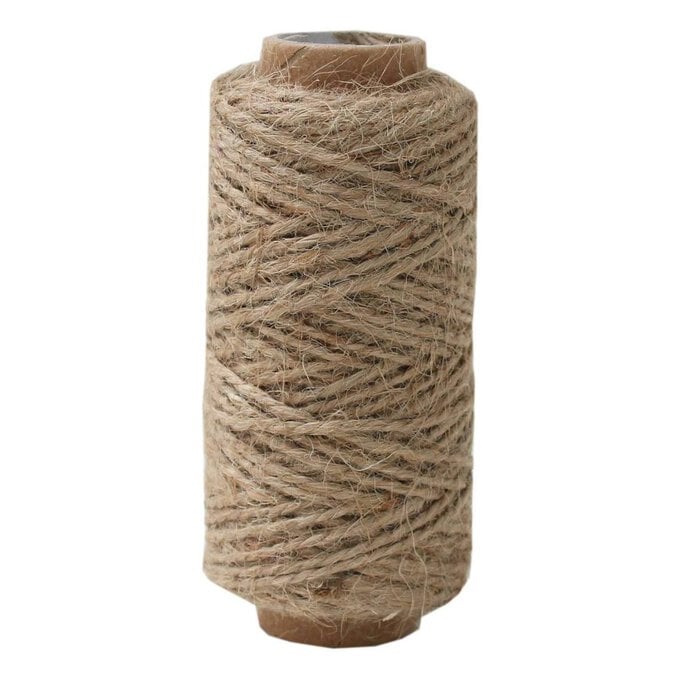
* Twine
* Cricut Design Space app installed on a laptop, PC, Tablet, or mobile device
Open up the project in Cricut Design Space by clicking on the link in the description, or alternatively, use the link below - https://design.cricut.com/landing/project-detail/60e2ef3691f58a0d604940a9
Select 'Customise' to amend the size of the garland elements to suit, or 'Duplicate' to create more.
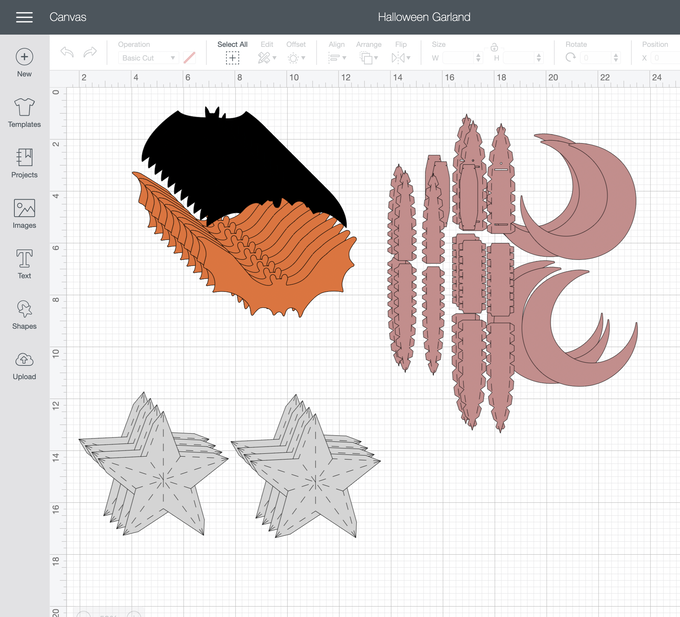
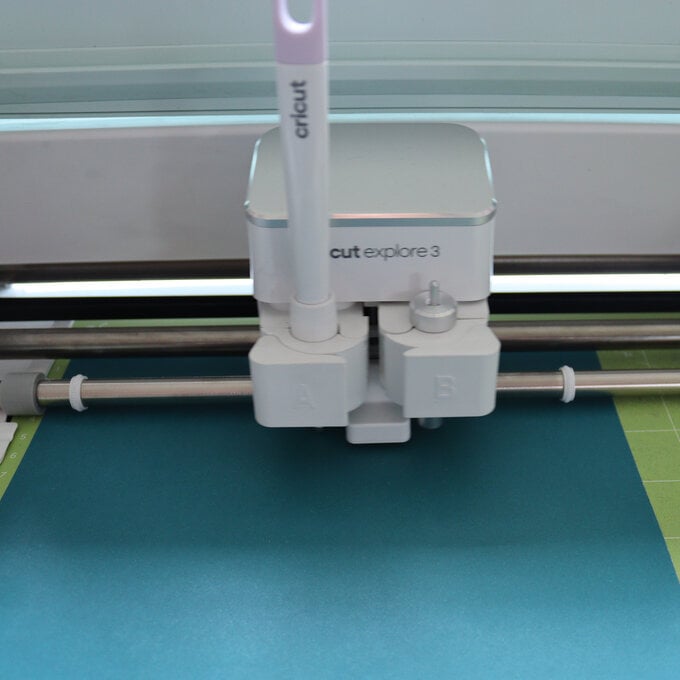
Insert the Scoring Stylus into your machine (you can also use the Scoring Wheel if you have one of the Maker machines) and the Fine-point Blade.
Place a sheet of paper for the moons or stars onto the mat and make sure that it is well stuck down using the Brayer tool.
Load the mat into the machine to start scoring and cutting.
Repeat these steps to cut all the skulls and bats.
Next fold along the score lines on each moon and star to give a really clean fold.
Assemble the moons (seven pieces) gluing the sides to the front and back.
Stick the front and back of the stars together.
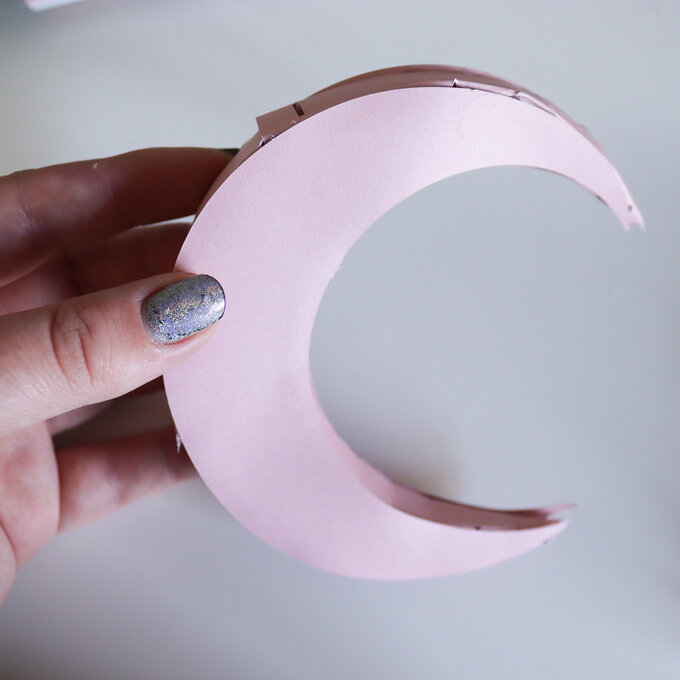
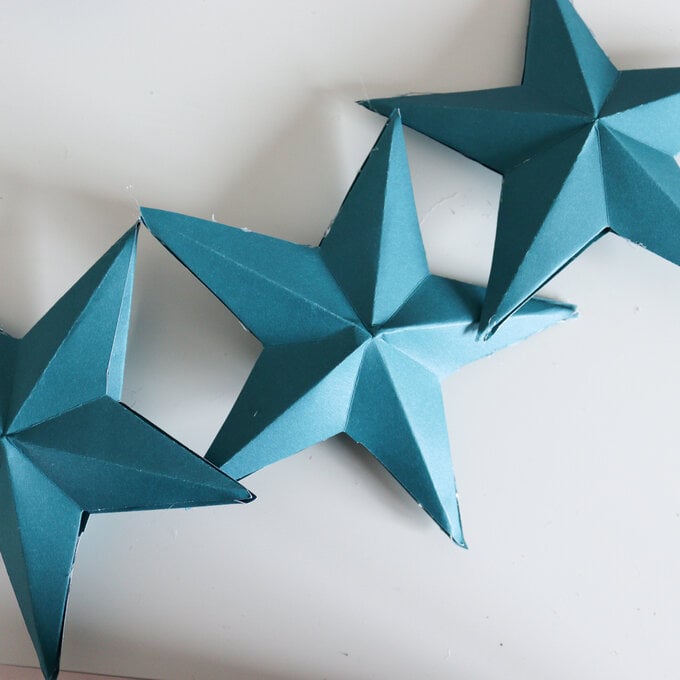
Assemble the skulls (three pieces) and glue the tabs to the corresponding parts.
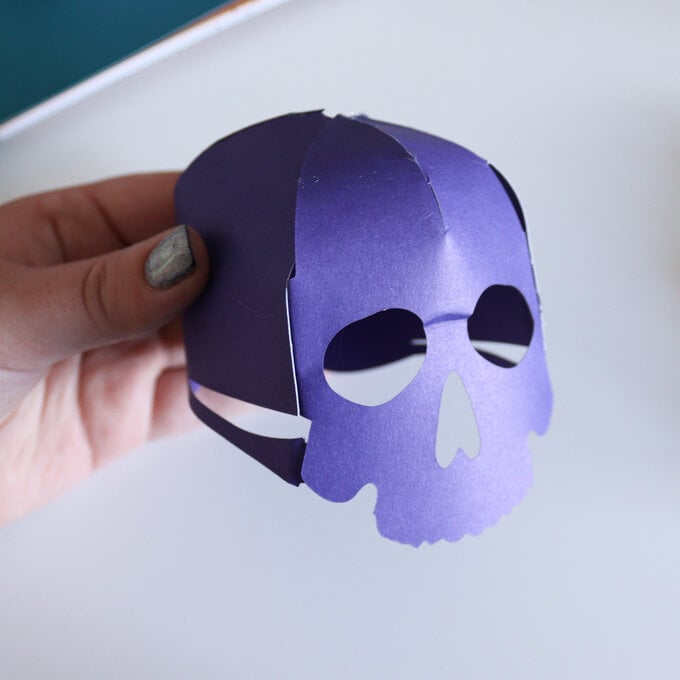
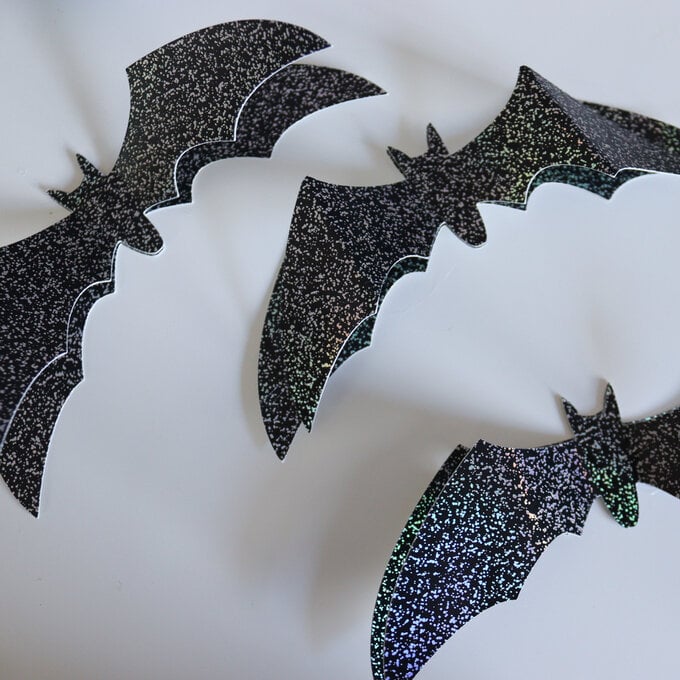
Layer up some of the bats, gluing the bodies together. Fold the wings out so that it looks like they are flying.
Add twine to hang the skulls and moons to your desired length, then secure at intervals along the horizontal length of twine, filling the gaps with bats and stars.
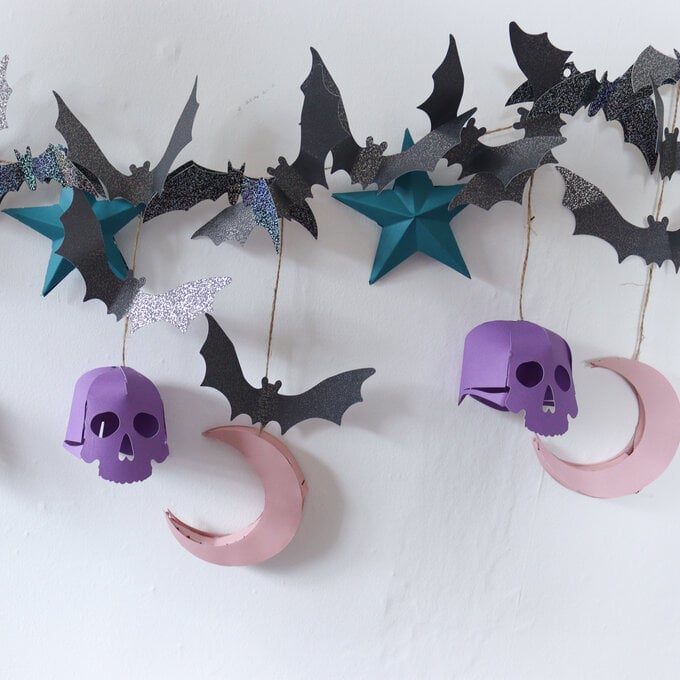
Hang the completed across your fireplace, or a doorway to add some spooky decorations to your home.
