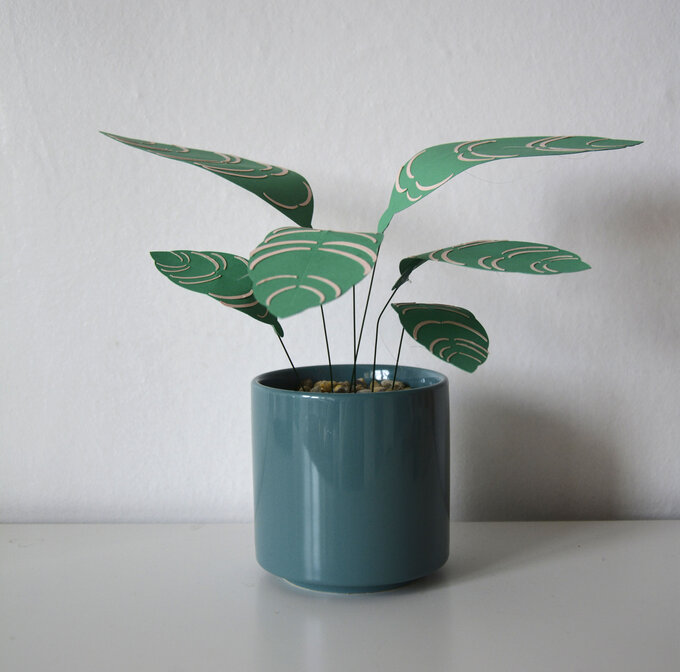
Cricut: How to Make a Paper Calathea Ornata Plant
Create a beautiful indoor plant out of paper! No need to remember when to water and still looks gorgeous. This requires a Cricut machine (any machine will be able to create however I have used the Cricut Maker) and uses the free shapes in Cricut Design Space to create the leaf shape. No designs need to be purchased from Design Space to create!
Project by Rebecca Marie Creative
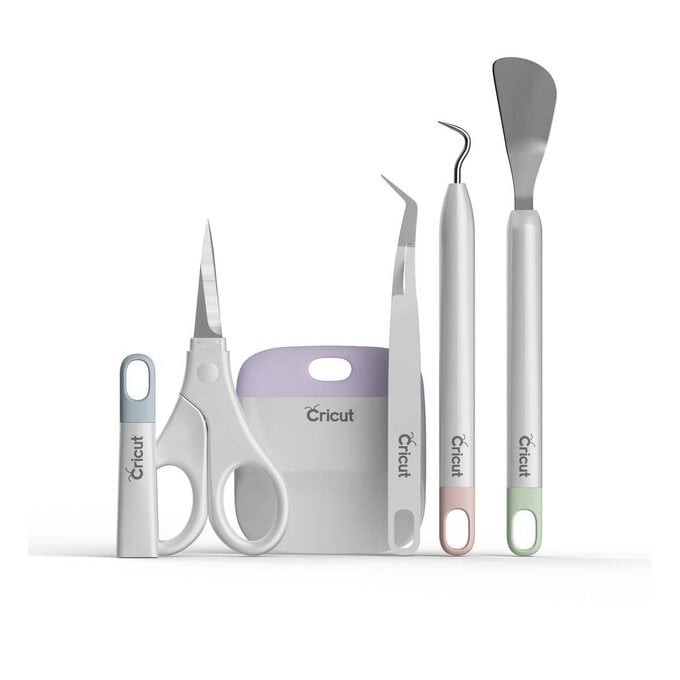
You will need
Subtotal
Is $ 585.00
Subtotal
Is $ 33.00 , was $ 42.00
Subtotal
Is $ 11.00 , was $ 14.00
Subtotal
Is $ 13.00
Subtotal
Is $ 2.49
Subtotal
Is $ 6.49
Subtotal
Is $ 3.49
Subtotal
Is $ 6.49
Subtotal
Is $ 8.49
Out of stock
How to make
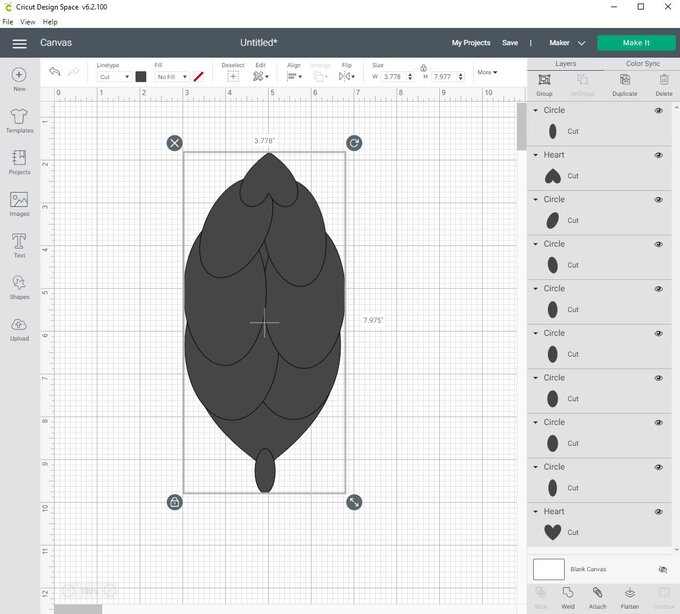
Select a heart and circle shape from the shapes section on the left-hand bar within Cricut Design Space. Select the circle shape and unlock it. Shape into an oval and position over the heart.
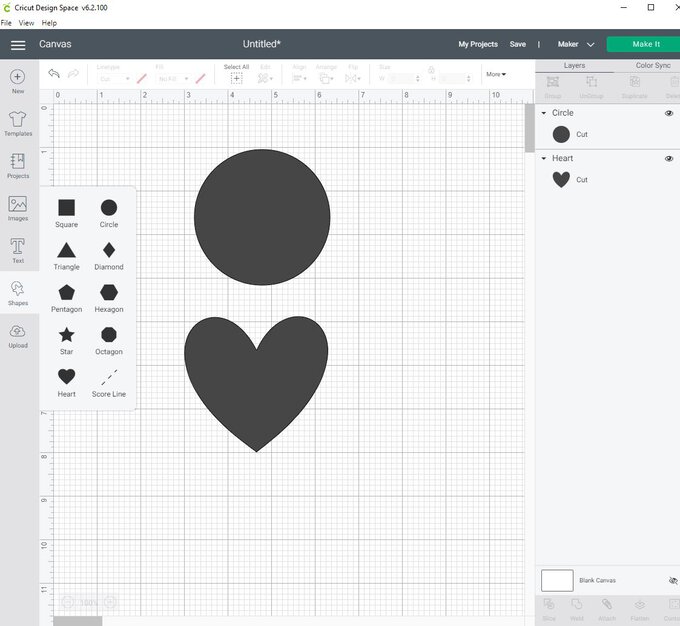
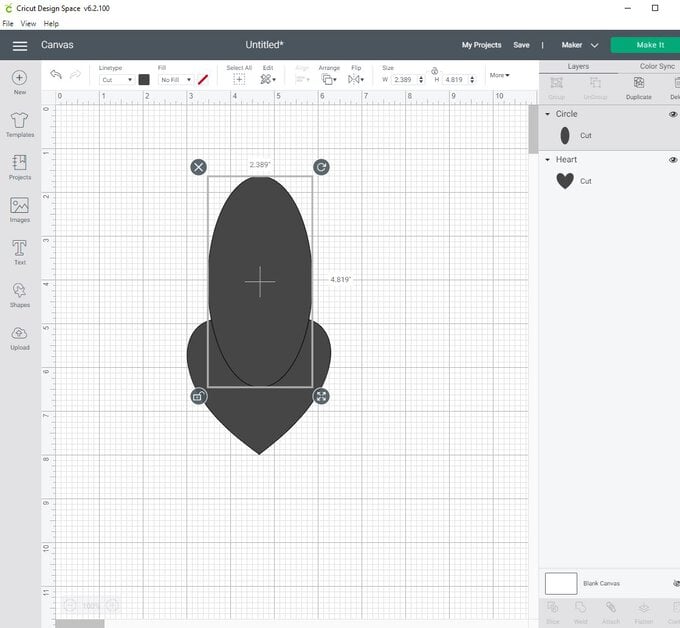
Create an oval shape again from a circle and duplicate this. Position so that the outer lines smoothly join the bottom of the heart on both sides. Duplicate both ovals again and position them overlapping the previous ovals halfway up. Duplicate the ovals again, resize smaller and rotate them inwards on either side of the leaf.
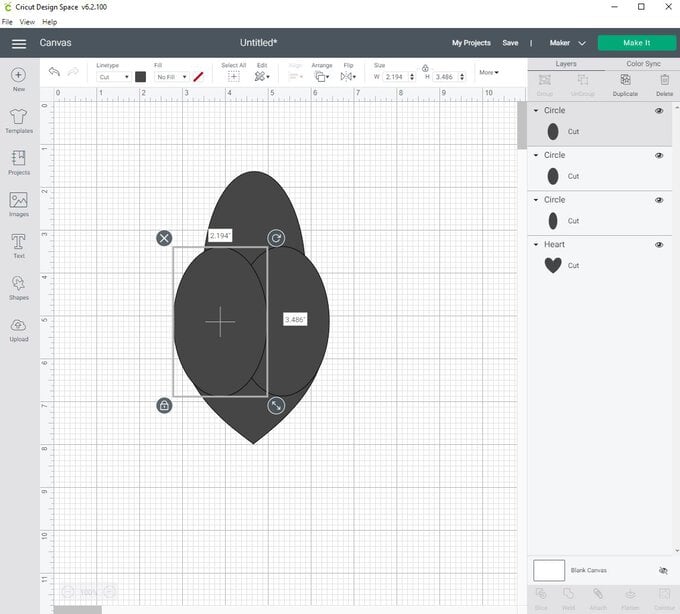
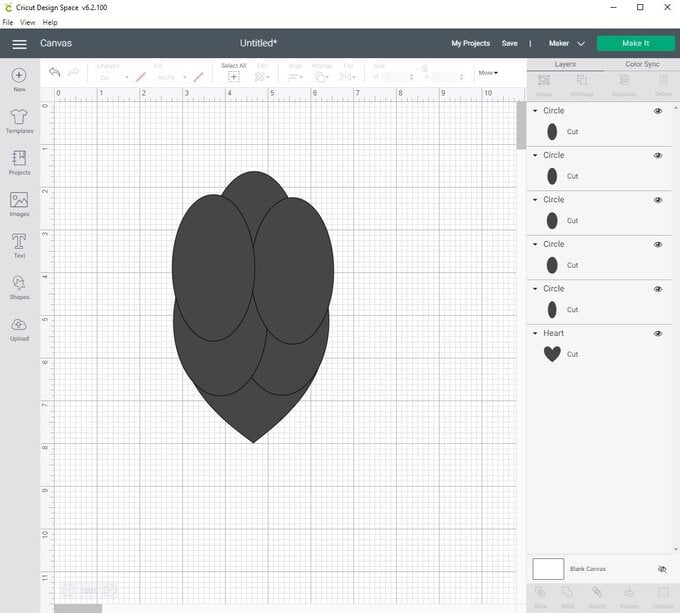
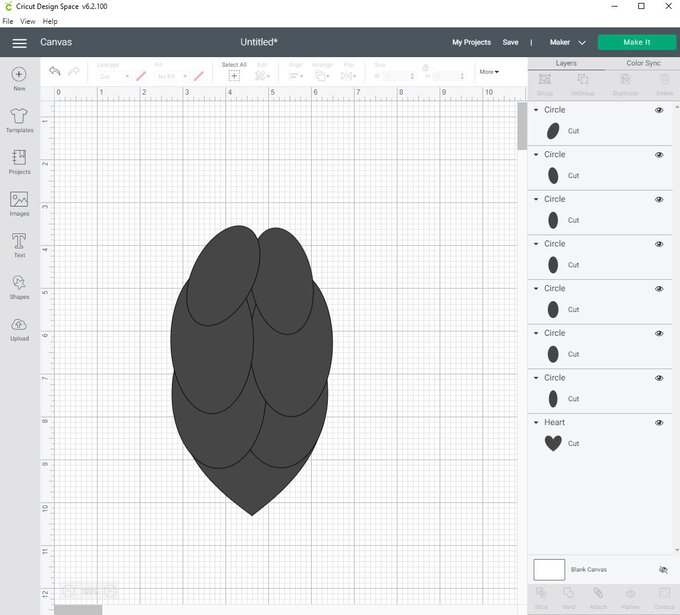
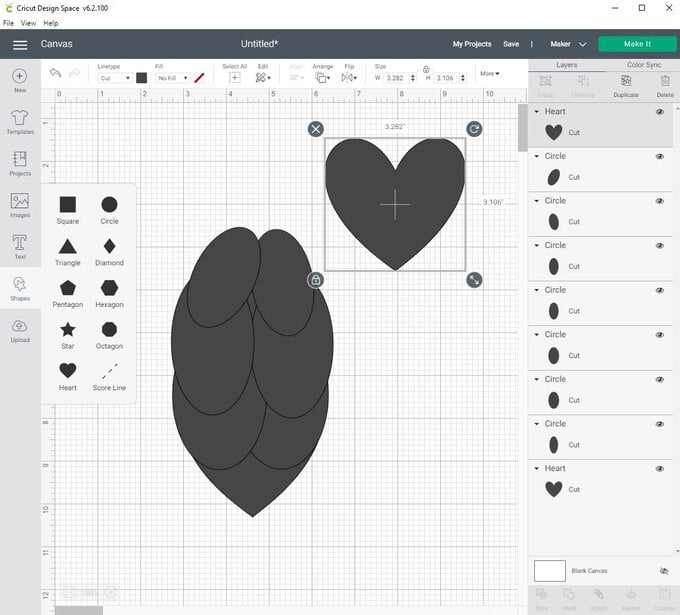
Select a heart shape and rotate so that the point of the heart is facing upwards. Position at the top of your ovals in the centre.
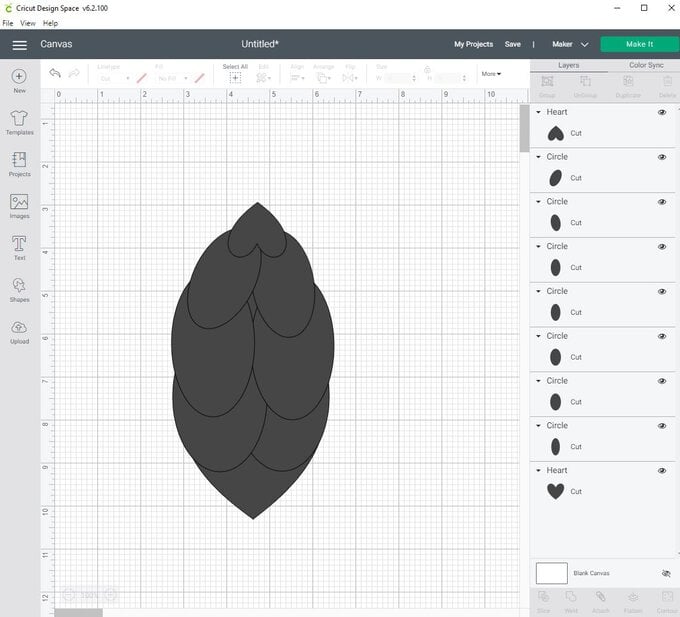
Select a circle and reshape to a small oval. Position at the bottom overlapping the point as the stem of your leaf.
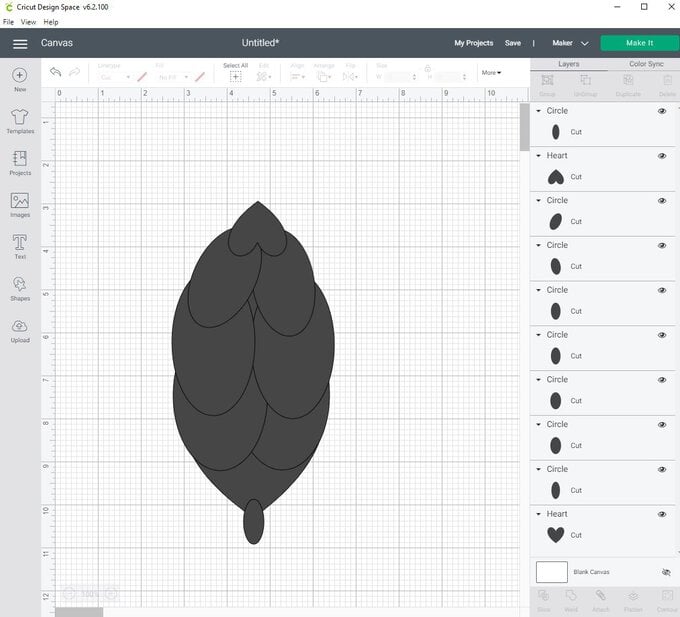
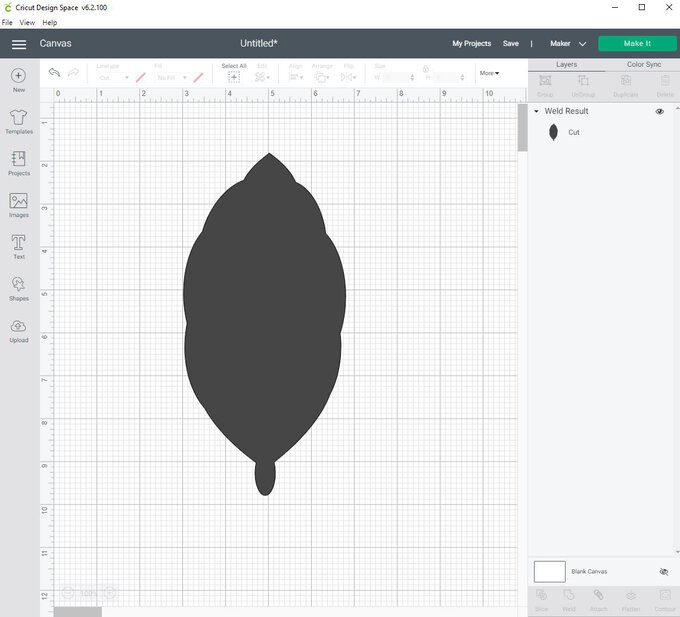
Select all shape layers and weld together. You now have the leaf shape.
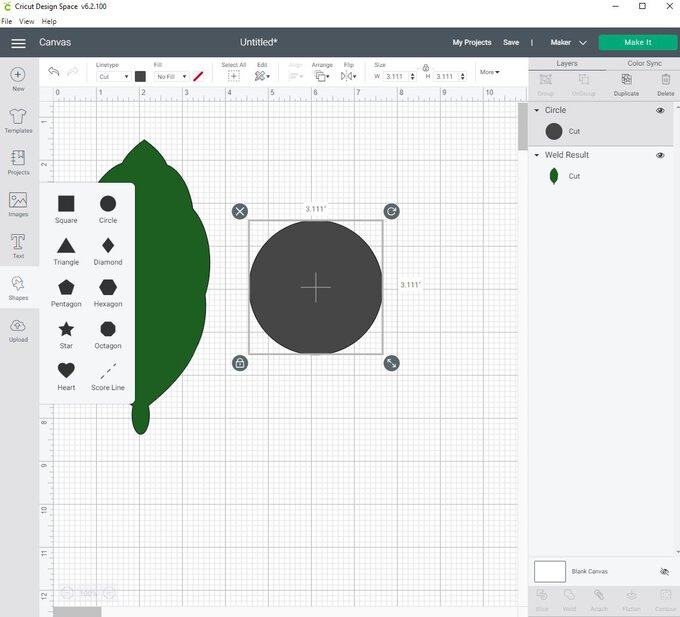
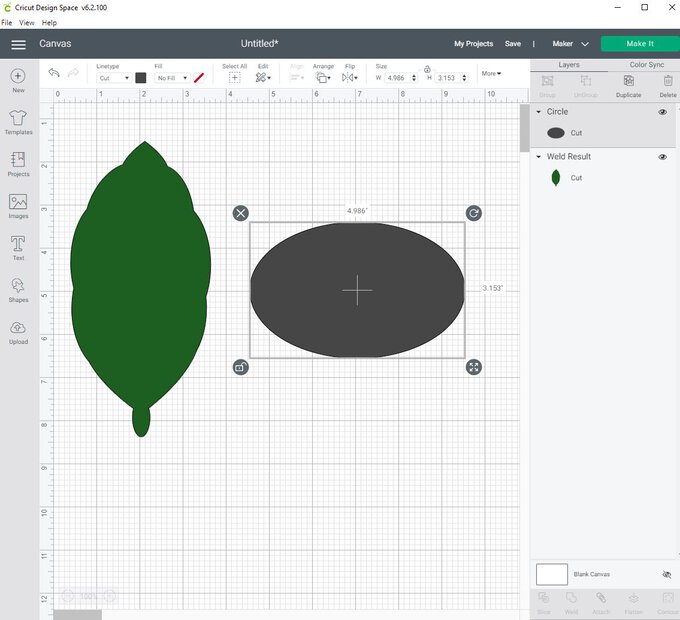
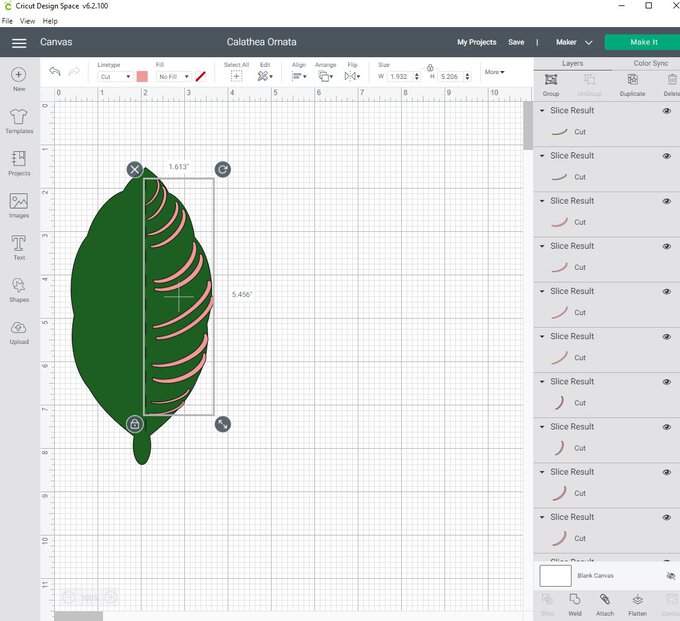
Select a circle and unlock the shape. Reshape to a sideways oval. Duplicate this shape and overlap with the original oval so that you can see a thin strip. Select both ovals and use the slice tool. Take the centre sliced shapes and position at either end of the thin crescent shape. Selecting 2 at a time, select the crescent layer and one end and use the slice tool. Then the crescent layer again and the other end and slice. This will have removed the ends that curl upwards from the crescent. Removal all shapes accept the leaf shape and your amended crescent shape.
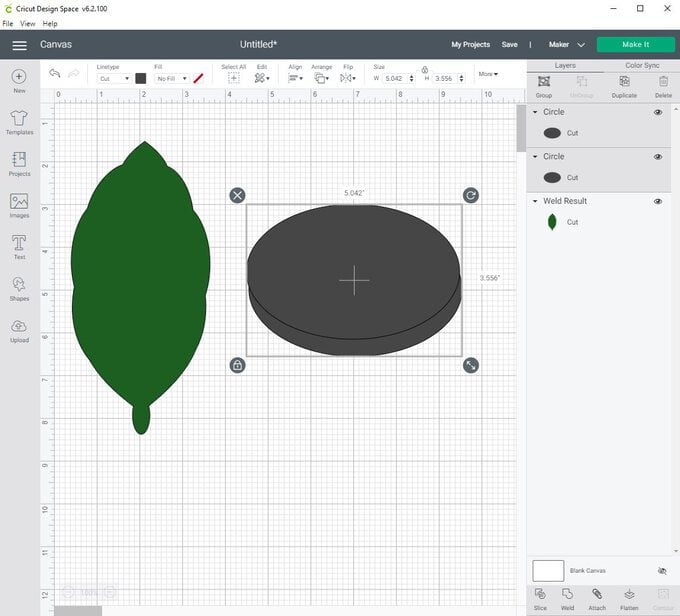
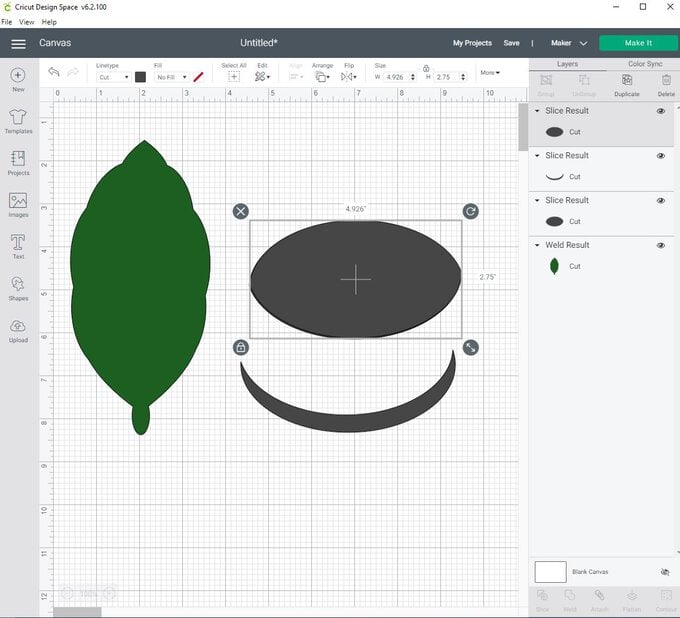
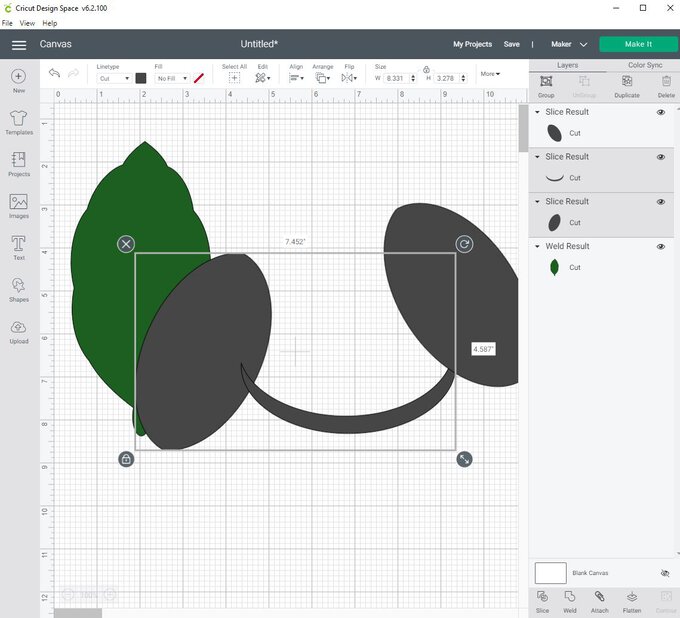
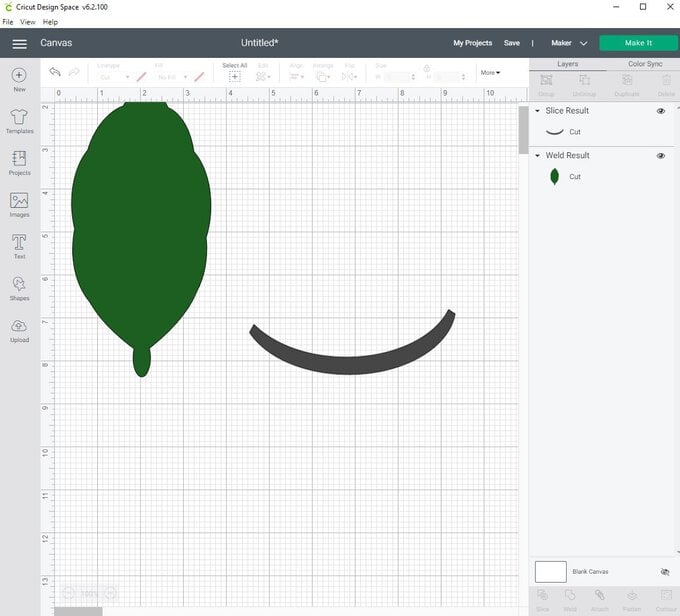
Select from the shapes option on the left-hand side and pick the score line. Place the score line at the centre of the leaf. Select both layers and attach together.
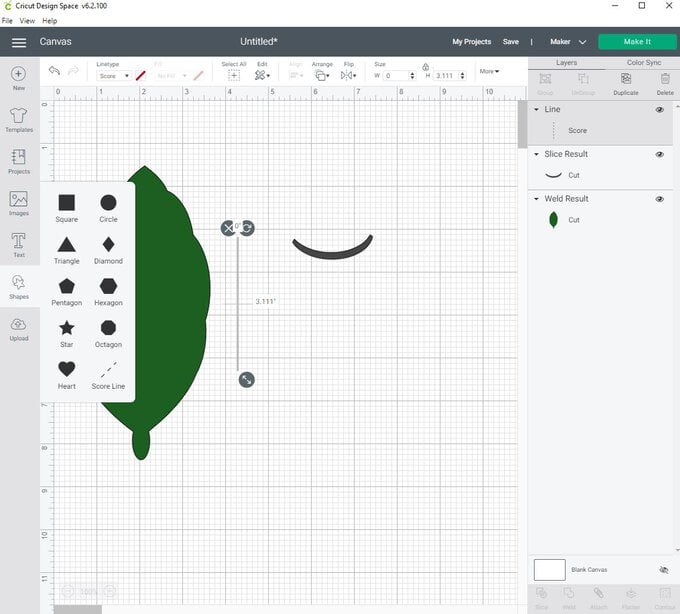
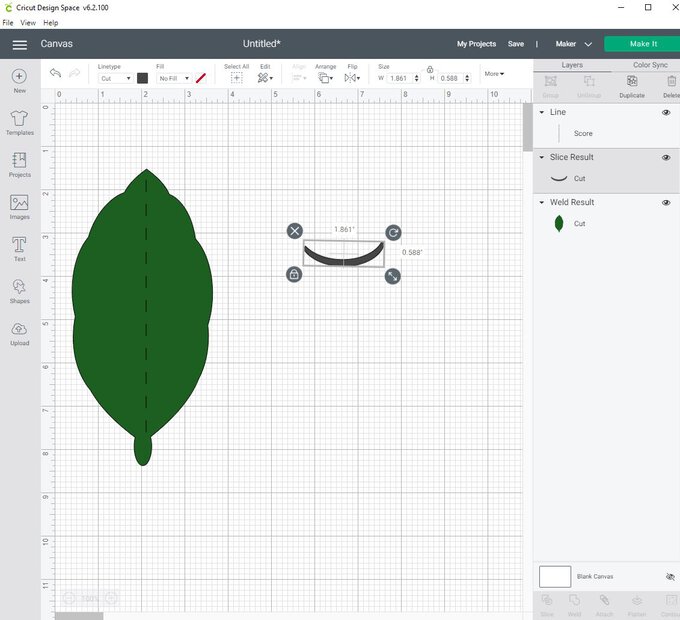
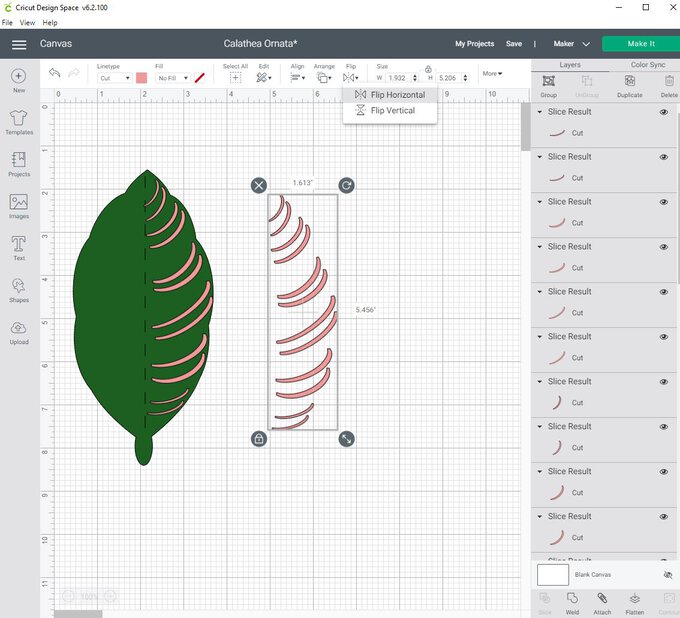
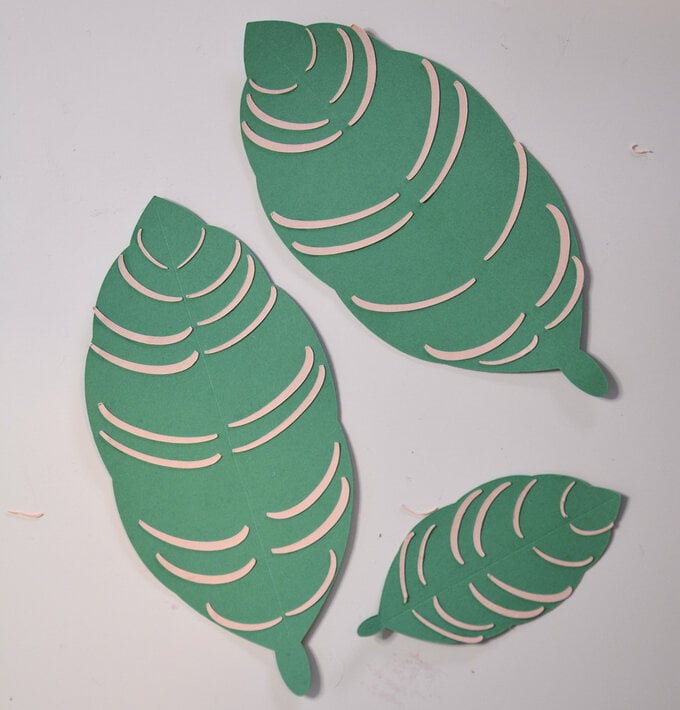
Colour the crescent you just made pink and position on one side of the leaf so that it travels at an upwards angle. Work on once side duplicating the strips and positioning from the centre outwards. Once you have completed one side select all, duplicate and flip horizontally. Position on the other side.
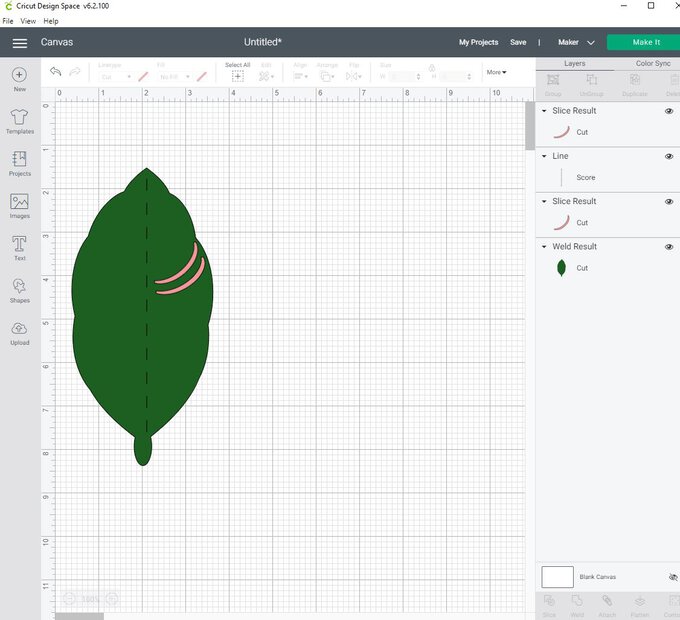
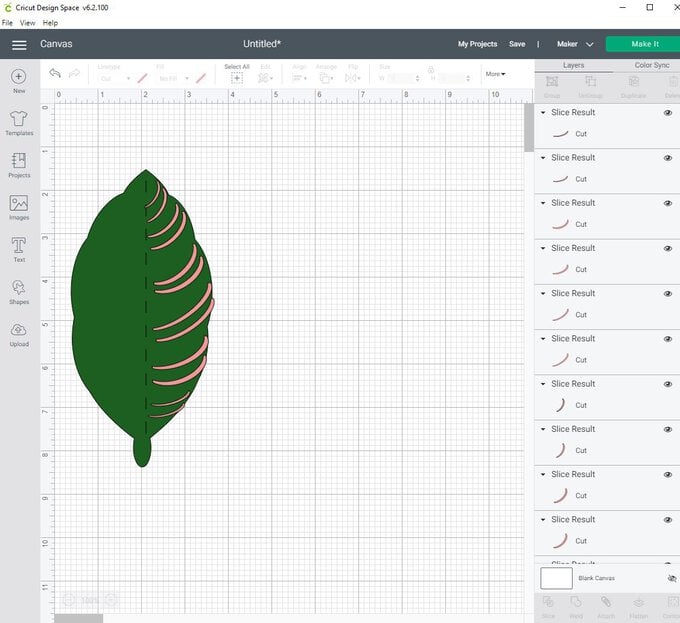
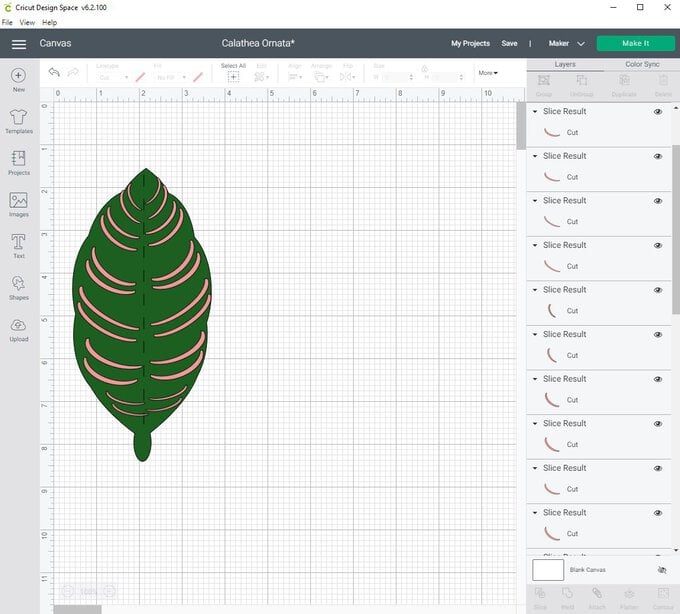
Select all and group together. That way when duplicating your leaf shapes it makes it much easier to move them around.
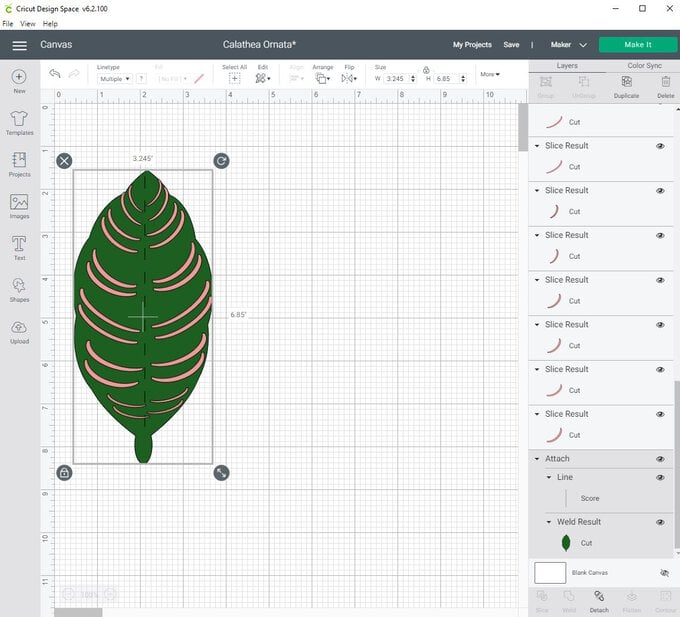
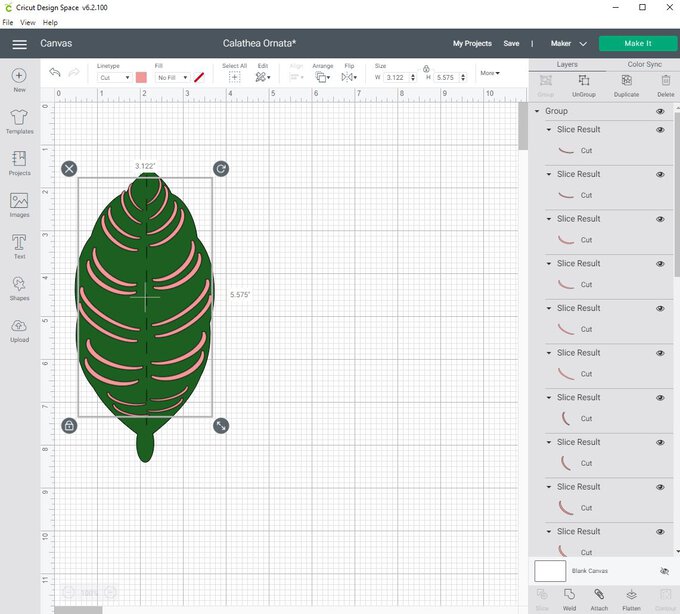
Duplicate the leaf shape and change the size so that you have a variety of different sized leaves. Select a circle and change to an oval that will fit inside your leaf shapes. For every leaf, duplicate an oval. These ovals will be used to hide the florists wire.
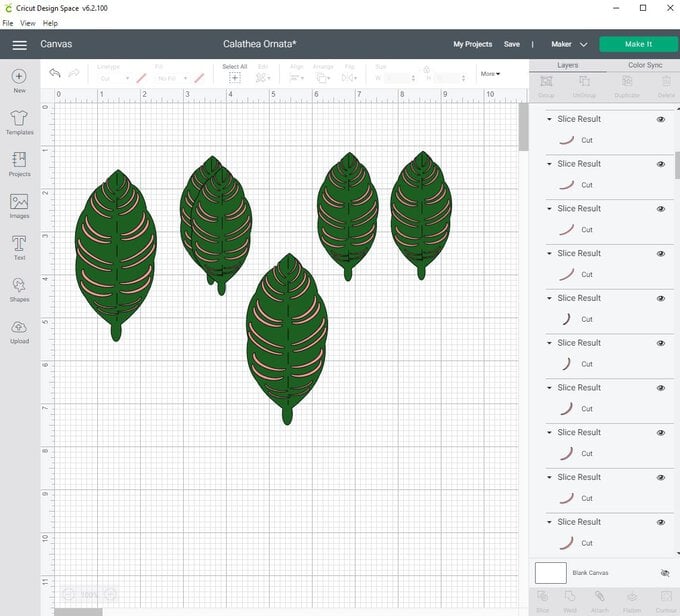
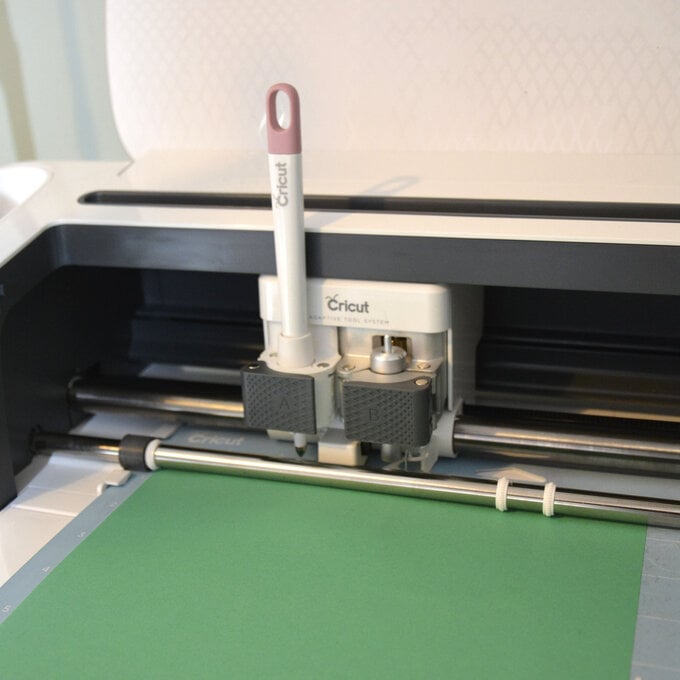
Now it is time to cut out. Select 'make it' and follow the on-screen instructions. Cut out your shapes. Make sure to include your scoring tool!
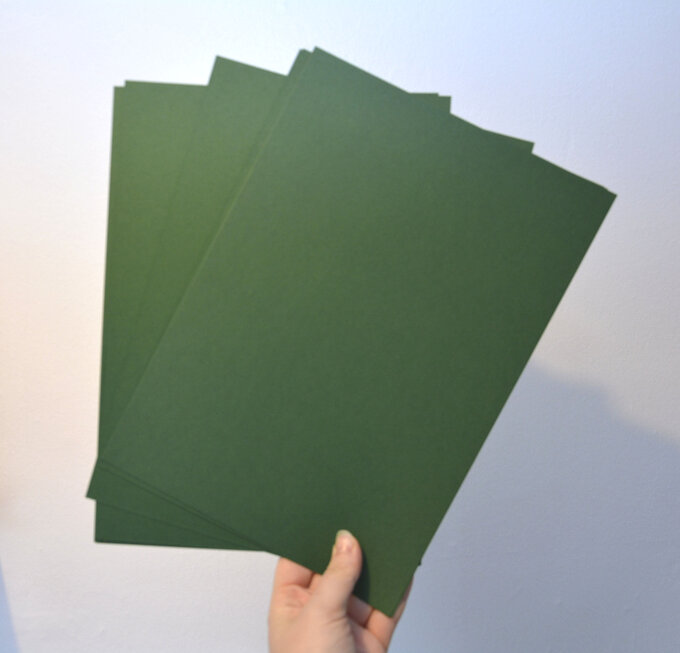
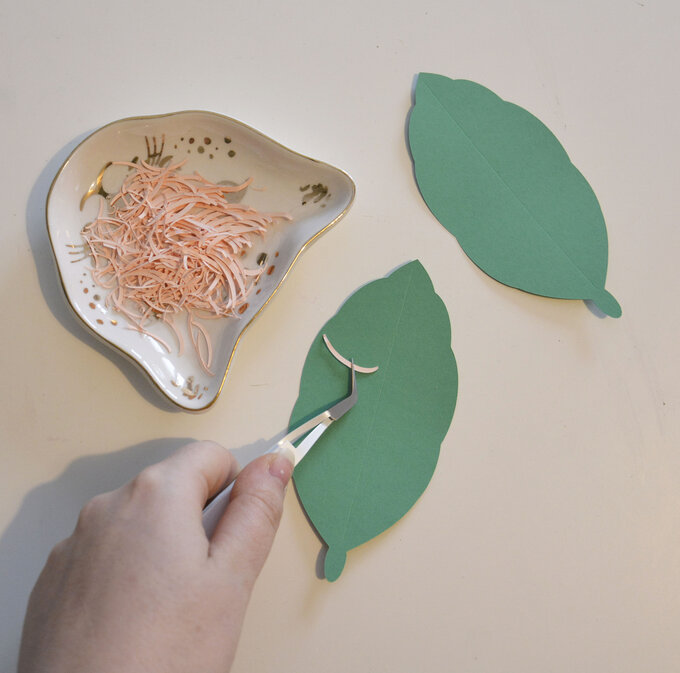
Adhere the pink strips to the leaf. Use the score line as a guide and adhere with precision tweezers. I like to use a fine paint brush and clear dry glue.
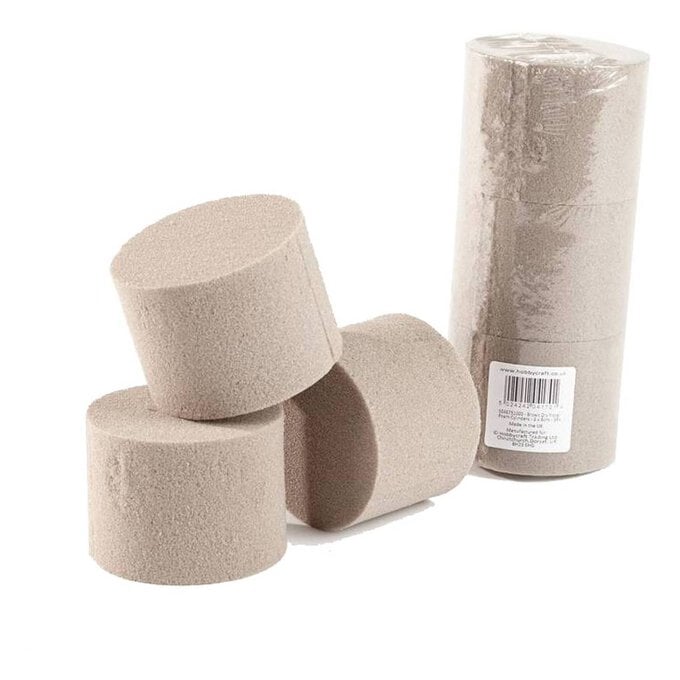
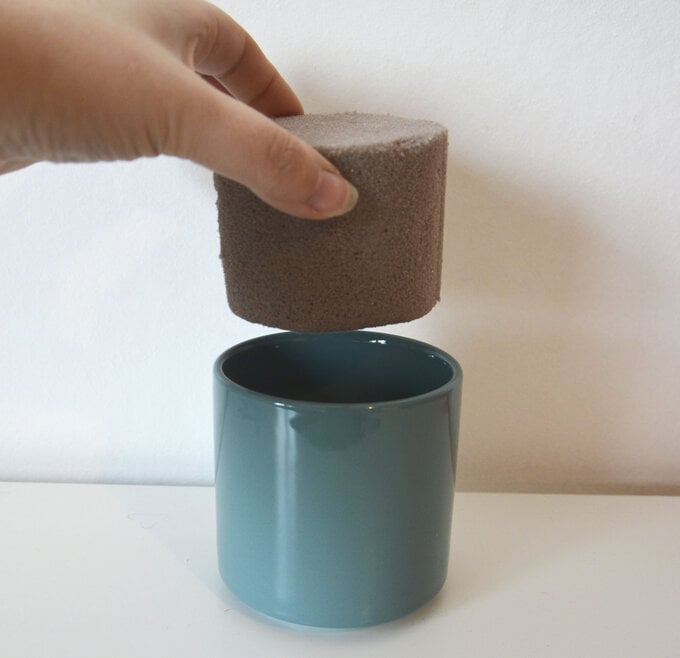
Now it's time to add the leaves to the plant pot. Place the foam into the plant pot.
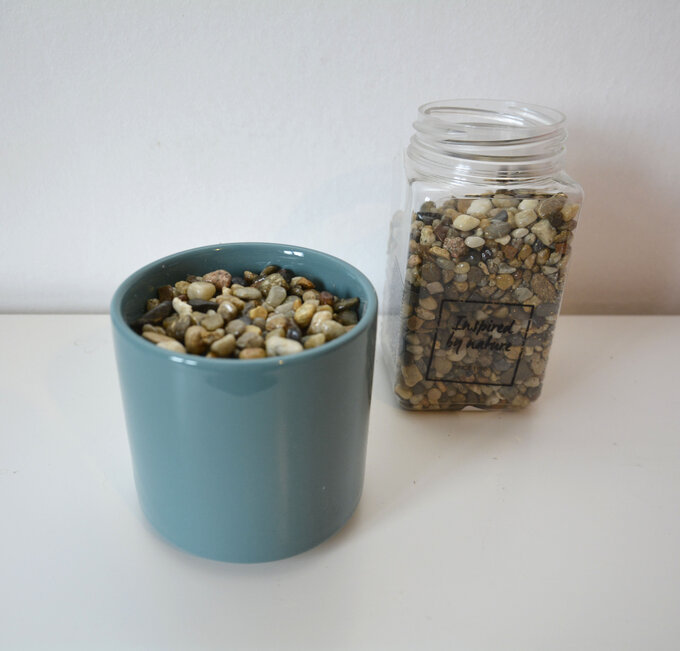
Take your decorative stones and place them into the pot covering the entire foam.
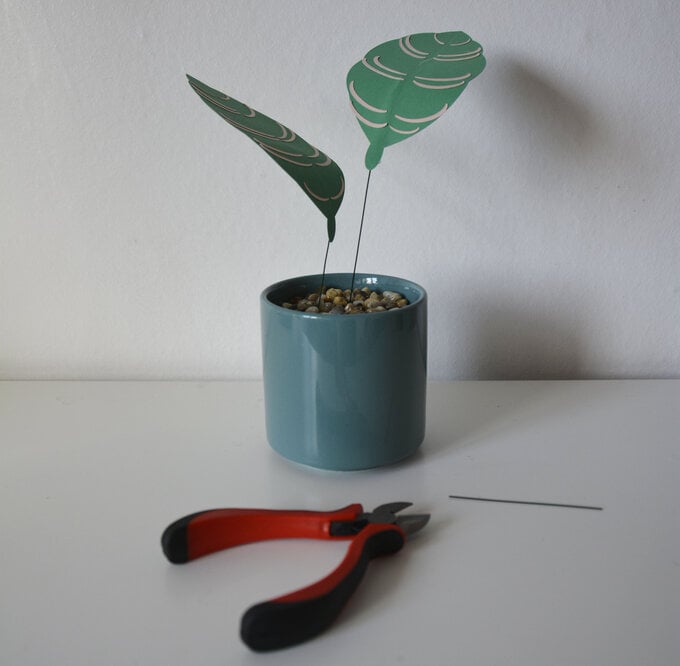
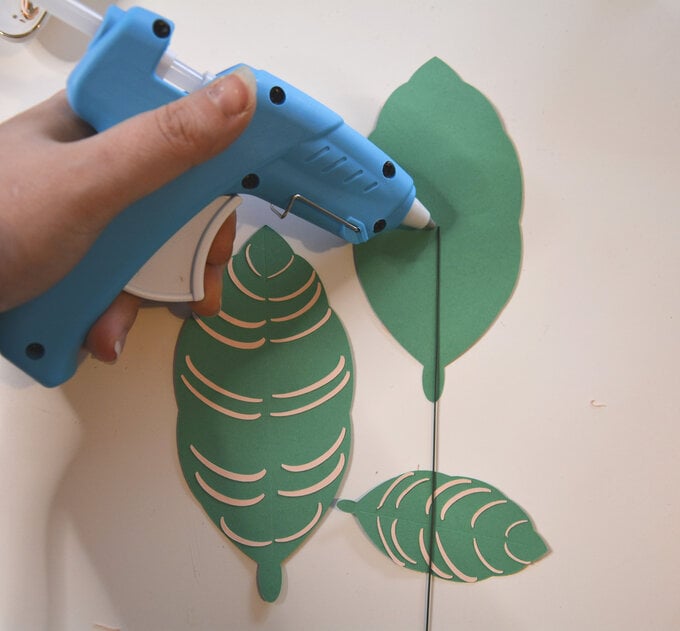
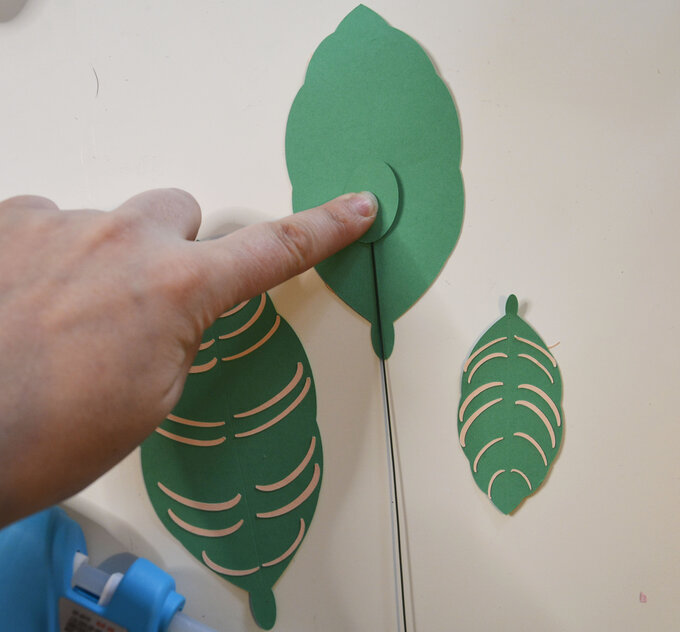
Using a glue gun and hot glue, adhere the florists wire down the centre of the leaf. Use the ovals we cut out to cover the wire. You want the wire to be at least hallway op the leaf as the wire will help with the curling of the leaves.
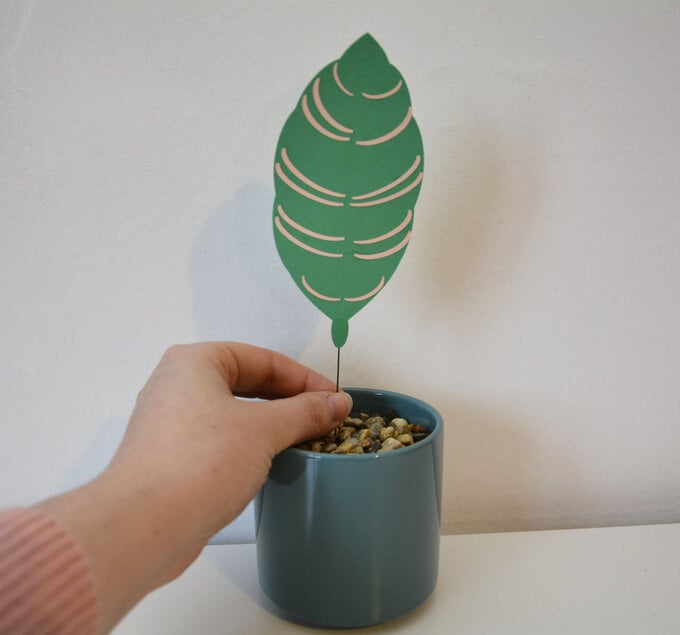
Insert the leaf into the floral foam and gently bend over. Work in a clockwise motion with your leaves always bending outwards.
