Cricut: How to Make a Paper Star Wreath
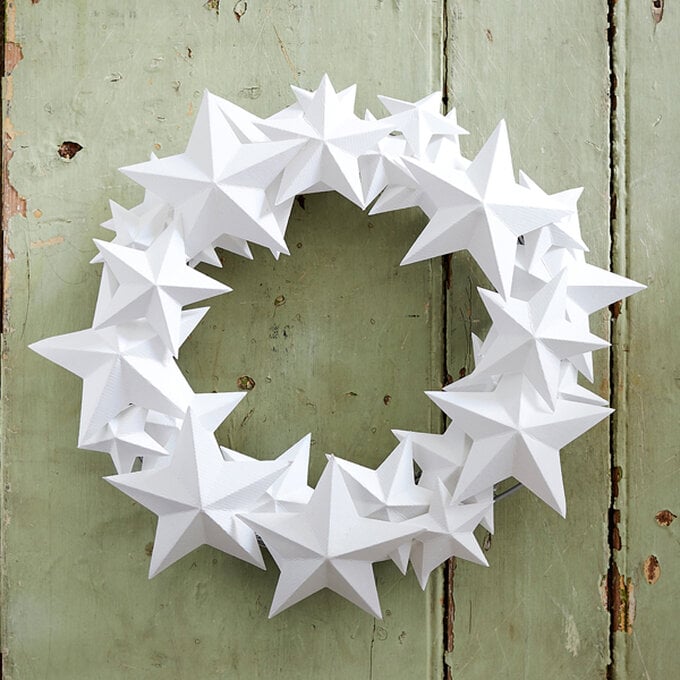
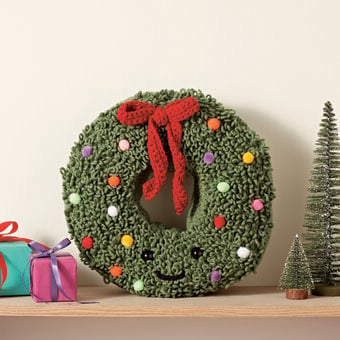
Make the most of your Cricut machine's scoring abilities with this dimensional paper star wreath. You only need a handful of components to create this starry marvel that will stand the test of time throughout the year, not just Christmas!
This modern take on a classic decoration will look amazing displayed around your home and guests will be in awe of your papercraft creation!
You will need
Subtotal
Is $ 461.00
Subtotal
Is $ 9.49
Subtotal
Is $ 9.49
Subtotal
Is $ 2.49
Subtotal
Is $ 9.49
Subtotal
Is $ 9.49
You Will Need
* Cricut Design Space™ online software on pc/Mac/iPad/iPhone/Android
* Cricut Machine
* Cricut Scoring Stylus
* Hot Melt Glue Gun and Glue Sticks
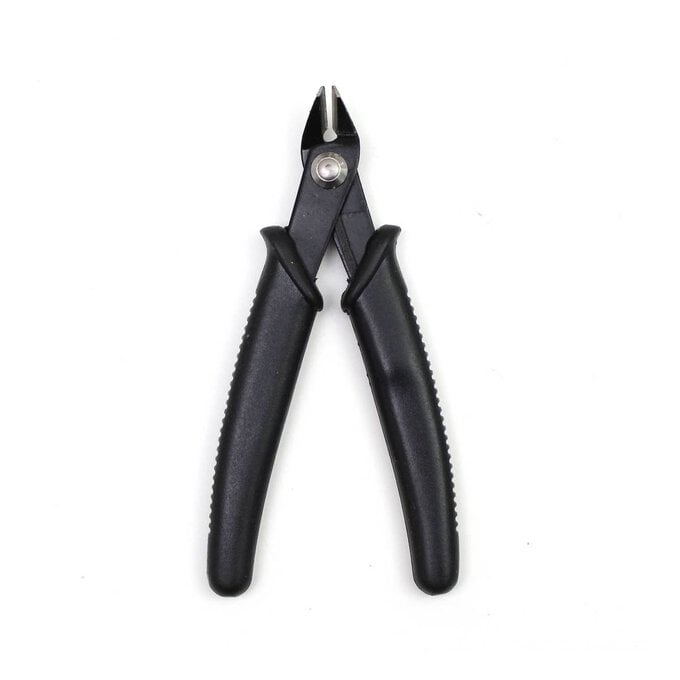
* Wire Cutters
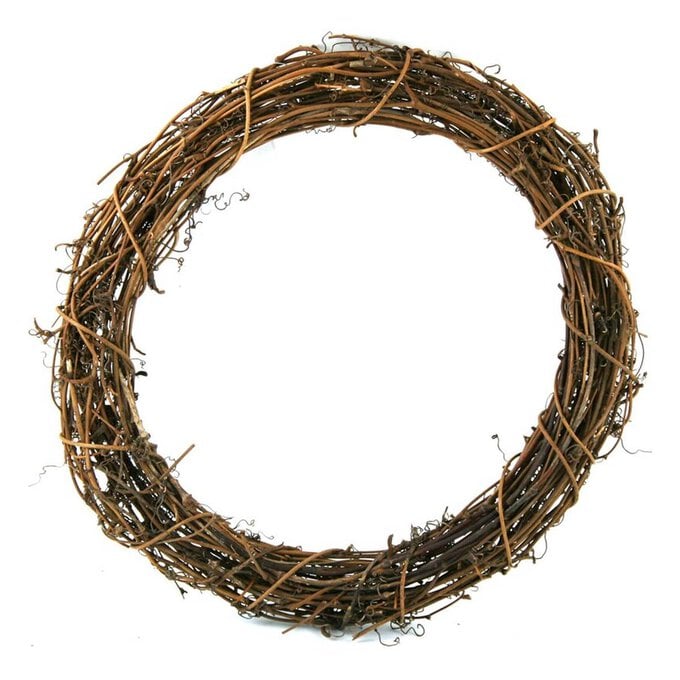
* 30.5cm Rattan Wreath
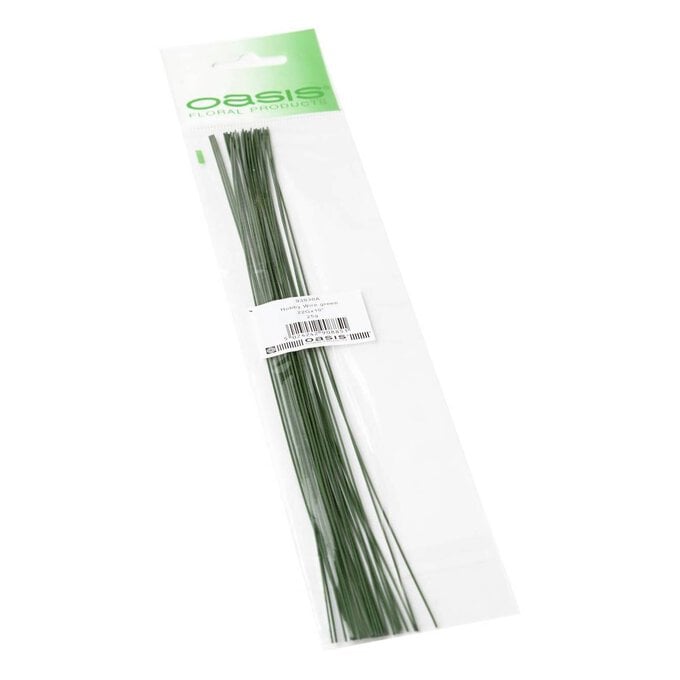
* Floral Wire
* White Card
Using your iPad, log on to your Design Space™ account and make sure you are connected to your Cricut machine. If using a Cricut Explore Air 2 make sure the Smart Dial is set to 'Custom Materials'.
Once logged in and on the Cricut Design Space home screen, type 'Star' into the search bar at the top of the screen, then select the below project.
Select 'Customise' from the project pop-up.

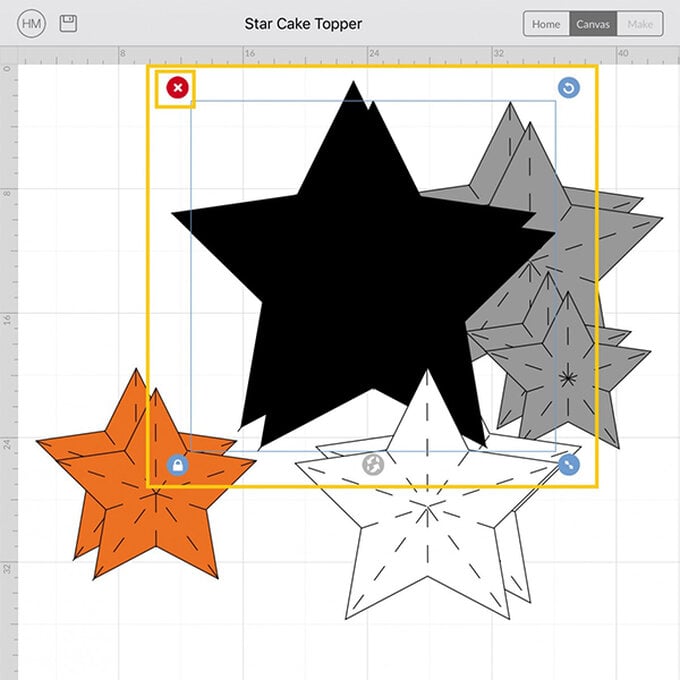
Once through to the canvas screen, delete all of the stars except for three. To delete the unwanted stars, simply click on them to select, and click the red cross in the top left-hand corner of the selection box.
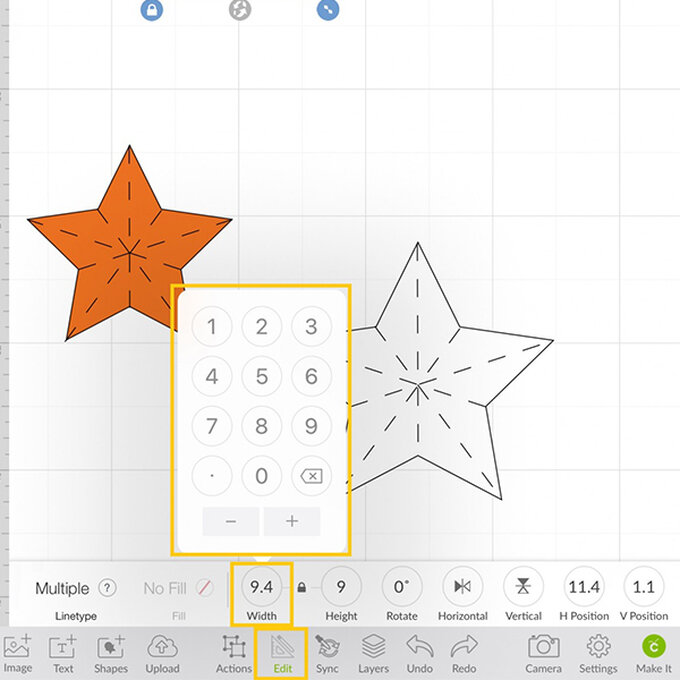
Select each star individually and amend to your desired size. Ours measured 9.4cm, 7.4cm and 5.4cm in width. To amend the size, open the 'Edit' menu from the toolbar at the bottom of the screen. Select one of the stars, then type your dimension in the 'Width' box ensuring that the padlock icon is locked. Repeat this process with the remaining two stars.
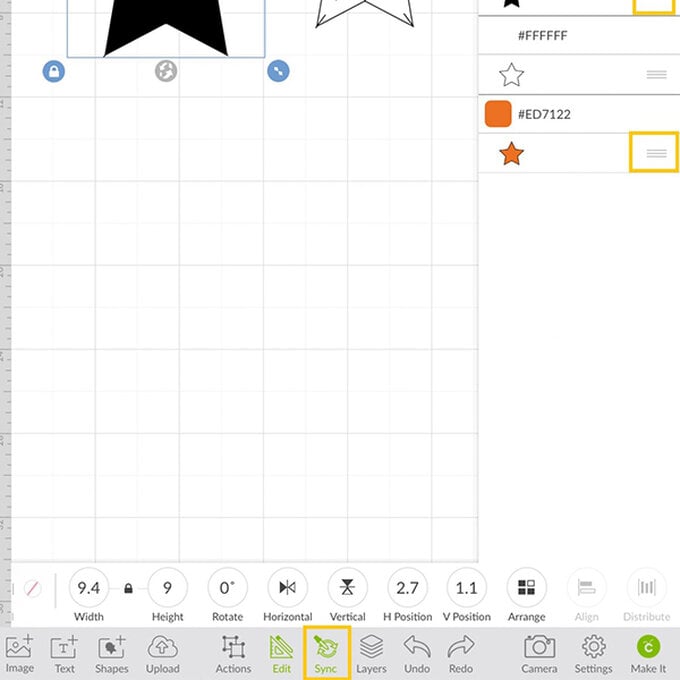
Select the 'Sync' button from the toolbar at the bottom of the screen, as all of the stars are to be cut from white cardstock they all need to be white on the canvas, the 'Sync' function allows you to do this really easily; simply drag the non-white elements, using the three lines to the right of the star icon, to the white star area.
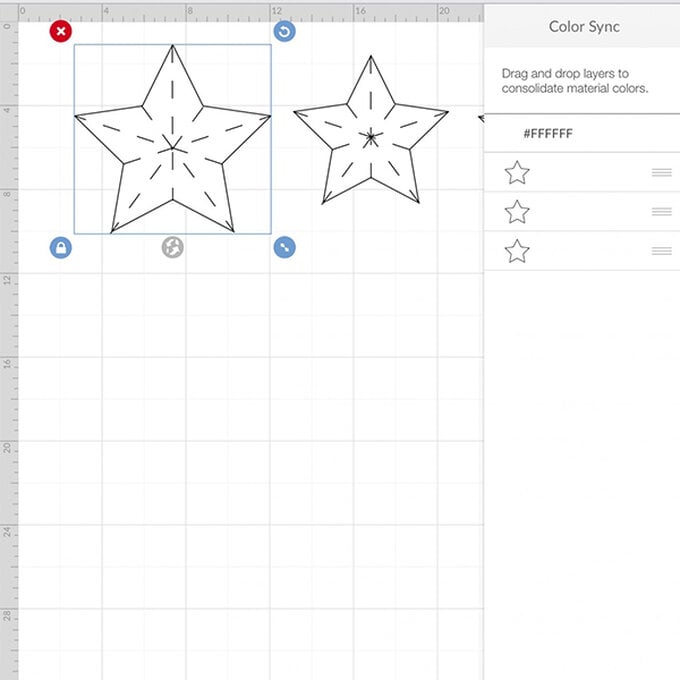
The colour of each of the stars should now be showing as white. To close the 'Sync' menu simply tap on the icon at the bottom of the screen.
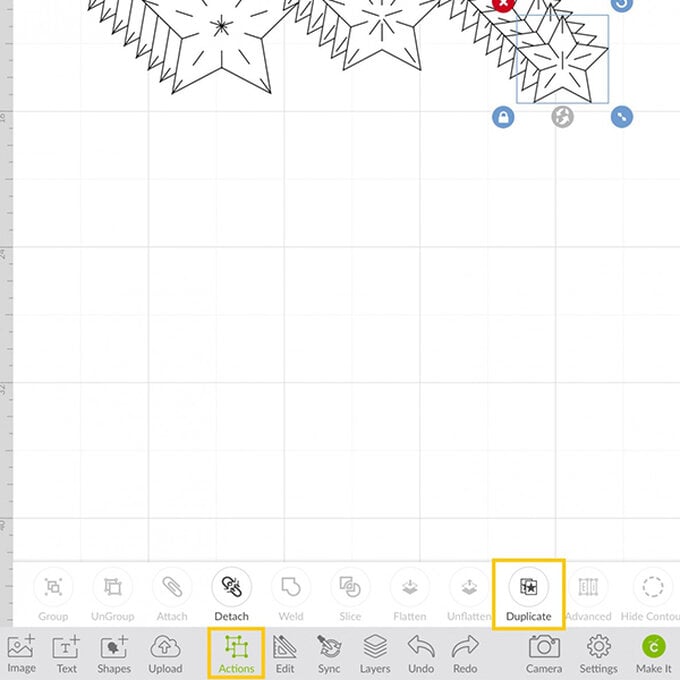
With the 'Actions' menu open, select the 'Duplicate' function to create more stars for your wreath, if you are using a 20.3cm rattan wreath base you will need approximately 28 stars (this will vary depending on the size of wreath base you are using). We duplicated the large star seven times (eight stars in total), the medium stars seven times (eight stars in total), and the medium star 11 times (12 stars in total).
Once you have enough stars. Select the green 'Make it' button from the bottom right-hand corner of the screen.
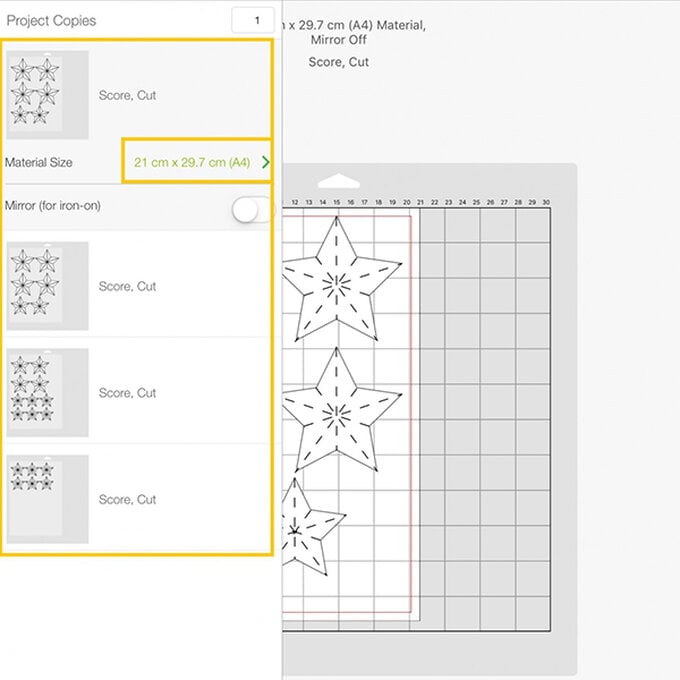
You will then be taken through to the mats preview screen. as we're going to be using A4 cardstock for these stars the material size will need to be amended (Design Space automatically defaults to 12 x 12″). To amend the material size, select the mats icon in the top left-hand corner of the screen.
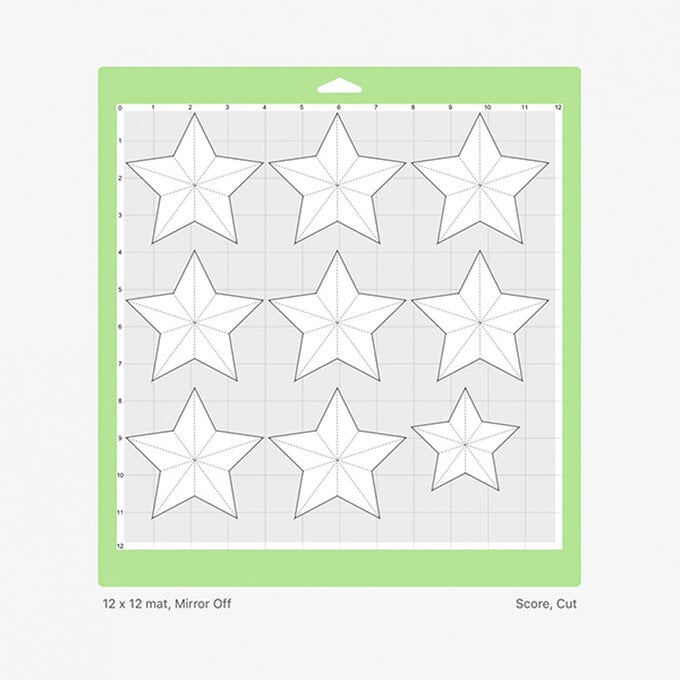
Click on the green arrow to the right of 'Material Size' and select A4 (21 x 29.7cm) from the drop-down menu, the remaining mats should then change to A4 also.
Once happy with the mat set up, click on the green 'Continue' button from the bottom right-hand corner of the screen. Follow the on-screen instructions to cut your design, making sure to insert the Cricut Scoring Stylus into port A when prompted. We used the Medium Cardstock cut setting and the StandardGrip Cutting mat to cut the stars.
Once the cut is complete, carefully remove the stars from the mat and fold along the score lines to construct.
Cut the lengths of hobby wire in half and curl the end of the wire around the end of the wire cutters.
With the right-side of the star facing down, add a small blob hot glue to the centre, leave to cool for a few seconds before adding the curled end of the wire.
Once the glue has set push the wire through the front of the wreath and bend up the surplus, pushing the end back up into the wreath.
Repeat this process with all of the remaining stars, varying the heights at which they are secured to create dimension. Continuing adding the stars until the entirety of the rattan wreath base is covered.
