Cricut: How to Make a Personalised Door Mat
Add a festive touch to your front door with this personalised door mat. The stencil for this project has been created in the Cricut Design Space app and can be tailored to suit, simply click on the project link below.
Permanent adhesive vinyl is then cut with the Cricut Maker to create the stencil, then all that's left to do is get painting!
Project and instructions by Aisha Cluitt
Cricut Design Space Link: Personalised Door Mat
This project contains paid-for content from Cricut's Design Space app. Screen grab reference images are taken from the desktop version of Design Space. This project was created using the Cricut Maker however, it can also be recreated on any of the Cricut Explore machines.
You will need
Subtotal
Is $ 589.00
Subtotal
Is $ 16.00 , was $ 20.00
Subtotal
Is $ 25.00 , was $ 31.00
Subtotal
Is $ 4.49
Subtotal
Is $ 34.00 , was $ 42.00
Subtotal
Is $ 15.00 , was $ 18.00
You Will Need
* Doormat
* Cricut Machine
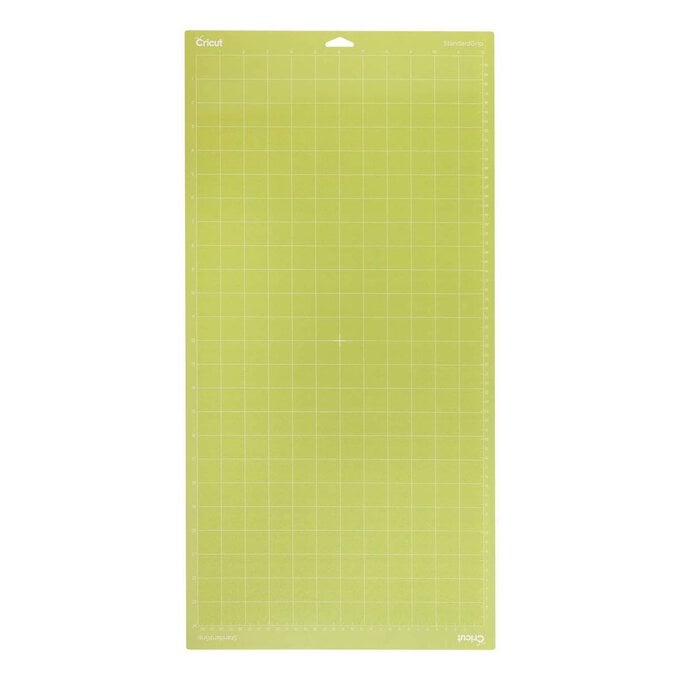
* Cricut Standard Grip Cutting Mat 12 x 24"
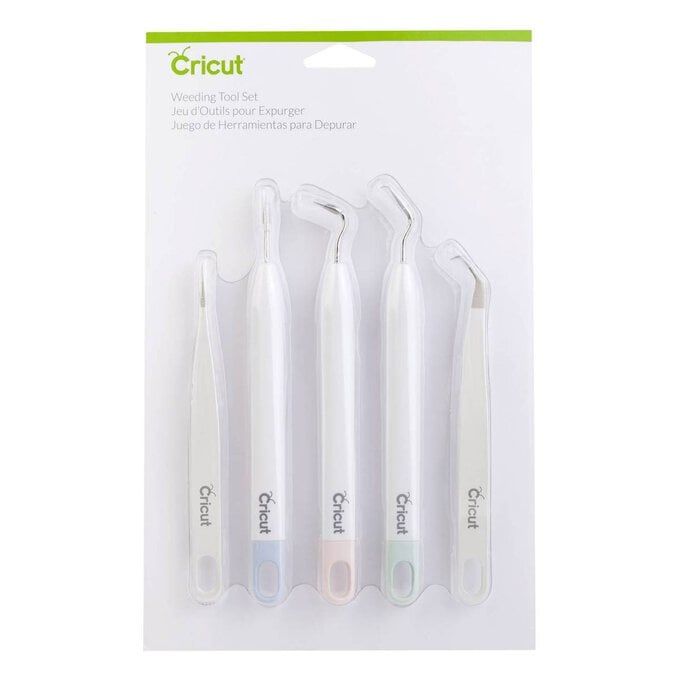
* Cricit Basic Tools
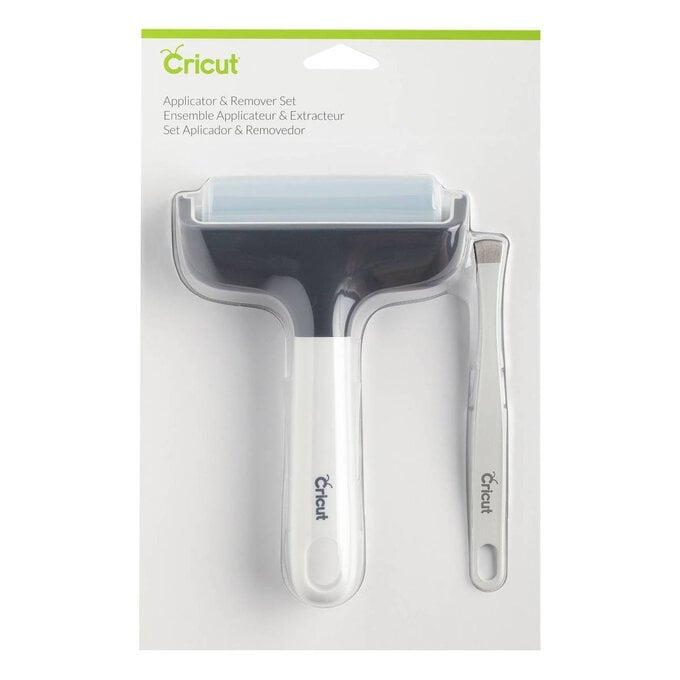
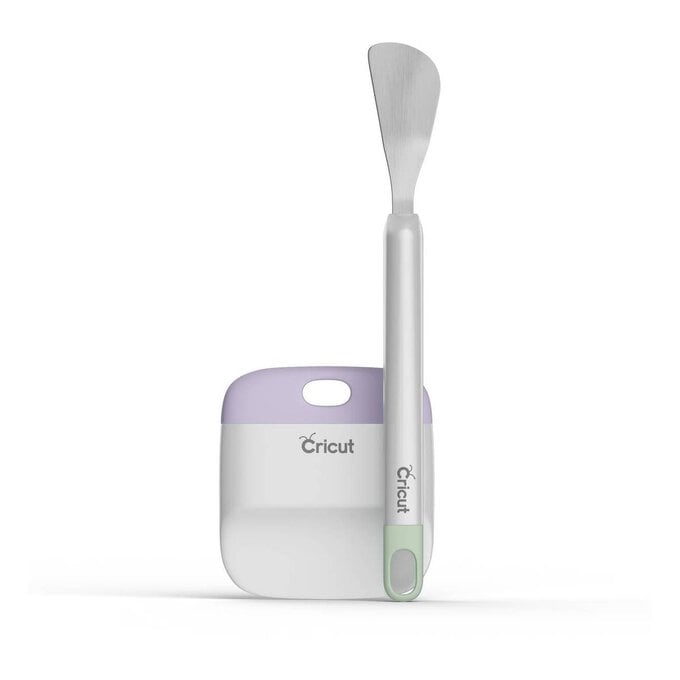
* Cricut Brayer and Remover
* Cricut Permanent Smart Vinyl
* Acrylic Paint
* Paint Palette
* Paintbrushes
Start by opening the project in the Cricut Design Space app using the project link at the top of this post, or alternatively use the link below - https://design.cricut.com/landing/project-detail/60e4b5a5209a7e12f0ec5087
To access the project, copy and paste the link into your browser, you will be directed to a Cricut landing page, select 'Open' followed by 'Open Cricut Design Space Application'.
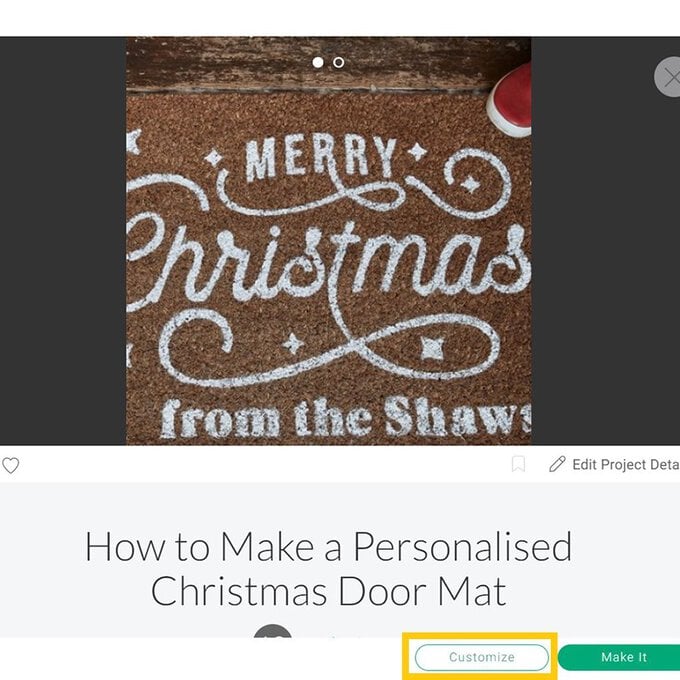
The app will open (you may be prompted to log in) and the project overview screen will appear.
Select 'Customise'.


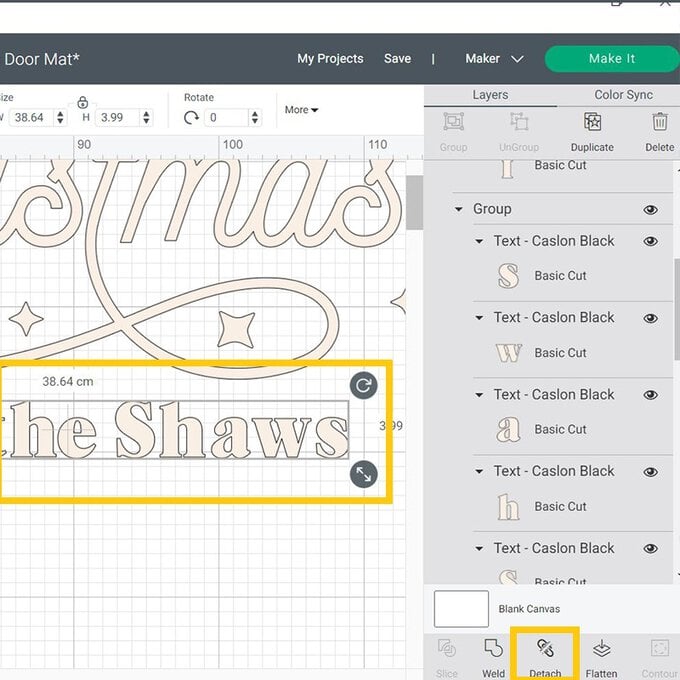
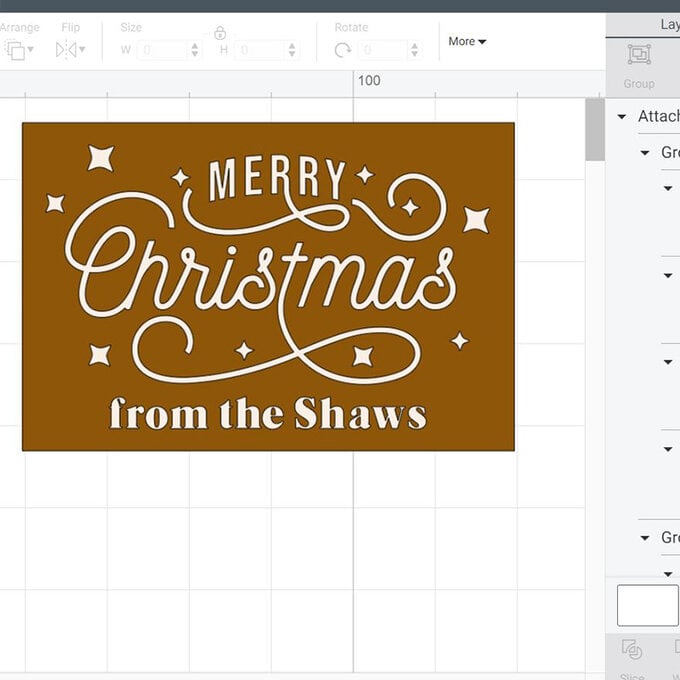
Select the bottom line of the design, and click 'Detach' from the menu on the right-hand side of the screen.
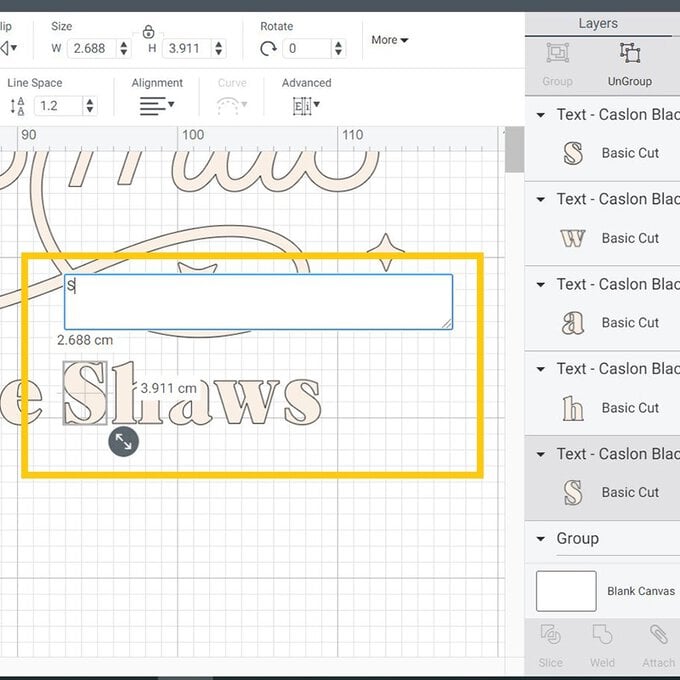
Click on the word 'Shaws' then select 'Ungroup' from the same menu.
Once each of the letters has been ungrouped, double-click on them to prompt a text box to appear, amend the letter as desired, and continue working on this way until all the letters have been amneded.
If more letters are needed simply 'Duplicate' the letters until you have enough, then amend each individually.
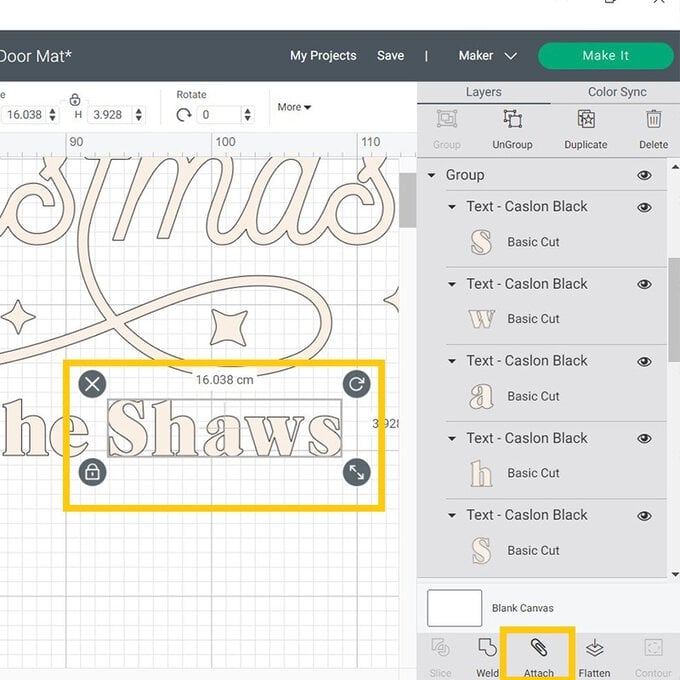
Reposition the letters as desired, then drag a selection box over the surname and select 'Attach' from the menu on the right-hand side.
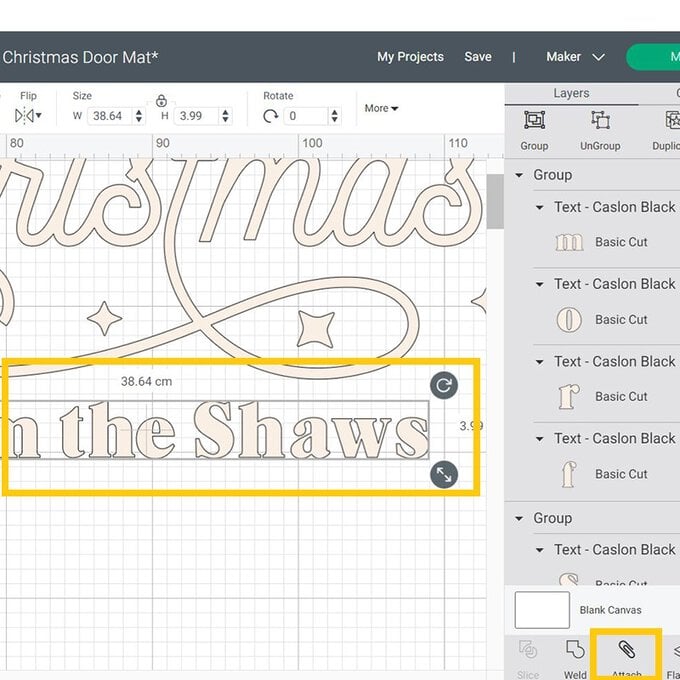
Drag another selection box over the entire second greeting and select 'Attach' once more.
Once all the elements have been amended, re-size the design to suit the size and shape of your door mat.
Top Tip: To check the size and position of the greeting on your doormat add a template to your canvas, remember to hide or delete this before going through to mat preview screen.
Once happy, select 'Make it'
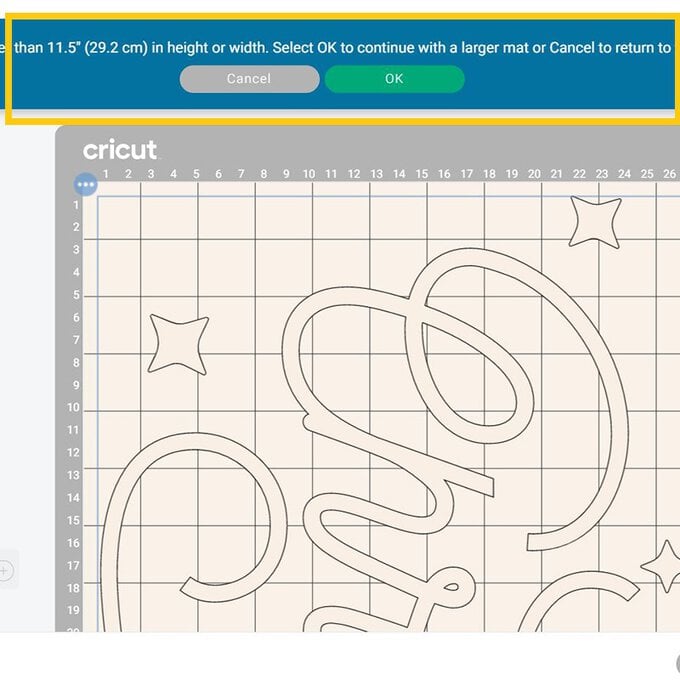
Once through to the mat preview screen a pop-up will appear on screen to advise that a larger 12 x 24" cutting mat will be needed.
Check everything is present and correct before clicking 'Continue'.
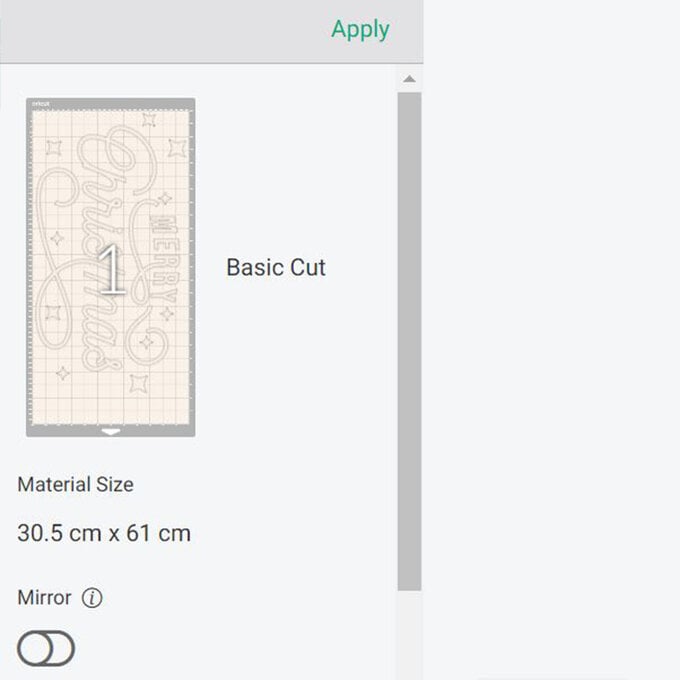
Place your permanent adhesive vinyl onto the cutting mat, using a Brayer or Scraper tool to ensure good contact between the mat and vinyl.
Select the Premium Vinyl cut setting once through to the machine set up screen.
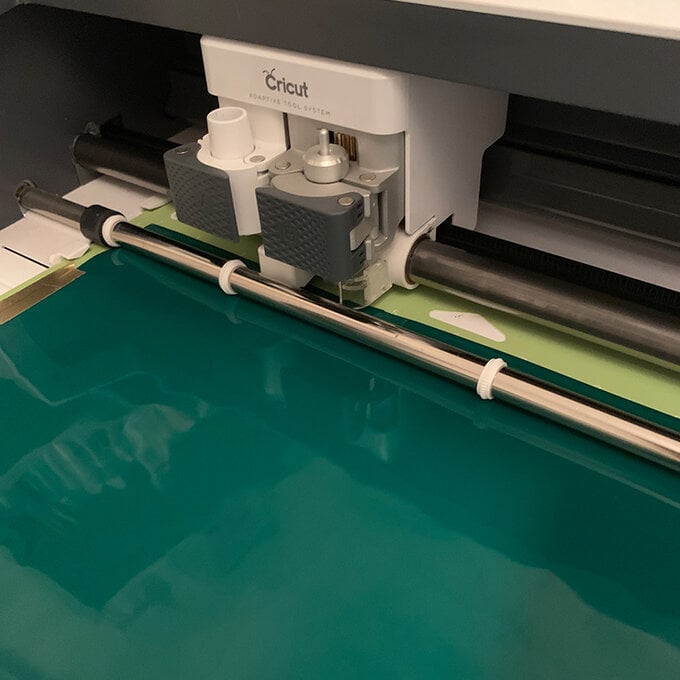
Load the mat into the machine and press the flashing icon to begin the cut.
Reverse weed the design, removing the greeting.
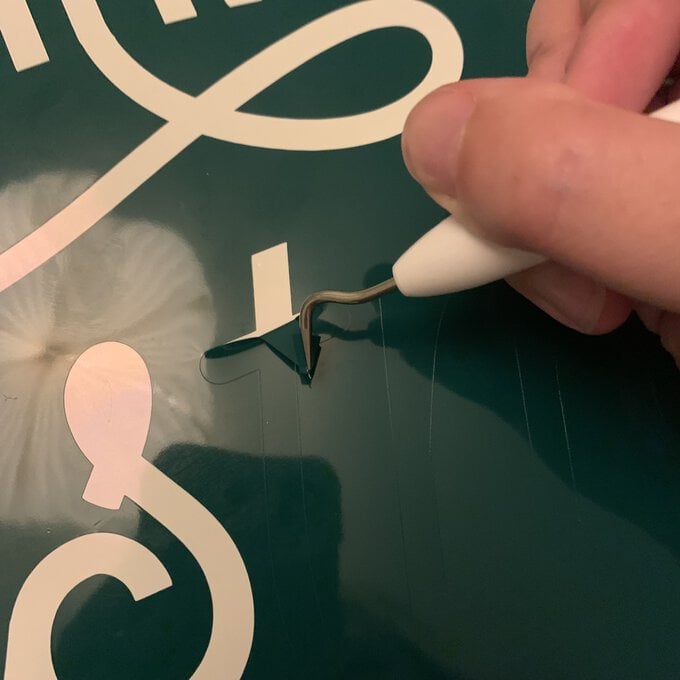
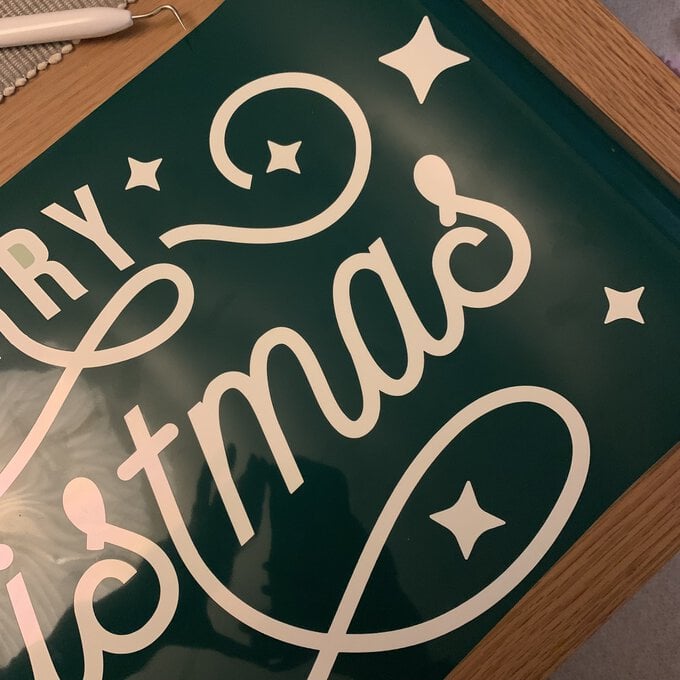
To apply the vinyl to your door mat, slowly and carefully remove part of the carrier sheet and apply this to your mat.
Top Tip: Two hands are better than one for this part of the project, with one person slowly peeling back the carrier sheet, while the other secures the vinyl to the door mat.
Keep rolling back the carrier sheet and sticking down the vinyl until the whole of the design has been transferred.
Use a Brayer to ensure everything is nice and secure.

Once the entirety of the design is secured to the door mat, apply masking tape around the edge.
Using the design on your Canvas as a guide, apply any small interior letter pieces that have been left behind on the carrier sheet.

Using a stiff bristled brush and a dabbing motion apply the paint to the stencil.
Continue to add the paint to the stencil until the entire design has been covered.
Leave to dry and then apply a second coat of paint to the design, followed by a third (and potentially fourth).
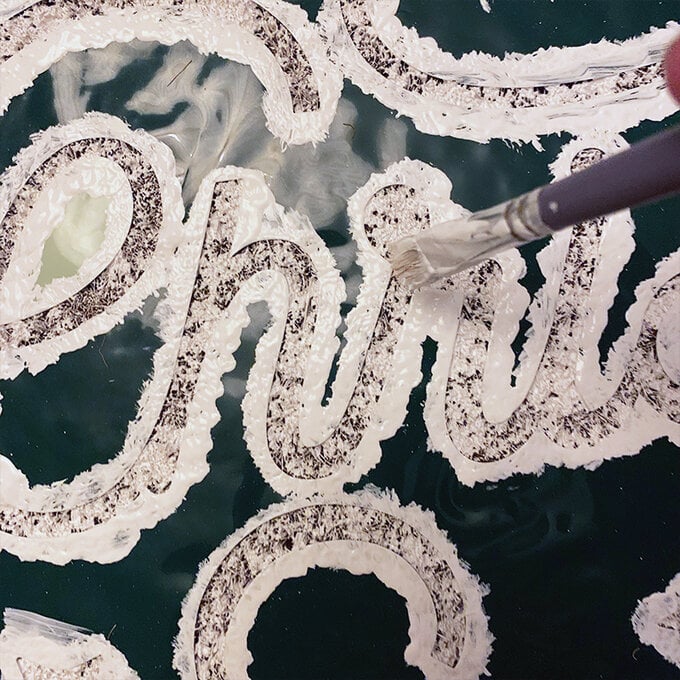
While the final coat of paint is still wet, use the weeder tool to remove smaller pieces of vinyl, then carefully pull away the masking tape followed by the larger pieces of vinyl to reveal the design.

Leave to door mat to dry for at least 24 hours.
Once the mat has dried, and in a well-ventilated area (preferably outside), use a matte varnish spray to seal the design.
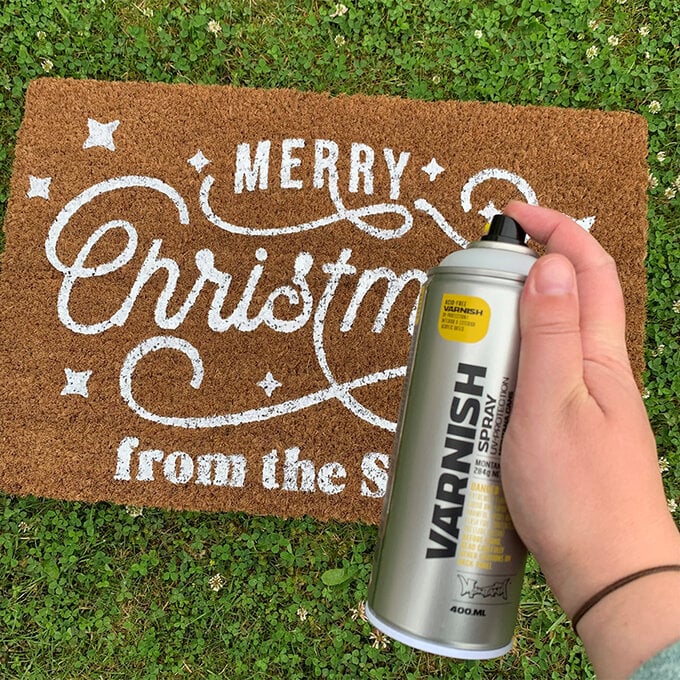
Once the sealer has dried, your door mat is then ready to use!


