Cricut: How to Make Personalised Bathroom Jars
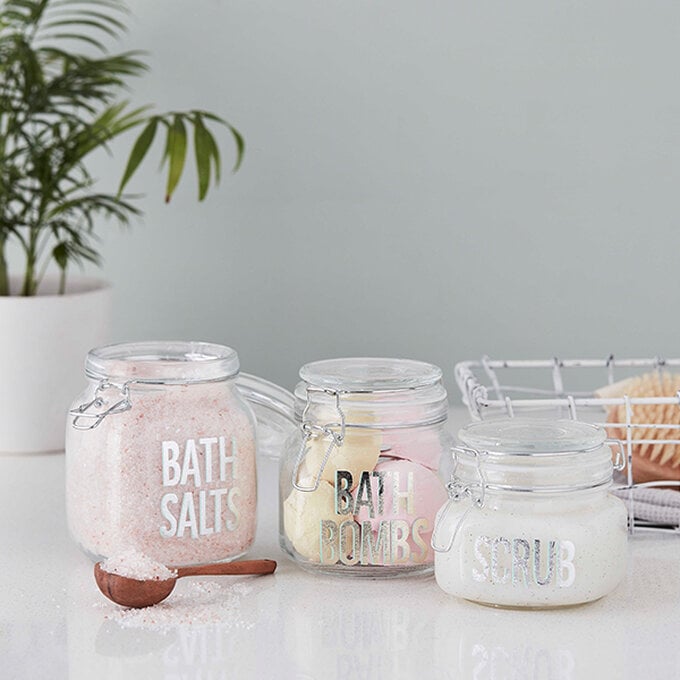
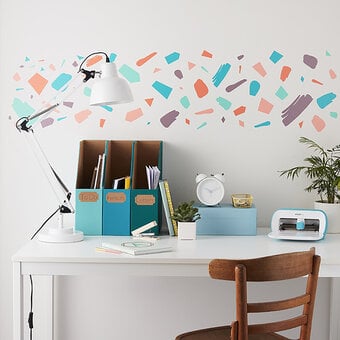
Perfect for creating your own little apothecary, add personalised touches to your toiletries with this simple handmade jar label project! This project also makes a great gift, recycle old jars and get creative with the recipients favourite items.
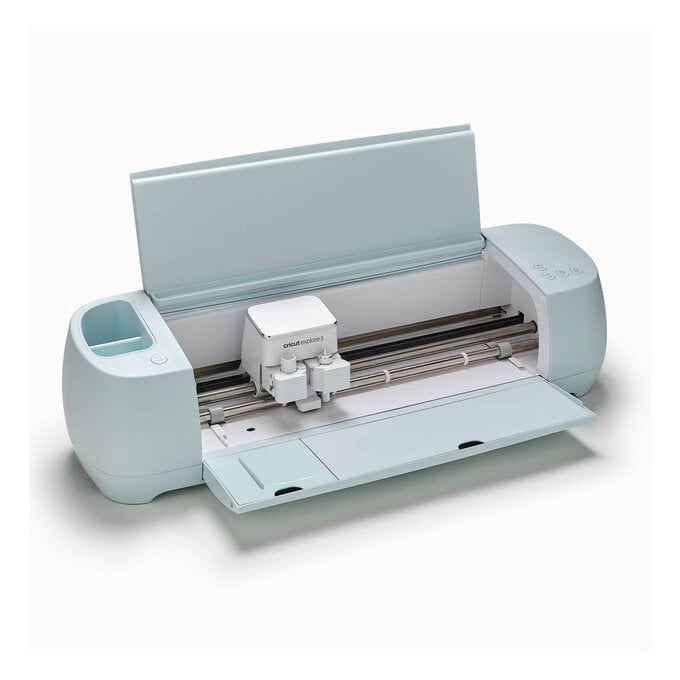
Forget the old school label maker, with Cricut you can take label designs to a whole new level. There are lots of different fonts within the Design Space app to choose from, so you can create your labels exactly as you want them. We've used the Cricut Explore Air 2 for this project, but it can also be made with the Cricut Joy and Maker machines.
Project and instructions by Aisha Cluitt
Discover more Cricut projects here >
Please note: This project contains paid-for content from Cricut's Design Space app. Screen reference images are taken from the iOS version of Design Space.
You will need
Subtotal
Is $ 13.00
Subtotal
Is $ 10.00
Subtotal
Is $ 6.49
Subtotal
Is $ 5.49
Subtotal
Is $ 13.00
Subtotal
Is $ 326.00 , was $ 425.00
How to make
You will also need:
* Basic Cricut tools
* Cricut Design Space app installed on a laptop, PC, Tablet or mobile device
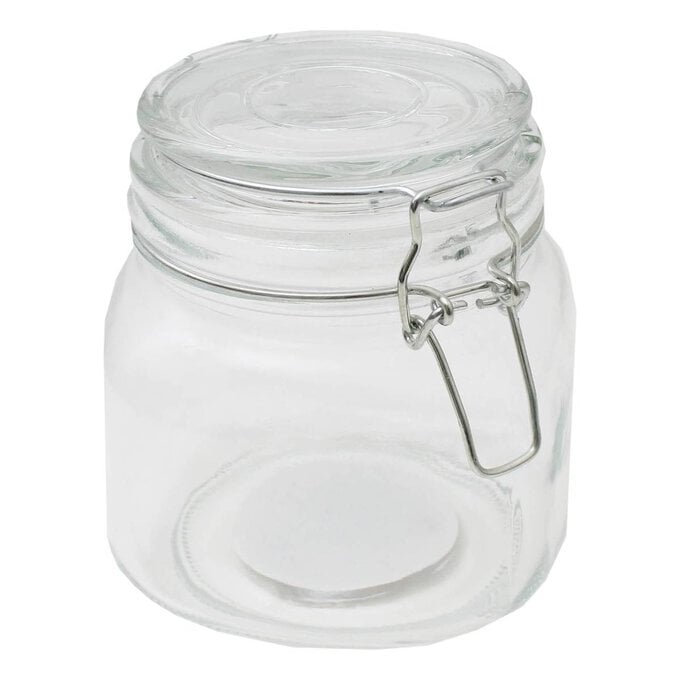
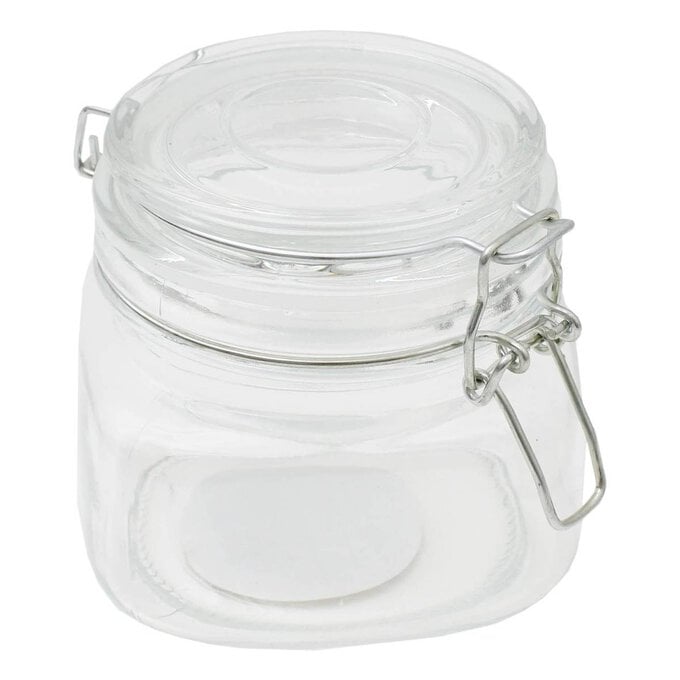
* An assortment of clean jars - these can be upcycled, recycled or new
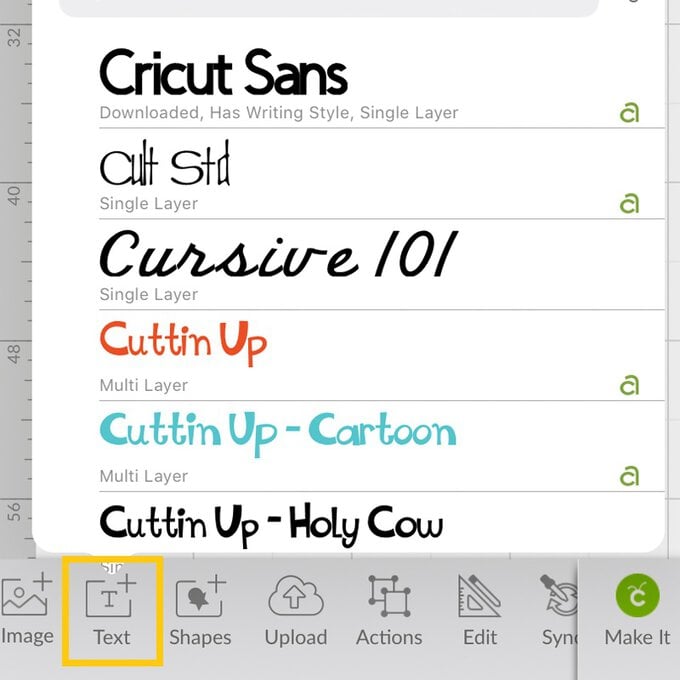
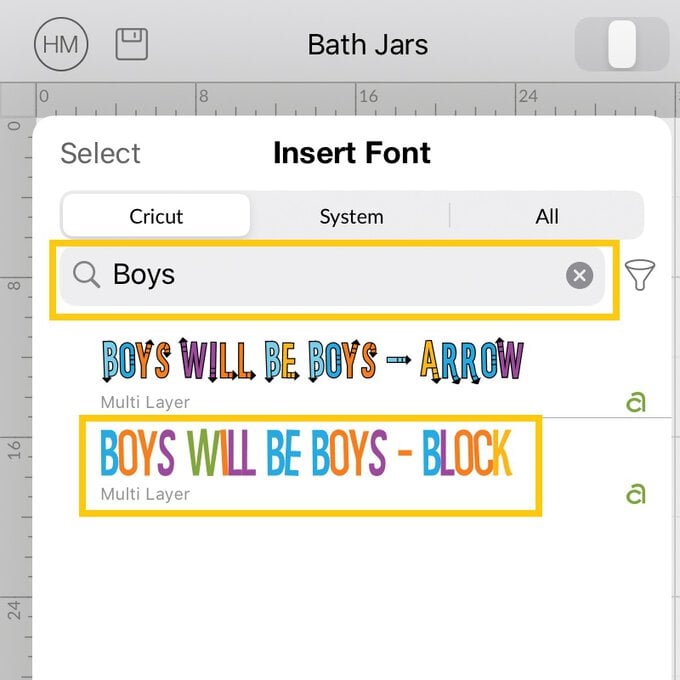
Open up a new project canvas in the Design Space app, then click on the text icon and search for the 'Boys Will Be Boys- Block' font.
Type your label name in the text box that appears on screen.
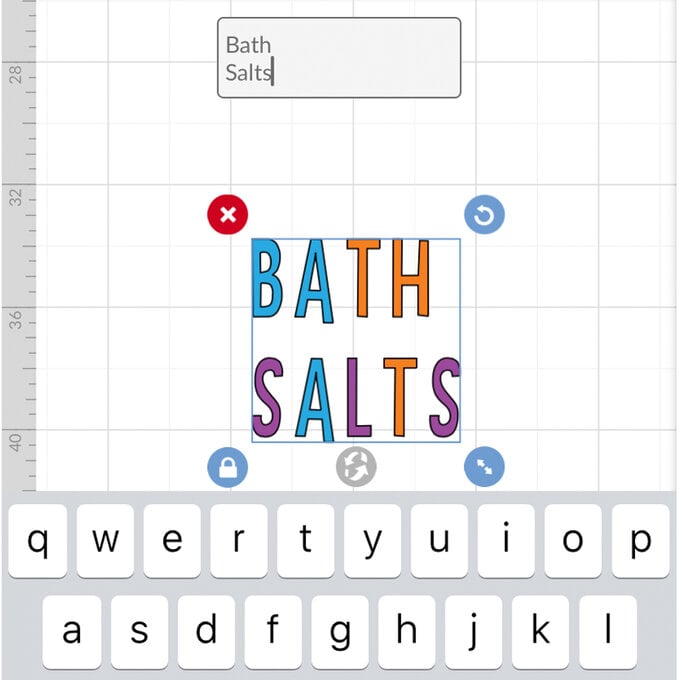
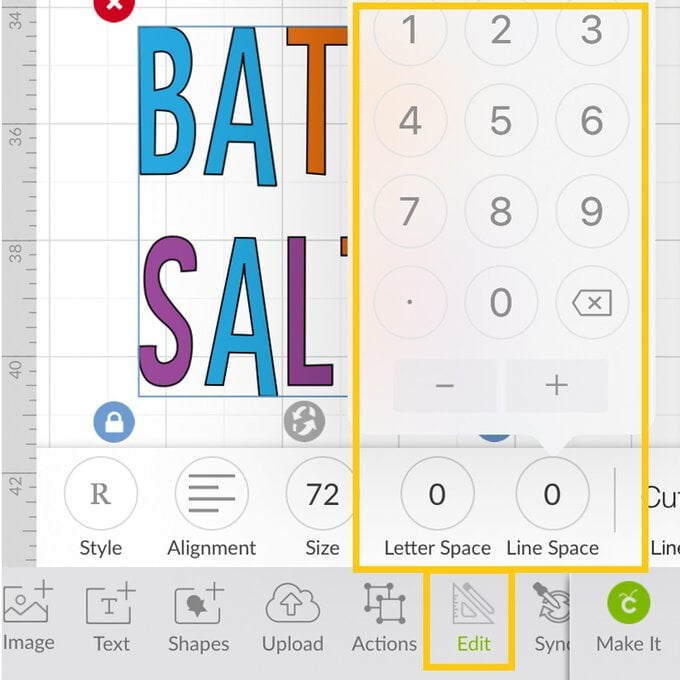
With the text selected, open the 'Edit' menu in the toolbar at the bottom of the screen, and amend the "Letter Spacing" and "Line Spacing" to "0".
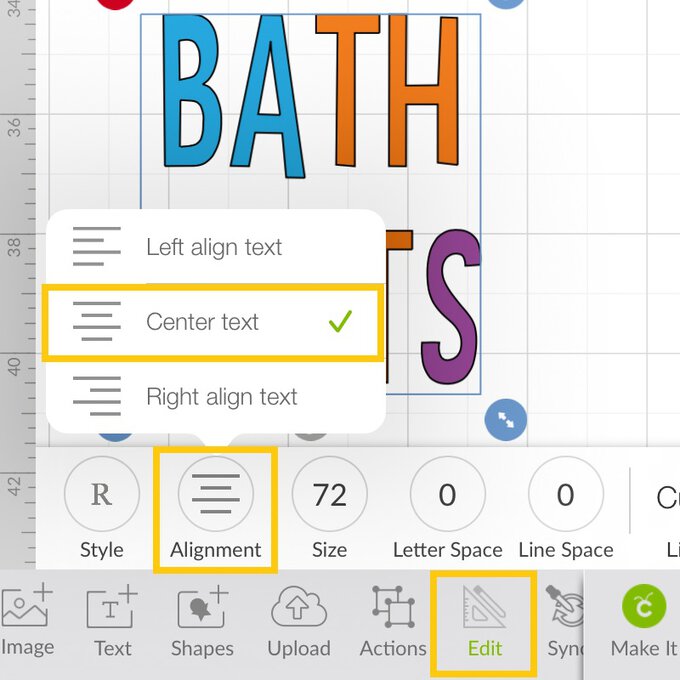
Amend the text alignment to "Centre" so that the top line of text sits centrally over the top line.
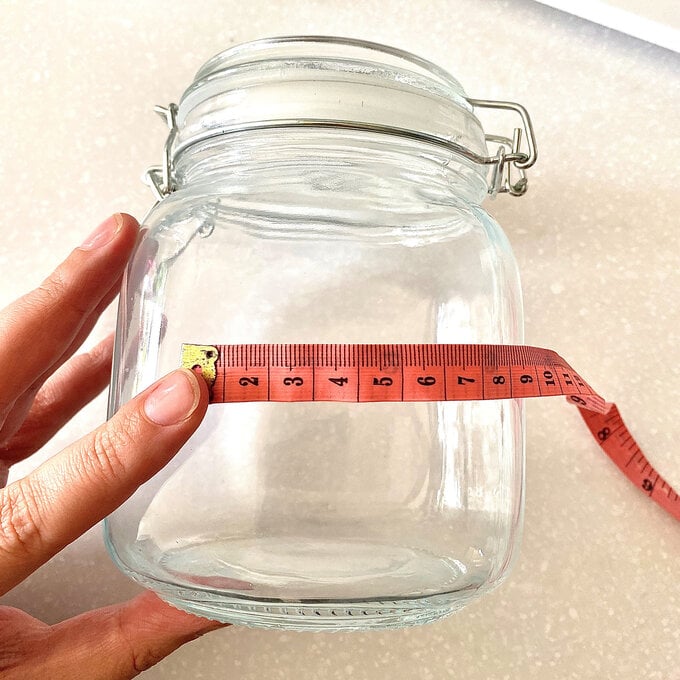
Measure the jar that you'd like to add the label to. Open the "Edit" menu within Design Space and check that the height and width measurement of the text does not exceed the measurements taken. If they do, simply resize the lettering by increasing/decreasing the measurement in the height/width box ensuring the padlock icon is locked.
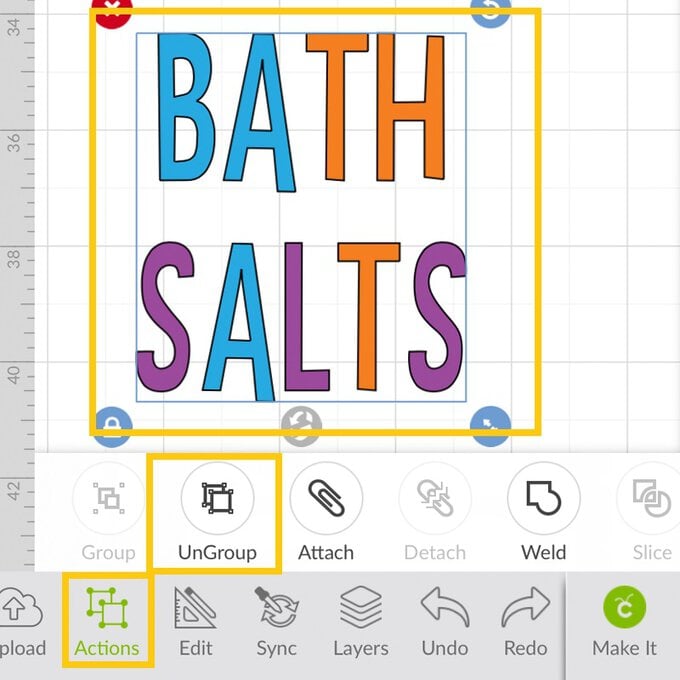
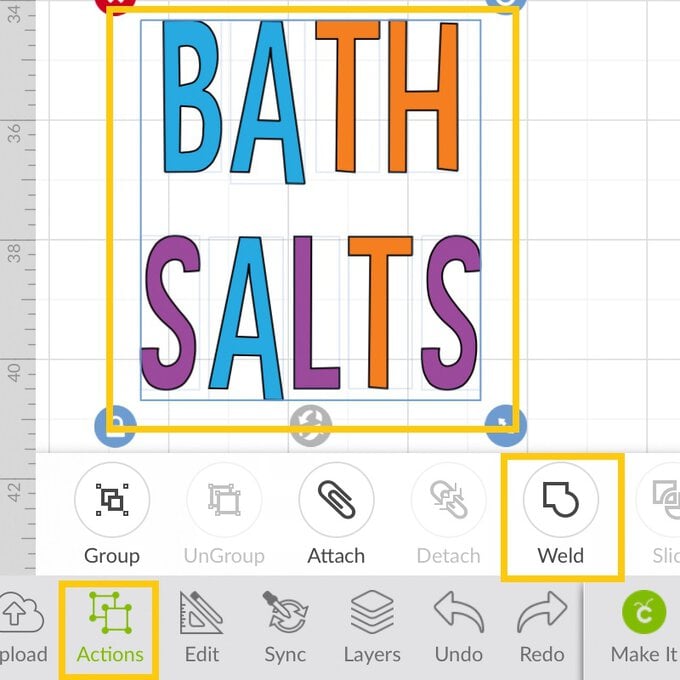
Select the text and "Ungroup" each of the letter groups (orange, purple and blue). Once complete, drag a selection box over the label text and select "Weld" from the "Edit" menu.
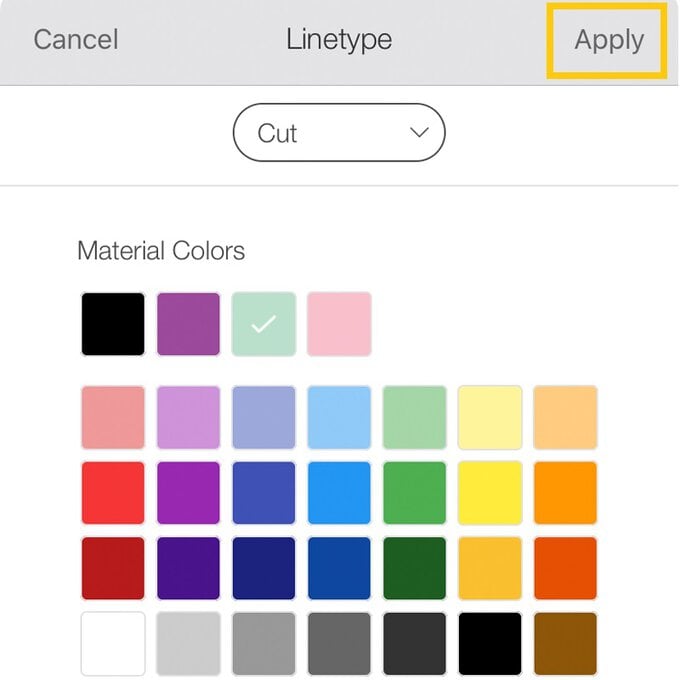
Open the "Edit" menu once more and select the colour swatch to the right of the word "Cut". Select a colour swatch from the pop-up that best represents the colour of vinyl you'll be using to cut the label from.
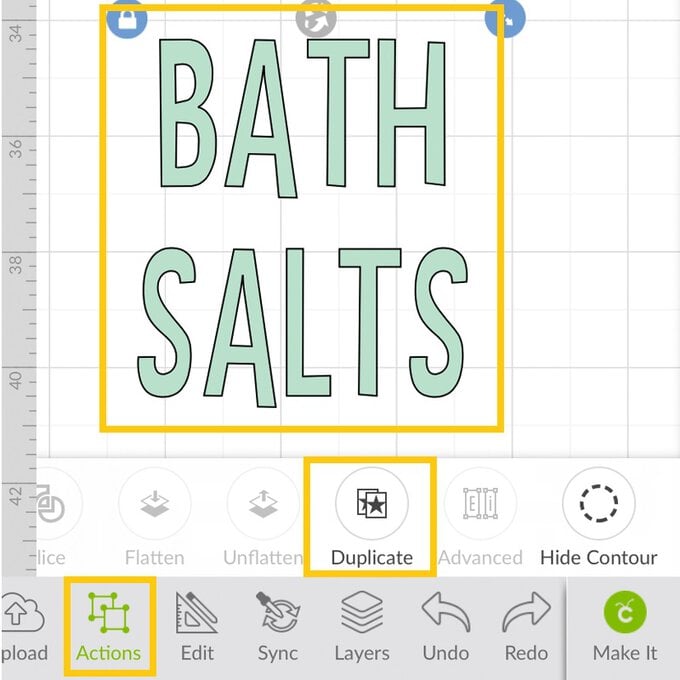
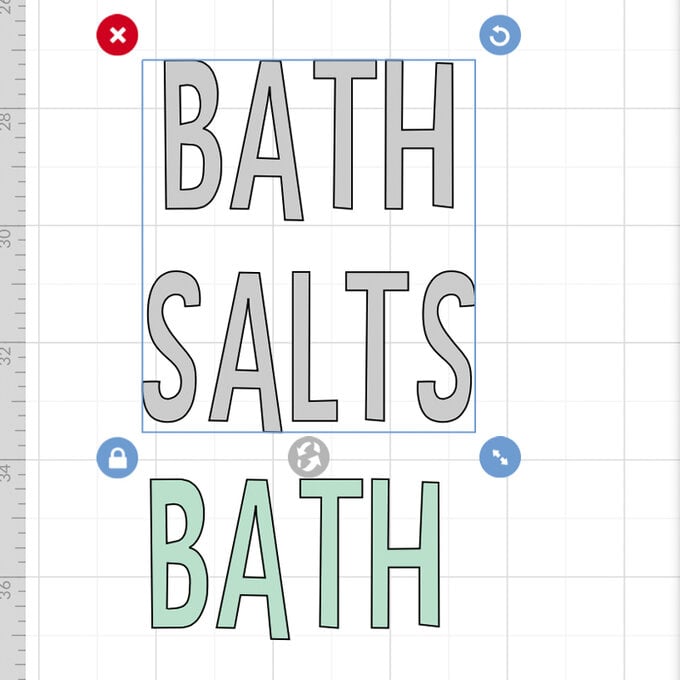
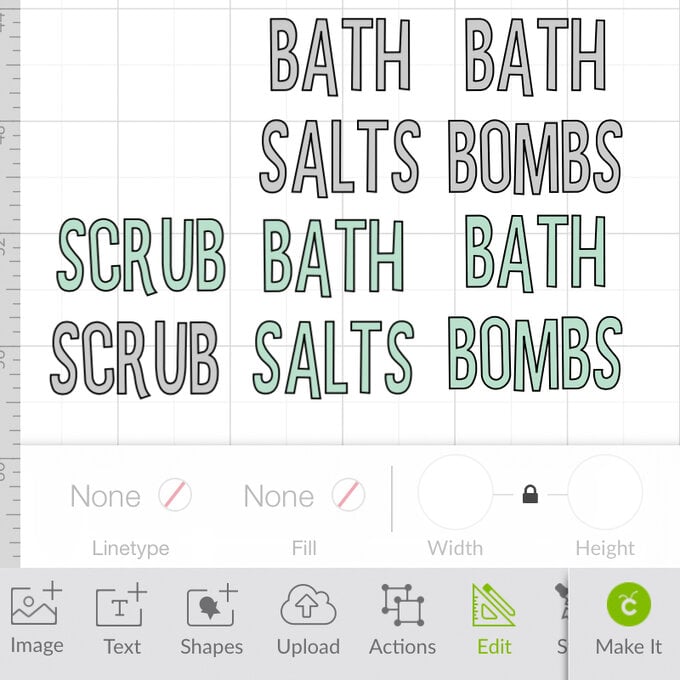
With the label text selected, open the "Actions" menu and select "Duplicate", amend the colour of this text to represent the second vinyl you'll be using.
To create the remaining labels, open the "Text" menu once more and search and select the "Boys will be Boys" font. Then repeat steps 2 to 8. Once happy with all of the labels, select the green "Make It" button in the bottom right-hand corner of the screen.
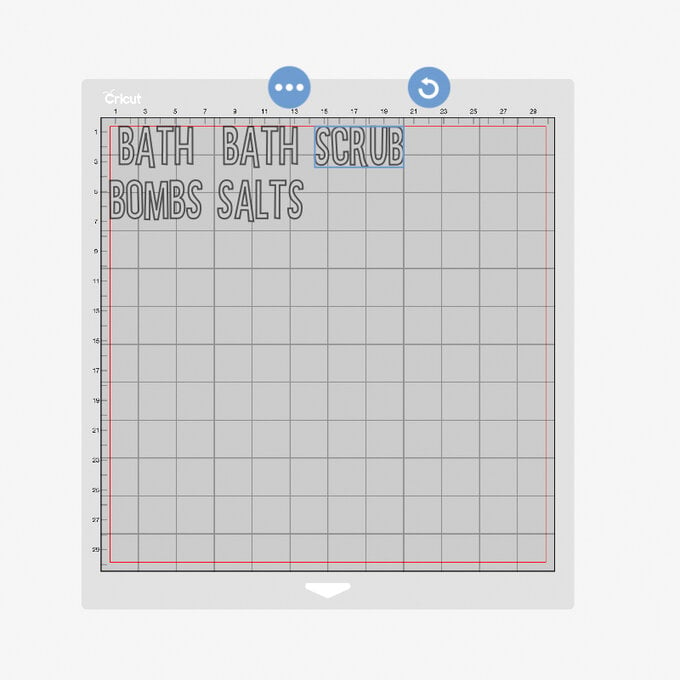
You'll be be taken through to the mat preview screen. Check that everything is present and correct before clicking "Continue".
Top Tip: Add a little more space in between each of the labels to help when it comes to weeding the label later on. To do this, just select the label and move it across slightly on the mat.
Turn the dial on your Air 2 to "Custom" (if you have a Maker or Joy you will not need to do this).
Select the vinyl type from the materials menu and follow the on-screen instructions to cut out each of the labels.
Once all of the labels have been cut, remove the vinyl from the mat, and carefully separate each label using a sharp pair of scissors., then weed each of the labels using a weeder tool.
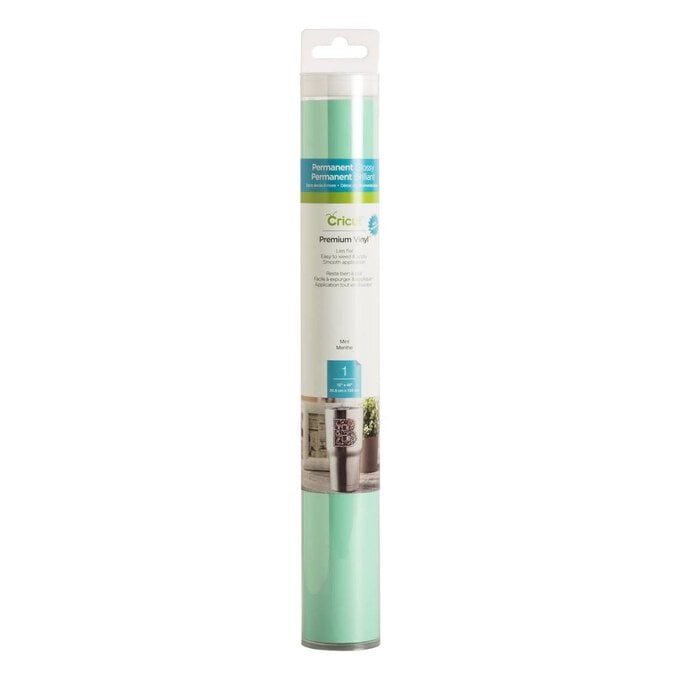
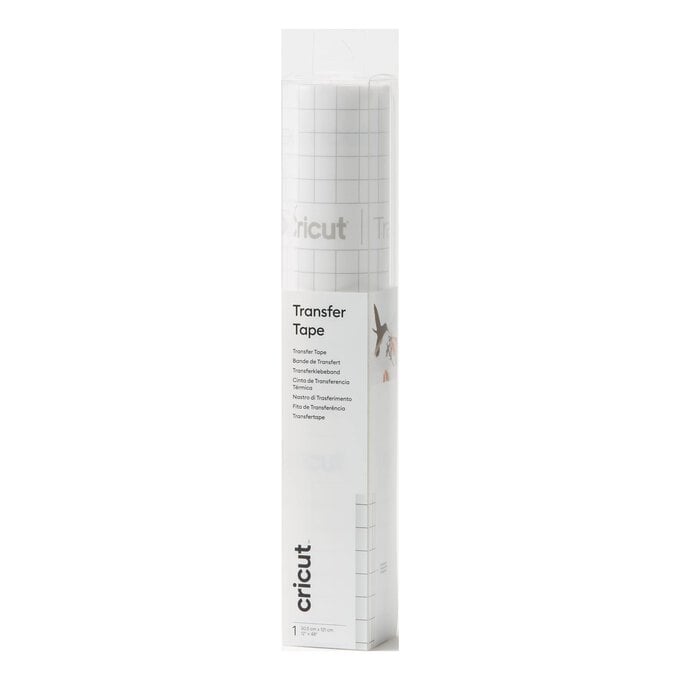
Use Transfer Tape to apply the base layer of each label onto the jars, then apply the top layer, offsetting these slightly to the right so that you can see some of the bottom layer of vinyl.
Tip: Use a scraper tool to apply the vinyl to your jars. This will ensure good contact is made between the vinyl adhesive and the glass jar.
Remove the Transfer Tape from the jar slowly and at a 45 degree angle.
Your jars are then ready to be filled and displayed in your bathroom!
