Skip to Content (Press Enter) Skip to Footer (Press Enter)

Cricut: 5 Ways to Personalise Gift Wrap

Level
Intermediate
Time
1 hour
Budget
10 - 30

Discover gift wrap inspiration galore! Creating beautiful gift wrap designs with your Cricut machine is a great way of using up vinyl, paper and fabric scraps, plus you can add personalised touches to make each gift even more special.

The tags and embellishments will make for lovely keepsakes for the recipient to hold onto and display afterwards. Follow our simple instructions and get crafting!

Project and instructions by Emma Jewell

Discover more Christmas Cricut projects here >

Please note: This project contains paid-for content from Cricut's Design Space app. Screen reference images are taken from the desktop version of Design Space.

You will need

Is $ 500.00 , was $ 572.00

Spend over £70 on Cricut for FREE Hat Press when added to basket
Quantity: 1

Subtotal

Is $ 500.00 , was $ 572.00

Is $ 9.49 , was $ 13.00

Spend over £70 on Cricut for FREE Hat Press when added to basket
Quantity: 1

Subtotal

Is $ 9.49 , was $ 13.00

Is $ 21.00 , was $ 30.00

Spend over £70 on Cricut for FREE Hat Press when added to basket
Quantity: 1

Subtotal

Is $ 21.00 , was $ 30.00

Is $ 28.00 , was $ 39.00

Spend over £70 on Cricut for FREE Hat Press when added to basket
Quantity: 1

Subtotal

Is $ 28.00 , was $ 39.00

Is $ 53.00

Spend over £70 on Cricut for FREE Hat Press when added to basket
Quantity: 1

Subtotal

Is $ 53.00

Out of stock

Is $ 20.00 , was $ 28.00

Spend over £70 on Cricut for FREE Hat Press when added to basket
Quantity: 1

Subtotal

Is $ 20.00 , was $ 28.00

Is $ 4.49 , was $ 7.49

Quantity: 1

Subtotal

Is $ 4.49 , was $ 7.49

Is $ 3.49

Quantity: 1

Subtotal

Is $ 3.49

Out of stock

Is $ 12.00 , was $ 16.00

Spend over £70 on Cricut for FREE Hat Press when added to basket
Quantity: 1

Subtotal

Is $ 12.00 , was $ 16.00

Is $ 3.49

Quantity: 1

Subtotal

Is $ 3.49

Is $ 7.49 , was $ 15.00

Quantity: 1

Subtotal

Is $ 7.49 , was $ 15.00

Out of stock

Is $ 11.00 , was $ 16.00

Spend over £70 on Cricut for FREE Hat Press when added to basket
Quantity: 1

Subtotal

Is $ 11.00 , was $ 16.00

Out of stock

Is $ 9.49

Quantity: 1

Subtotal

Is $ 9.49

Out of stock

Is $ 8.49 , was $ 12.00

Spend over £70 on Cricut for FREE Hat Press when added to basket
Quantity: 1

Subtotal

Is $ 8.49 , was $ 12.00

Is $ 11.00 , was $ 15.00

Spend over £70 on Cricut for FREE Hat Press when added to basket
Quantity: 1

Subtotal

Is $ 11.00 , was $ 15.00

Is $ 11.00

Spend over £70 on Cricut for FREE Hat Press when added to basket
Quantity: 1

Subtotal

Is $ 11.00

Out of stock

Is $ 11.00 , was $ 15.00

Spend over £70 on Cricut for FREE Hat Press when added to basket
Quantity: 1

Subtotal

Is $ 11.00 , was $ 15.00

Is $ 15.00 , was $ 21.00

Spend over £70 on Cricut for FREE Hat Press when added to basket
Quantity: 1

Subtotal

Is $ 15.00 , was $ 21.00

Is $ 7.49 , was $ 9.49

Spend over £70 on Cricut for FREE Hat Press when added to basket
Quantity: 1

Subtotal

Is $ 7.49 , was $ 9.49

Out of stock

You’ve viewed 2 of 19 products

You’ve viewed 4 of 19 products

Total:


How to make

You will also need:

* Cricut Design Space app installed on a laptop, PC, tablet or mobile device

Creating a Felt Stamp Tag: Step 1

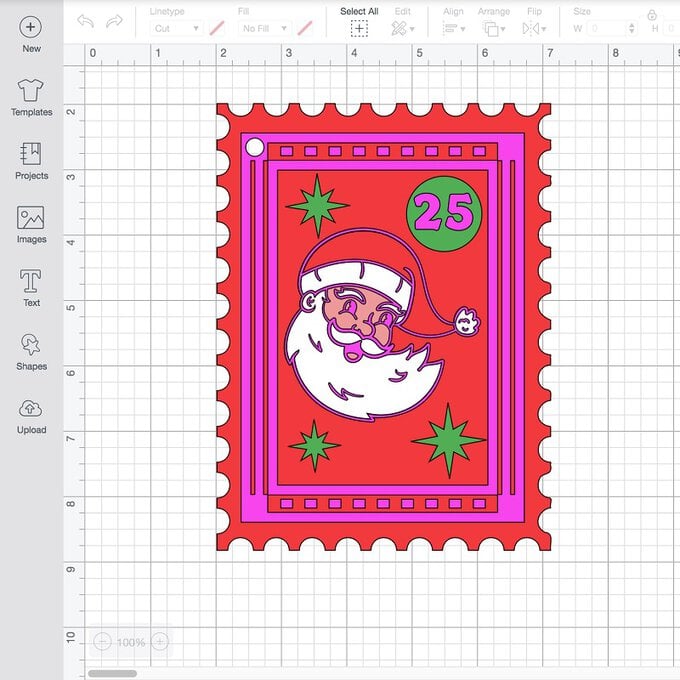
Open this project in the browser version of Cricut Design Space.

personalise-gift-wrap_stamp_step1.jpg?sw=680&q=85
Creating a Felt Stamp Tag: Step 2

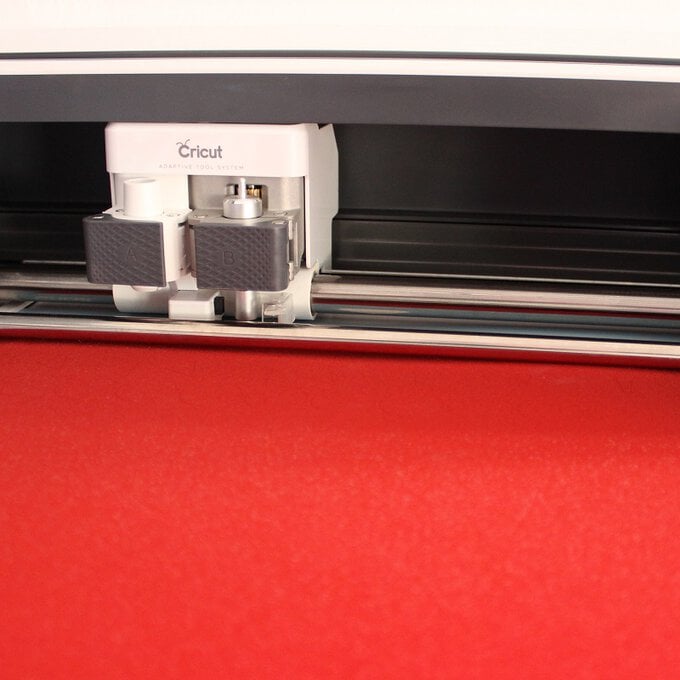
Lay a sheet of red felt onto the mat and secure into place using the brayer tool.


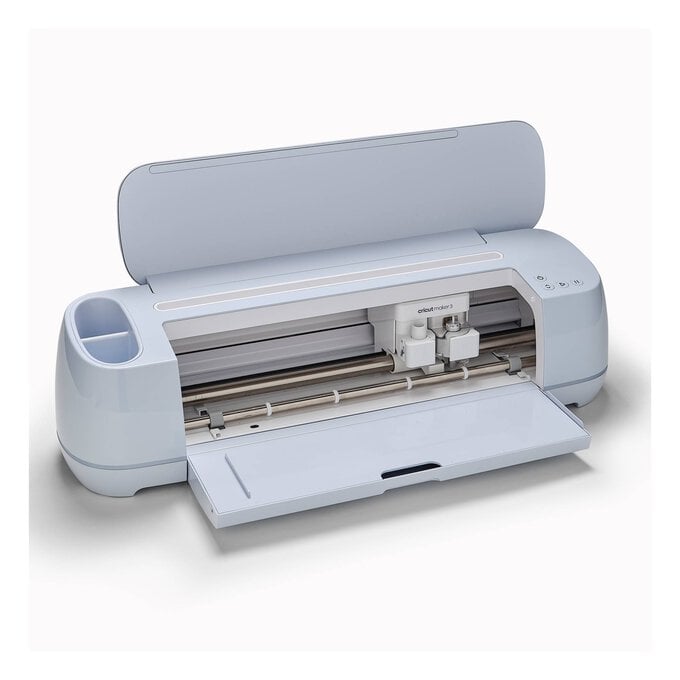
Select felt as the material you would like to cut, you can use the fine point blade or the rotary blade on the Cricut Maker to cut felt.


Once cut remove the felt from the mat.
personalise-gift-wrap_stamp_step2.jpg?sw=680&q=85
Creating a Felt Stamp Tag: Step 3

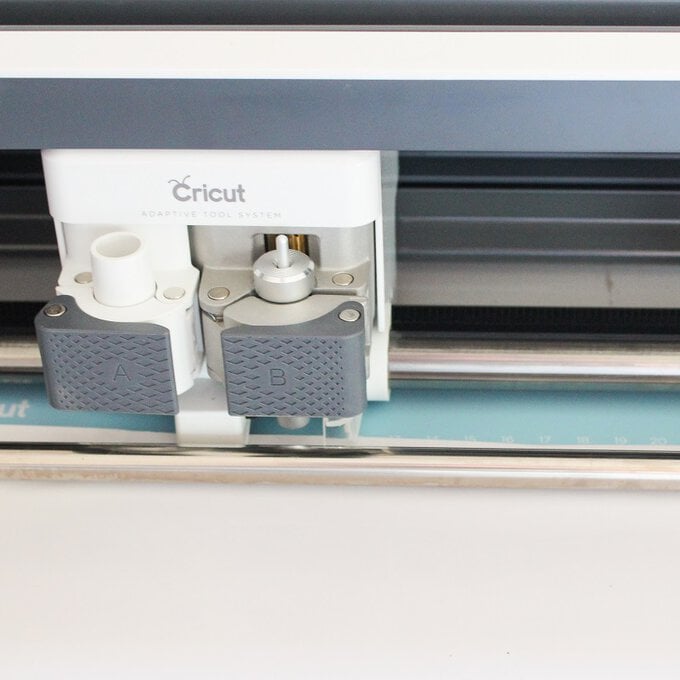
To cut the iron-on pieces from the design, lay a sheet of iron-on face down onto the mat making sure it is well stuck.


Select the iron-on vinyl setting before inserting the mat and starting the cut.


Once cut remove the iron-on from the mat, cut carefully around the cut images then start weeding. Remove all of the iron-on leaving only the design on the clear carrier sheet.
personalise-gift-wrap_stamp_step3.jpg?sw=680&q=85
Creating a Felt Stamp Tag: Step 4

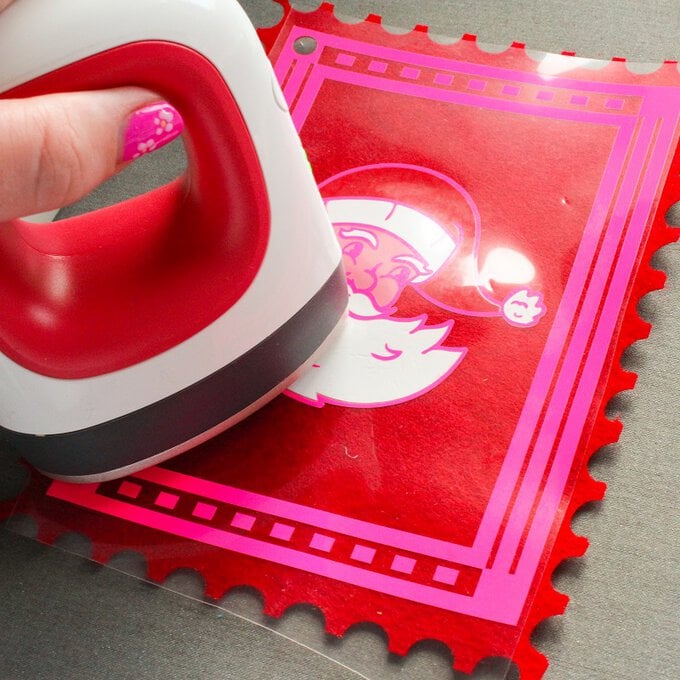
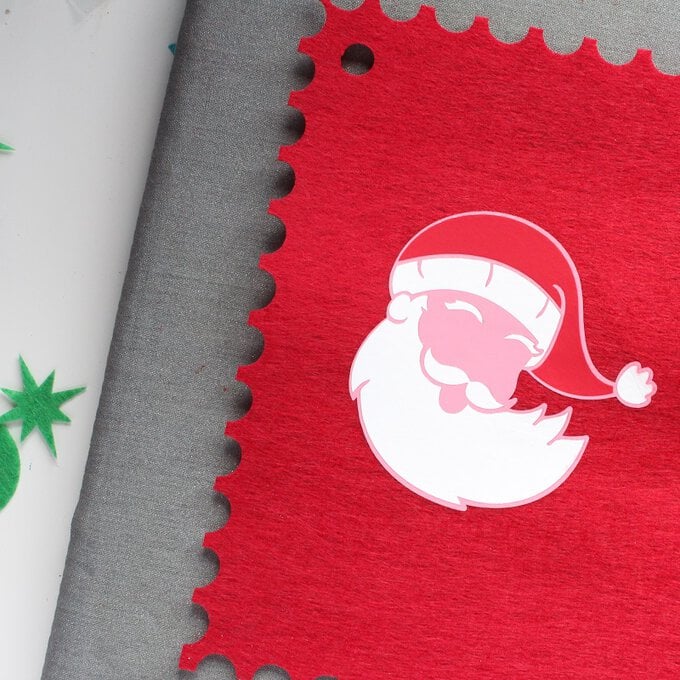
Now press each of the layers on iron-on to the red felt sheet, press each layer at a time waiting for it to cool before removing the carrier sheet before pressing the next layer.


Once the layers are complete add the iron-on numbers to the green felt circle.
Creating a Felt Stamp Tag: Step 5

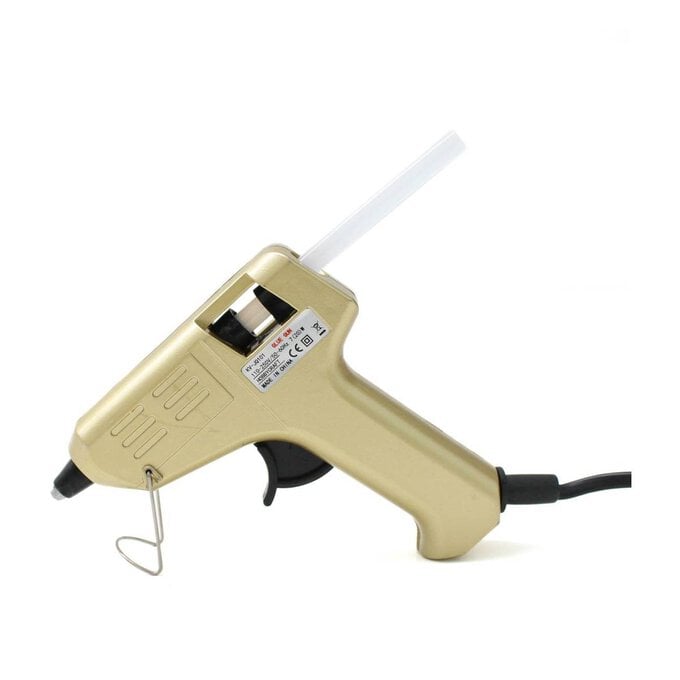
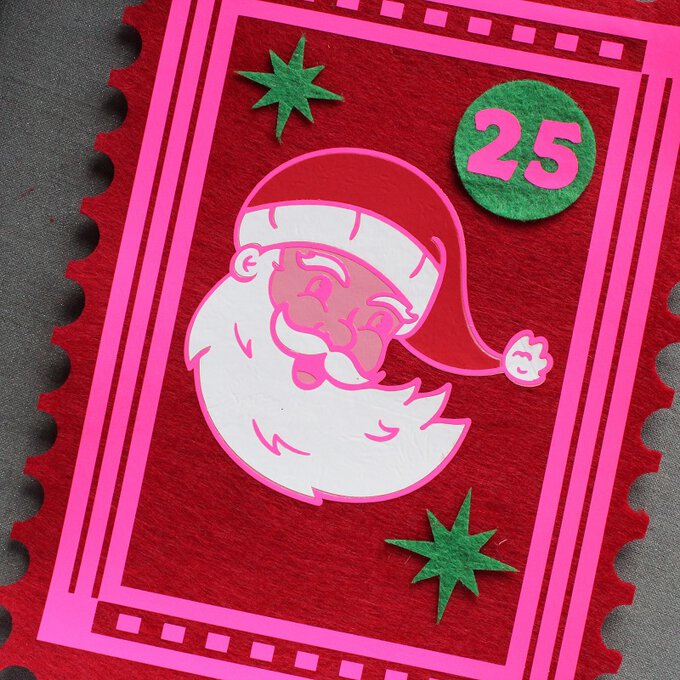
Glue the green felt shapes onto the stamp using a hot glue gun.
personalise-gift-wrap_stamp_step5.jpg?sw=680&q=85
Creating a Felt Stamp Tag: Step 6

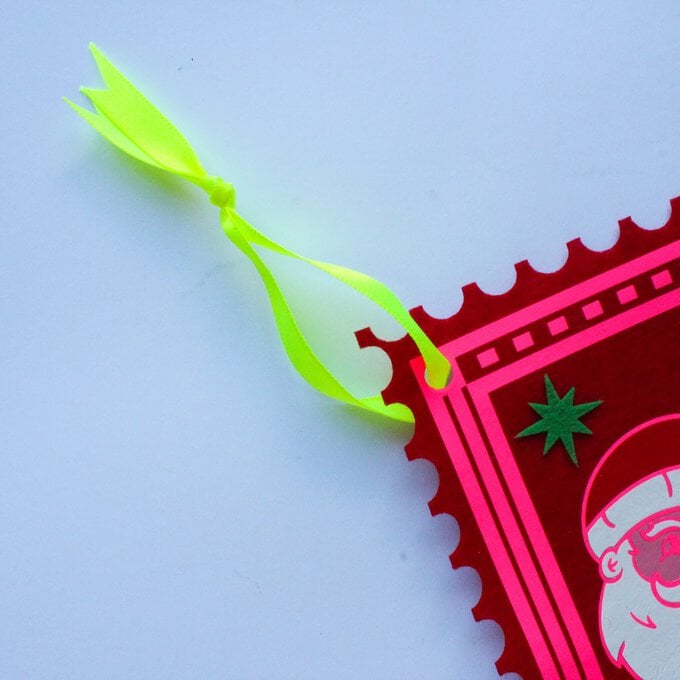
Cut a short piece of ribbon, thread it through the hole in the stamp tag and tie a knot.


You can now add the tag onto the gift of your choice.
personalise-gift-wrap_stamp_step6.jpg?sw=680&q=85
Creating Vinyl Stickers: Step 1

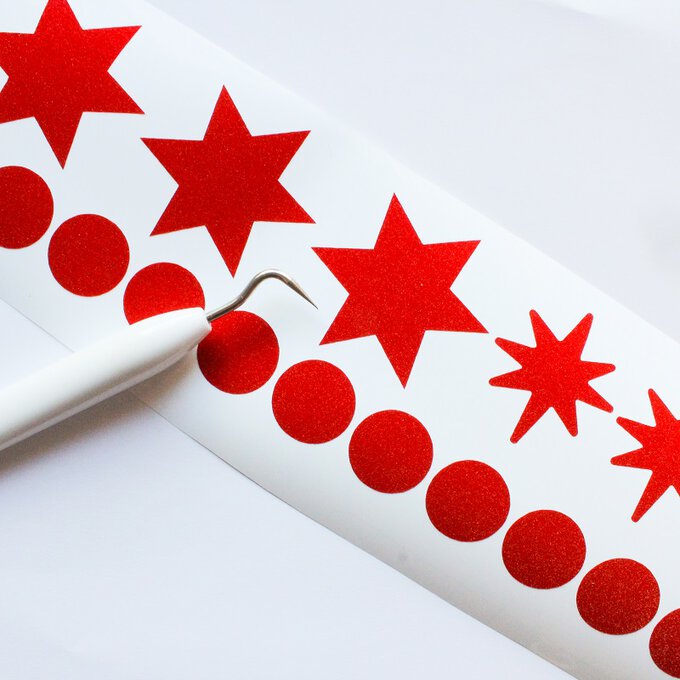
Open up a new project in Cricut Design Space and add some simple shapes to the canvas. Resize and duplicate them so that you have a few of each shape.


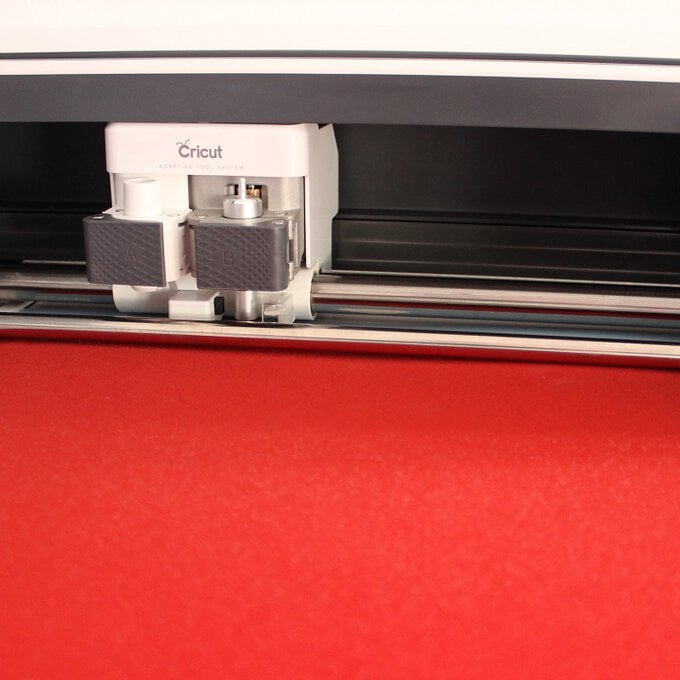
Lay a sheet of red shimmer iron-on on face up onto the mat and load it into the machine. Search for the shimmer vinyl setting and cut the sheet.
personalise-gift-wrap_stickers_step2.jpg?sw=680&q=85
Creating Vinyl Stickers: Step 2
Once cut, weed away the excess vinyl leaving the shapes on the backing sheet.
personalise-gift-wrap_stickers_step3.jpg?sw=680&q=85
Creating Vinyl Stickers: Step 3
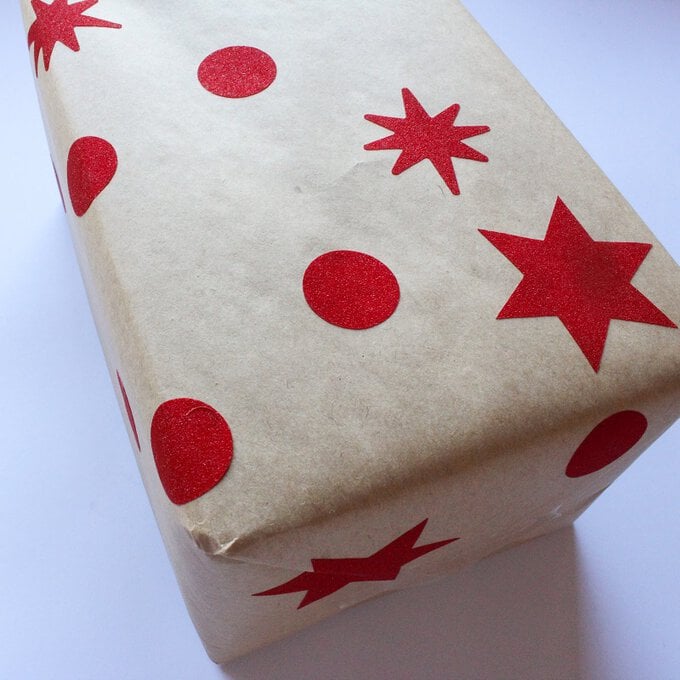
Peel off the individual vinyl shapes and stick onto your wrapped gift.
personalise-gift-wrap_stickers_step4.jpg?sw=680&q=85
Creating Bauble Embellishments: Step 1

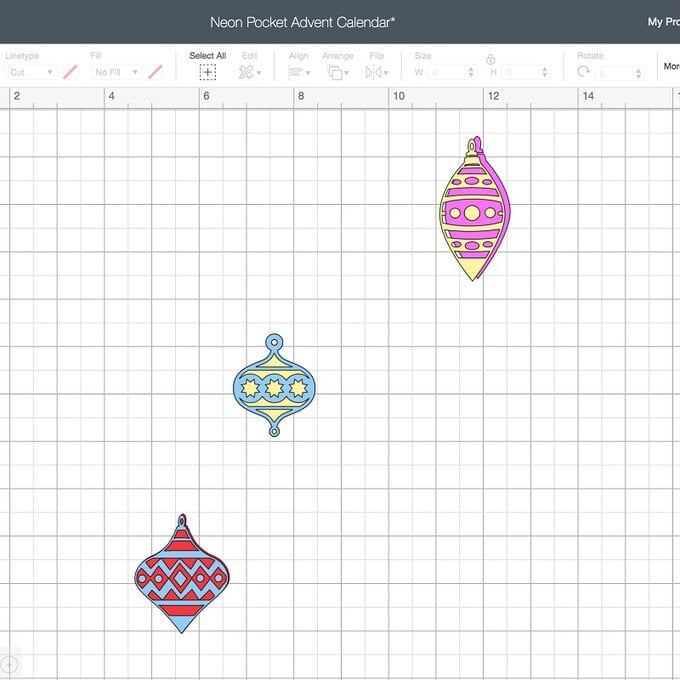
Open up a new project in Cricut Design Space, and add the images #M10ECA4AO, #M10ECA6B4 and #M1134C84.


Resize the ornaments to fit your gift as desired.
personalise-gift-wrap_embellishments_step1_edit.jpg?sw=680&q=85
Creating Bauble Embellishments: Step 2

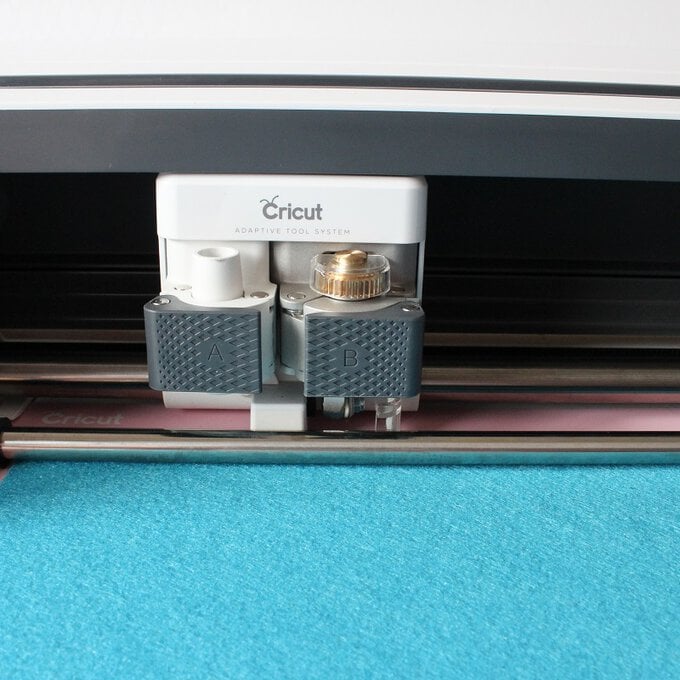
Lay the first sheet of felt onto the mat and load it into the machine to cut on the felt setting. 


Once cut, repeat the process for the next two colours of felt until you have three ornament shapes cut out.
personalise-gift-wrap_embellishments_step2_edit.jpg?sw=680&q=85
Creating Bauble Embellishments: Step 3

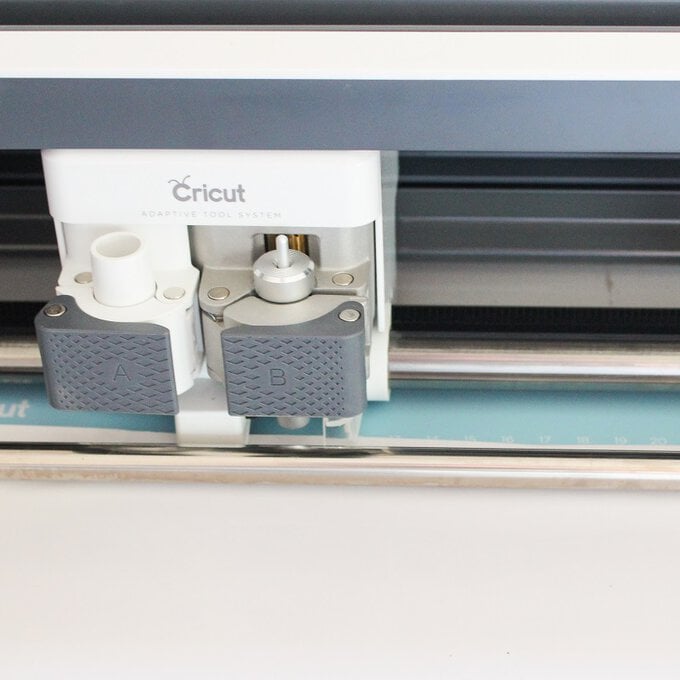
Next cut the iron-on sheets, layer each sheet face down onto the mat and cut on the iron-on setting.


Repeat the process until you have three different coloured iron-on cuts.
personalise-gift-wrap_embellishments_step3_edit.jpg?sw=680&q=85
Creating Bauble Embellishments: Step 4
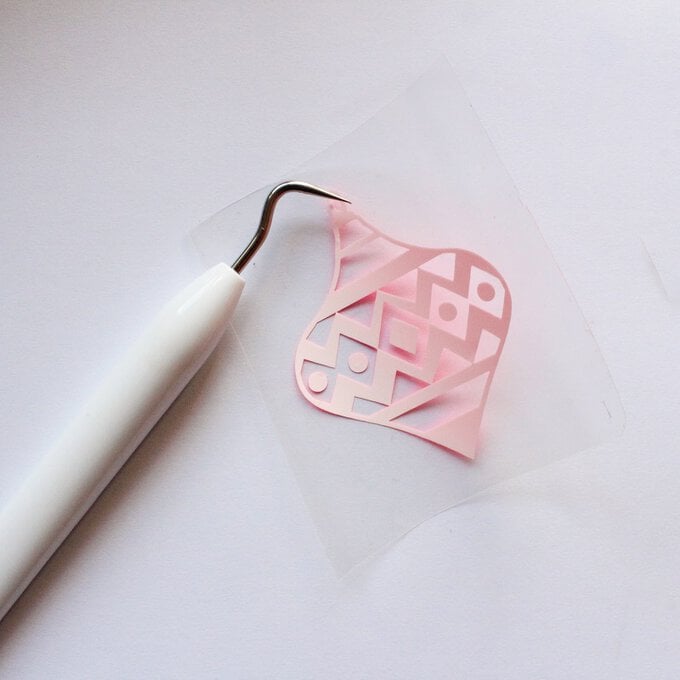
Now cut around the iron-on designs then weed each one leaving just the ornament design on the clear carrier sheet.
personalise-gift-wrap_embellishments_step4_edit.jpg?sw=680&q=85
Creating Bauble Embellishments: Step 5
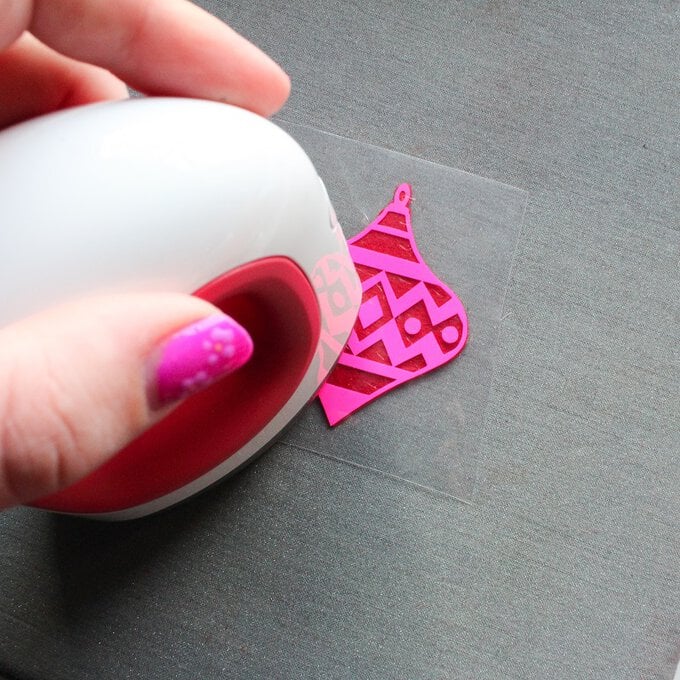
Use the Easy Press Mini to press each iron-on piece onto its corresponding felt piece.
personalise-gift-wrap_embellishments_step5_edit.jpg?sw=680&q=85
Creating Bauble Embellishments: Step 6

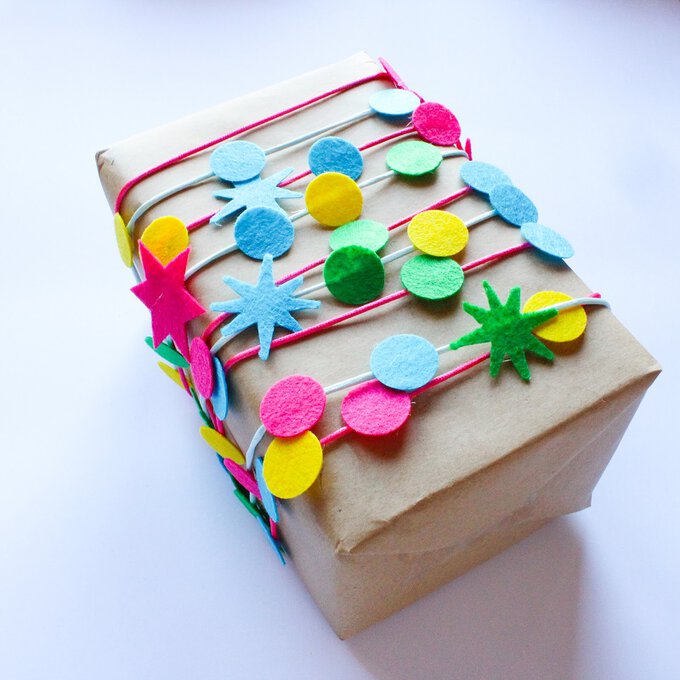
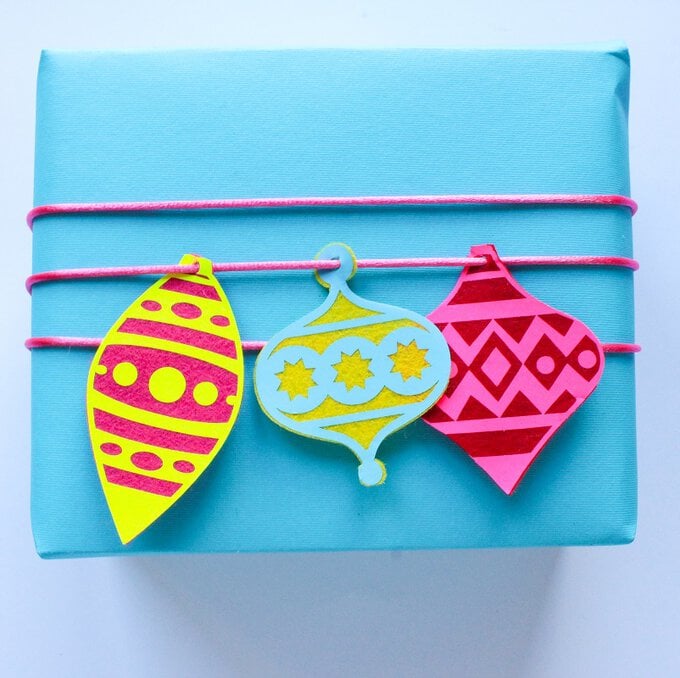
To finish, thread the three felt bauble onto a piece of cord, then wrap this around your present.
personalise-gift-wrap_embellishments_step6_edit.jpg?sw=680&q=85
Creating a Garland Wrap: Step 1

Open up a new project in Cricut Design Space, add some simple shapes to the canvas. Resize and duplicate them so that you have a few of each shape.


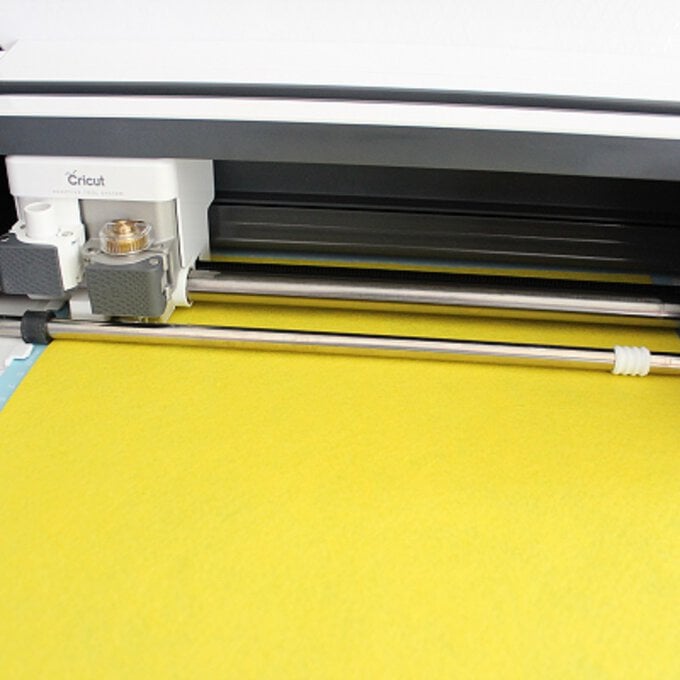
Cut the shapes out of a few colours of felt, using your machine and the felt setting.


Once cut remove the shapes from the mat.
personalise-gift-wrap_garland_step2_edit.jpg?sw=680&q=85
Creating a Garland Wrap: Step 2

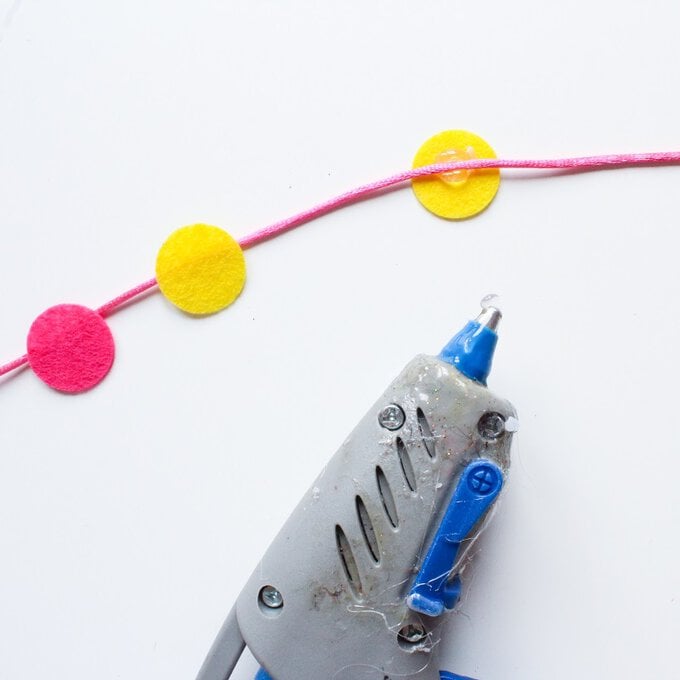
Glue the shapes to a long length of cord using a hot glue gun.


Glue them at random intervals along the cord, mixing the colours as you go.
personalise-gift-wrap_garland_step3_edit.jpg?sw=680&q=85
Creating a Garland Wrap: Step 3
Once finished wrap the garland around the gift, secure in place with tape or by tying two ends of the cord together.
personalise-gift-wrap_garland_step4_edit.jpg?sw=680&q=85
Creating Drawn Gift Wrap: Step 1

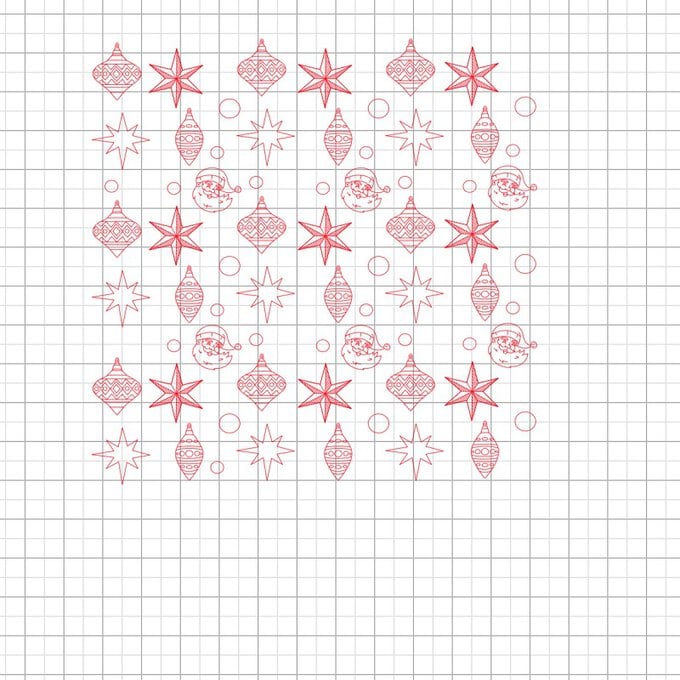
Open this project in Cricut Design Space.


You can create your own wrap by choosing drawn images from the design space library or changing your own images to draw by changing the line type.
personalise-gift-wrap_draw_step1_edit.jpg?sw=680&q=85
Creating Drawn Gift Wrap: Step 2

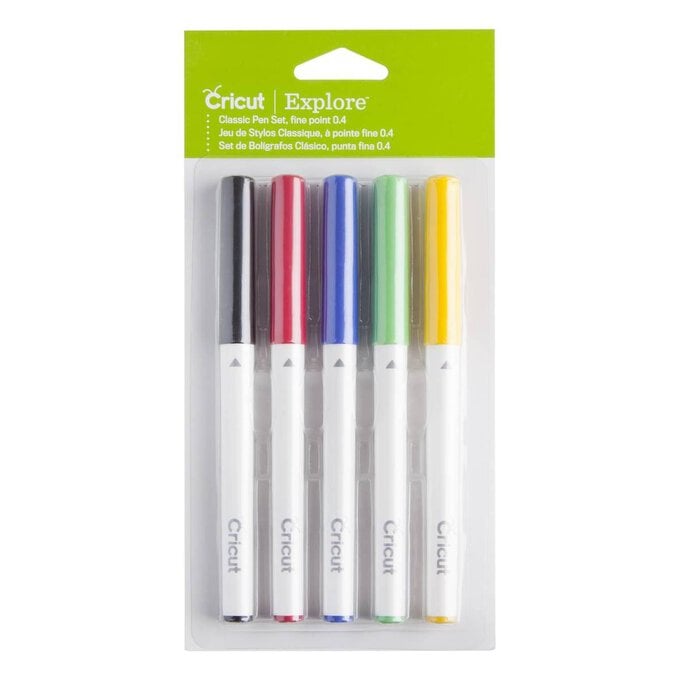
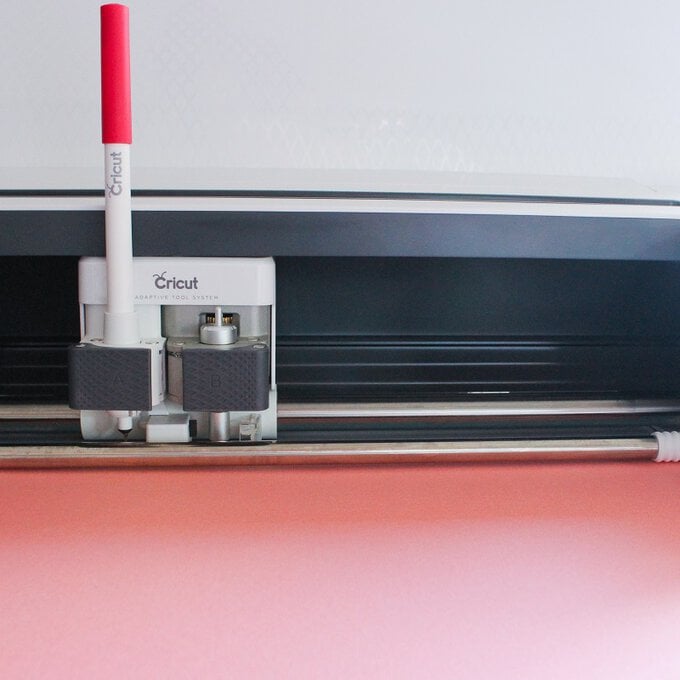
Put the pen into the pen port on your machine and clamp it into place.


Load a sheet of 12x12 cardstock onto the mat and load it into the machine.
personalise-gift-wrap_draw_step2_edit.jpg?sw=680&q=85
Creating Drawn Gift Wrap: Step 3

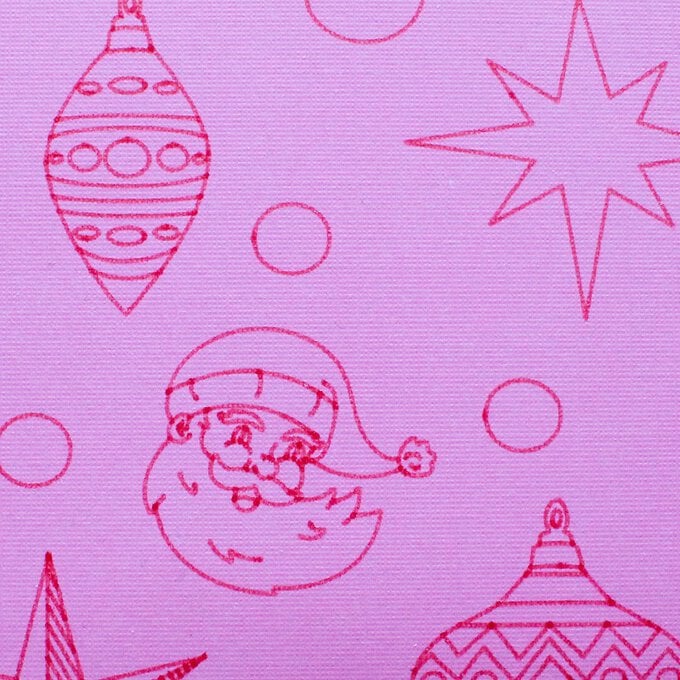
Set the setting to medium cardstock and begin drawing.


This might take a while so sit back with a cup of tea and let the machine work its magic!
personalise-gift-wrap_draw_step3_edit.jpg?sw=680&q=85
Creating Drawn Gift Wrap: Step 4

Once the machine has completed drawing remove the sheet of paper from the mat, making sure to peel the mat away from the cardstock not the other way around.


You can now use the sheet as gift wrap.
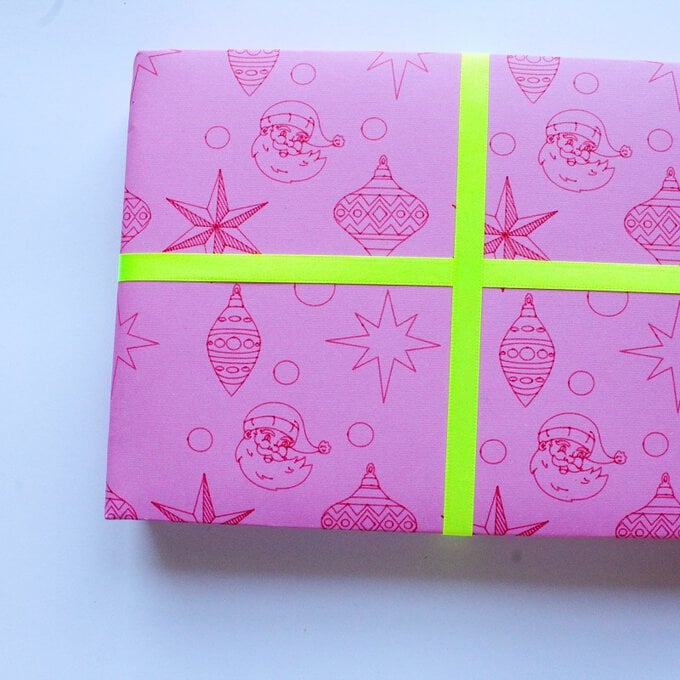
personalise-gift-wrap_draw_step_4_edit.jpg?sw=680&q=85
  • bvseo_sdk, dw_cartridge, 18.2.0, p_sdk_3.2.0
  • CLOUD, getReviews, 6ms
  • reviews, product
  • bvseo-msg: Unsuccessful GET. status = 'ERROR', msg = 'Not Found.'; Unsuccessful GET. status = 'ERROR', msg = 'Not Found.';

Related Products

Top