Cricut: How to Make Matisse Inspired Pumpkins
Personalise your pumpkins with inspiration from one of our favourite artists! Use your Cricut machine to recreate a colourful pattern in the style of Henri Matisse. Halloween needn't be limited to one day a year – this quick and fun project is a great way to bring a touch of autumn to your home all season long.
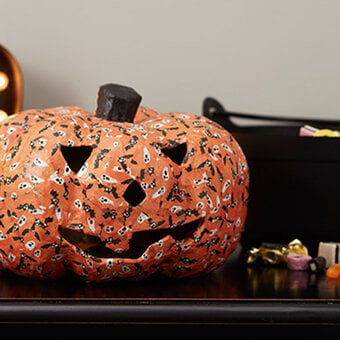
To make these colourful pumpkin decorations, mix and match your vinyl colours, then use the shapes like stickers to build up the Matisse-inspired designs.
Project and instructions by Nerrisa Pratt.
You will need
Subtotal
Is $ 13.00
Subtotal
Is $ 5.49
Subtotal
Is $ 242.00
Subtotal
Is $ 1.49
Out of stock
You Will Need
* Cricut Joy Machine
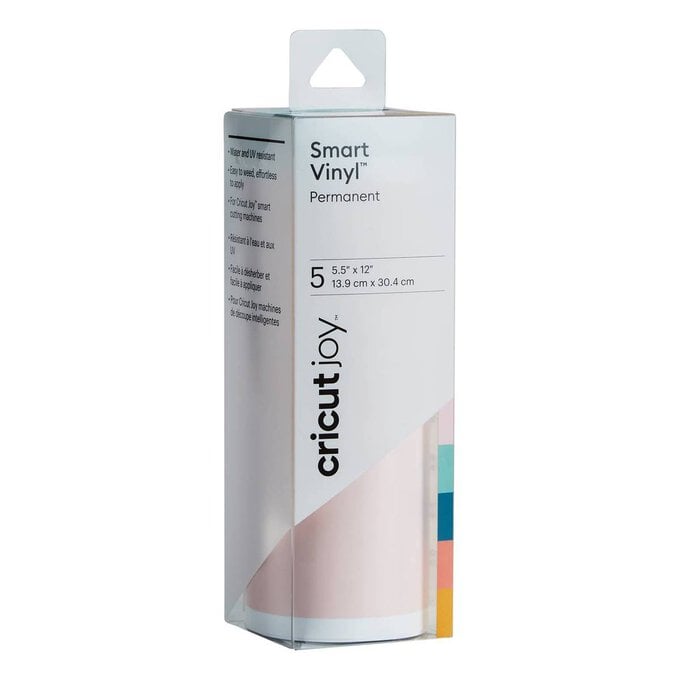
* Cricut Joy Permanent Smart Vinyl in your choice of colours
* Transfer Tape
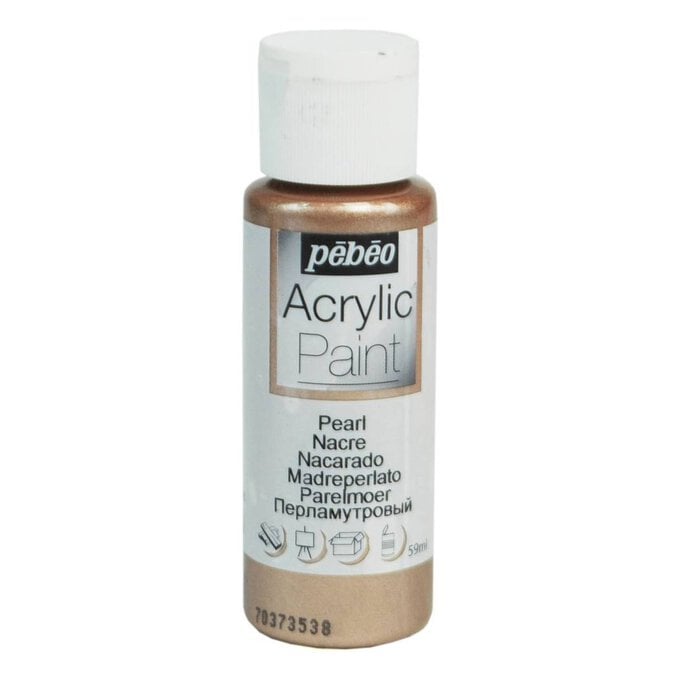
* Brown Pearl Acrylic Paint
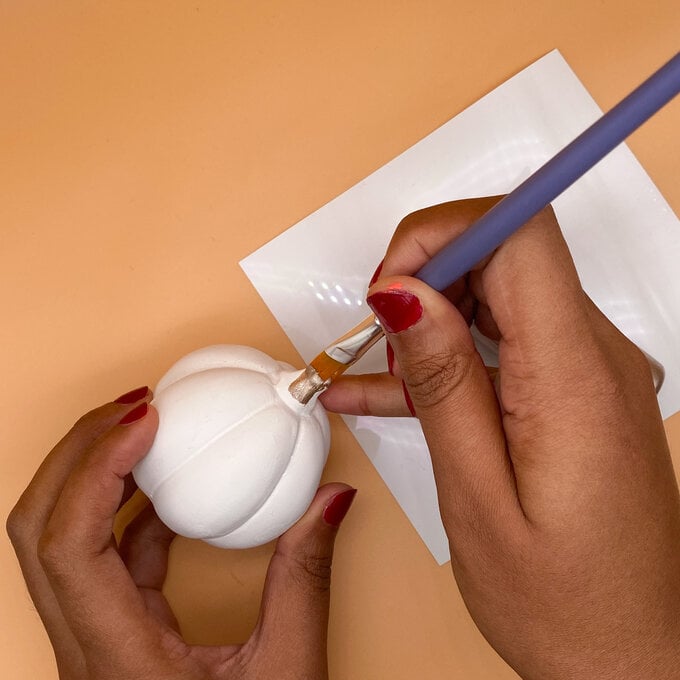
Start by painting your pumpkin in your colour of choice. For this project, it's just the stalk that's been painted as these ceramic pieces come ready to craft with, but it's up to you how you decide to style your background!
Open a new canvas and in the image tab, search for 'Shapes' or #M778AC3D.
The image we're going to use is at the top of this list. Select this and then 'Insert'.


To get the colourful effect we're looking for on our pumpkin, you'll want to cut the same pattern three or more times so you'll have lots of colour options to play with – for our pumpkins, we've done a total of six.

We're going to apply the stickers to the pumpkin in a slightly different way than normal. Using your weeding hook, gently lift your chosen shape off of the sheet.
Once you've peeled it off in full, use it like a sticker and apply it to your pumpkin using your fingers.
Gently apply some pressure and smooth out the edges in order to keep it firmly in place.


Using all of the colours you've cut out, alternate them and layer them up over the pumpkin to create this colourful effect. The beauty of doing it this way is there is no wrong way to do it, so now is your chance to get creative.

