14 Face Painting Ideas for Book Day
Celebrate Book Day with our 14 creative face painting ideas that will let your little ones explore the world of books, and dress up as their favourite characters!
We’ve got a selection of fun projects to take you through how to create adorable animal faces, iconic book characters or even mythical creatures.
Allow your kids imagination to run free as they transform into a unique character this Book Day.
You will need
Subtotal
Is $ 28.00
Subtotal
Is $ 4.49
Subtotal
Is $ 8.49
Subtotal
Is $ 8.49
How to make
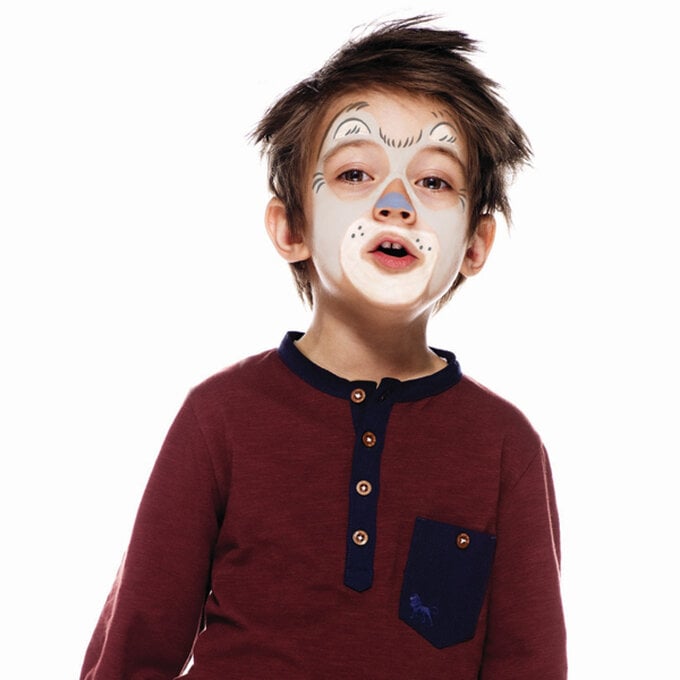
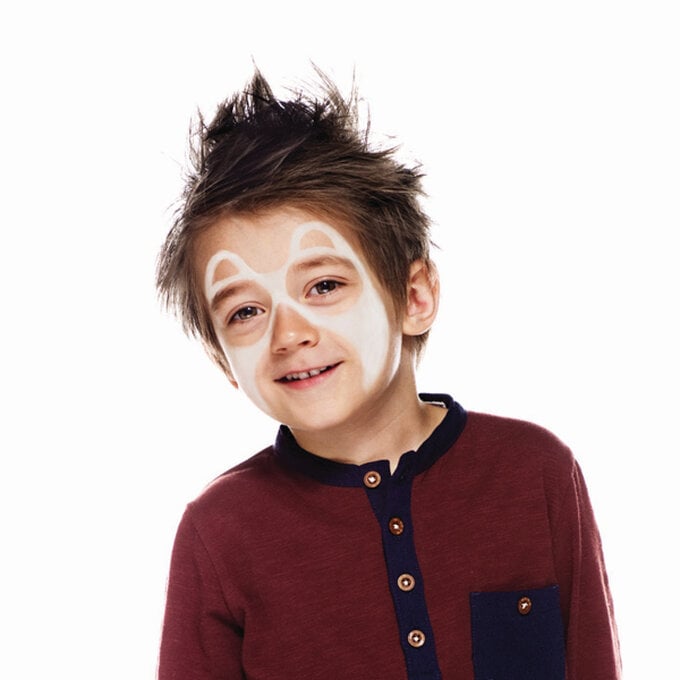
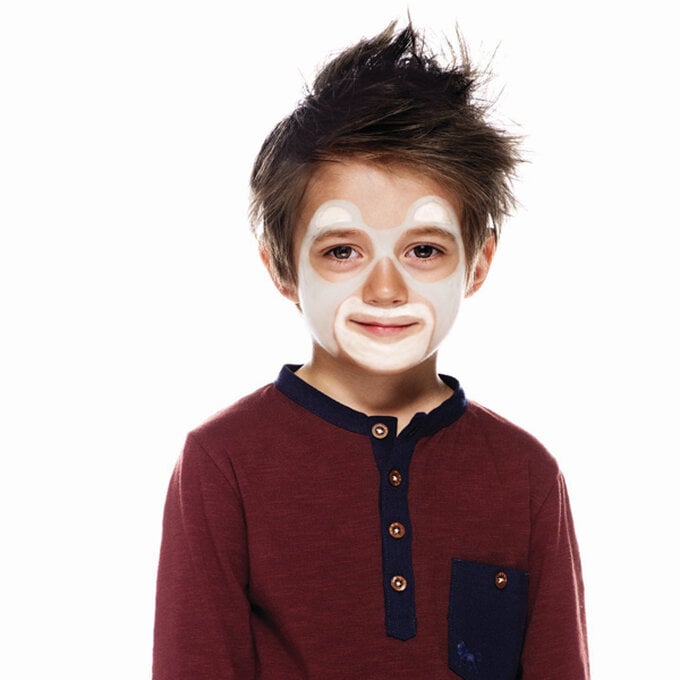
Step 1: Using some grey paint, create a mask like in the picture. Take care to bring it right down the cheeks and paint an outline of semi-circles above the eyes – these are for the ears.
Step 2: Fill the ears and space around the mouth with white paint – leave the nose bare.
Step 3: Take a thin brush and outline the top of the white semi-circles in black paint. Then add fur on the inside of the ears, on top of the head and at the side of the eyes. Now paint tufts at the very top of the ears. Finally, paint the end of the nose and add dots beside the mouth.
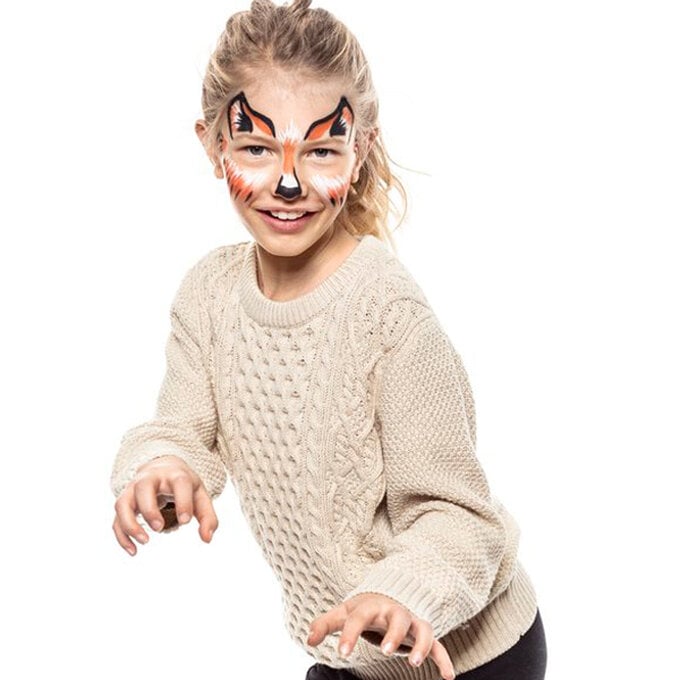
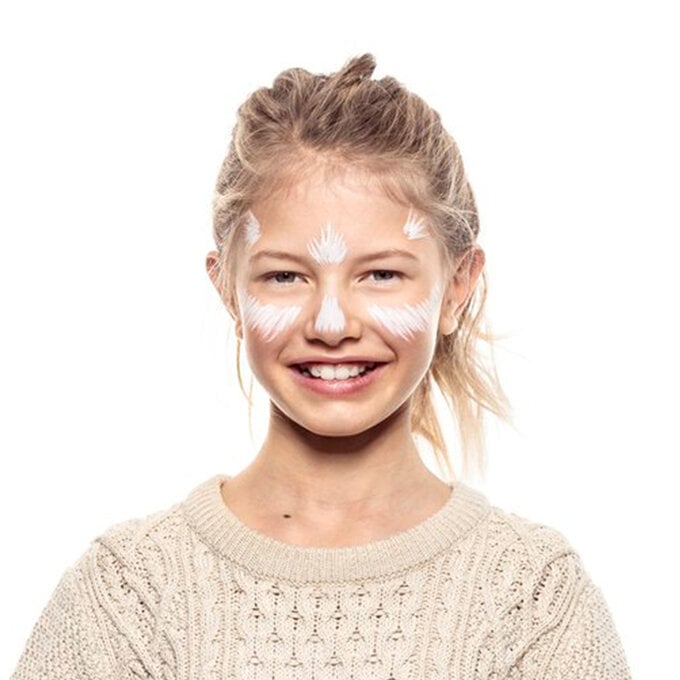
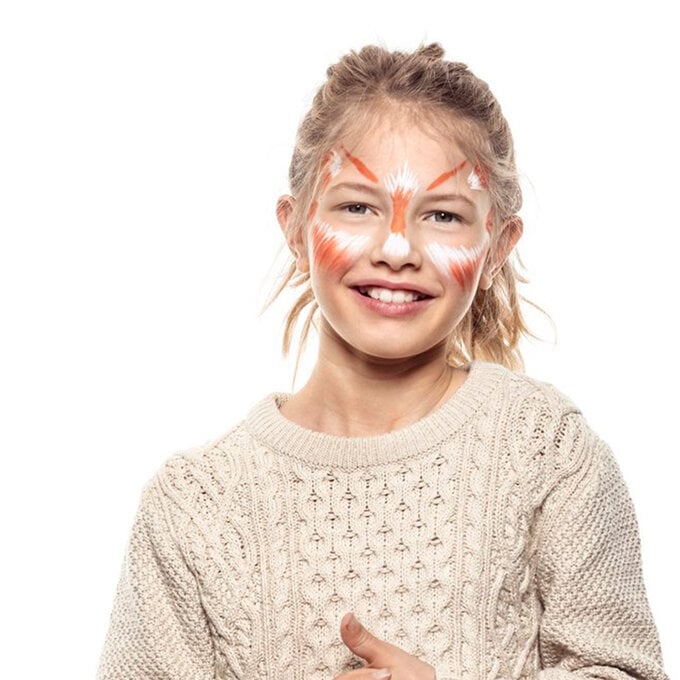
Step 1: To create the base layer, get a brush pen and use quick, short strokes under the eyes, on the nose and around the forehead.
Step 2: To add detail, enhance the white strokes you've already painted with similar orange strokes at the ends to create a fox fur effect.
Step 3: To finish the face paint, use the black brush pen to add outline detail to the nose, ears and whiskers.
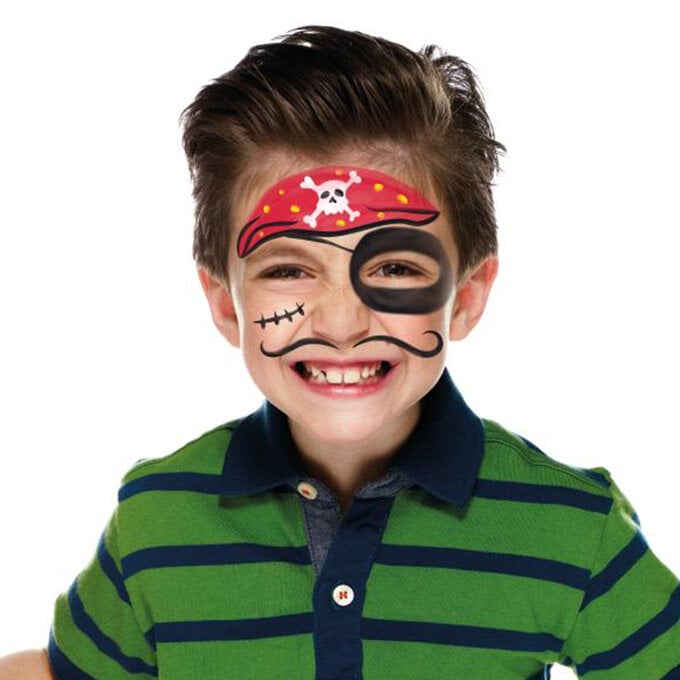
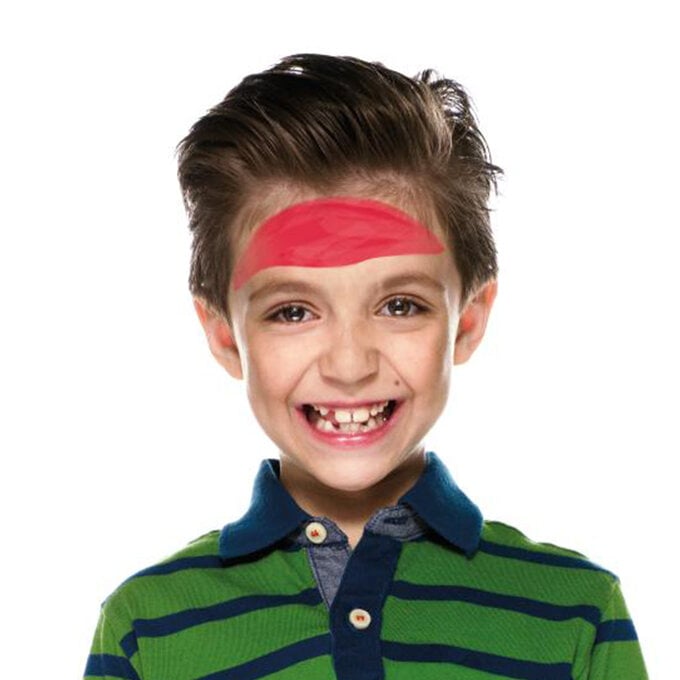
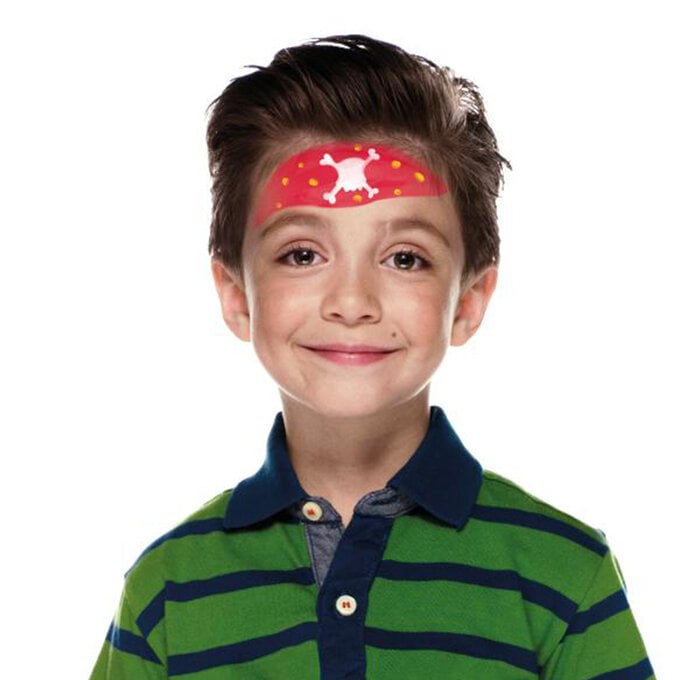
Step 1: To create your base layer, grab a wet brush, and draw a shape for the bandana. Fill this in with a wet sponge and red paint.
Step 2: Then, to create the detail get a brush and draw a skull-and-crossbones. Also, add some white dots to the bandana.
Step 3: To finish, with a small brush draw the outlines. Add a curly moustache, a scar and an eye patch.
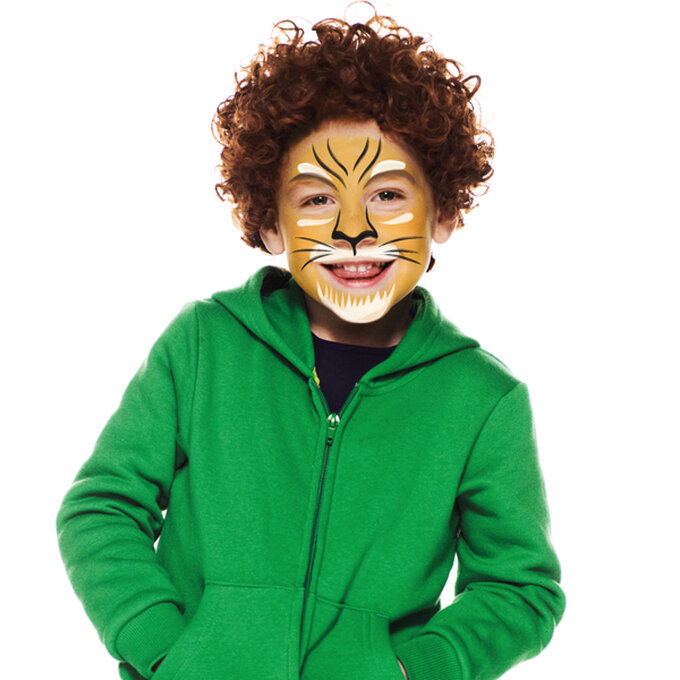
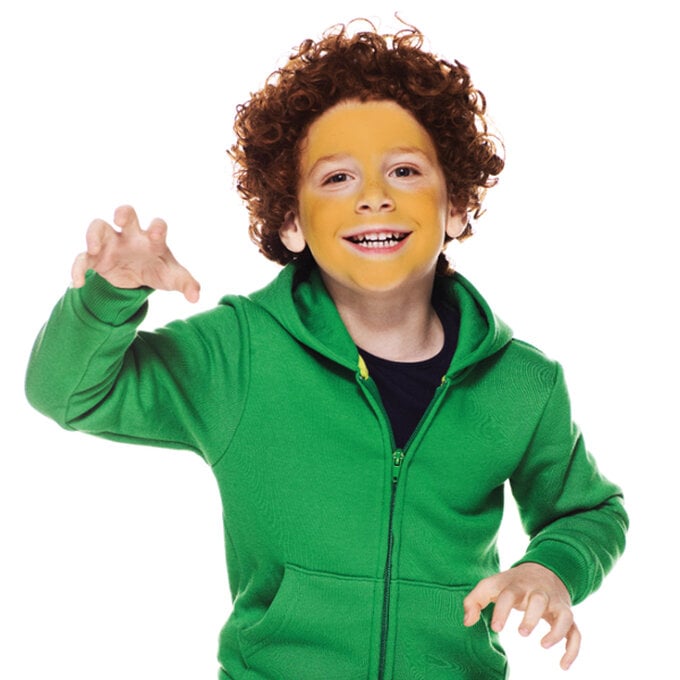
Step 1: Take some bright yellow, and paint the entire face using a sponge, taking care not to go too close to the eyes.
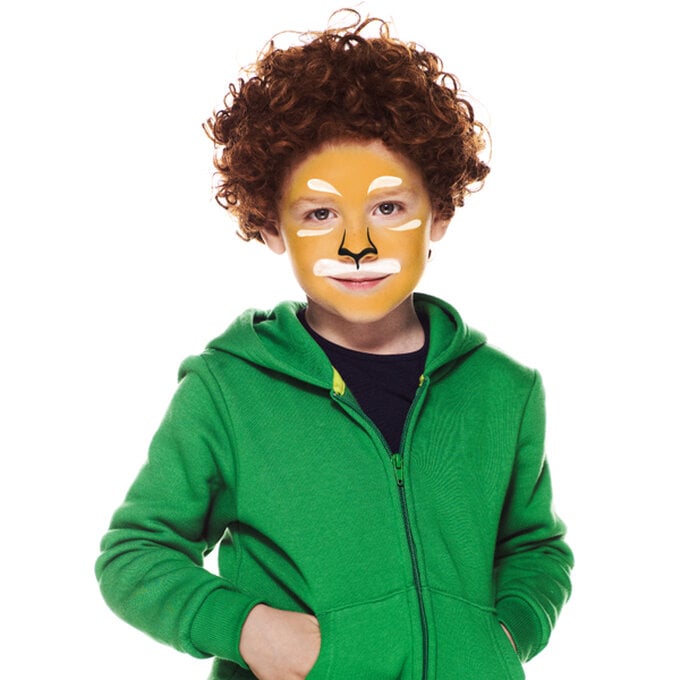
Step 2: With a clean small sponge (you can cut up a larger sponge if required), paint some white paint above the upper lip, under the eyes and above the eyebrows as per the image. Now use a brush to add some black paint on the end, and outline the nose adding a line down towards the lips being careful not to get to close to them.
Step 3: Use a sponge to dab more white paint onto the chin, then add lines of white using a brush in an upward motion from the chin. Now use a brush to paint black lines over the eyebrows, and on the forehead to represent furrows in the brow. Finally, add three whiskers to each side of the face.
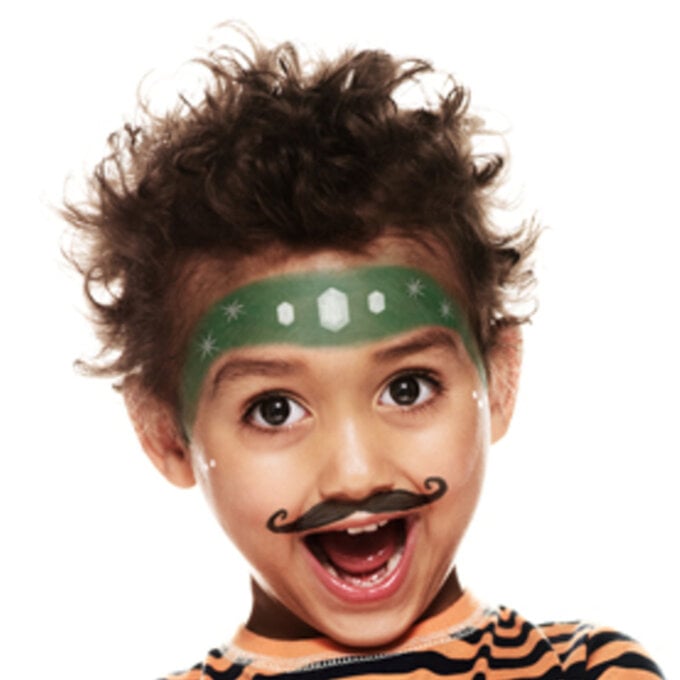
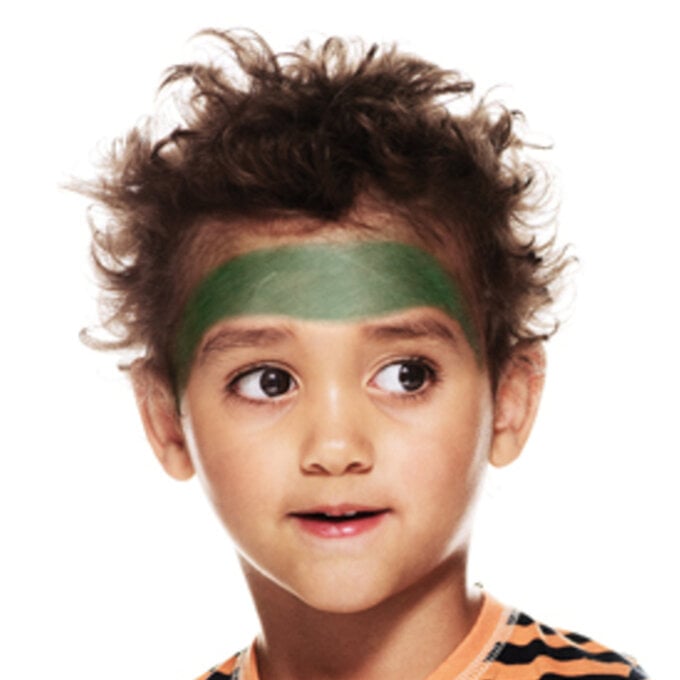
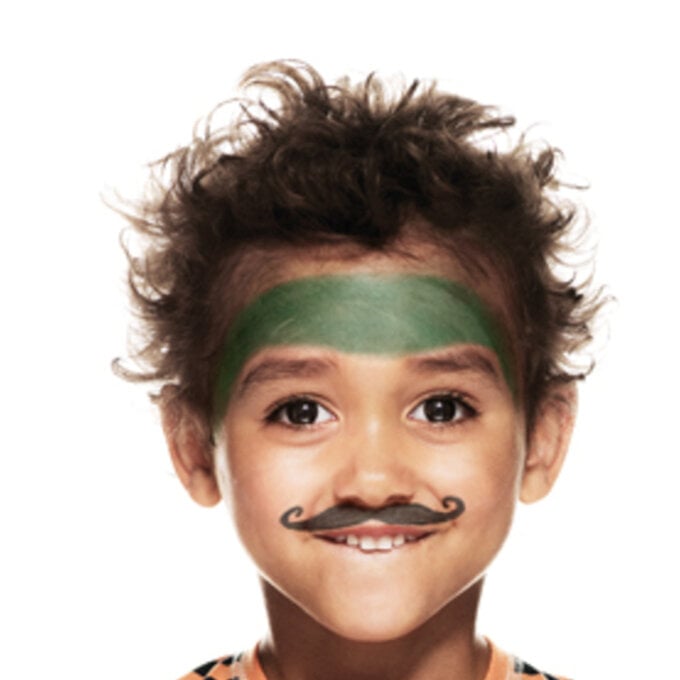
Step 1: With a sponge and some green paint, draw a thick band across the forehead.
Step 2: Now take a thin brush and some black paint and draw a curly moustache underneath the nose.
Step 3: With a fresh brush and some white paint, draw three lovely jewels in the centre of the green band. Make the middle jewel the largest. Finish by adding some twinkly stars either side.
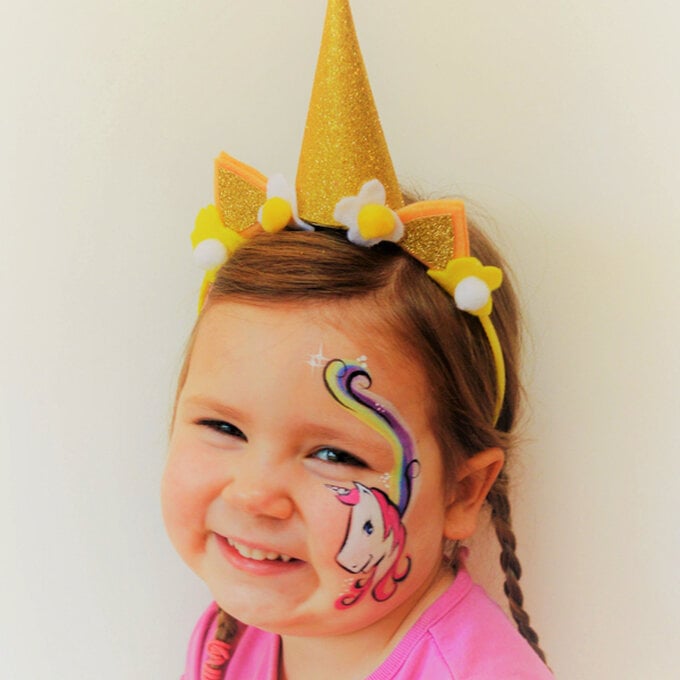
Step 1: With a fine brush, paint the shape of a unicorn head on the cheek.
Step 2: Colour in the pink mane and details on the eye. Whilst waiting for this to dry, paint a rainbow.
Step 3: Outline the unicorn with some black detail and add a few other fun elements if you would like…..clouds/ stars…..now you are all set for a magical afternoon of make-believe. Don't be surprised if your little one wants to wear the facepaint to the park, it's too gorgeous to remove straightaway!
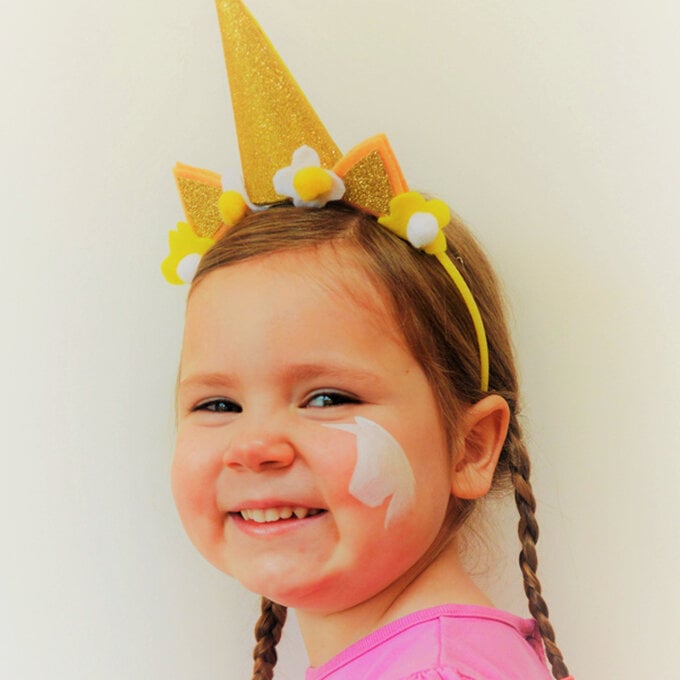
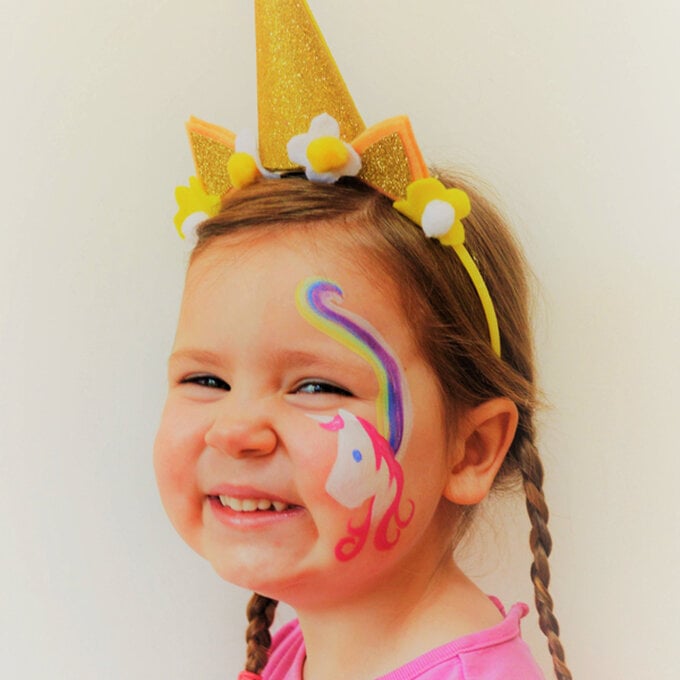
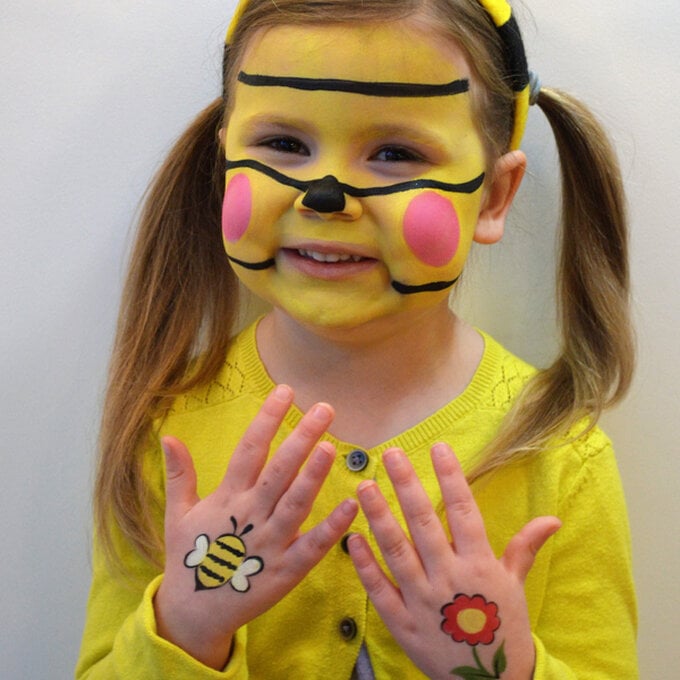
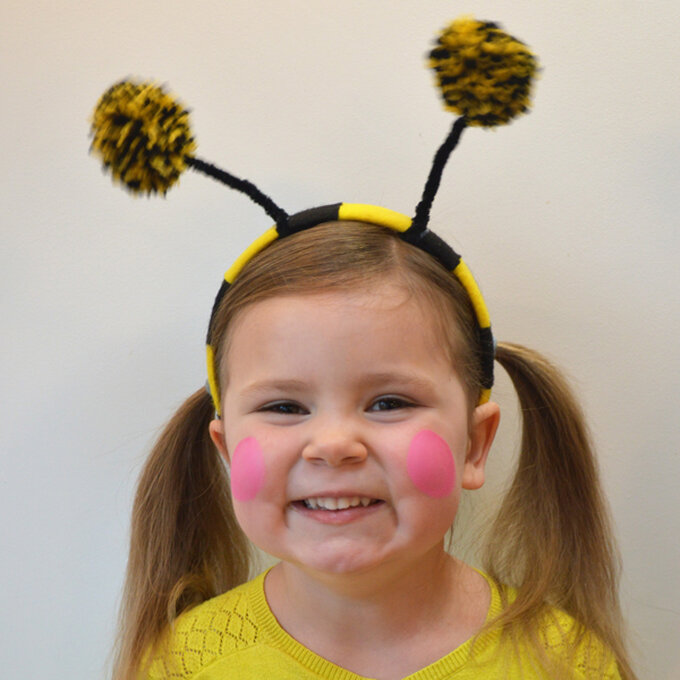
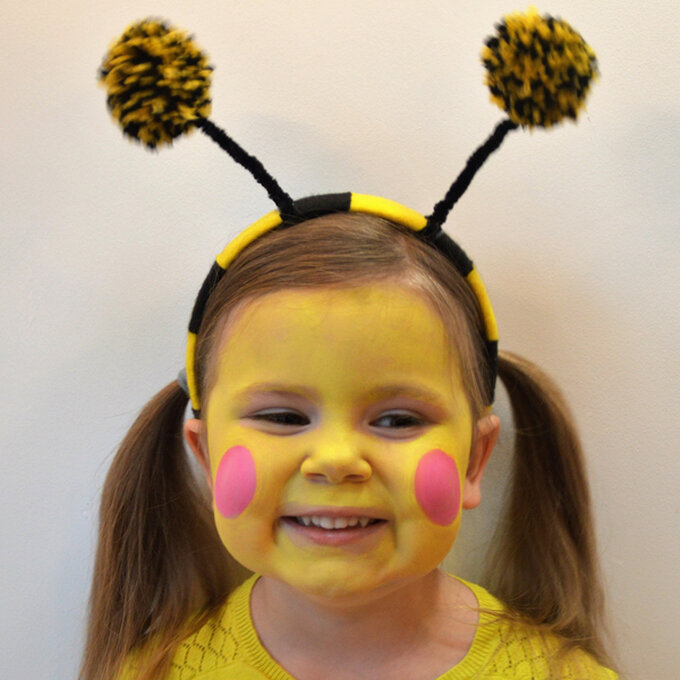
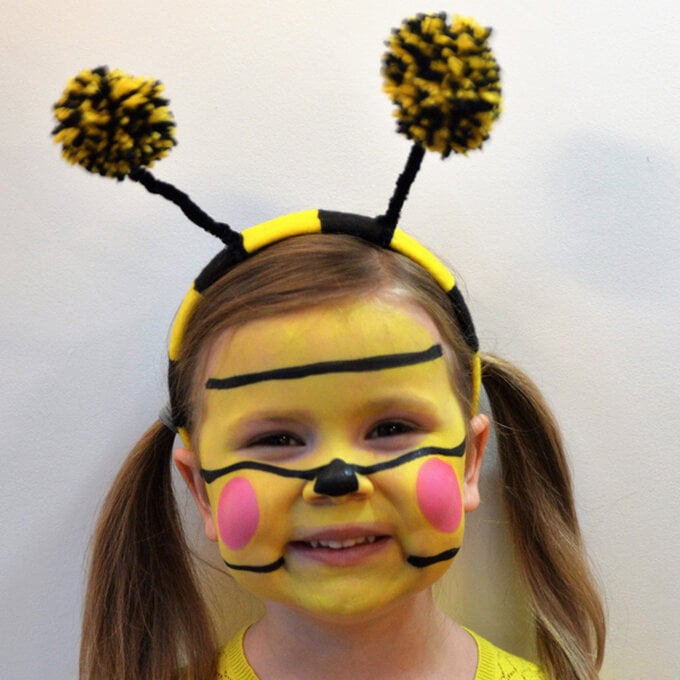
Step 1: If you have a Bumble bee headdress, then the easiest thing to do first is to paint two big pink circles for your cheeks. This will make the bee very cute.
Step 2: Next take a fine brush and with yellow paint, outline the pink cheeks and colour in the rest of the face in yellow, avoiding the eyes and mouth area. Yellow is a very forgiving colour. You could always paint big areas with a round sponge if easier.
Step 3: Paint a triangular black nose. Avoid the nostril area. Now, you could leave it at that……perhaps less is more? Alternatively, you could do some black stripes across the face (maybe just two), with a fine brush and black paint. Remember to let each layer of paint dry before trying the next layer.
Step 4: As an adde extra, you could paint a small bee on the recipients hand and a flower on the other hand so that the bee could get the pollen.
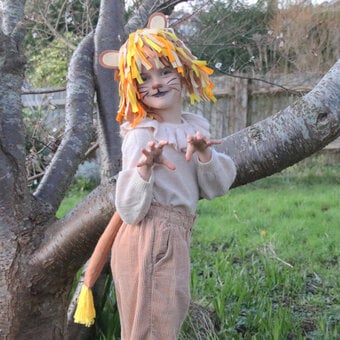
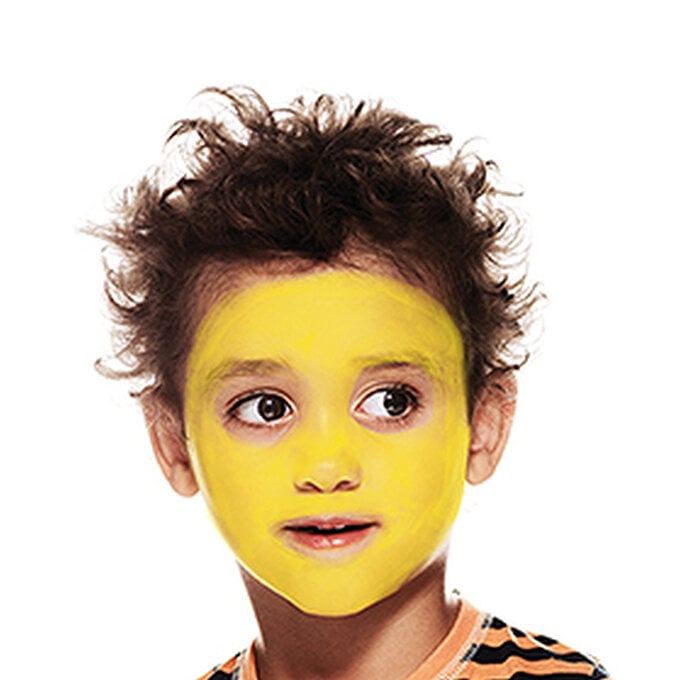
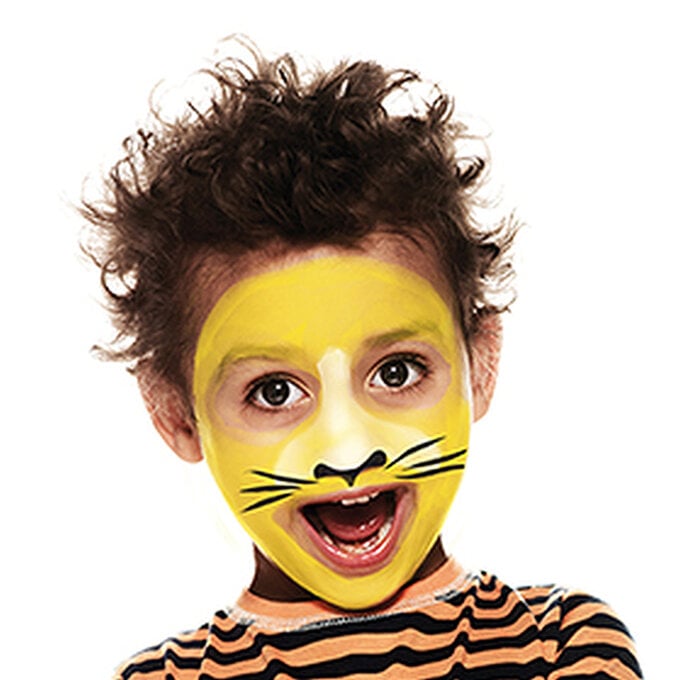
Step 1: Take some bright yellow, orange, and a sponge and paint the entire face, taking care not to go too close to the eyes.
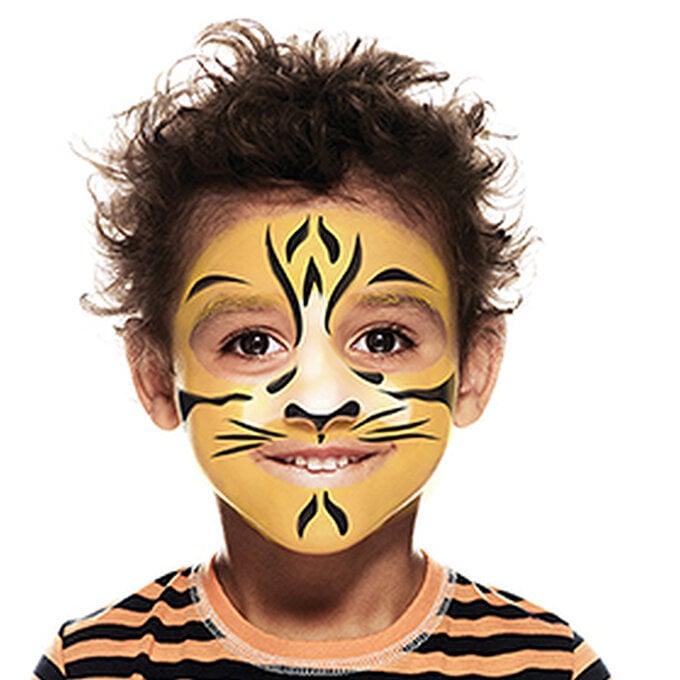
Step 2: With a clean sponge, dab some white down the nose and on either side of it, like in the picture. Now with a brush and some black paint, draw three whiskers on each cheek. Finally, paint the end of the nose and add a little line coming down from it towards the lip.
Step 3: Using a thick brush with black paint, draw two wavy lines that stretch up from either side of the nose to the middle of the forehead. Then, add three small stripes in between the lines, like in the picture. Draw two stripes above the eyebrows and two under the inside corners of the eyes. Now add two stripes across each cheek and on the chin. Lastly, paint the end of the nose and add whiskers.
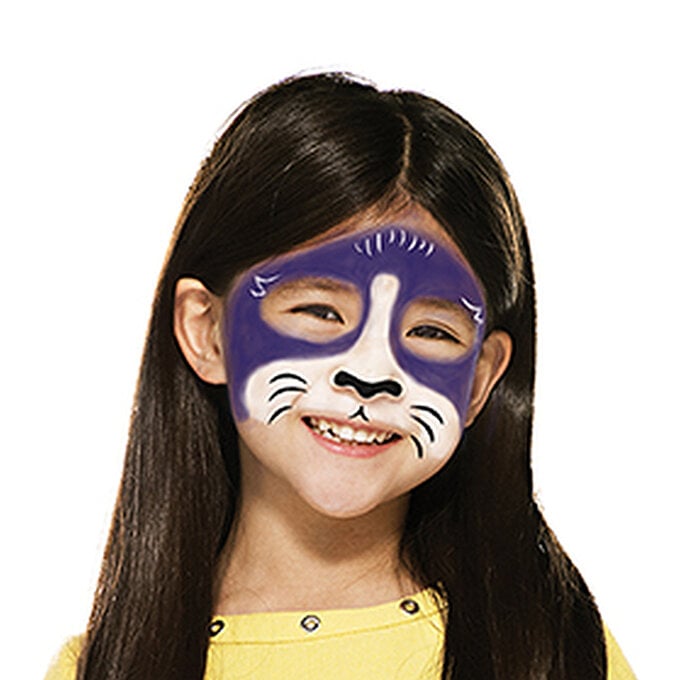
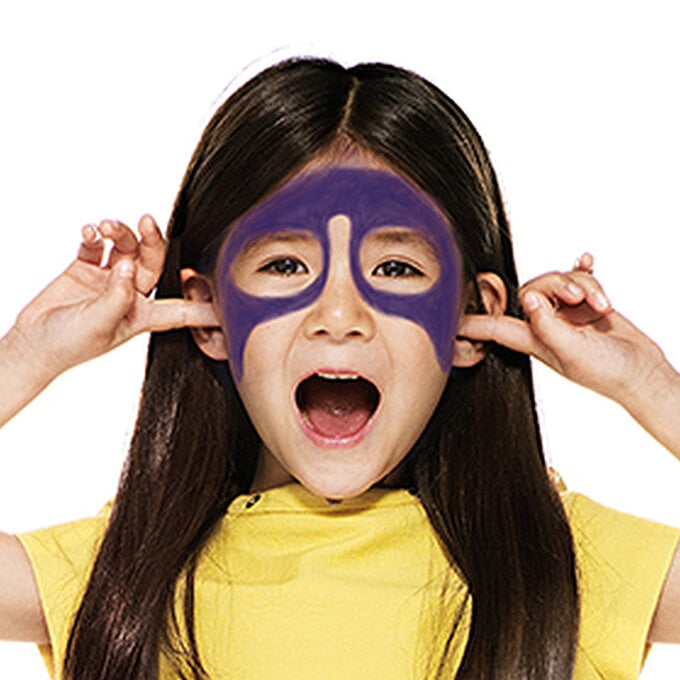
Step 1: Using some purple and a thick brush, draw a mask that goes round both eyes, covering all of the forehead and tapers down the outside of each cheek. Do not cover any of the nose.
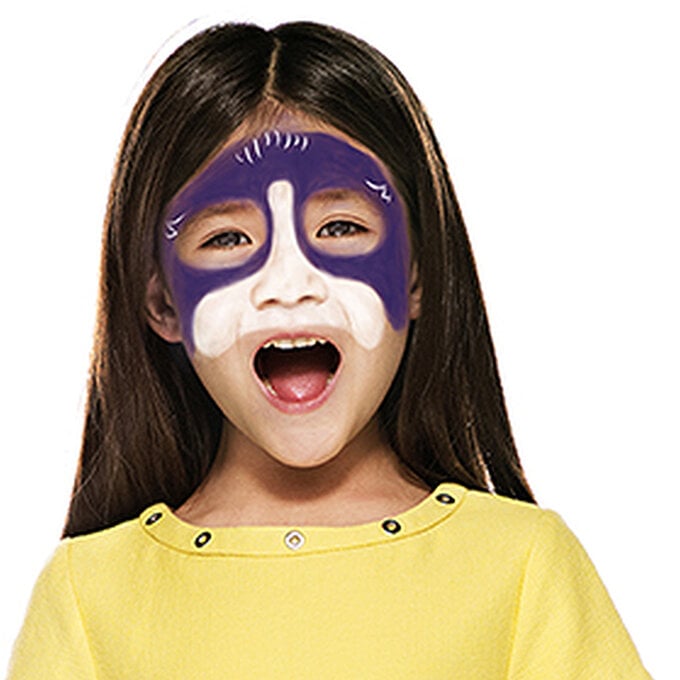
Step 2: Using some white paint and a brush, fill in the nose across the top of the lip and both cheeks. Now add some fine fur at the top of the forehead and either side of the eyebrows.
Step 3: With some black paint, colour in the end of the nose like in the picture. Now, add whiskers on the cheeks and paint a little arrow above the top lip.
Step 1: Take the small round sponge and apply white paint underneath the chin and nose. Dip the sponge in a little bit of water to get the paint to flow. Finish off the edges with a fine brush to make it a little neater.
Step 2: Take your round sponge again and this time use yellow over the entire rest of face. Avoid the bottom of the nose and eyes. It's best to use the sponge for speed. It will help you to cover a lot of area quickly. Neaten the edges with a fine detail brush if necessary.
Step 3: Draw 4 or 5 black small spots on the white area on either side of the mouth. Draw a small black line under the space between the nose and the lips. Draw a black line and another small black line on your child's chin (this will appear to be the lion's smiley mouth). Finally, colour the black triangle of the lion's nose. Avoid painting the nostril area.
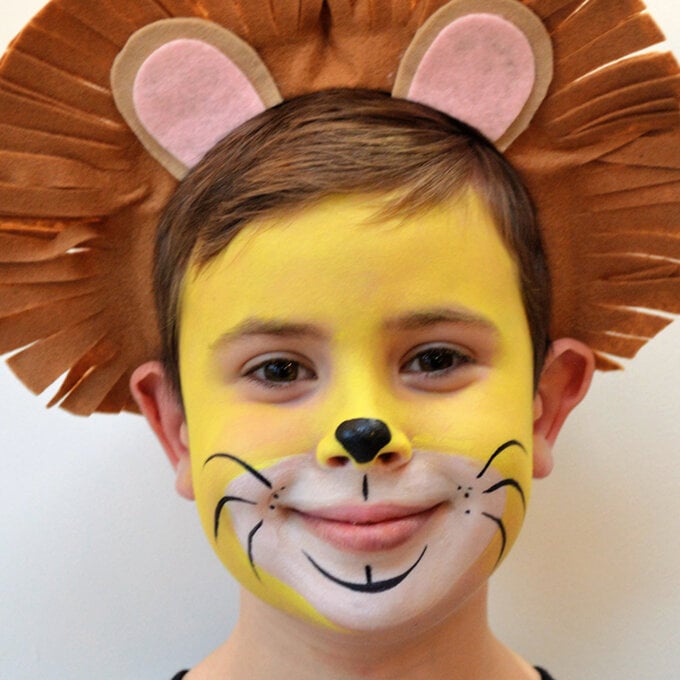
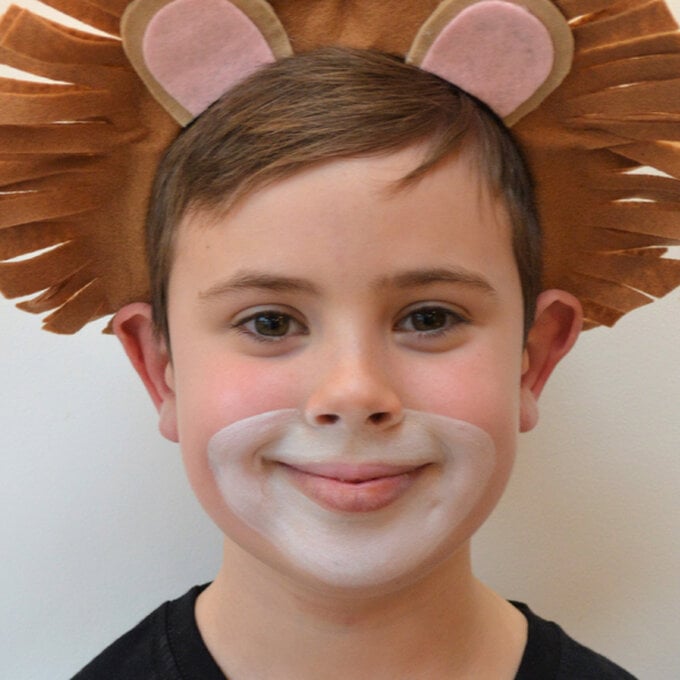
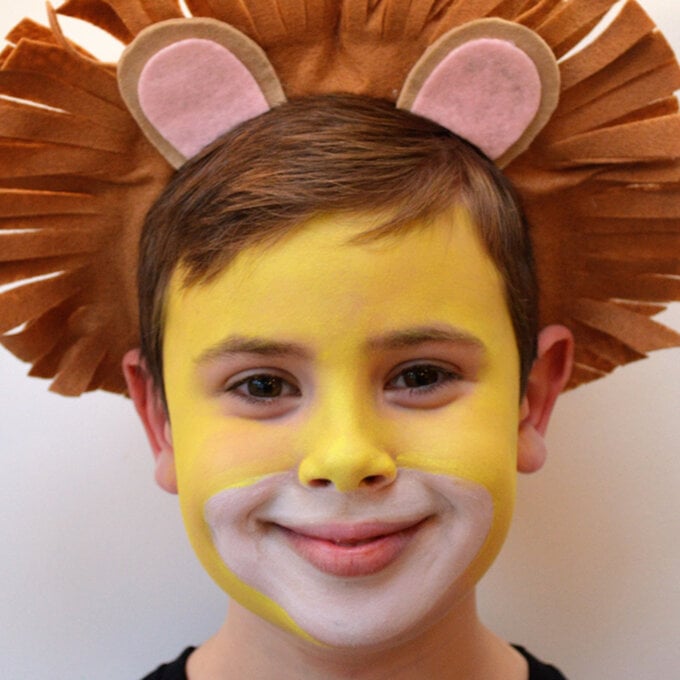
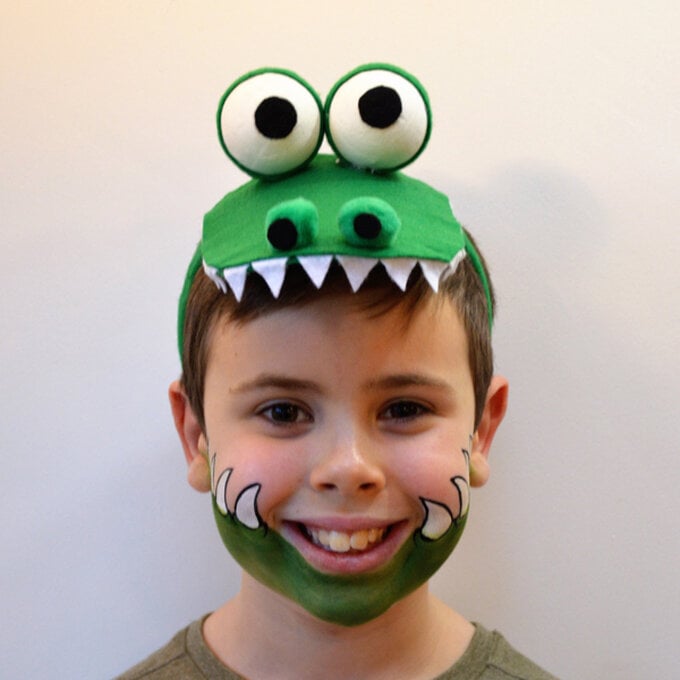
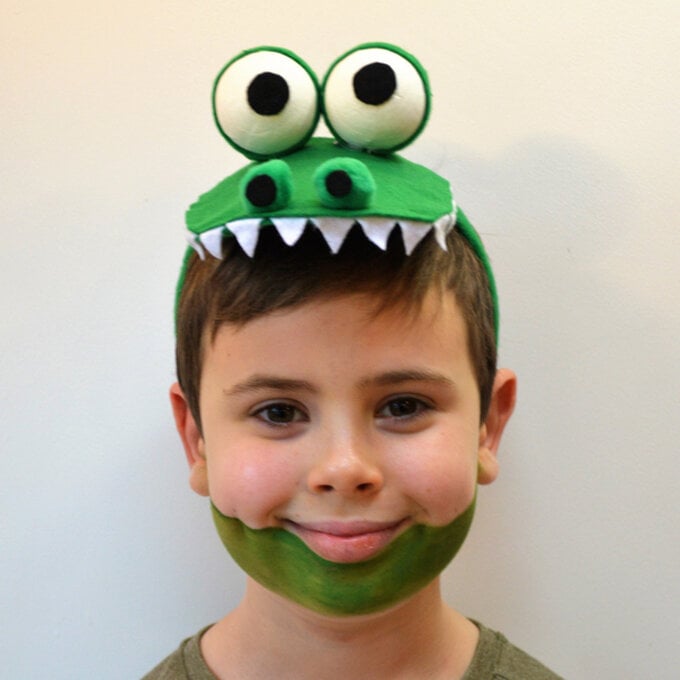
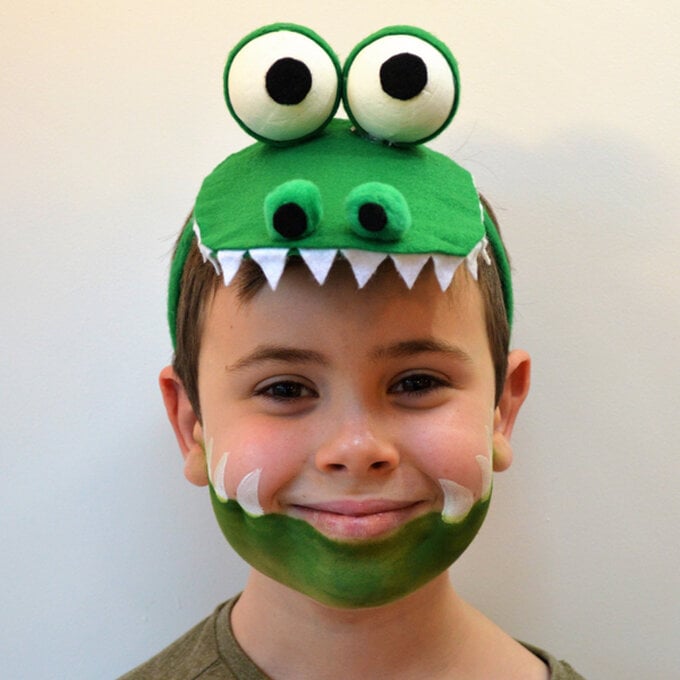
Step 1: If you have a crocodile headdress, then all you are really trying to do is to paint a green chin and some white teeth. Paint the green line first across the cheeks.
Step 2: Next, paint white triangles to create your crocodile teeth.
Step 3: Outline the teeth to make this face paint standout! This may be all you have time for before your little adventurer wants to go off and make some noise with their new character. Add to the fun by reading some crocodile story books!
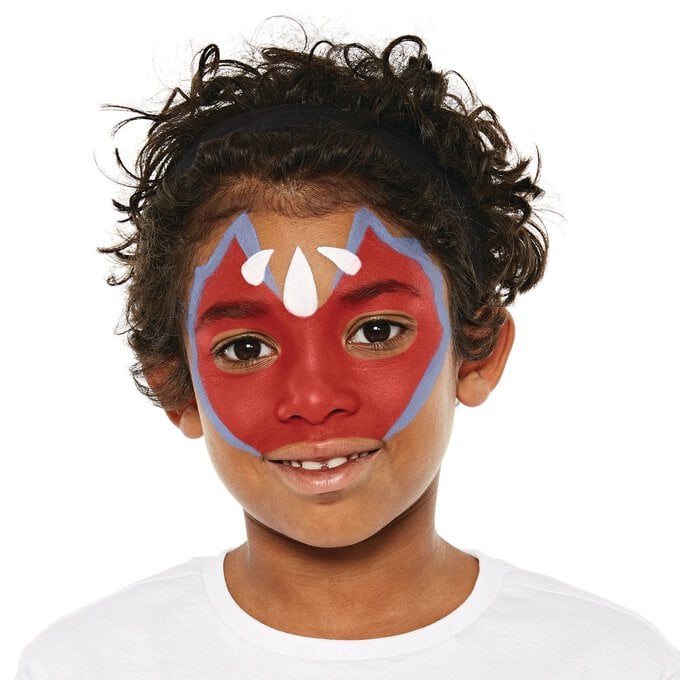
Step 1: To create the base layer, paint the dragon shape and fill in with a sponge.
Step 2: Next to form the detail, first outline the bright red with sky blue. Then, with a brush and white paint create the horns.
Step 3: To finish, paint the fangs and detail on the cheeks in white. Outline the sky blue, the fangs, horns and the pattern on the cheeks with black and using a thin brush.
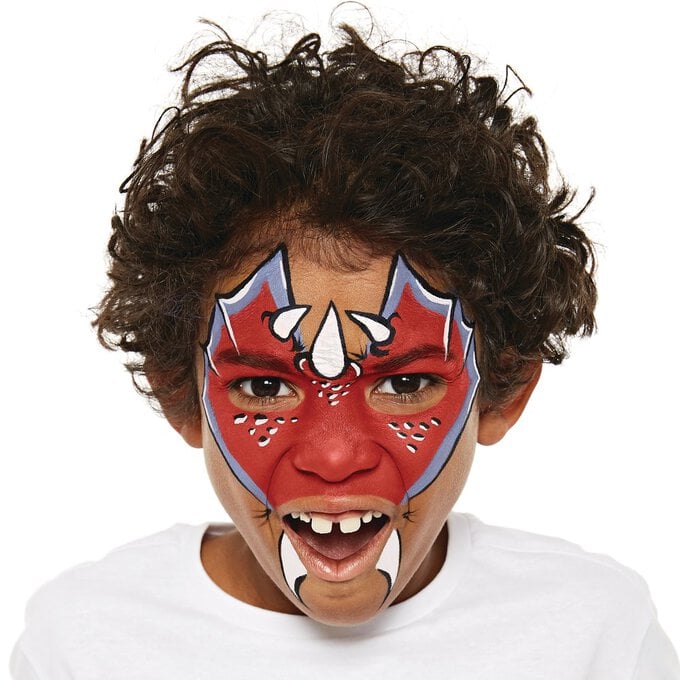
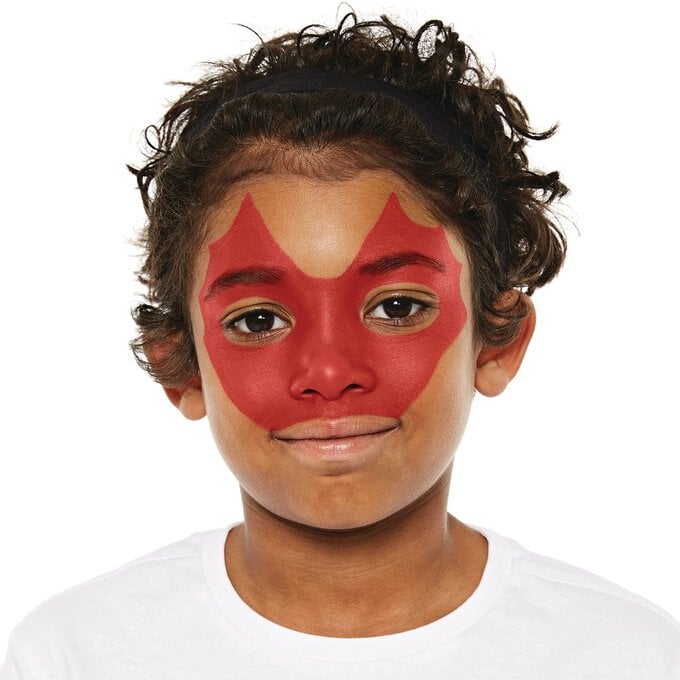
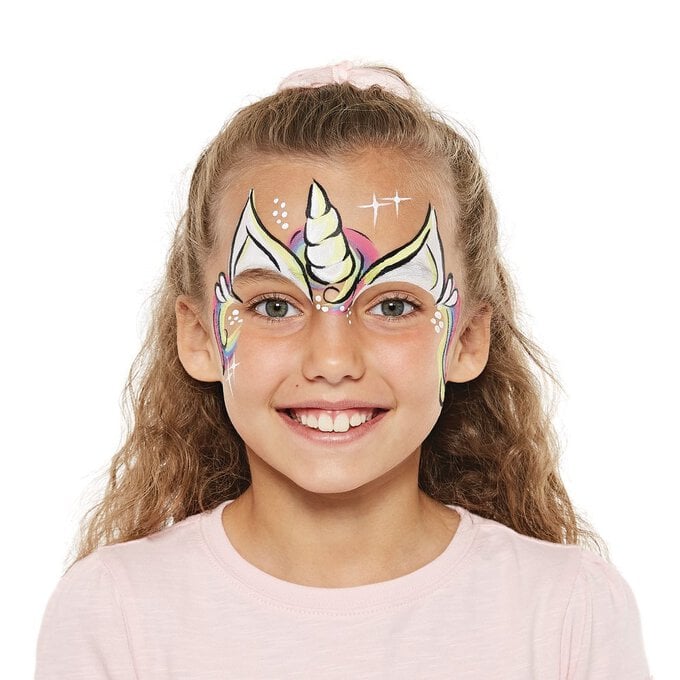
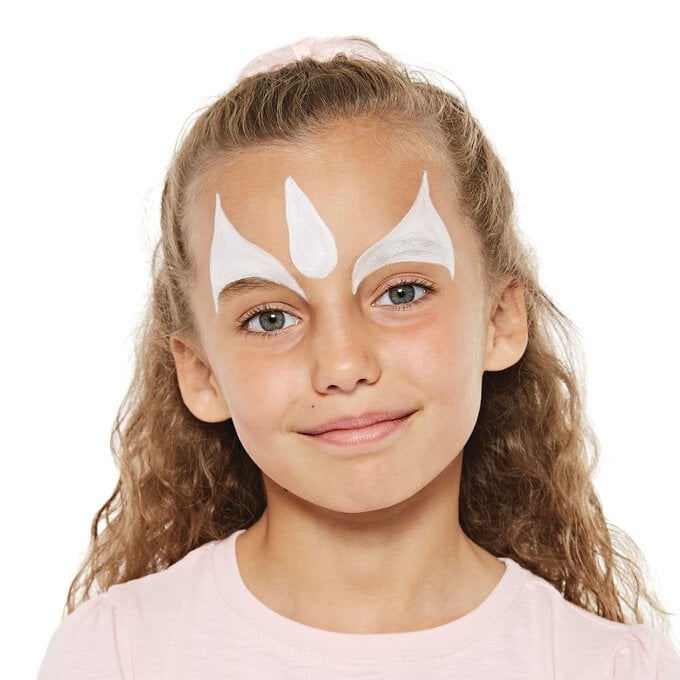
Step 1: Start by forming the base of the face paint. Outline the ears and horn using a brush, then fill in to create your base.
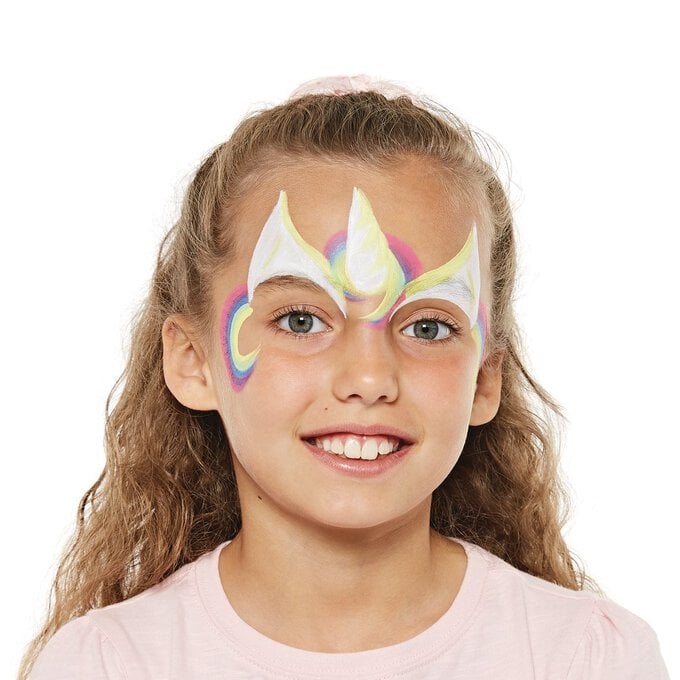
Step 2: Next, create the detail by outlining the white ears and horn with a pale yellow, pale green and sparkle lilac. Now create a rainbow on both cheeks.
Step 3: To finish, outline with fine black detail. Then, add white highlights and stars with a small brush. You can add glitter to finish the look.
