Glowforge: How to Make a Personalised Pouch Bag
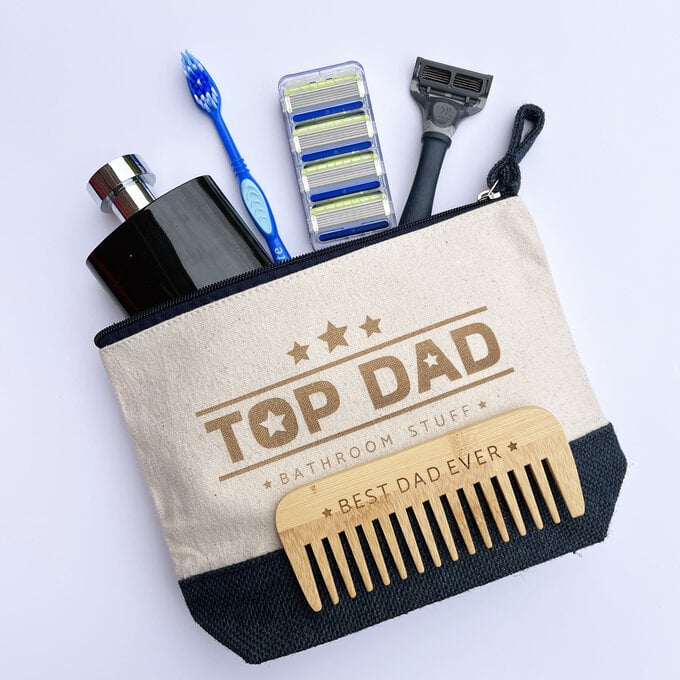
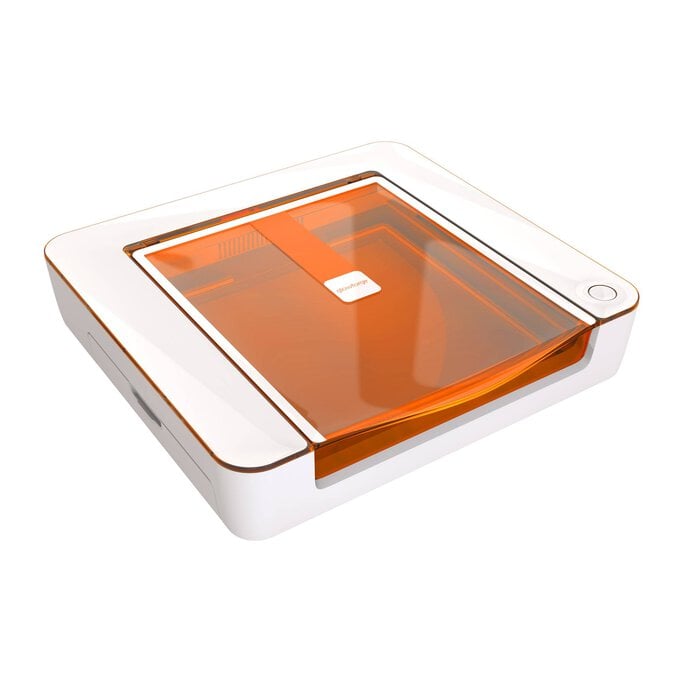
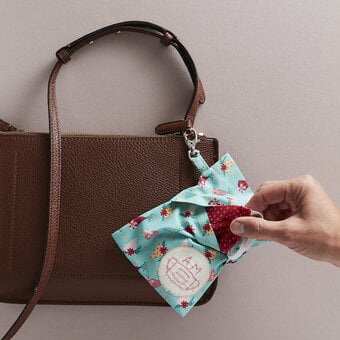
There’s no greater gift than a personalised gift, so why not create a personalised pouch bag for someone special using your Glowforge machine? Easily customisable to your recipients’ style, this beginner-friendly Glowforge project is the ideal project for new Glowforge owners.
Perfect to create for any occasion, you may find yourself having to create one for all of your friends!
You will need
Subtotal
Is $ 7,605.00
Subtotal
Is $ 5.49
Out of stock
Subtotal
Is $ 2,340.00
How to make
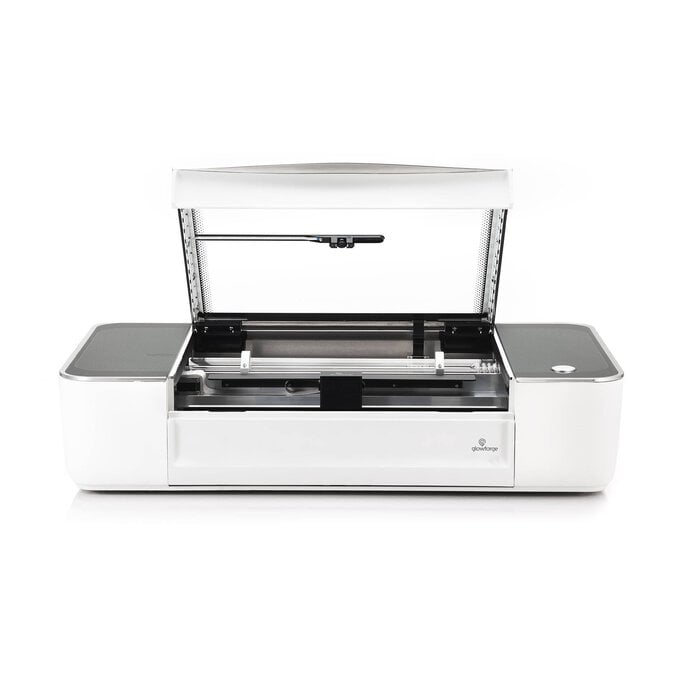
* Access to a Glowforge
* Two-Tone Blue Cotton Zip Pouch
* Stix2 Self Adhesive Craft Paper Tape
* A solid bamboo comb
* A piece of thick A4 card
* Scrap cardboard

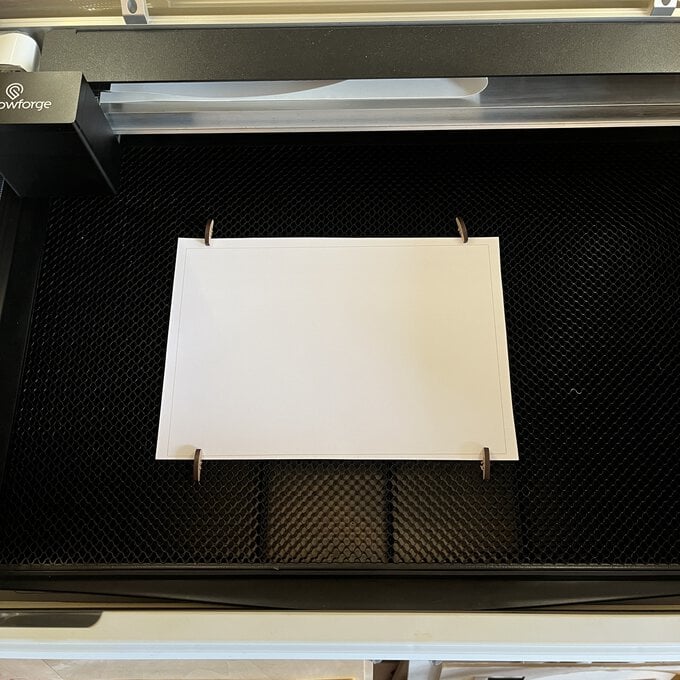
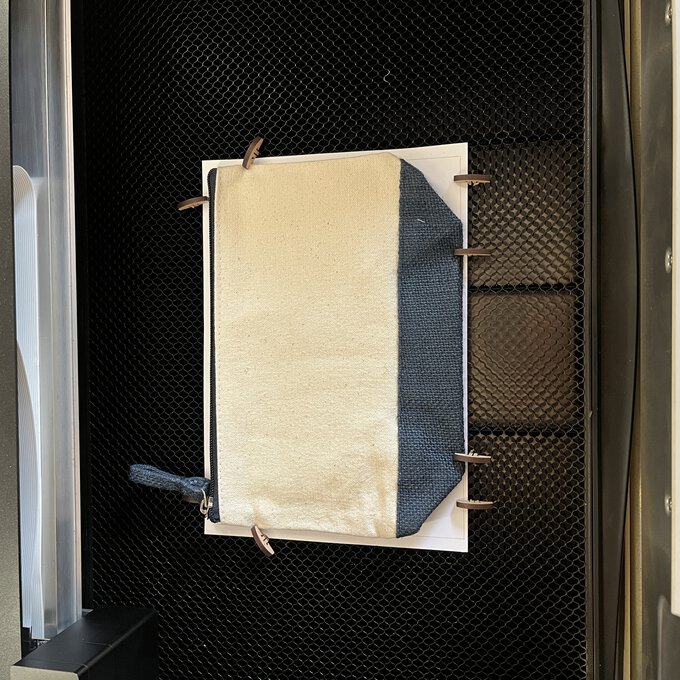
Cut the A4 card down to about 5mm bigger on all sides than your pouch. Place it in the Glowforge and peg it down to stop it from being blown around by the fan.
Top Tip: You can download a free file for the pegs from the Glowforge forum in the Beyond the Manual section.
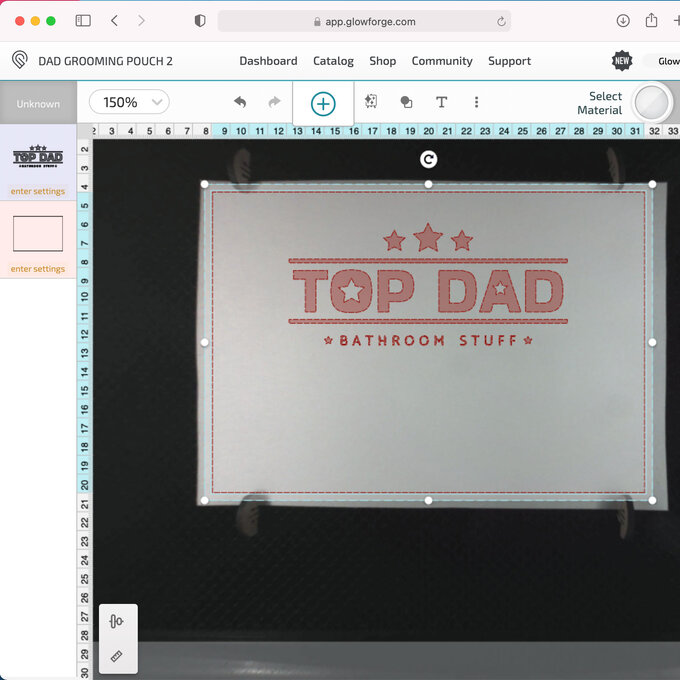
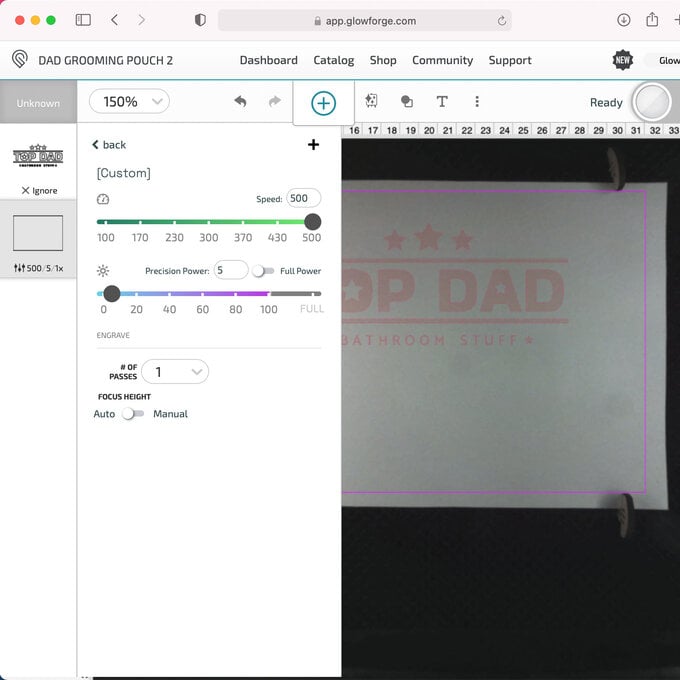
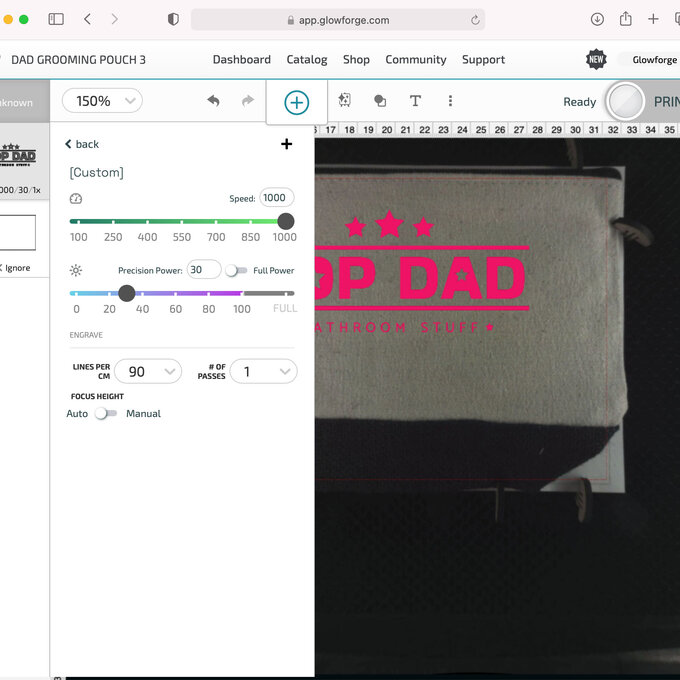
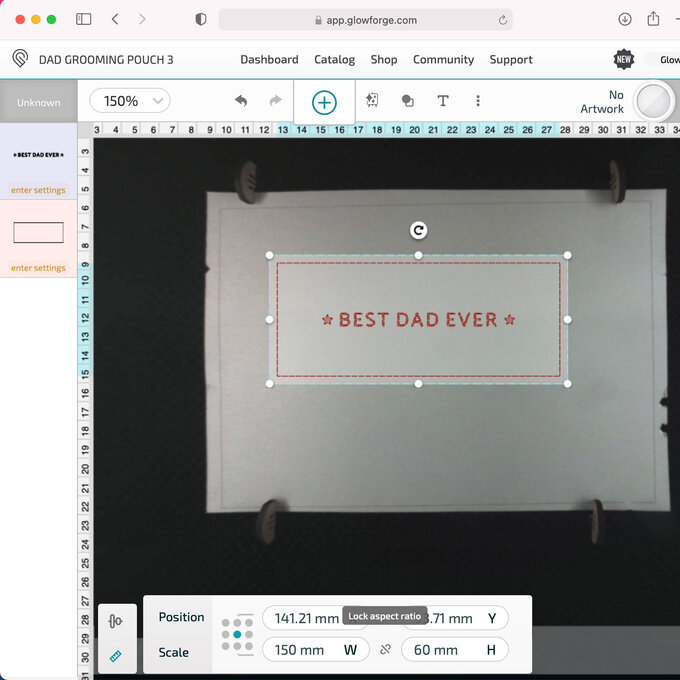
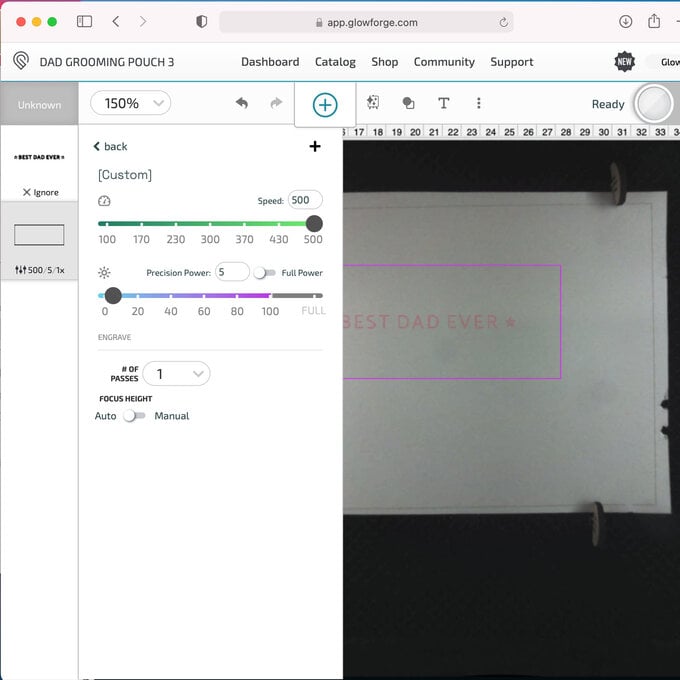
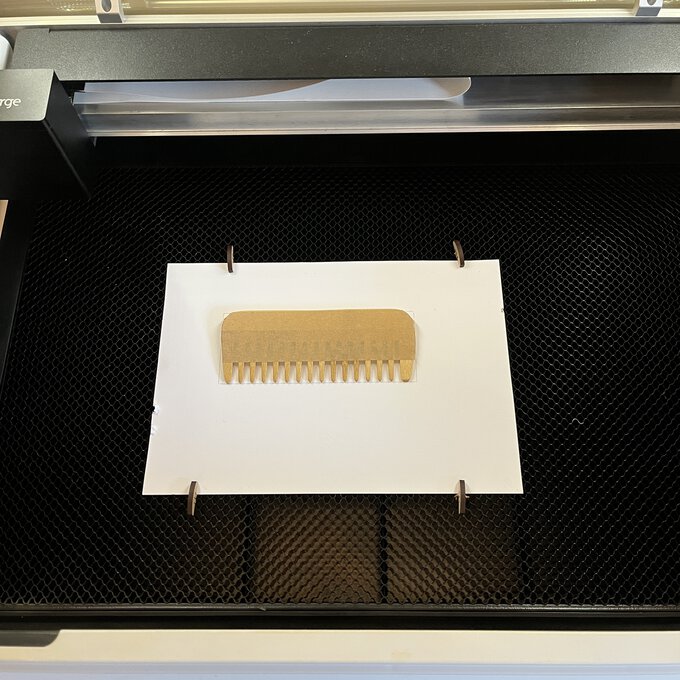
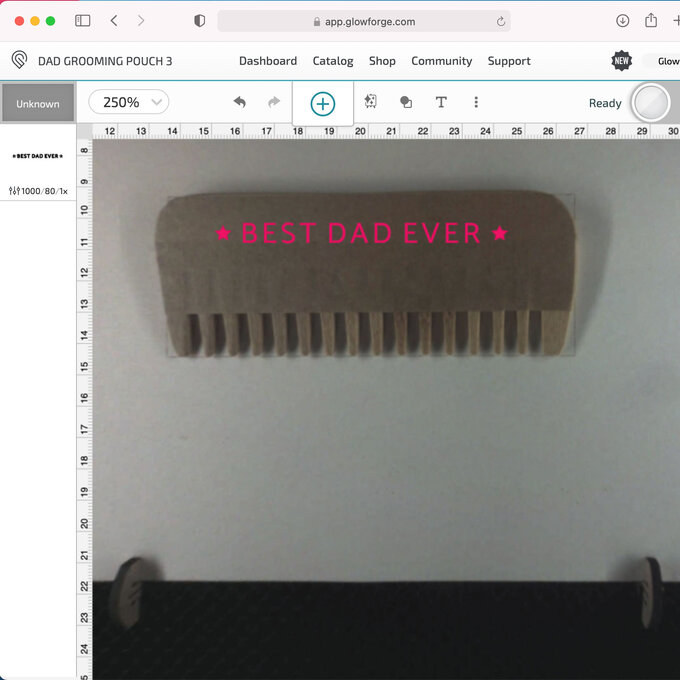
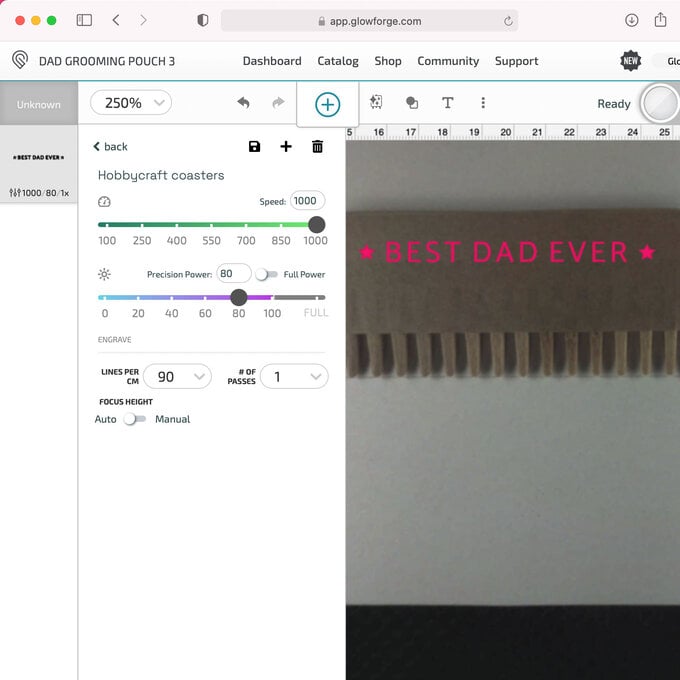
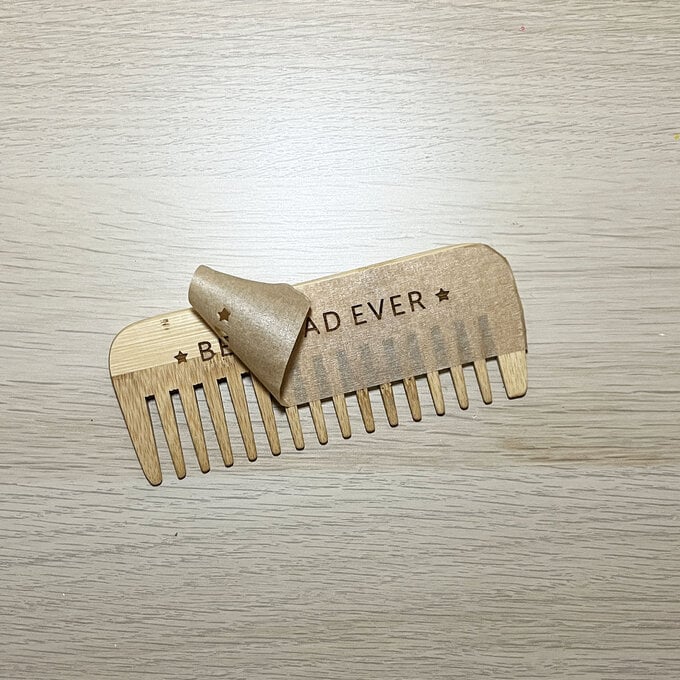
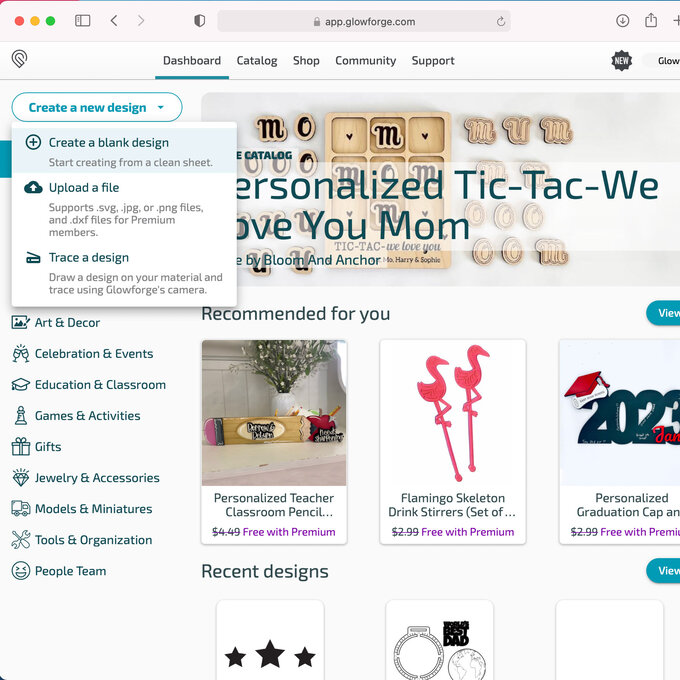
Set the material to unknown and the material thickness to the height of your comb. Change the layer settings to time 1000, power 80 and lines per cm 90 (you may need to play about with the settings a little but this is a good starting point). Click print and press the button on your Glowforge when it flashes. Take the comb out when safe to do so.
Top tip: There’s lots of help on settings for different materials on the Glowforge forum in the Beyond the Manual section.
