Glowforge: How to Create an Easter Doormat
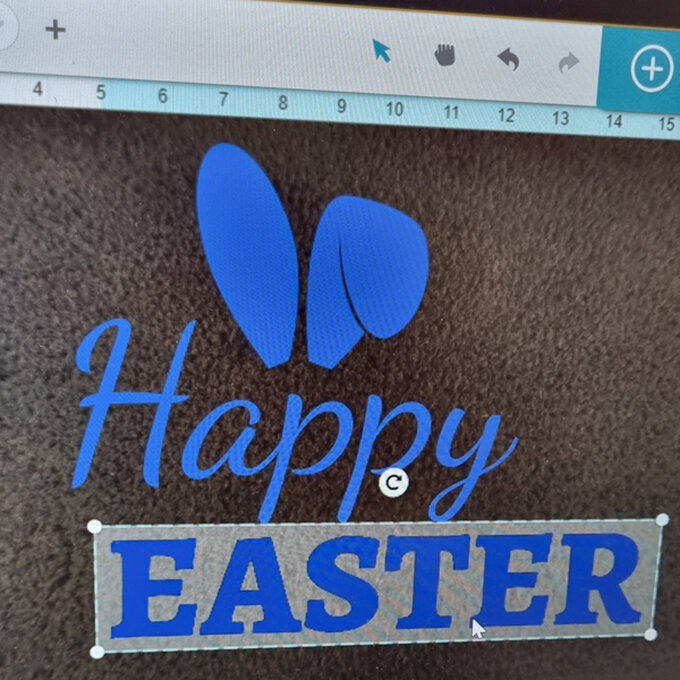
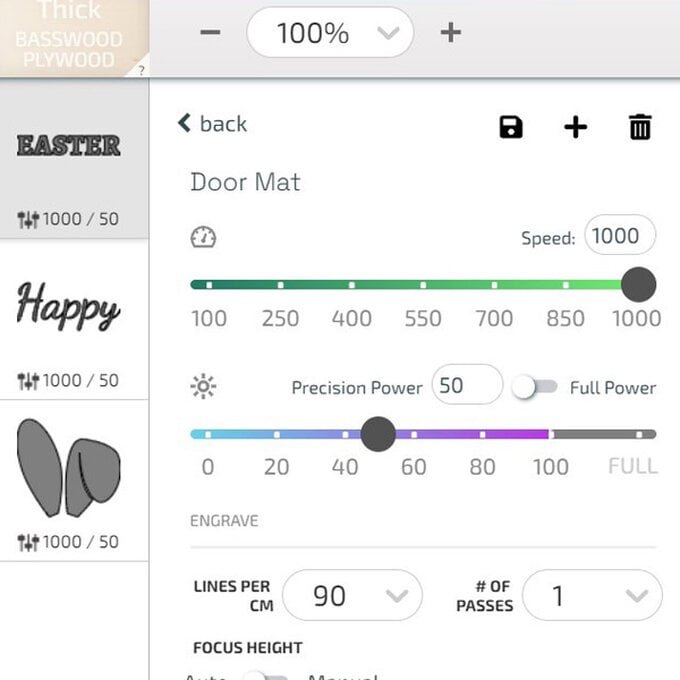
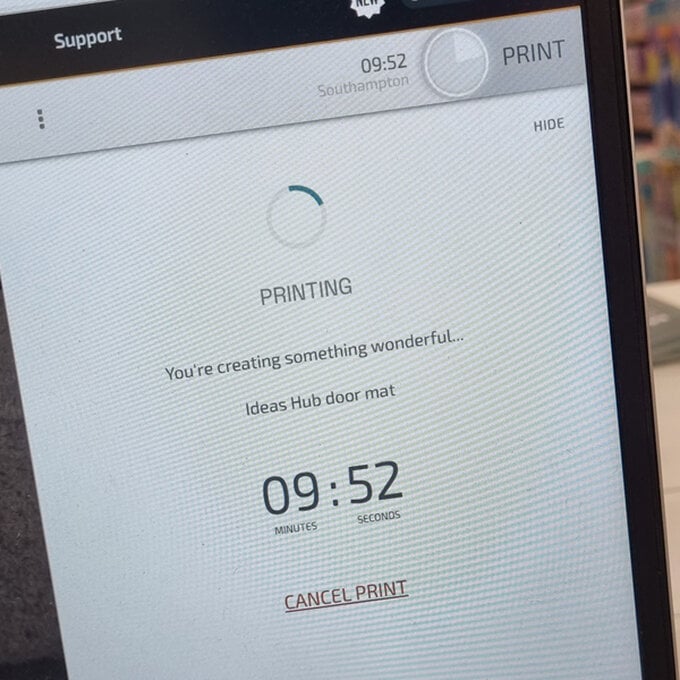
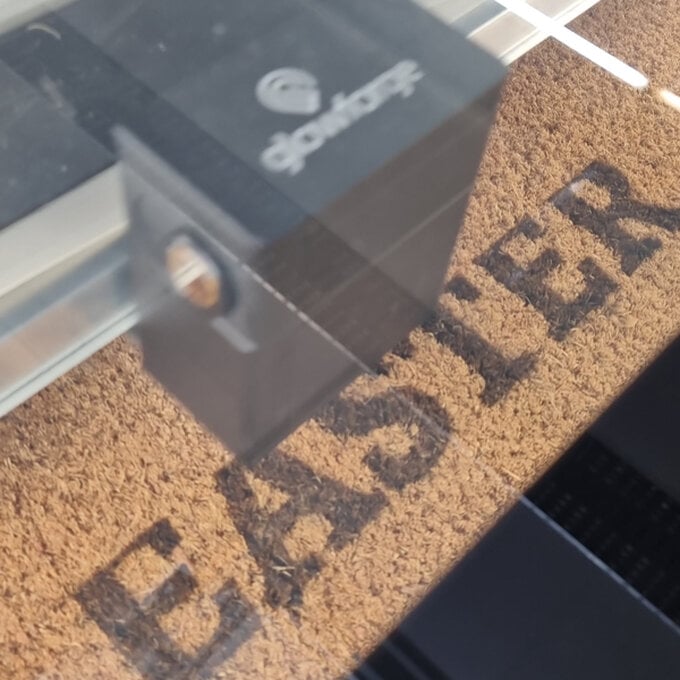
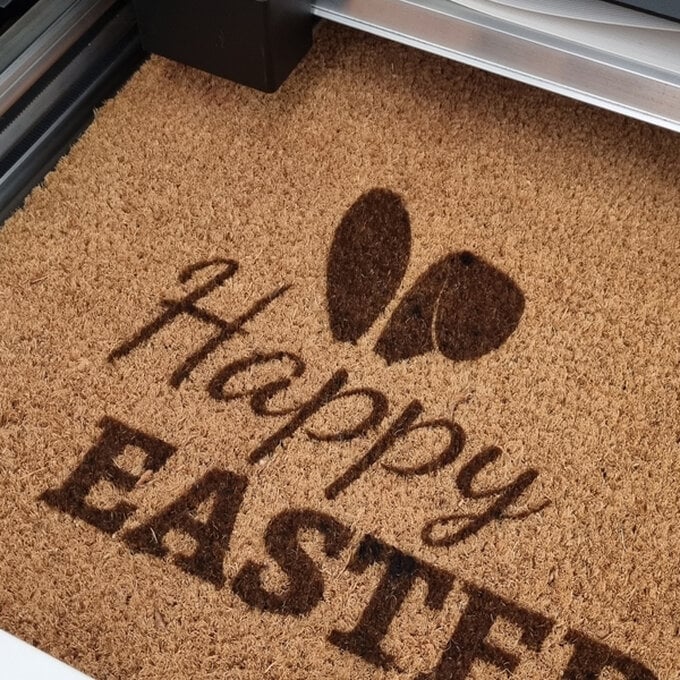
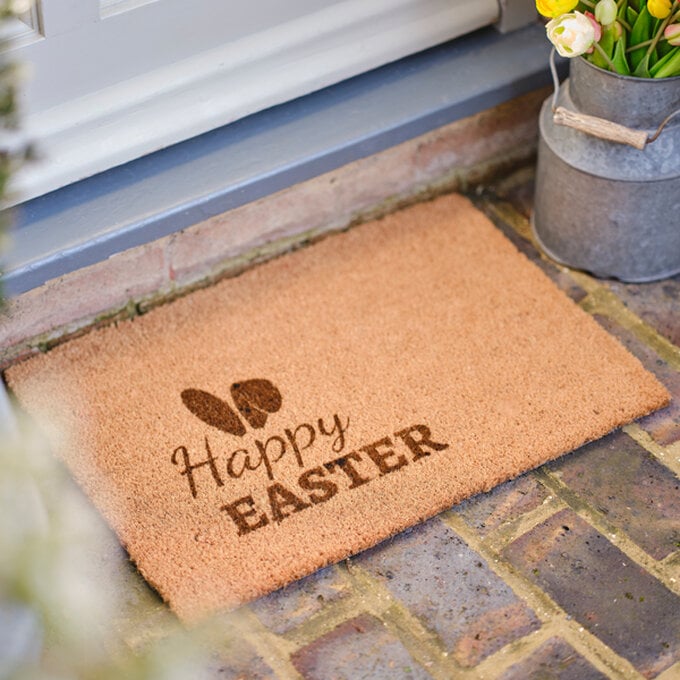
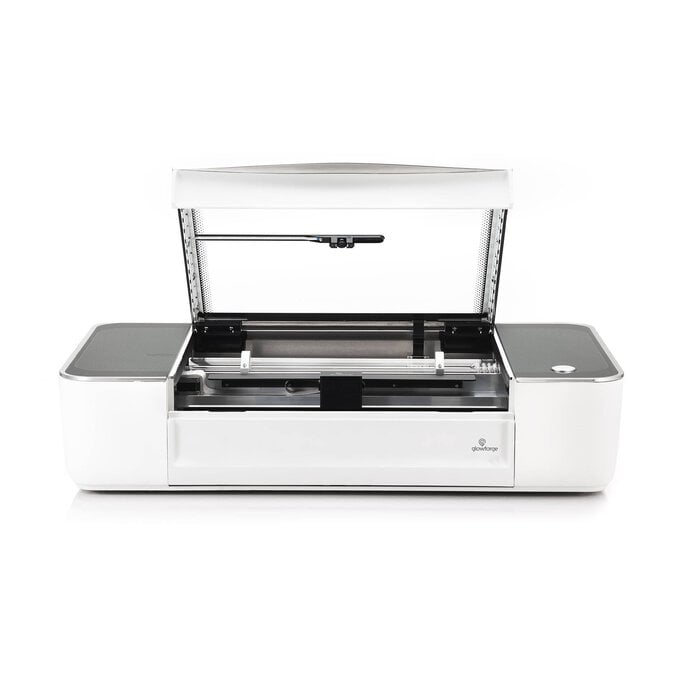
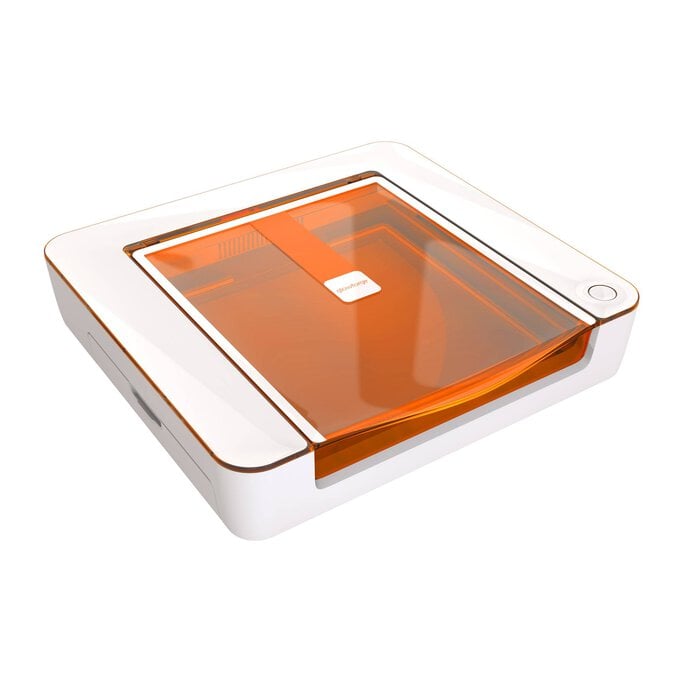
Add some style to your home this Easter with this superb doormat, a beautiful project to make with your Glowforge. Using the Glowforge Laser Printer, this simple design uses the engrave feature to create a unique but simple piece of doorstep décor.
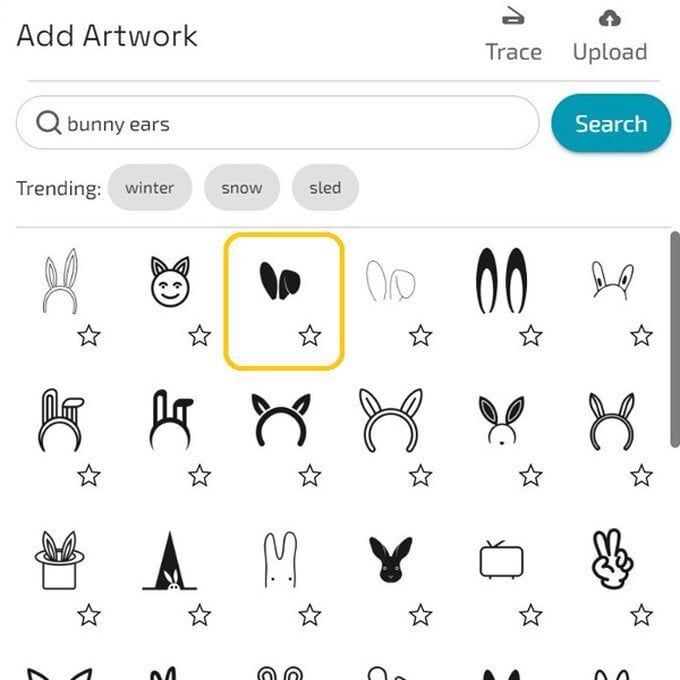
We've chosen our favourite images from the extensive Glowforge image library, but you could also upload your own digital design.
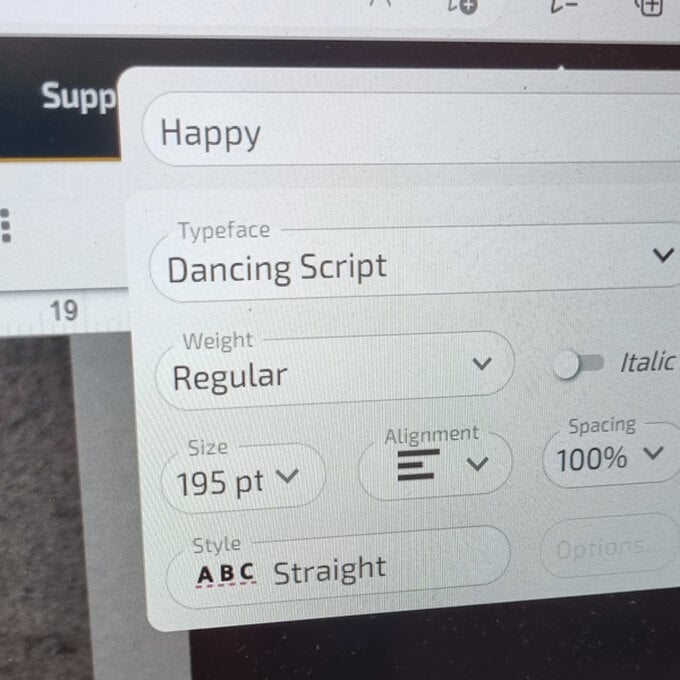
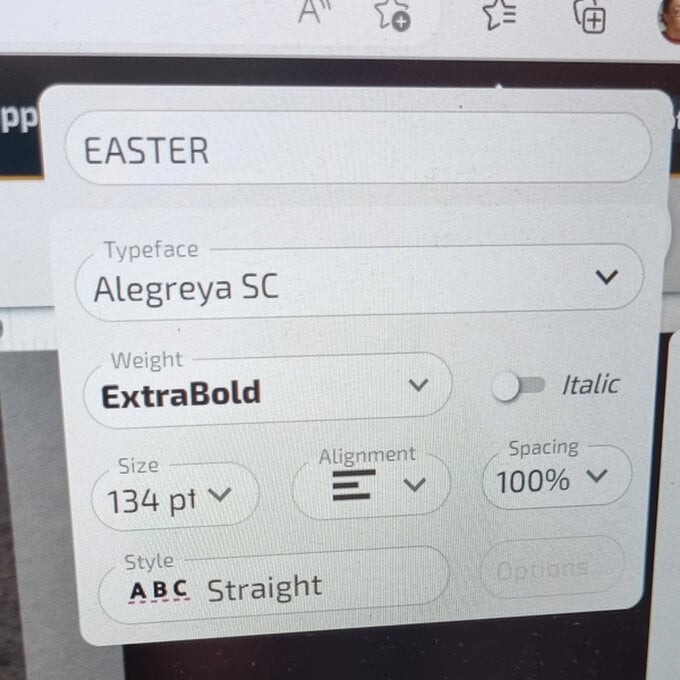
Please note: This project contains paid-for content from the Glowforge image and font library. Screen reference images are taken from the iPad version of the Glowforge design software.
You will need
Subtotal
Is $ 7,605.00
Subtotal
Is $ 1,905.00
Subtotal
Is $ 2,340.00
You Will Need
* Glowforge Laser Printer
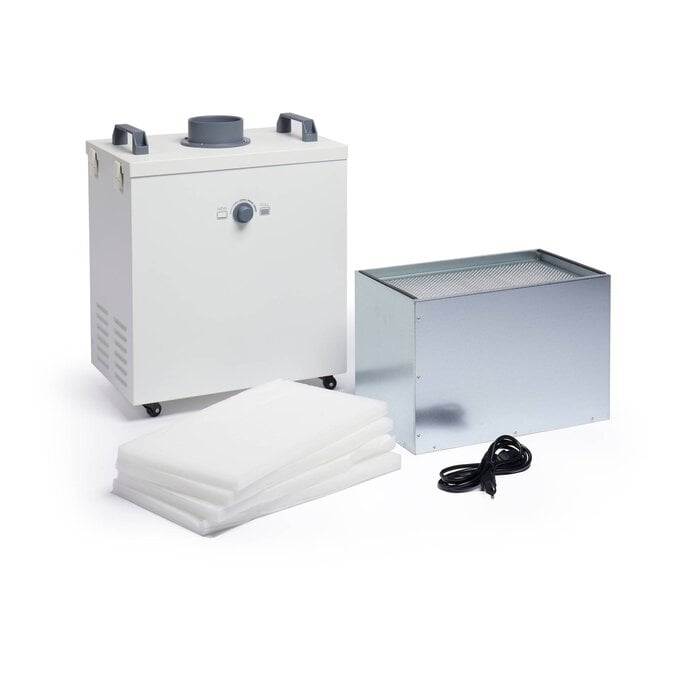
* Glowforge Air Filter
* Coir Doormat
How to Make
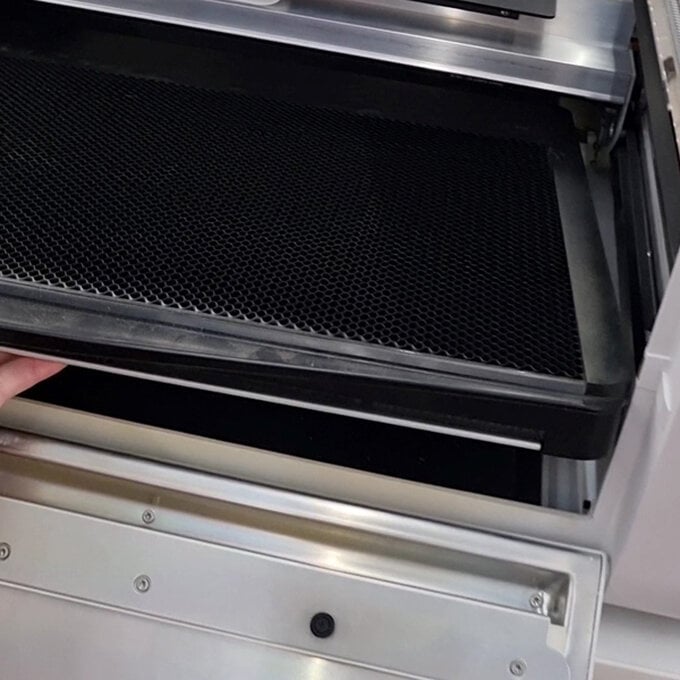
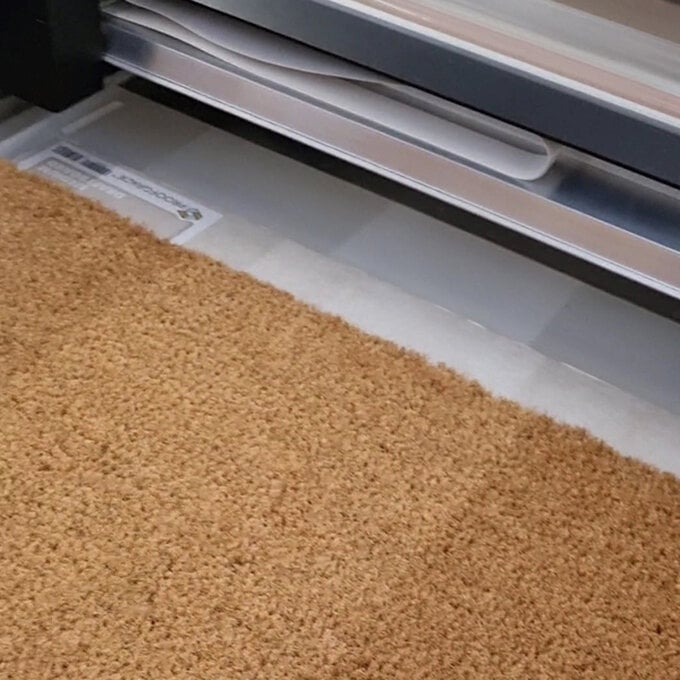
Test the size of your mat inside your machine. You will need to make sure that the parts of your machine can move freely with the mat inside.
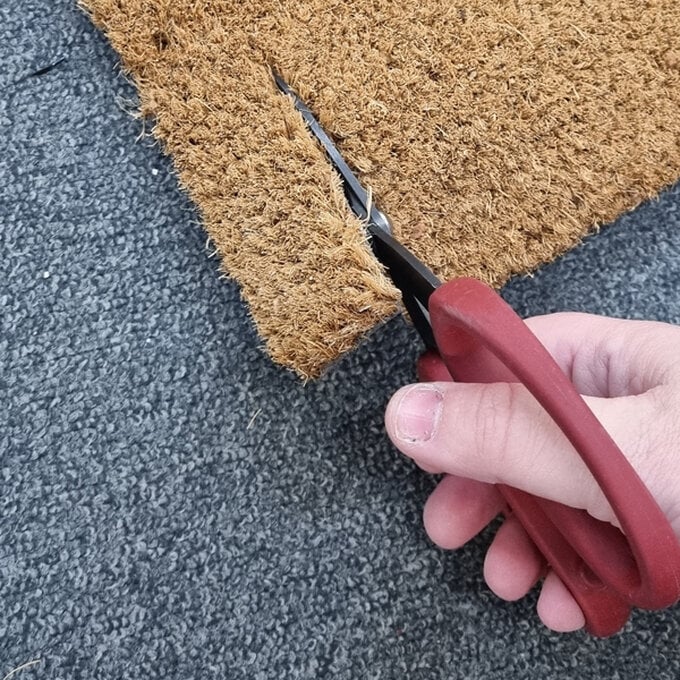
The mat we used in this project was originally 60cm wide, so we cut approximately 3cm off with strong scissors to make it fit.
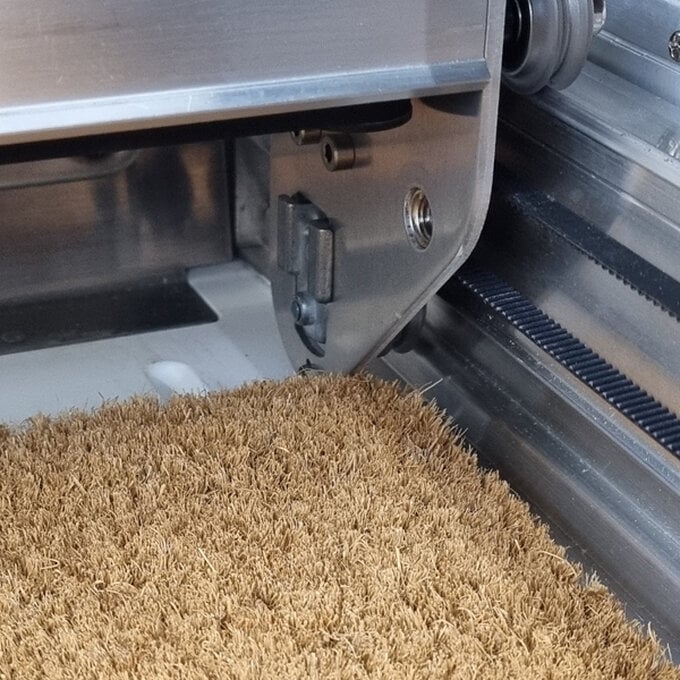
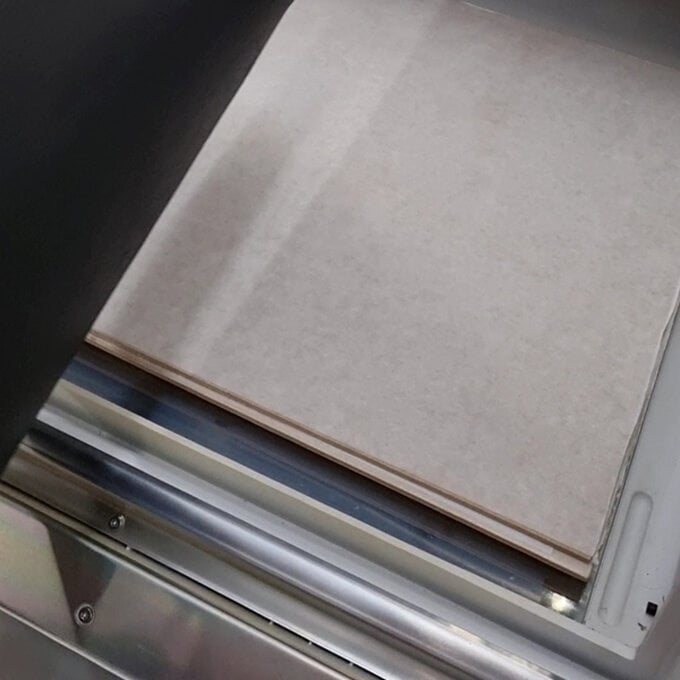
When we removed the crumb tray, we found that the mat was positioned a little lower than desired. We used some sheets of Glowforge material to bump up the height.
Top Tip: Check the height, as the top of the mat needs to be at 1 ½ to 2 inches below the laser to allow it to work efficiently. You will get an error message if the height is not correct.



.jpg?sw=340&q=85)
.jpg?sw=340&q=85)
.jpg?sw=340&q=85)
