How to Create a Holiday Memory Frame
The best holidays are the ones where you can't even think of the best bit! Holidays are a great opportunity to collect bits and bobs that you can use when scrapbooking. That said, sometimes I find myself collecting loads of things that I'd love to keep but have no idea how to lay them out or best present them.
As a scrapbooker, I find myself torn: should the project look beautiful or should it be sentimental? Which one is most important? This tutorial is packed full of tips and techniques that you can use when scrapbooking so that you can create something you love.
You will need
Subtotal
Is $ 4.49
Subtotal
Is $ 3.49
Subtotal
Is $ 0.49 , was $ 1.49
Subtotal
Is $ 5.49
How to make
You will also need:
*A ruler
*Pencils
*Scissors
Optional:
*Die cutting machine
Start by gathering your holiday treasures; I found the best pieces were photographs, postcards, tickets, spare change in the country's currency, and local maps (you can often find these for free in touristy areas). Look for things that are fairly flat, light, and a range of sizes. When you collect your items, know that there is no pressure to use everything. Instead, use the opportunity to think about which items are your favourite and which you could save for a future project.
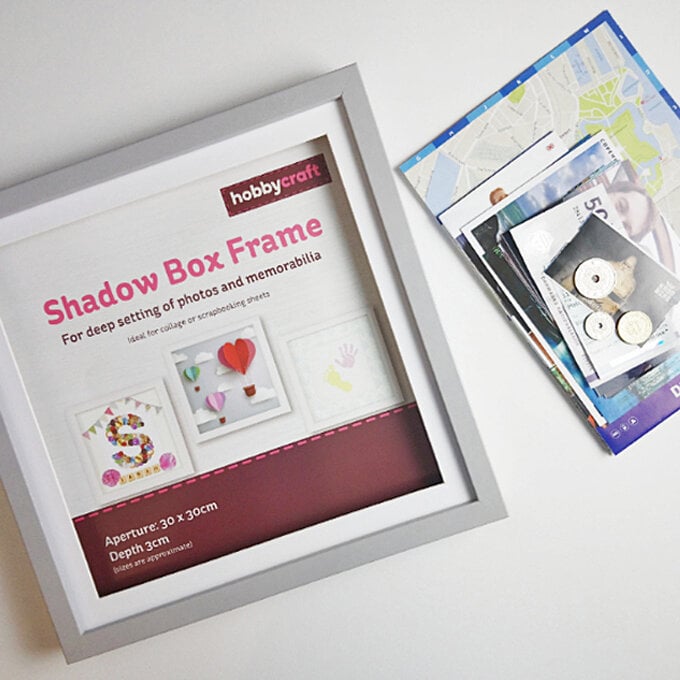
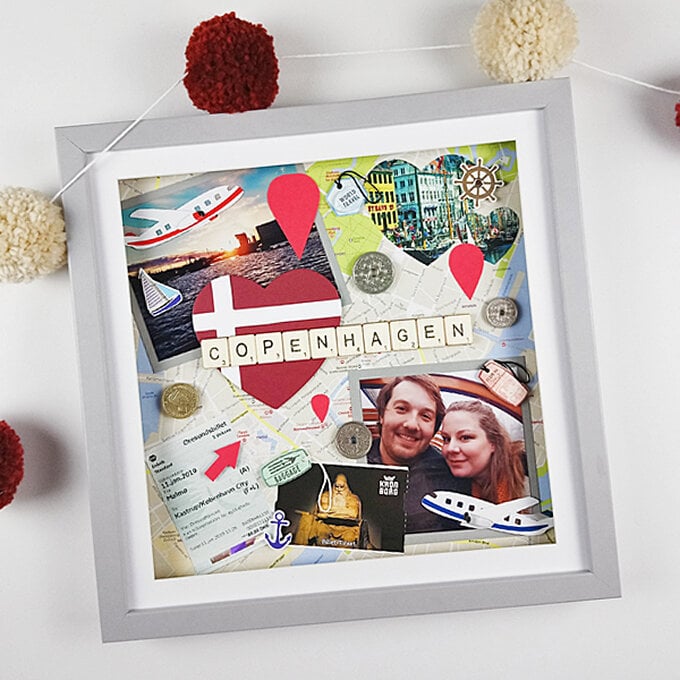
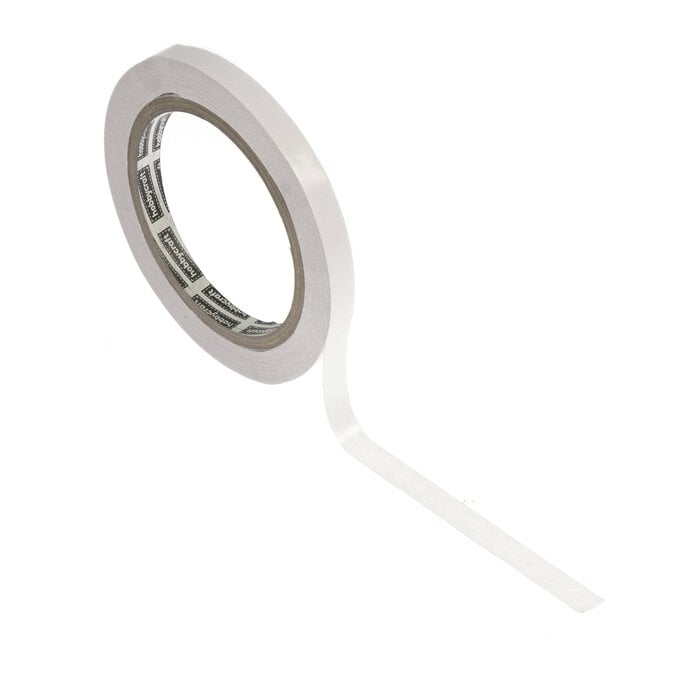
I decided to use one of the maps I collected as my background. Cut the map to the same size as your background (this frame is 30 x 30cm). Attach with double-sided tape. I found this option the best as liquid glue runs the risk of bleeding through the paper; this could ruin the look of the map if it isn't colourfast.
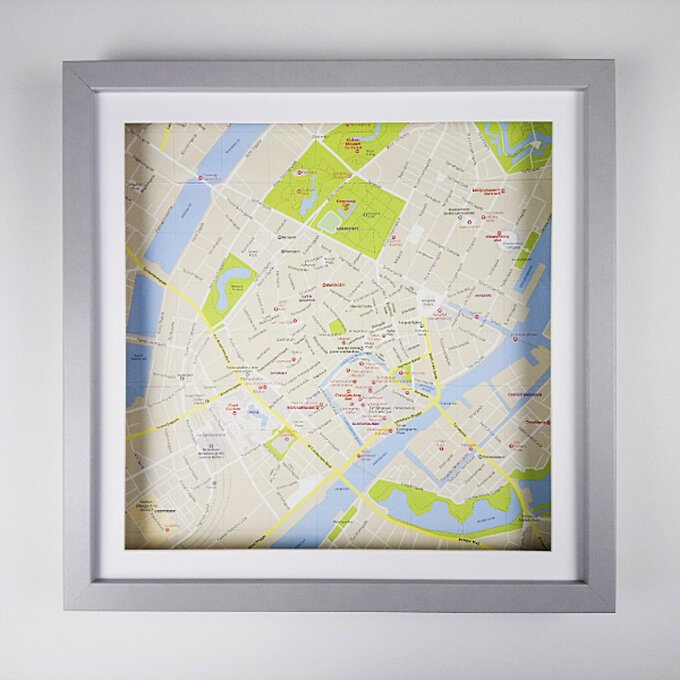
Play around with laying out some of your items on your background. Aim to decide which pieces you want to use, where you might set them out, and whether you'd like to trim any pieces down. As my frame has a mount, I decided to play around with the layout with the box frame assembled. This helped me to check that important bits weren't covered by the mount.
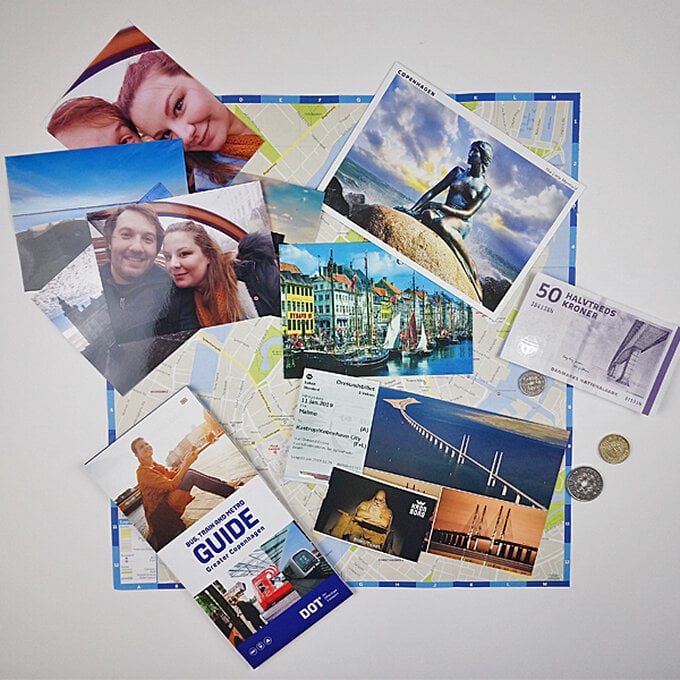
There are a few different things you can do to display your items creatively:
Mount your photos on card which coordinates with your frame. I chose grey as it would work well with the colour scheme in my home.
Use a die-cutting machine to cut out parts of photos or postcards. I die-cut hearts from a postcard; this allowed me to show off the best bits whilst saving space and adding interest with different shapes. Alternatively if you don't have a die-cutting machine you could also use heart shaped craft punches or scissors.
Create location pins from cardstock to draw attention to places on the map. To create a template, fold a piece of paper in half, and draw half of the pin against the paper's crease. Cut out your pin and you will find it is perfectly symmetrical.
Adding your destination's flag will help bring everything together and remind you of the country you visited. I made a heart-shaped flag out of card, but you could use felt, draw one yourself, or find a printed version to use.
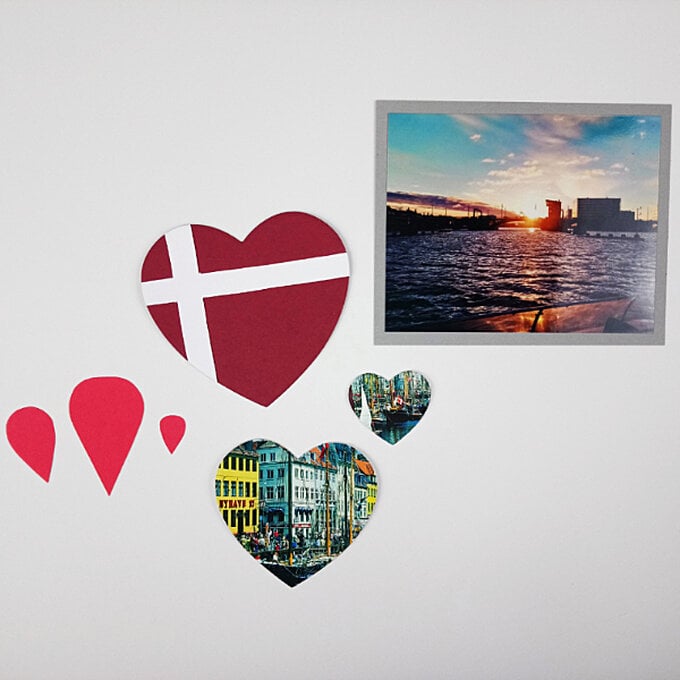
Once you are happy with your layout, get everything stuck down. I used a combination of double-sided tape and foam squares. Using both ensured the finished project would have a bit of dimension, rather than being completely flat.
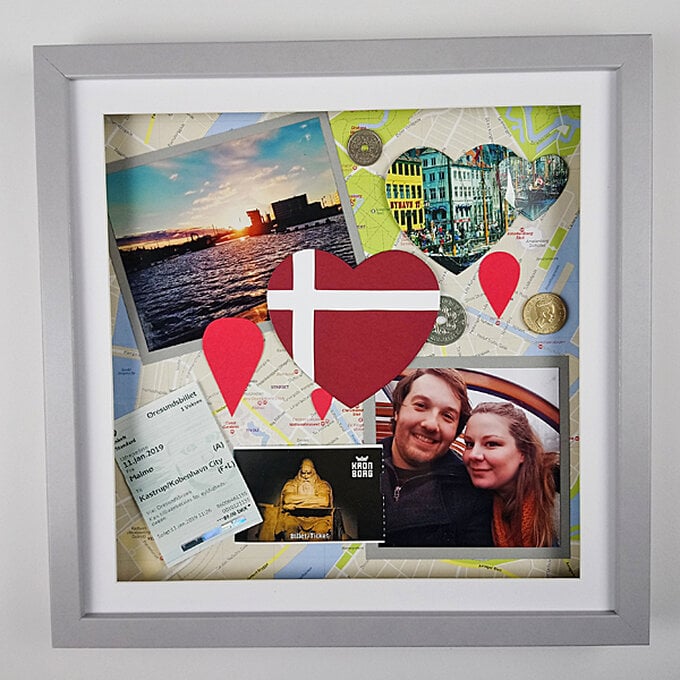
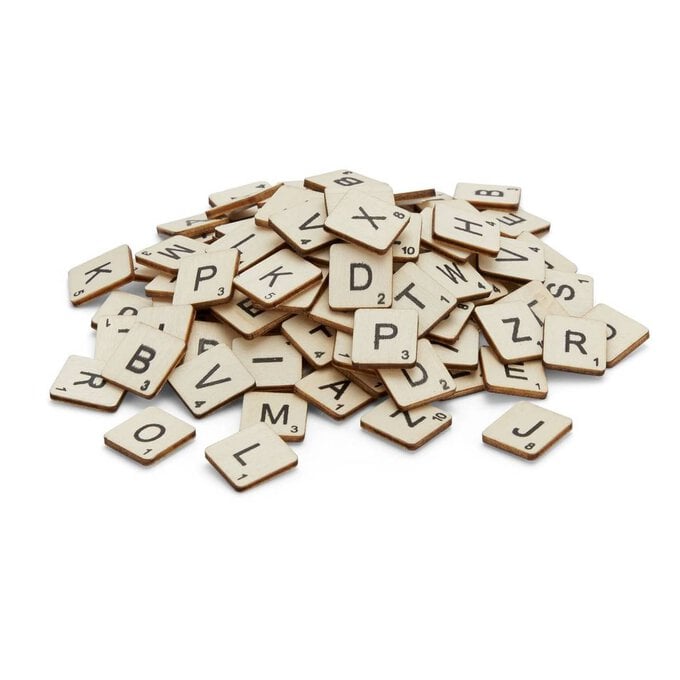
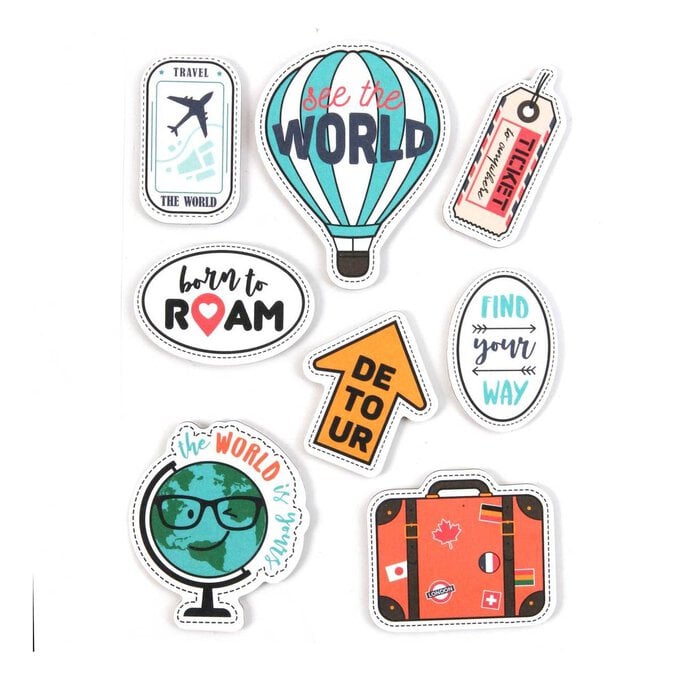
Complete the project by adding a title. I used wooden letters to spell out the city I visited. To make sure I had my title positioned exactly where I wanted, I stuck the letters to a thin strip of card using double-sided tape. This wouldn't show on the finished project, but it would allow me to position the title in a central position. I then added small, travel-themed embellishments to spaces which 'needed a little something'.
