How to Make a Travel Album
Travel journals make it super-easy to document your travels on the go. Armed with a few journaling essentials and some nifty pre-made essentials you'll have everything you need and more to document your well-deserved holiday time.
You will need
Subtotal
Is $ 7.49
Subtotal
Is $ 12.00
Subtotal
Is $ 6.49
How to make
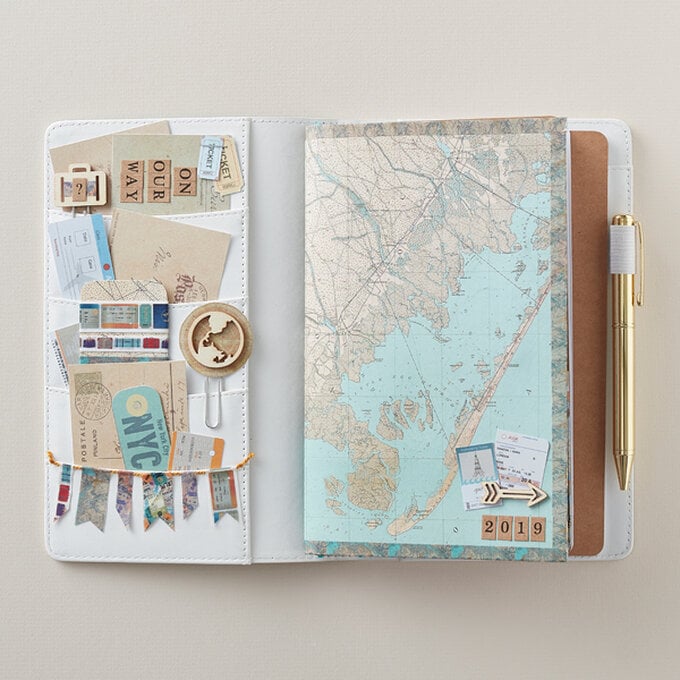
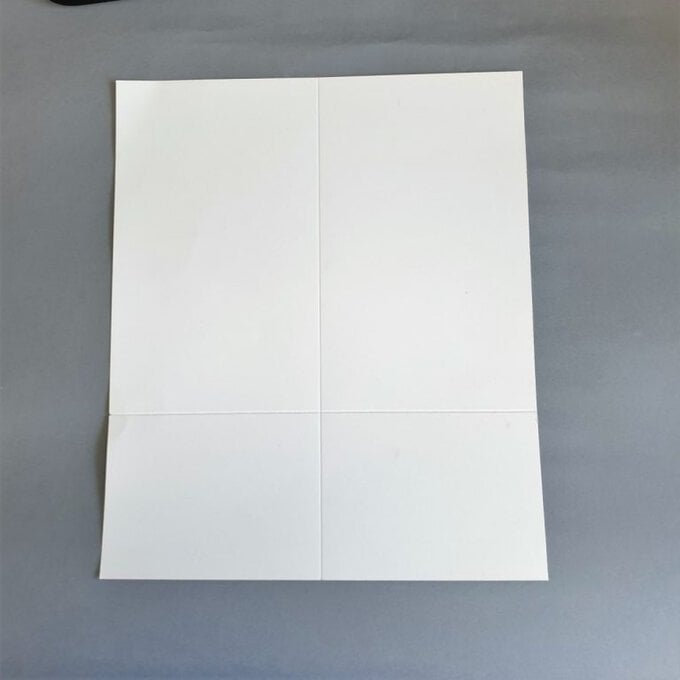
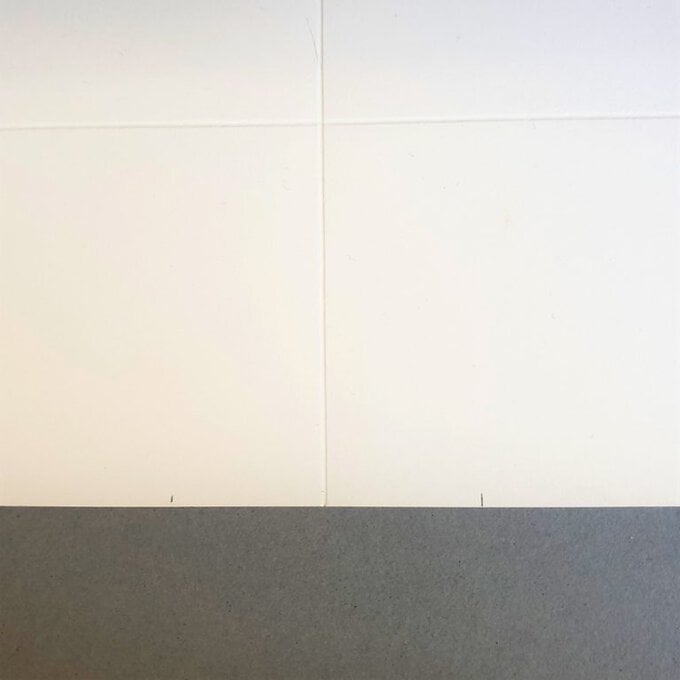
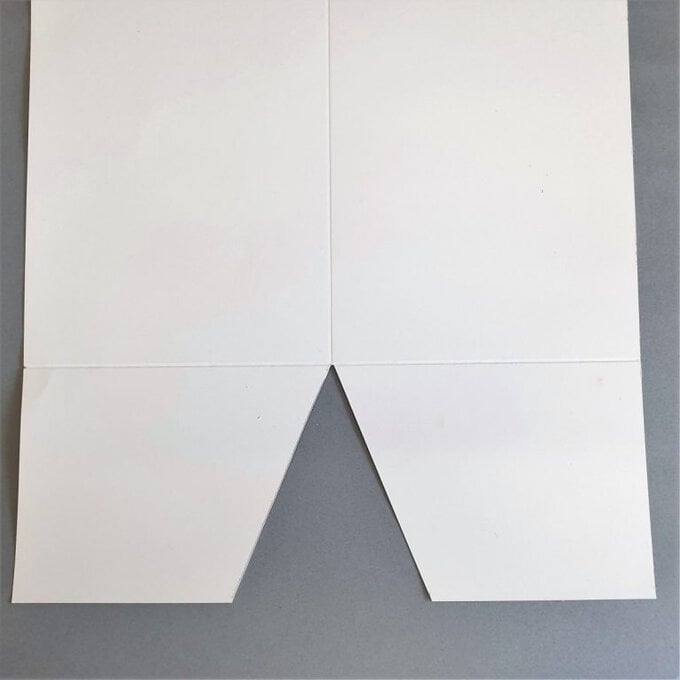
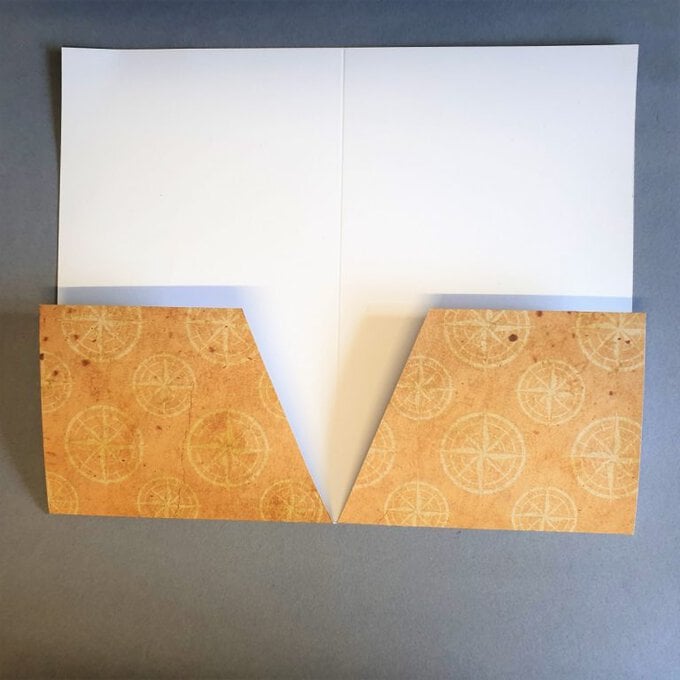
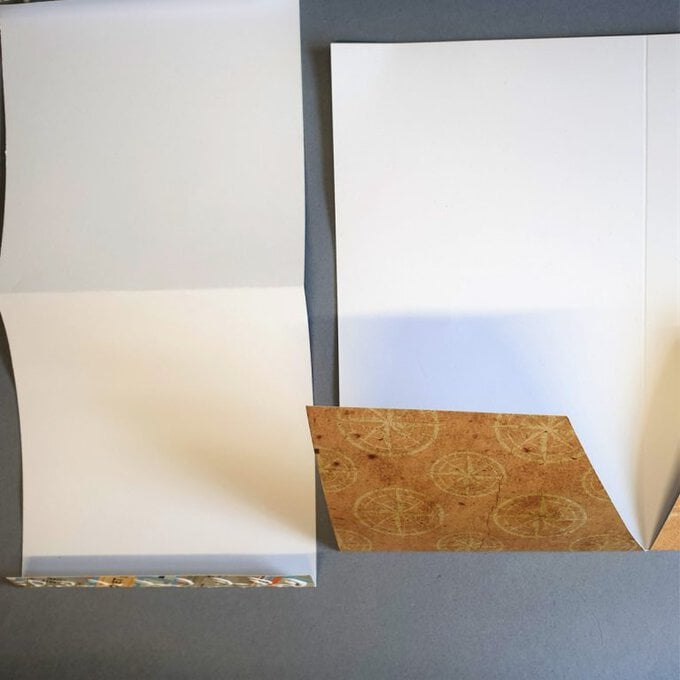
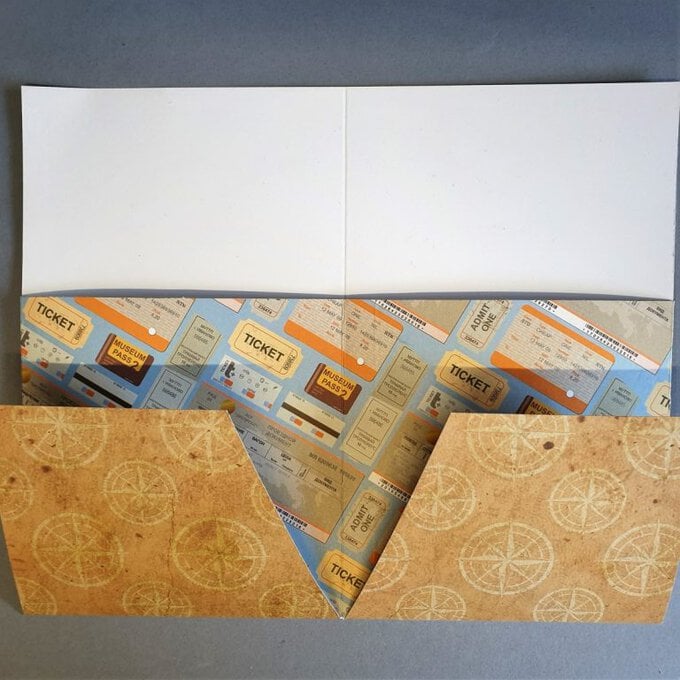
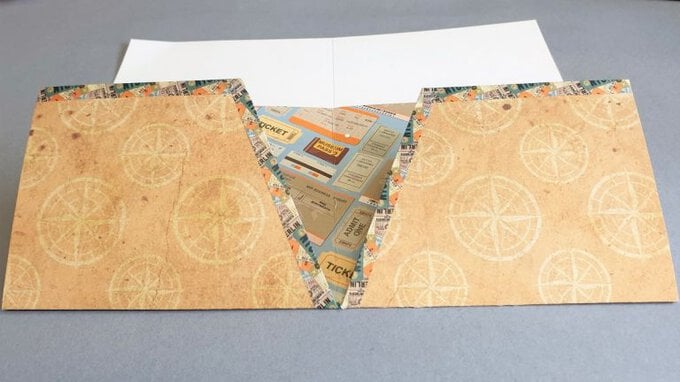
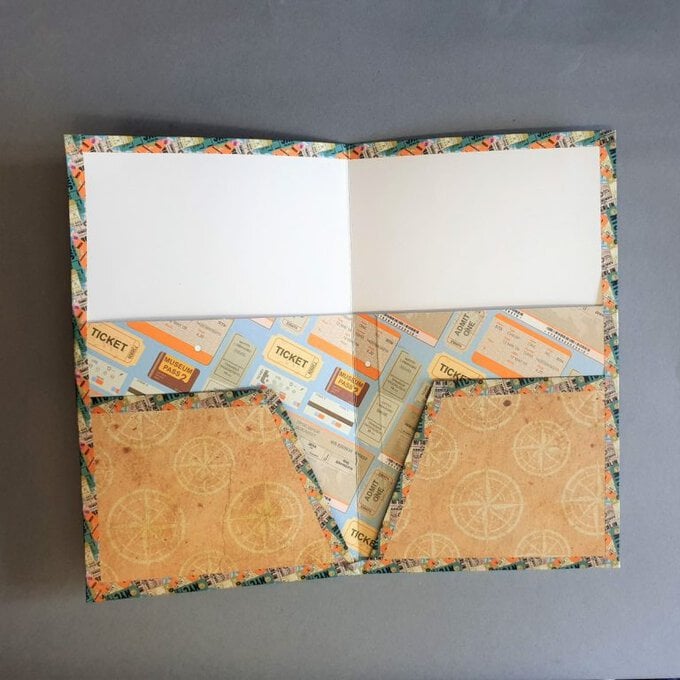
Cut two last pieces of patterned paper at 3.5 x 4.75″ each and adhere to the top of the inside of your wallet pocket. Add washi tape down the centre to taste. Your wallet/pocket is now complete, and you can wrap this around one of your journals to keep tickets, photos and memorabilia in. You can decorate your wallet/pocket with the wooden travel embellishments or clips we have already made.
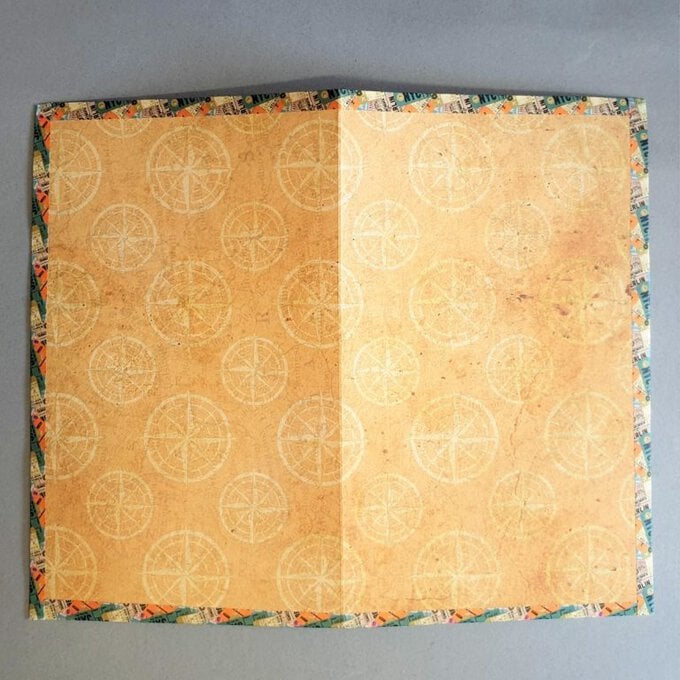
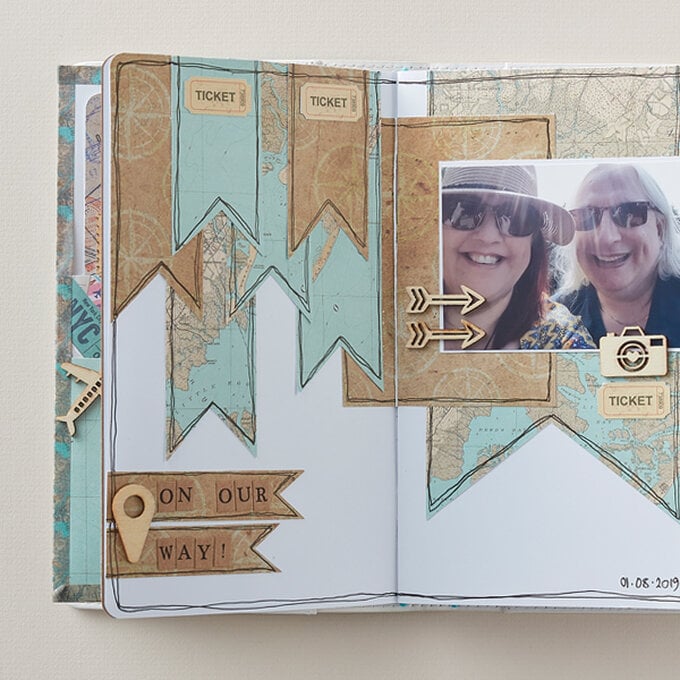
Take some of your patterned papers – I choose two – a large map and the sepia compass points. I started by cutting a large banner shape from the map paper. Cut at 4 x 7″. Measure 2″ from the bottom of the piece of the paper and two inches up – this will give you the point to cut to for your banner points. I cut four further banners from the same paper, each measuring 1.5 inches across and then I cut them into various lengths.
From the compass paper I cut a rectangle piece at 3.5 x 4.5 inch and then two more of the 1.5-inch width banners. I then cut two more from this paper at 0.75 inch and cut the banner points. I added the words On Our Way with the alphabet stickers.
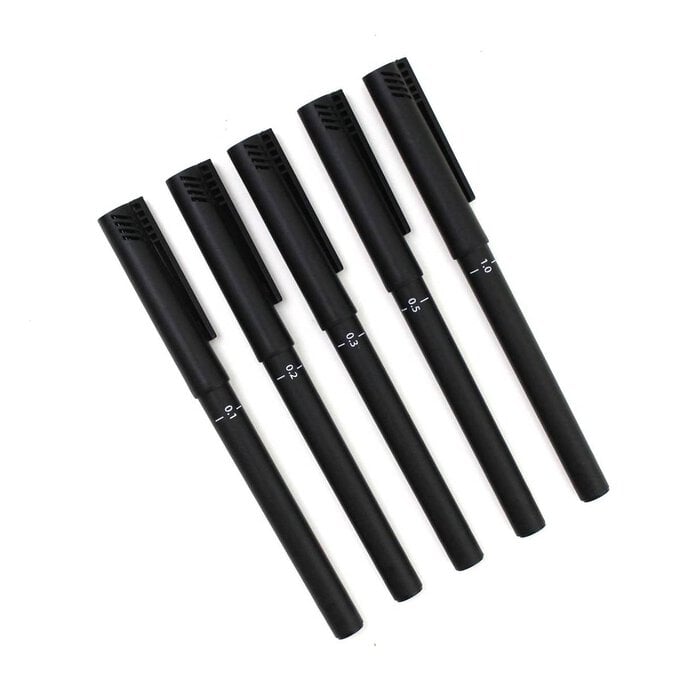
Using my black pen, I drew freehand around the rectangle and the banners and then adhered to my page. I then drew freehand all the way around the outside of the page.
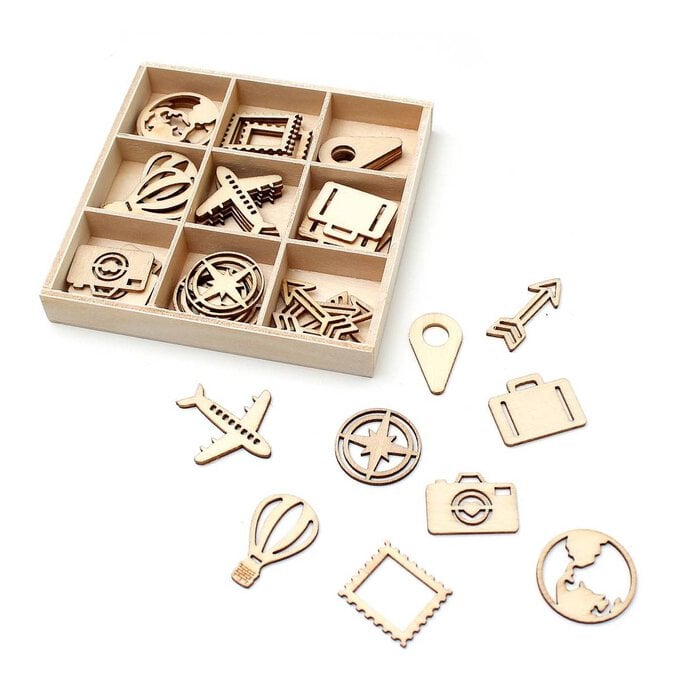
I matted my photo onto white card and added to my page. I finished off by adding some of the wooden embellishments.
