How to Crochet a Loop Stitch Stocking
Enjoy a wonderfully fluffy crochet stocking that works up quickly with maximum texture! Worked flat in rows of loop stitch and double crochet, the stocking is made in two panels which are then crocheted together.
This is the perfect way to enjoy extra texture from a handmade stocking that's sure to make your Christmas! You'll be able to bring it out year after year, too.
Project and instructions by @lottieandalbert
You will need
Subtotal
Is $ 4.49
Subtotal
Is $ 10.00
Subtotal
Is $ 6.49
You Will Need
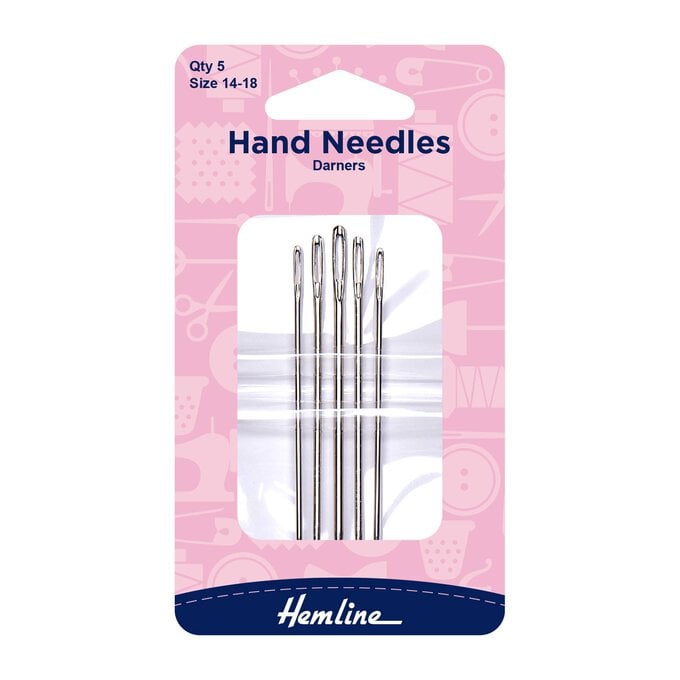
* Hemline Sizes 14 to 18 Needles
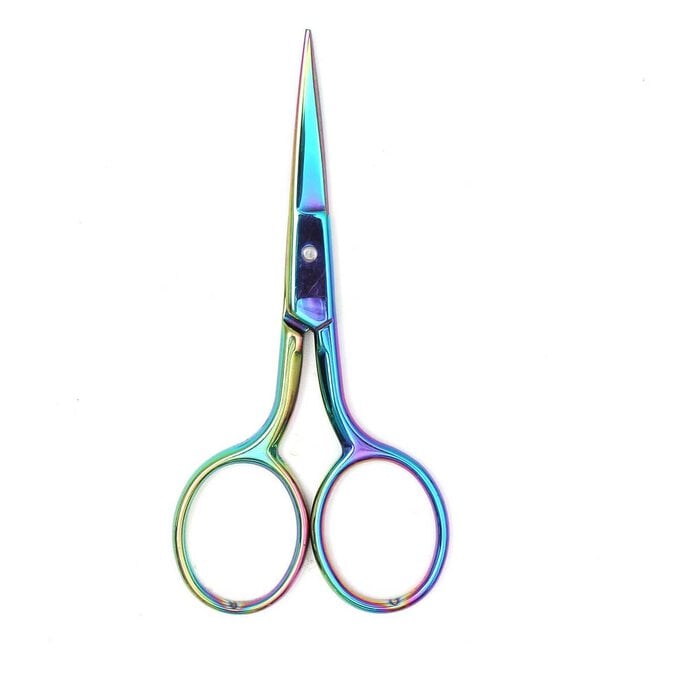
* Embroidery Scissors
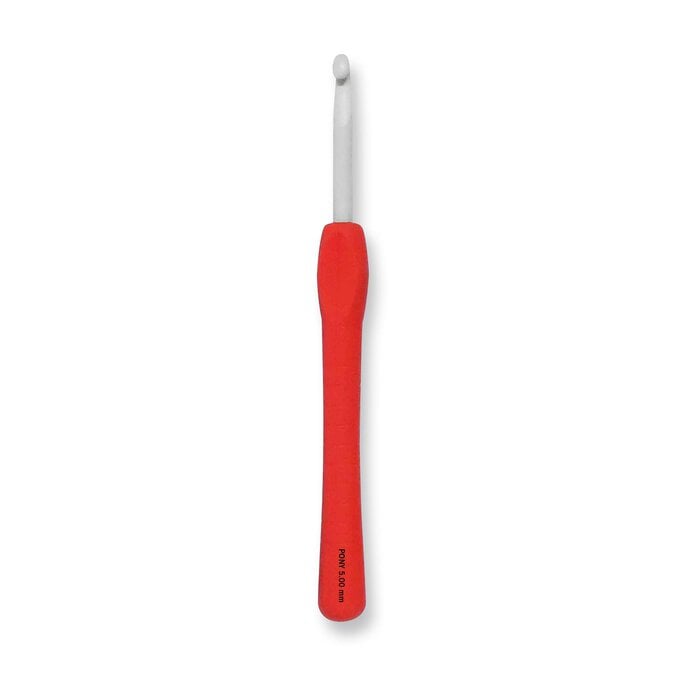
* 5mm Crochet Hook
* Knitcraft Leader of the Pac Aran Yarn 100g in Cream & Petrol
Abbreviations
ch chain
dc double crochet (US single crochet)
dcdec double crochet decrease
dcinc double crochet increase
lp loop stitch
RS right side
ss slip stitch
st(s) stitch(es)
WS wrong side
How to make
To form a loop stitch, wrap your yarn from front to back over the index finger of your yarn hand
Insert hook into stitch, and bring the yarn under the hook, keeping your finger in place
now grab the strand of yarn from behind your index finger
draw the loop through the stitch still keeping your finger in place. You should now have two loops on your hook, and a loop of yarn wrapped around your index finger
Gently pull the yarn until you have your desired loop length. Yarn over hook as normal, and pull through both loops on hook
Your loop stitch is now formed and you can remove your finger.


Two colours are used at a time in this pattern, meaning that one colour is always carried within the other stitches, changing between the colours as the pattern dictates, at the end of each row.
After your initial chain using Yarn A, hold Yarn B alongside the chain, and work the first row of stitches over the top of this yarn, encasing it in the work (not left as floats behind the work as in Fair Isle, or dropped and picked up again in sections, as in Intarsia – see pictures below).


When changing row colours, make sure you do so at the end of the previous row, on the last stitch: you have two loops remaining on your hook in Yarn A, yarn over with Yarn B to complete the stitch, then continue in the new colour for the next line.

15 stitches over 16 rows to measure 10cmx10cm worked in double crochet with another strand being carried inside the stitches
(if your swatch is larger, go down a hook size; if your swatch is smaller, go up a hook size)
In blue, carrying cream inside from row 1:
Ch22 (1 ch counts as turning ch)
Row 1: starting in 2nd ch from hook, dc in each stitch along, turn (21)
Row 2: ch1, dcinc, dc until 1 st from end, dcinc, turn (23)
Row 3: ch1, dcinc, dc until 1 st from end, dcinc, turn (25)
Row 4: ch1, dcinc, dc until 1 st from end, dcinc, turn (27)
Row 5: ch1, dcinc, dc until 1 st from end, dcinc, turn (29)
In cream, carrying blue:
Row 6: ch1, dcinc, lp until 1 st from end, dcinc, turn (31)
In blue, carrying cream:
Row 7: ch1, dcinc, dc until 1 st from end, dcinc, turn (33)
In cream, carrying blue:
Row 8: ch1, 1dc, lp until 1 st from end, dcinc, turn (34)
In blue, carrying cream:
Row 9: ch1, dcinc, dc until 1 st from end, dcinc, turn (36)
In cream, carrying blue:
Row 10: ch1, 1dc, 1dc, lp until 1 st from end, dcinc, turn (37)
Fasten off blue yarn and bring in red
In red, carrying cream:
Row 11: ch1, dcinc, dc until to end, turn (38)
Row 12: ch1, dc until 1 st from end, dcinc, turn (39)
Row 13: ch1, dc until 2 sts from end, dcdec, turn (38)
Row 14: ch1, dcdec, dc until end, turn (37)
Row 15: ch1, dcinc, dc until 2 sts from end, dcdec, turn (37)
In cream, carrying red:
Row 16: ch1, dcdec, lp until 1 st from end, dc, turn (36)
In red, carrying cream:
Row 17: ch1, dcinc, dc until 2 sts from end, dcdec, turn (36)
In cream, carrying red:
Row 18: ch1, dcdec, lp until 1 st from end, dc, turn (35)
In red, carrying cream:
Row 19: ch1, dc until 2 sts from end, dcdec, turn (34)
In cream, carrying red:
Row 20: ch1, dcdec, lp st until 1 st from end, dc, turn (33)
Fasten off red yarn and bring in green
In green, carrying cream:
Row 21: ch1, dc until 4 sts from end, 2dcdec, turn (31)
Row 22: ch1, 2dcdec, dc until end, turn (29)
Row 23: ch1, dc until 4 sts from end, 2dcdec, turn (27)
Row 24: ch1, 2dcdec, dc until end, turn (25)
Row 25: ch1, dc until 4 sts from end, 2dcdec, turn (23)
In cream, carrying green:
Row 26: ch1, dcdec, lp until 1 st from end, dc, turn (22)
In green, carrying cream:
Row 27: ch1, dc until end, turn (22)
In cream, carrying green:
Row 28: ch1, dc, lp until 1 st from end, dc, turn (22)
In green, carrying cream:
Row 29: ch1, dc until end, turn (22)
In cream, carrying green:
Row 30: ch1, dc, lp until 1 st from end, dc, turn (22)
Fasten off green yarn and bring in blue
In blue, carrying cream:
Rows 31-35: ch1, dc to end, turn (22)
In cream, carrying blue:
Row 36: ch1, dc, lp until 1 st from end, dc, turn (22)
In blue, carrying cream:
Row 37: rep row 31
In cream, carrying blue:
Row 38: rep row 36
In blue, carrying cream:
Row 39: rep row 31
In cream, carrying blue:
Row 40: rep row 36
Fasten off blue yarn and bring in red
Rows 41-50: rep rows 31-40, with red in place of blue
Fasten off red yarn and bring in green
Rows 51-60: rep rows 31-40, with green in place of blue
Fasten off green yarn and bring in gold


In cream, carrying another strand of cream inside from row 1 onwards:
Ch22 (1 ch counts as turning ch)
Row 1: starting in 2nd ch from hook, dc in each stitch along, turn (21)
Row 2: ch1, dcinc, dc until 1 st from end, dcinc, turn (23)
Row 3: ch1, dcinc, dc until 1 st from end, dcinc, turn (25)
Row 4: ch1, dcinc, dc until 1 st from end, dcinc, turn (27)
Row 5: ch1, dcinc, dc until 1 st from end, dcinc, turn (29)
Row 6: ch1, dcinc, dc until 1 st from end, dcinc, turn (31)
Row 7: ch1, dcinc, dc until 1 st from end, dcinc, turn (33)
Row 8: ch1, 1dc, dc until 1 st from end, dcinc, turn (34)
Row 9: ch1, dcinc, dc until 1 st from end, dcinc, turn (36)
Row 10: ch1, 1dc until 1 st from end, dcinc, turn (37)
Row 11: ch1, dcinc, dc until to end, turn (38)
Row 12: ch1, dc until 1 st from end, dcinc, turn (39)
Row 13: ch1, dc until 2 sts from end, dcdec, turn (38)
Row 14: ch1, dcdec, dc until end, turn (37)
Row 15: ch1, dcinc, dc until 2 sts from end, dcdec, turn (37)
Row 16: ch1, dcdec, dc until end, turn (36)
Row 17: ch1, dcinc, dc until 2 sts from end, dcdec, turn (36)
Row 18: ch1, dcdec, dc until end, turn (35)
Row 19: ch1, dc until 2 sts from end, dcdec, turn (34)
Row 20: ch1, dcdec, dc until end, turn (33)
Row 21: ch1, dc until 4 sts from end, 2dcdec, turn (31)
Row 22: ch1, 2dcdec, dc until end, turn (29)
Row 23: ch1, dc until 4 sts from end, 2dcdec, turn (27)
Row 24: ch1, 2dcdec, dc until end, turn (25)
Row 25: ch1, dc until 4 sts from end, 2dcdec, turn (23)
Row 26: ch1, dcdec, dc until end, turn (22)
Row 27: ch1, dc until end, turn (22)
Row 28-76 (or until back panel reaches same height as front panel): ch1, dc to end, turn (22)
Fasten off and weave in all ends.
You should now have one front panel and one back panel. Lay the two panels right side together, and tuck in any loop stitches on the front panel so that they are fully covered by the back panel.
Using a strand of cream and your crochet hook, start in the top left and evenly double crochet through both layers of fabric around the outside of the stocking – leaving the top, shortest edge open. Be careful to tuck any loop stitches inside as you go, and don't catch them in your row of double crochet.
Fasten off and weave in any ends, then turn the stocking the right way out. Fold down the cream and gold loop section on the top, so that these loops are now on the same side as the other loops.
Reattach cream yarn in the top right corner and chain 12, ss into the base of the chain, fasten off and weave in any ends. This creates the loop to hang your stocking.


