How to Die Cut Rice Paper Flowers
Edible flowers made from delicate wafer paper (or rice paper) have seen a huge surge in popularity in cake decorating this year – and is tipped to stay strong as a trend for 2015. With this in mind (and as our beautiful Tattered Lace dies have now been certified as food safe!), here I to show you how to die cut rice paper flowers using a die cutting machine. You can use these pretty flowers on almost any bake – from cupcakes (as shown) to adding some unique and edible wedding details to your cake on the big day; the only limit is your imagination!…
How to make
A little note: Although Tattered Lace has been certified as food safe, if your cutting plates are not, you will need to cover them first with a layer of greaseproof paper.
Select which die(s) you would like to cut and place blade side up onto your base plate.
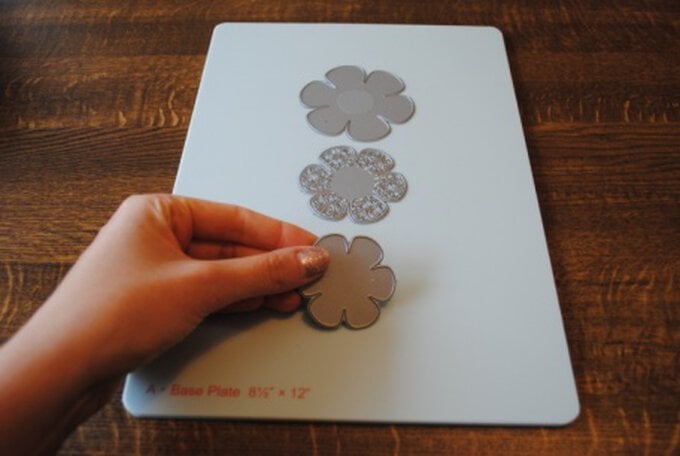
Cut a piece of wafer paper that is slightly larger than the die and place it over the top. Remember that you can cut multiple dies at once to save time.
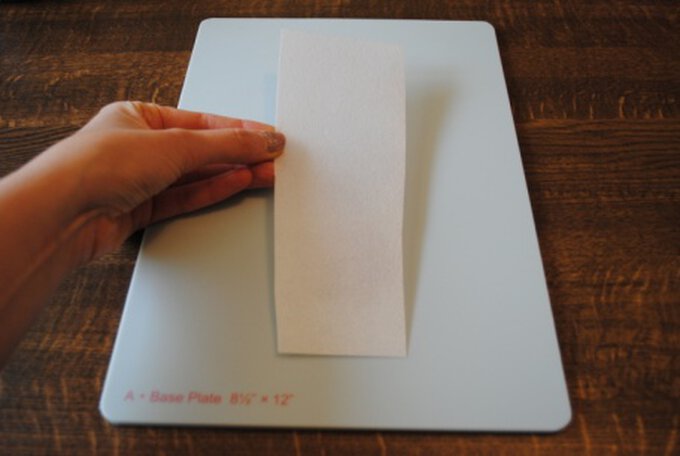
If your cutting plates are not food safe, fold a layer of greaseproof baking paper in half and place onto the cutting plate. Place the die over the top, then the wafer paper and the other half of the greaseproof over the top and cut. This will also provide an extra layer to help support the wafer paper when removing from the die.
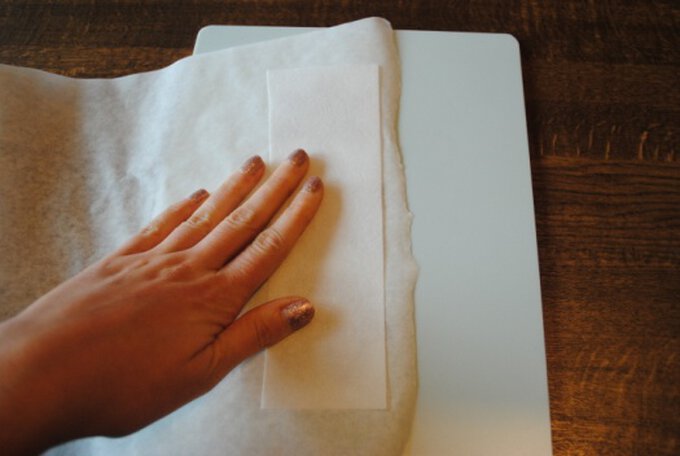
When in position, place your cutting plate over the top and feed both plates through your die cutting machine, keeping the plates flat to ensure the dies don't move around inside.
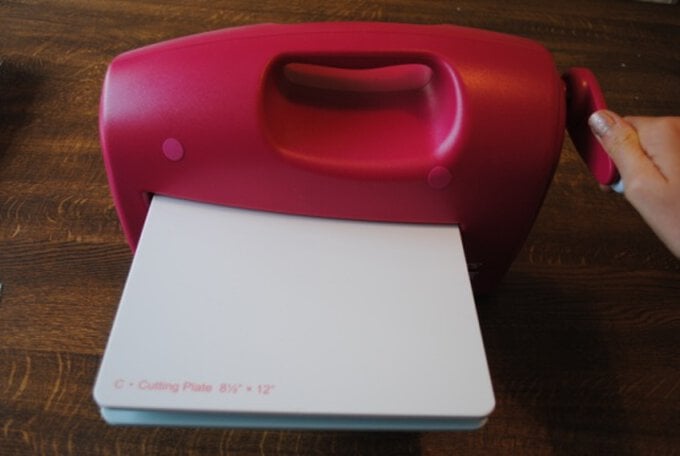
Remove the top plate and peel the wafer paper away from the die.
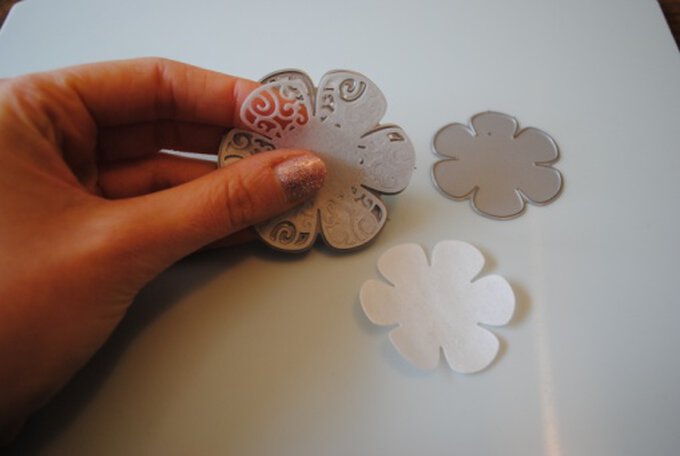
Remove any of the smaller pieces from the intricate dies by carefully peeling away using your finger or a pin.
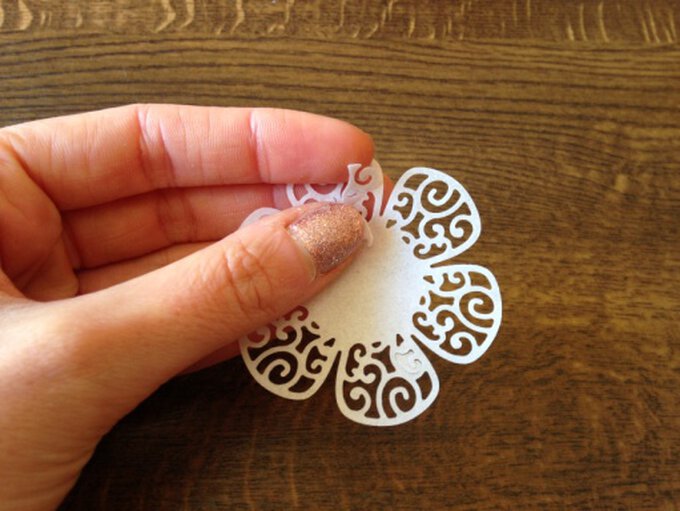
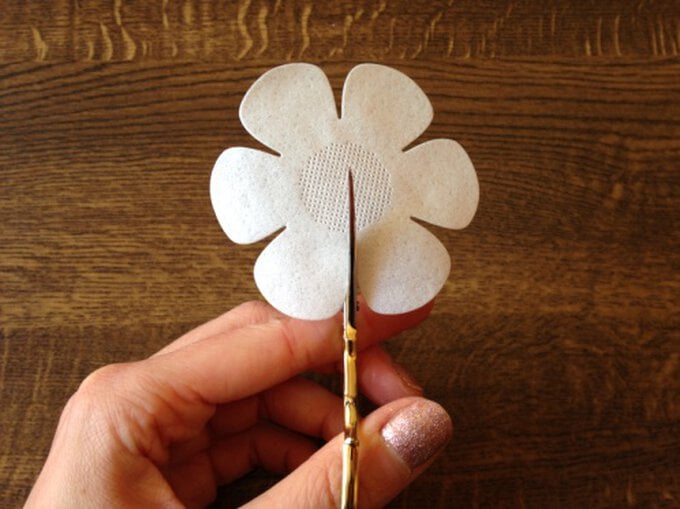
If using a flower die, you can make them 3D by cutting in between two of the petals from the edge to the centre
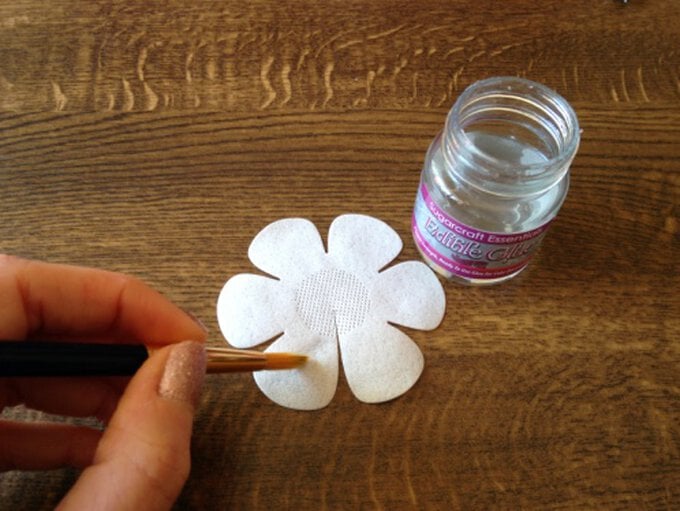
Apply a thin layer of edible glue to a petal on one side of the cut, then bring the other petal across and place on top of the glue.
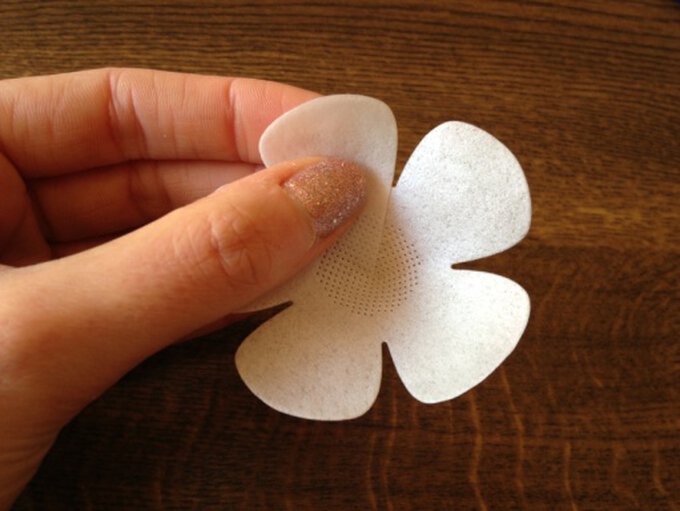
Hold your petals together for a couple of seconds to apply for the glue to set. Place to one side and leave to dry.
You can also layer up flowers in different sizes and designs to create further dimension.
You can attach your paper shape to your cake using a range of mediums including edible glue, royal icing or buttercream. You can attach embellishments to your die shapes to add extra detail such as dragees.
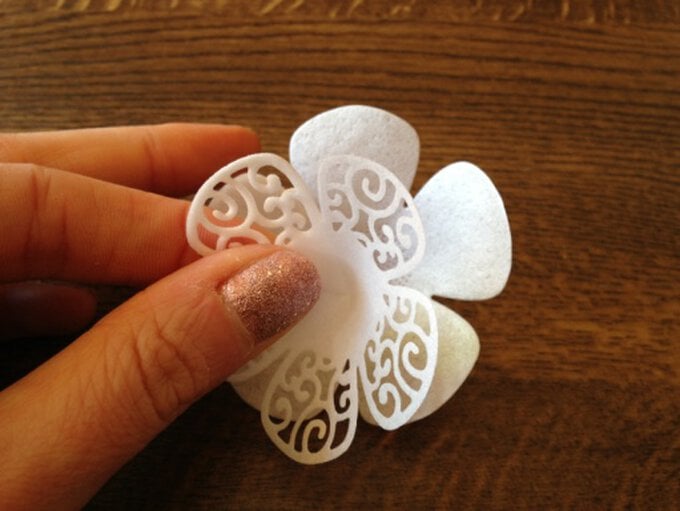
To remove the leftover pieces of wafer paper from your die, push a pin into the paper and remove.
The shapes can be coloured using a combination of lustre powder and rejuvenator spirit, then finished with a layer of edible medium to fix the colour. You can also use click-twist metallic pens, metallic paints and more.
