How to Easily Print Lino at Home
Lino printing is entirely possible at home, without expensive and heavy presses. All you need is a bit of elbow grease! You can use any carveable surface to make printing blocks with, although the most common types of material to use are lino or wood.
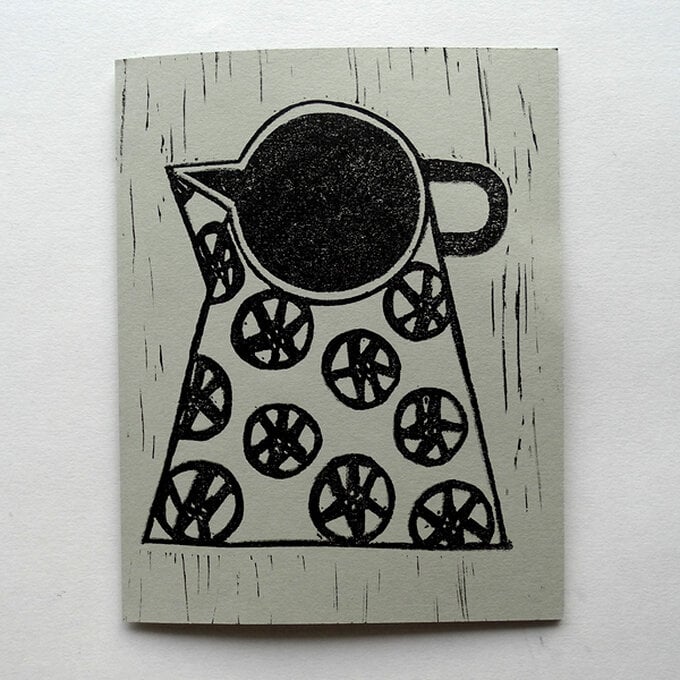
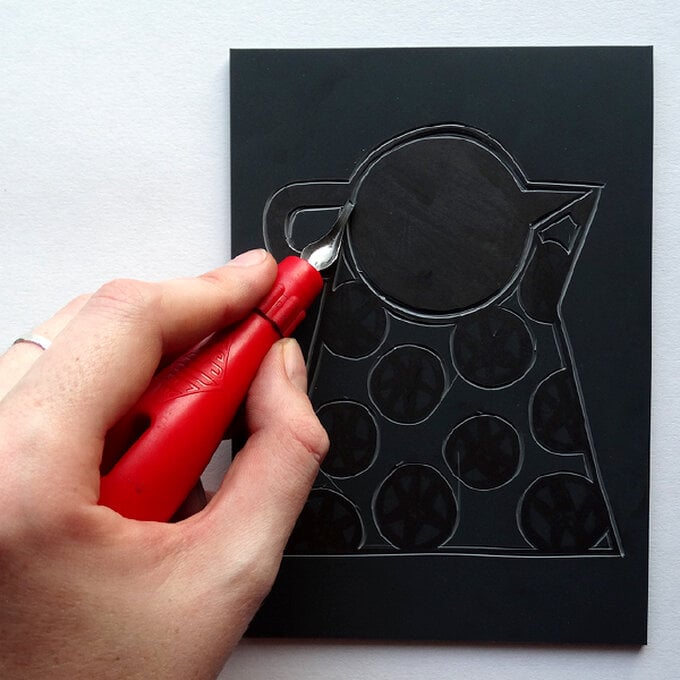
The process of carving is the opposite to drawing, in that the untouched remains of the carved material is what will print to make the positive image.
You will need
Subtotal
Is $ 33.00
Subtotal
Is $ 4.49
Subtotal
Is $ 13.00
Subtotal
Is $ 17.00
How to make
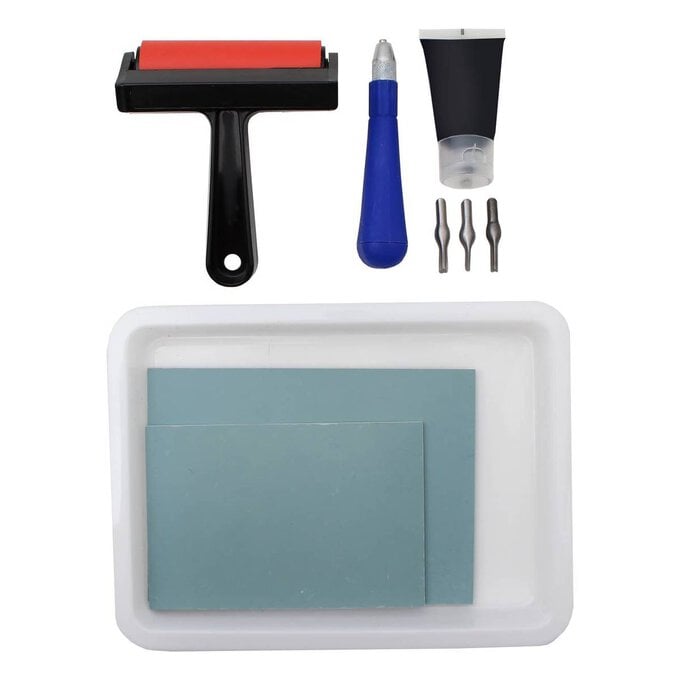
* Lino Printing Set
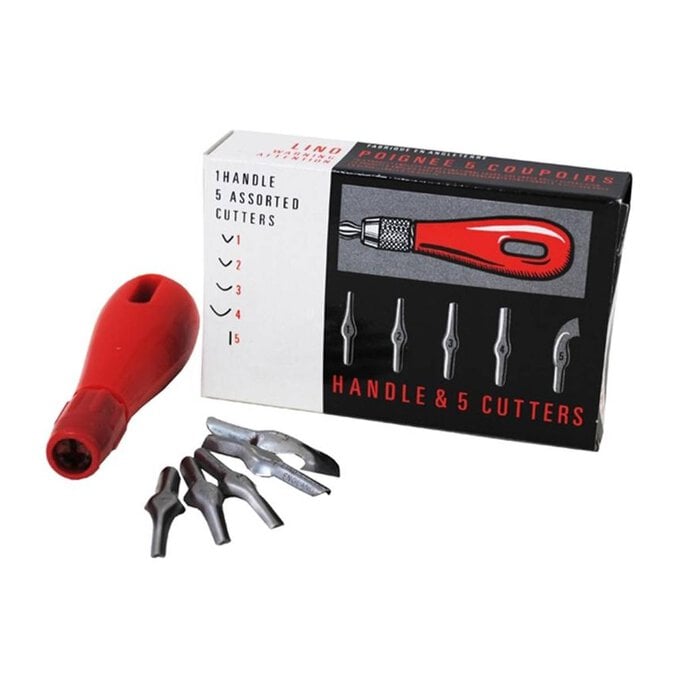
* Lino Cutter and Five Blades Set
* Essdee Lino Printing Block 20cm x 15cm 2 Pack
* Essdee Black Waterbased Block Printing Ink 100ml
* Tracing Paper A4 50 Sheets
* A Wooden Spoon
* Mixed Media Art Pad A4 25 Sheets
* Quality Paper

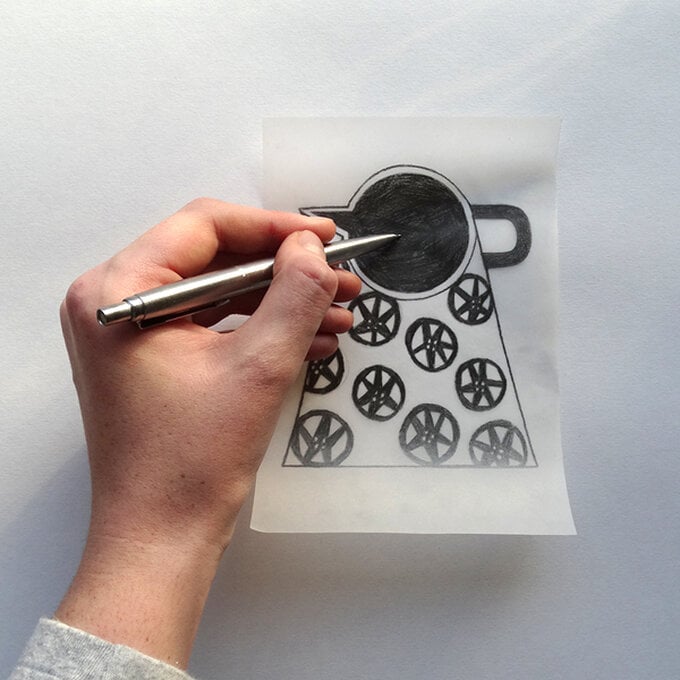
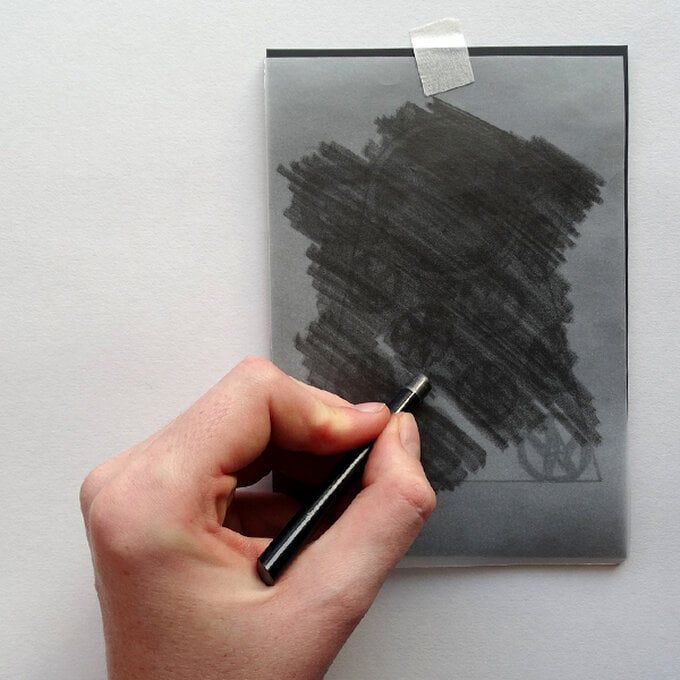
Draw out your intended design onto your tracing paper. Once drawn, place the drawn-on side down onto the lino block and scribble on the back of the tracing paper in order to transfer your drawing.
Begin carving the negative space away from your design. Take great care in keeping your fingers away from the direction of the blade – hold onto the block from the bottom instead of the top.
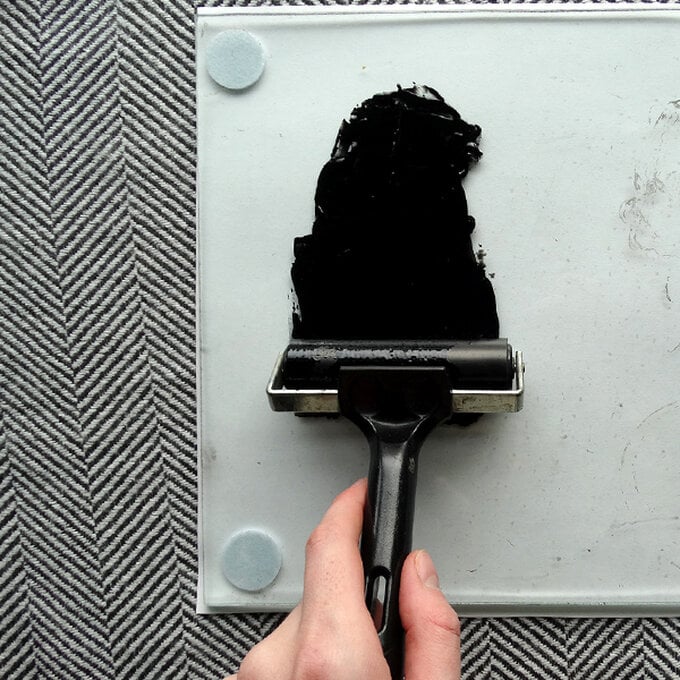
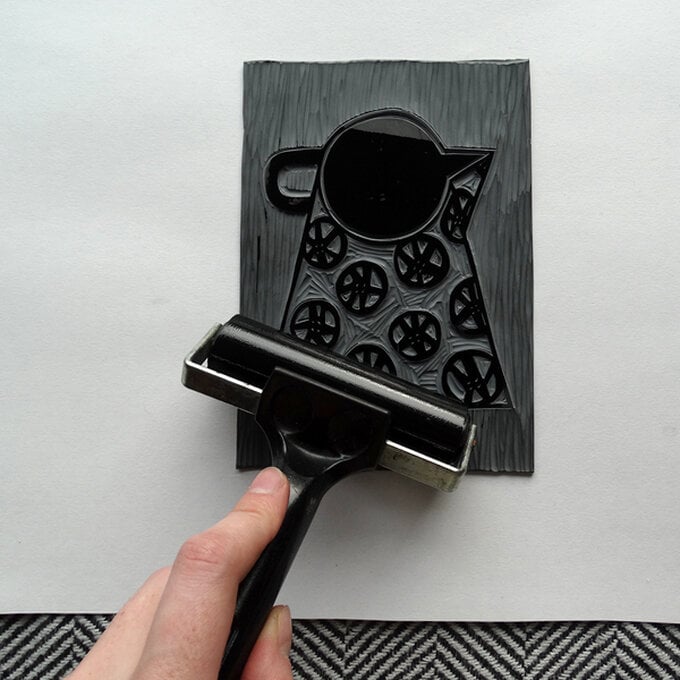
Once your image is carved, squeeze out a small amount of ink onto a flat surface – around the size of a 10p piece. Roll the ink out using the brayer until it is tacky, and then apply directly to the carved lino block.
Place your quality piece of paper over the top of the inked lino block, being careful to align the paper properly.
Press down with hands and run the back of the wooden spoon over the paper in circular motions, applying pressure.
Carefully peel back the paper in a corner to see if the ink is taking to the paper, if not, place back and repeat the circular motions with the wooden spoon.
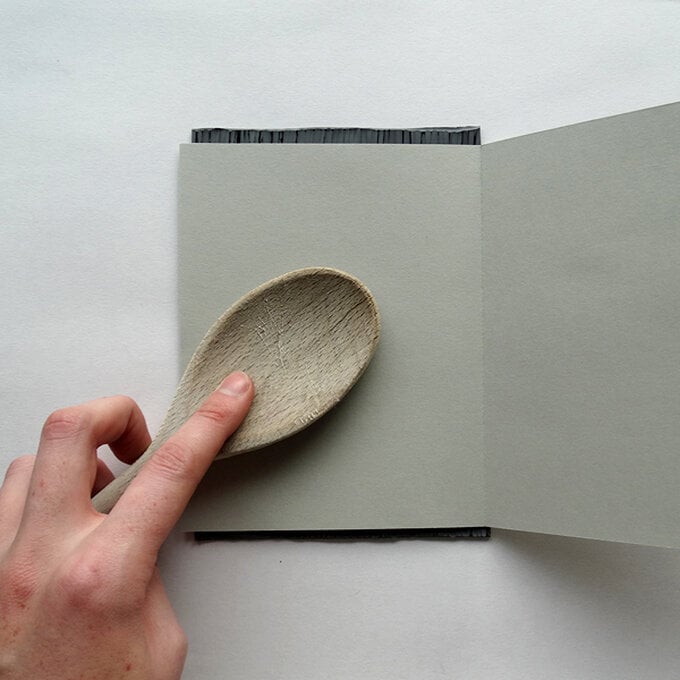
Once you are satisfied that the print has taken, remove the paper and leave to dry.
