5 Messy Art Ideas for Kids
Discover 5 messy art ideas sure to keep your little ones busy for hours on end.
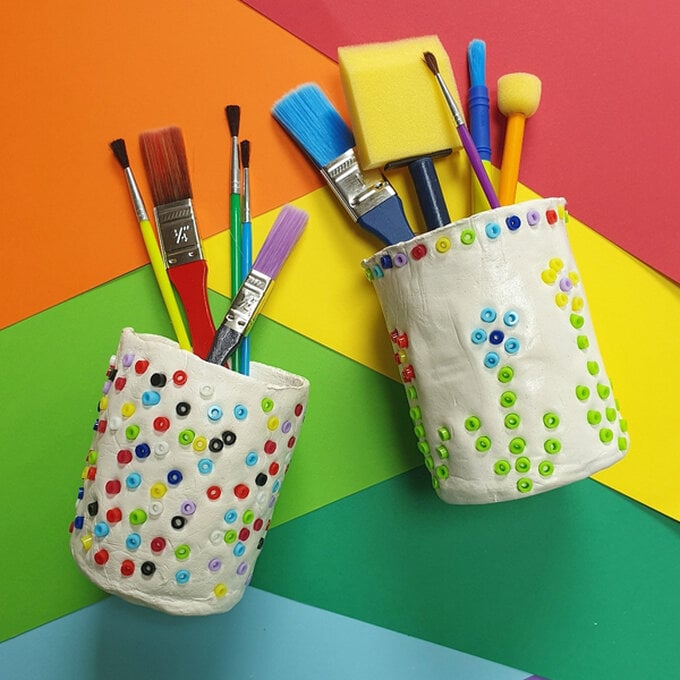
They'll love making their own clay stationary pot to hold pencils, crayons or small treasures, or using paints to draw a rainbow scratch picture - there really is no limit to what they can create!
All of these projects only require a few craft essentials and are guaranteed to keep the kids entertained.
Project and instructions by Natalie Beard
You will need
Subtotal
Is $ 7.49
Subtotal
Is $ 18.00
Subtotal
Is $ 24.00
Subtotal
Is $ 4.49
You Will Need
* Air Dry Clay
* Picture Beads
* Orange, Green, Yellow, Turqoise, Purple & Black Acrylic Paint
* White A3 Card
* White A4 Card
* Paper Cups
* Paper Straws
* PVA Glue
* A Paint Brush
* Clay Tools
* A Rolling Pin
* Sequins
* Wooden Lolly Sticks
* Wax Crayons
5 Messy Art Ideas for Kids
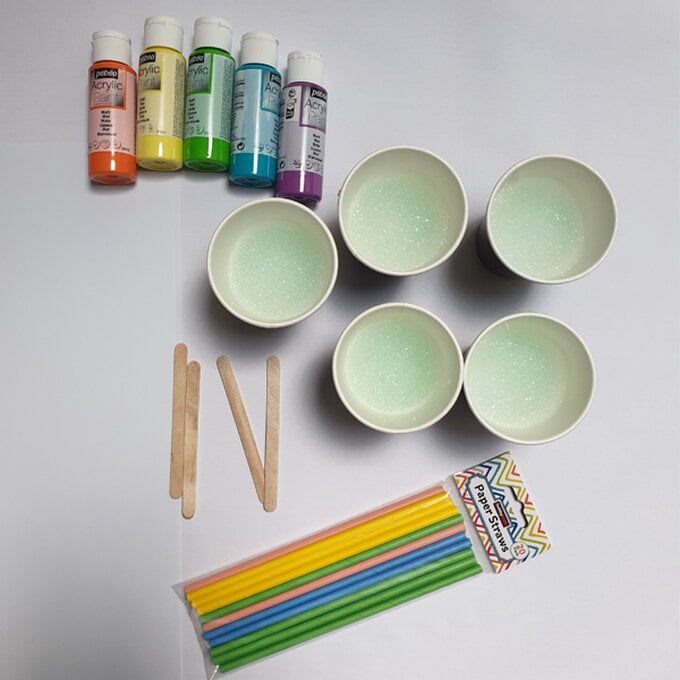
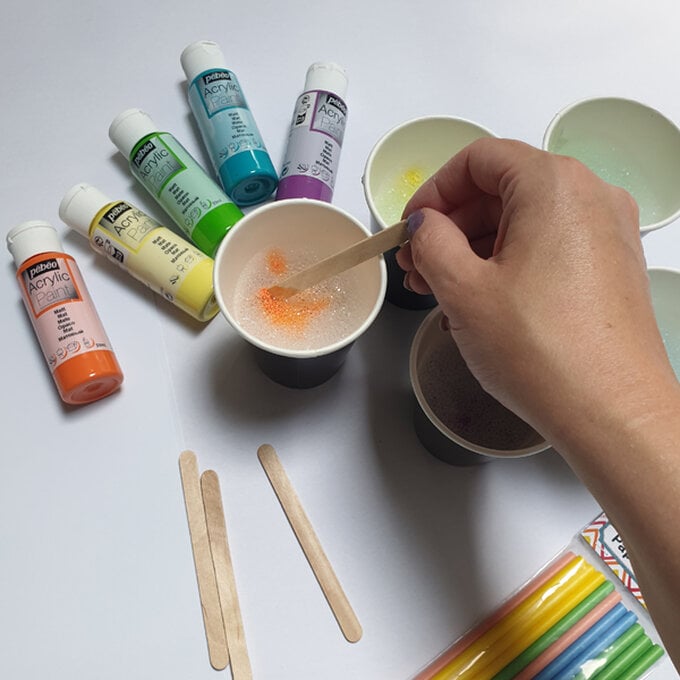
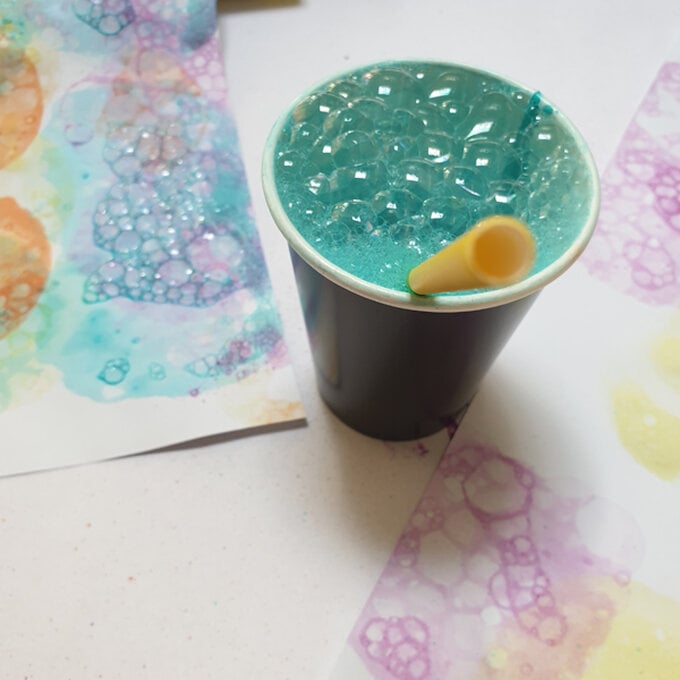
Add a good amount (approximately 3 tablespoons) of acrylic paint, ensuring you add a different colour to each cup.
Mix each cup well with a wooden stick.
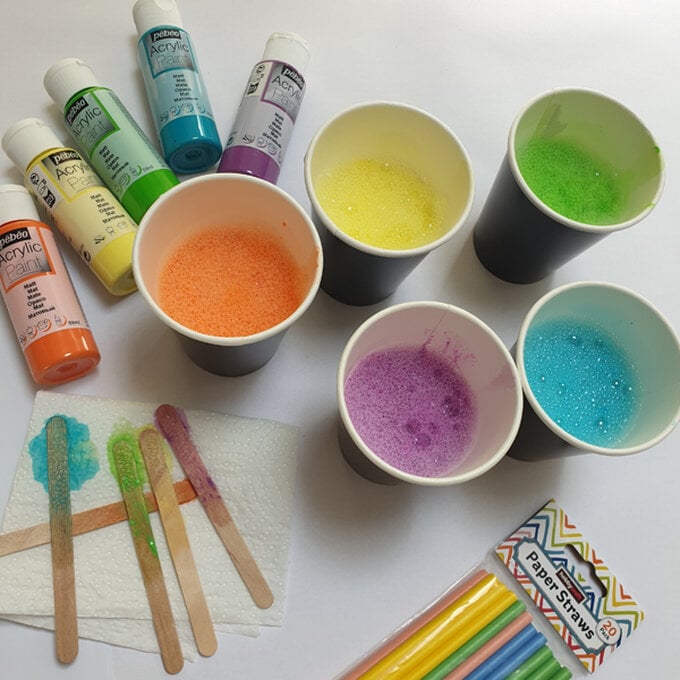
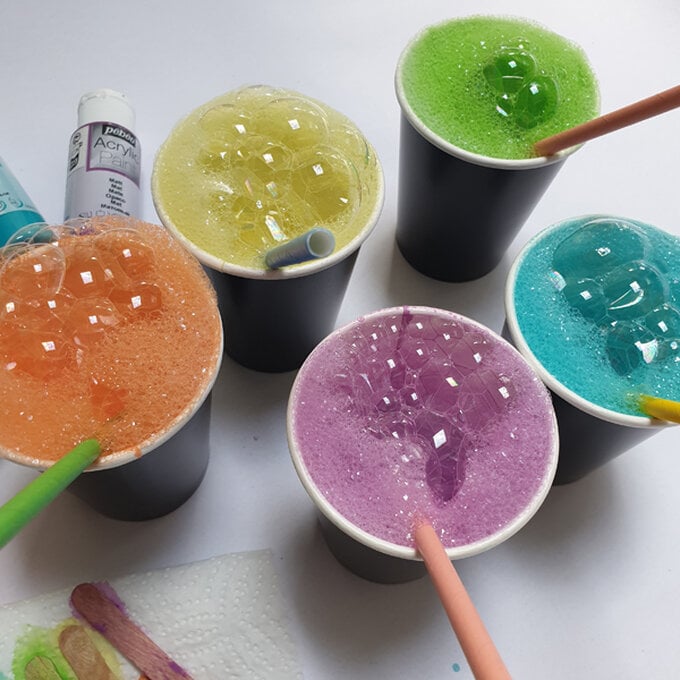
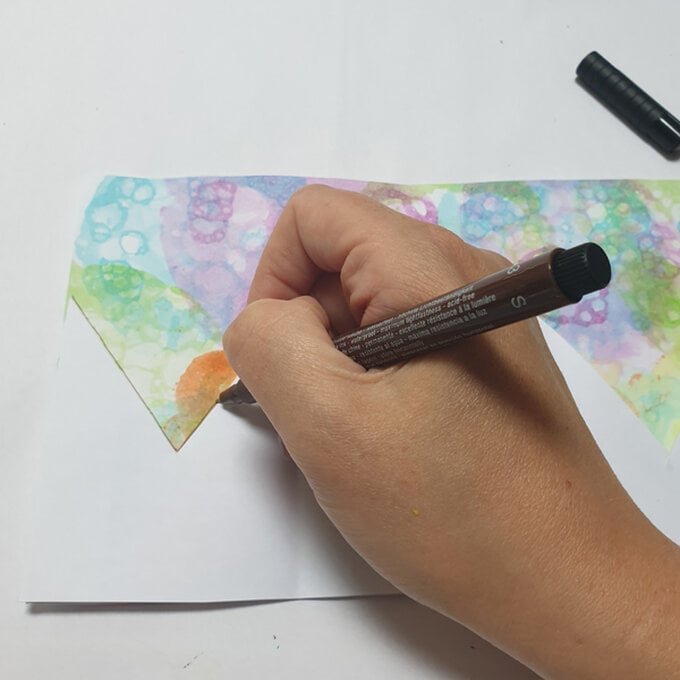
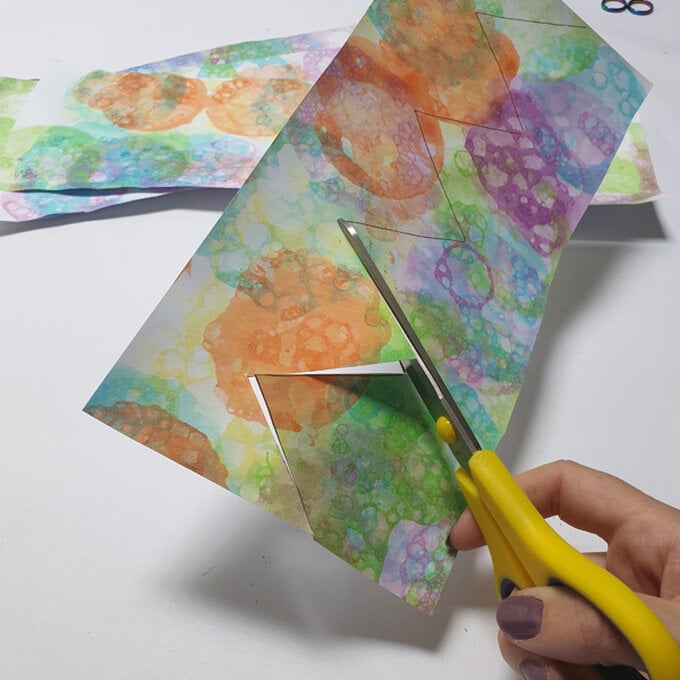
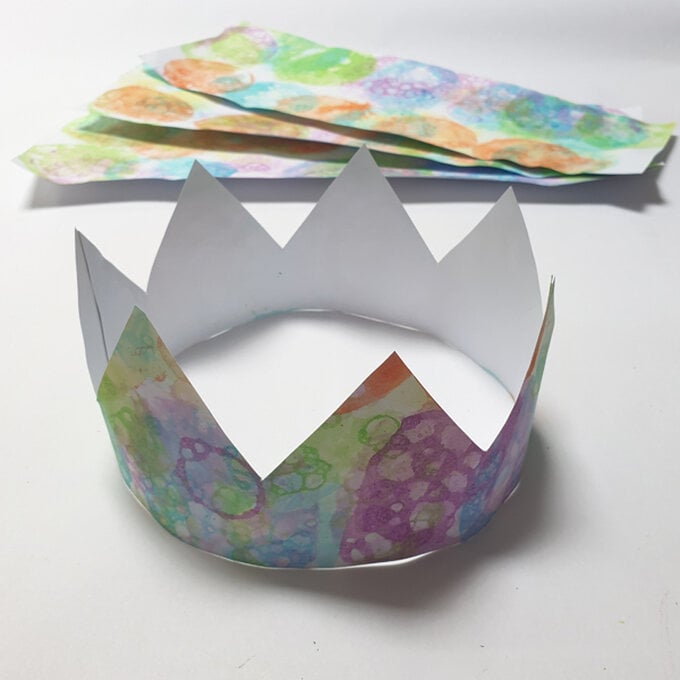
Grab a piece of A3 card, and cut it lengthways in half.
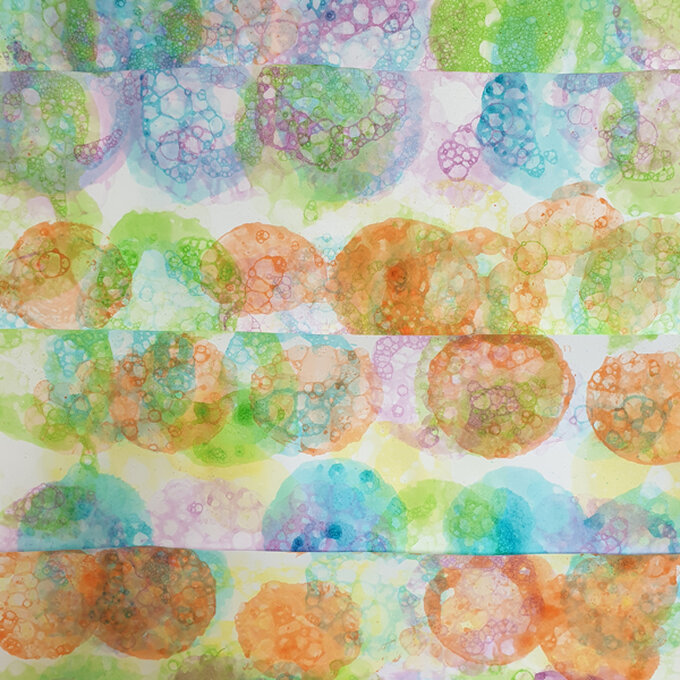
Then, put the piece of card onto the bubble mixture so that it leaves a bubble printing on the card.
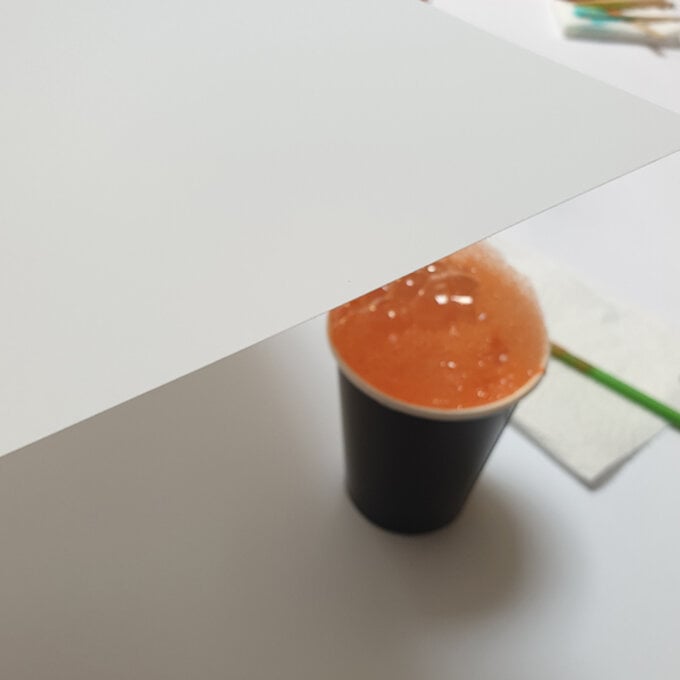
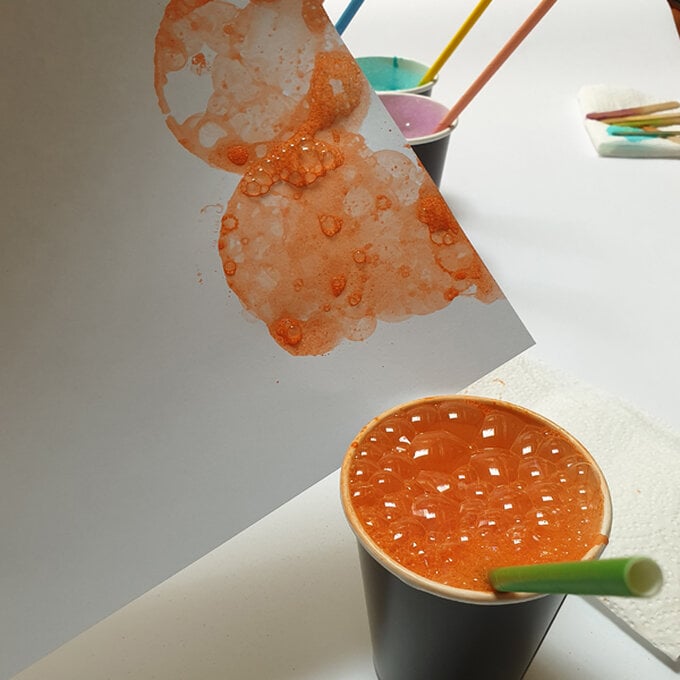
Repeat steps 4 and 6 until you are happy to move to the next colour and repeat the process.
Once happy, leave it to fully dry before proceeding.
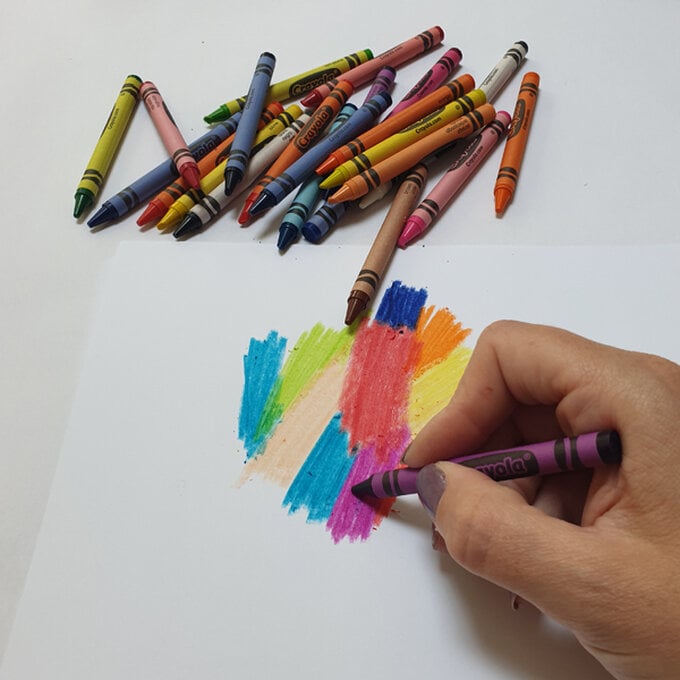
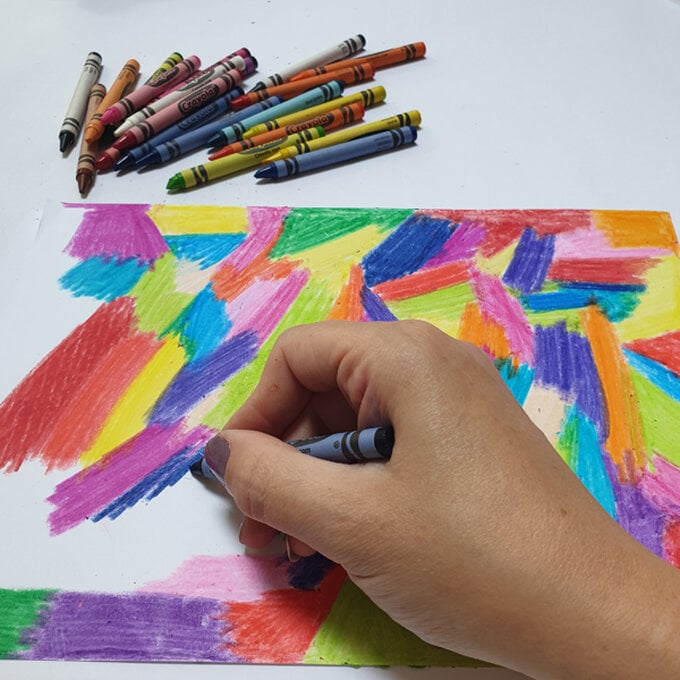
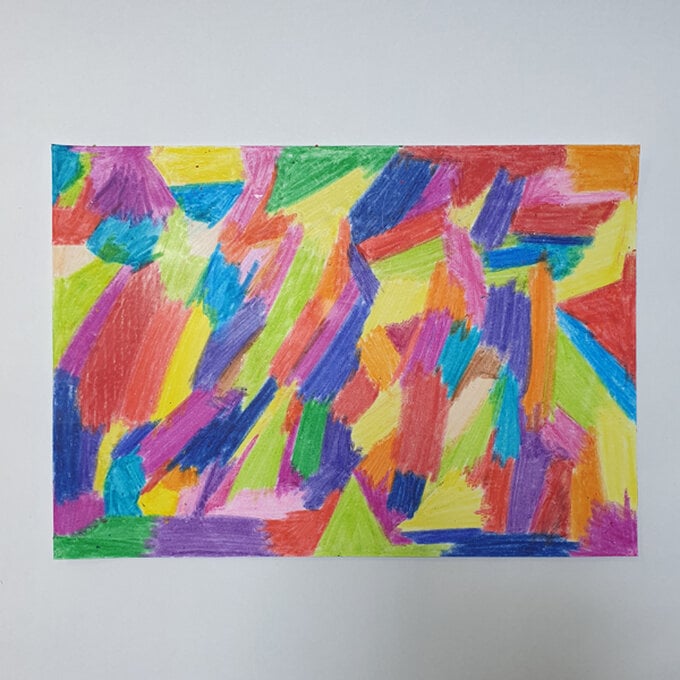
To begin, take a piece of A4 White Card and colour the whole piece using wax crayons in a random pattern like in the image show.
Top Tip: Ensure you press evenly and fairly firmly to create a thick layer.
Mix a small (pea sized) amount of washing up liquid with approximately 3 tablespoons of black acrylic paint onto a mixing pallet or a small container.
Next, paint over the whole sheet of card, covering up the drawings you have created with your wax crayons.
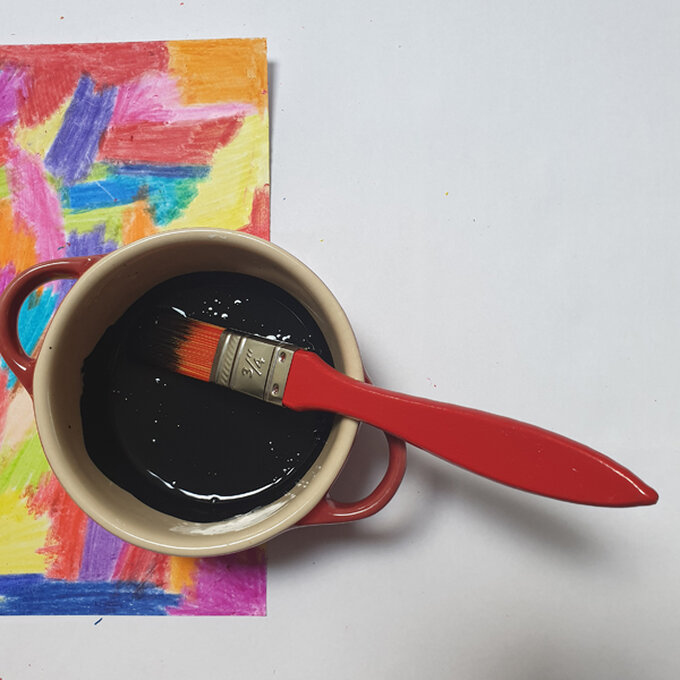
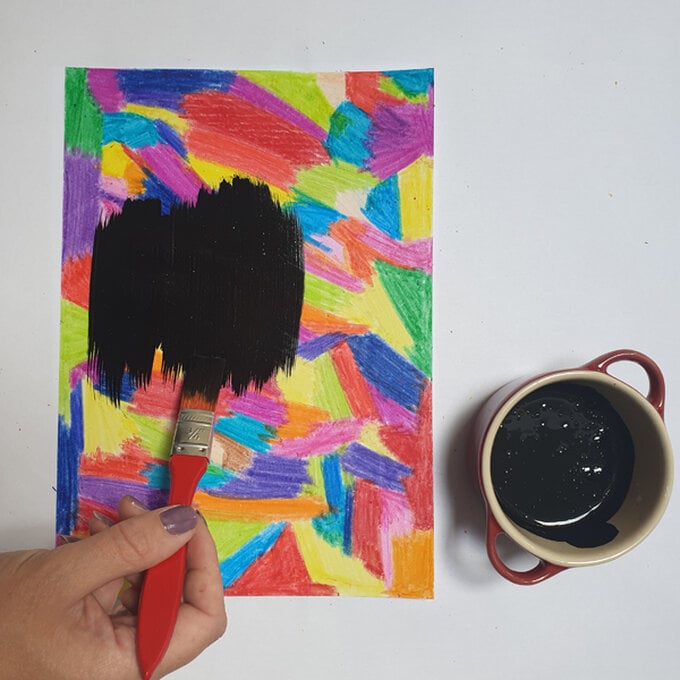
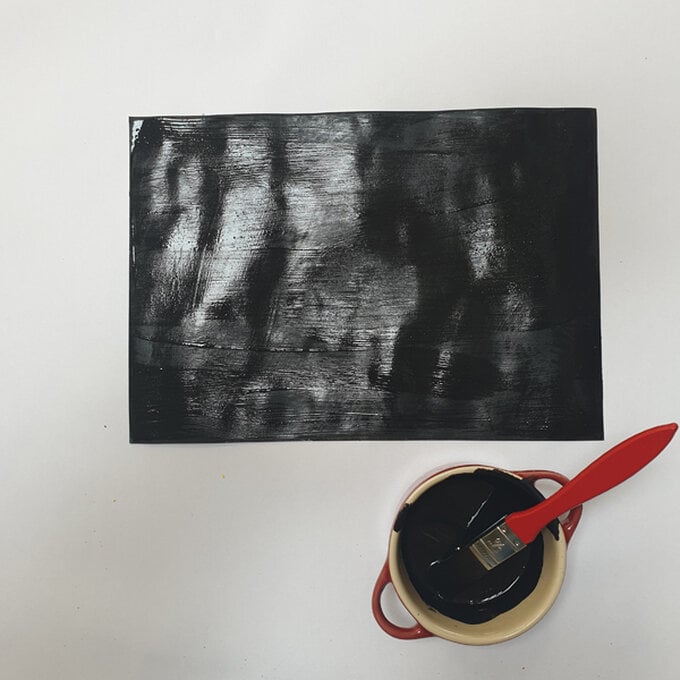
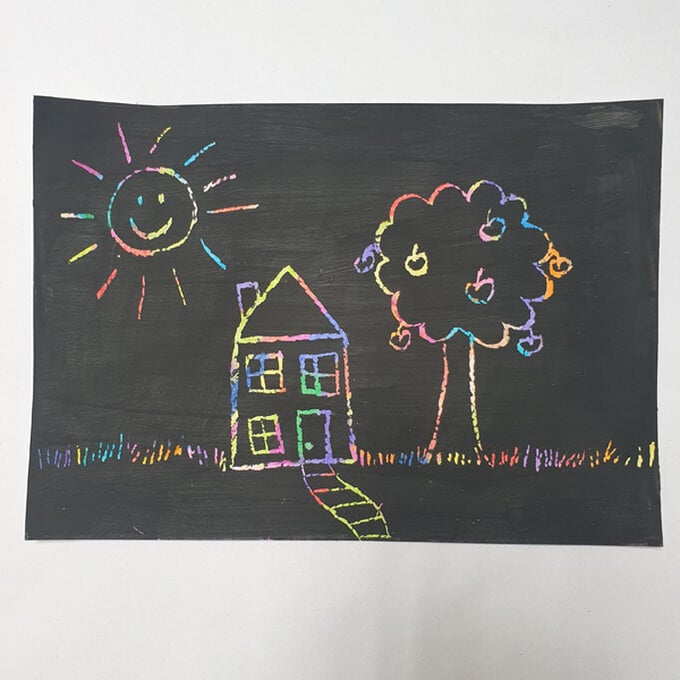
Leave to dry completely and then you’re ready to start creating your picture!
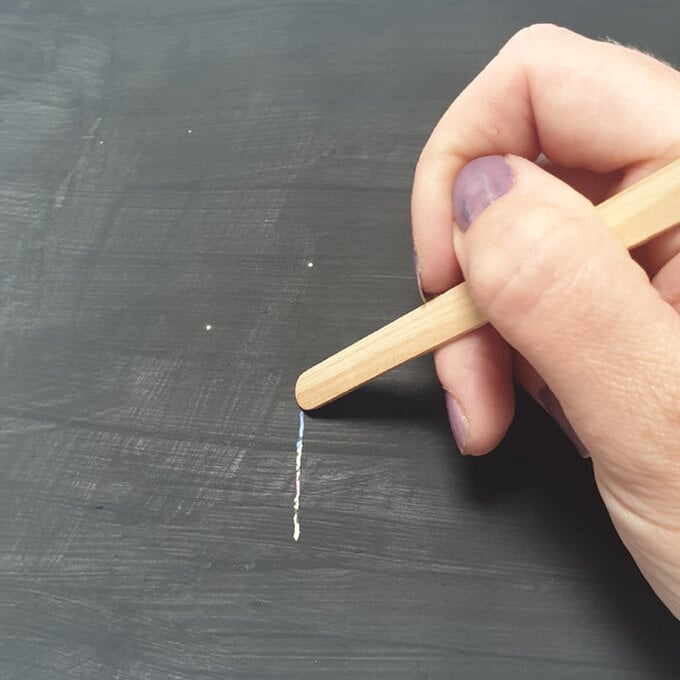
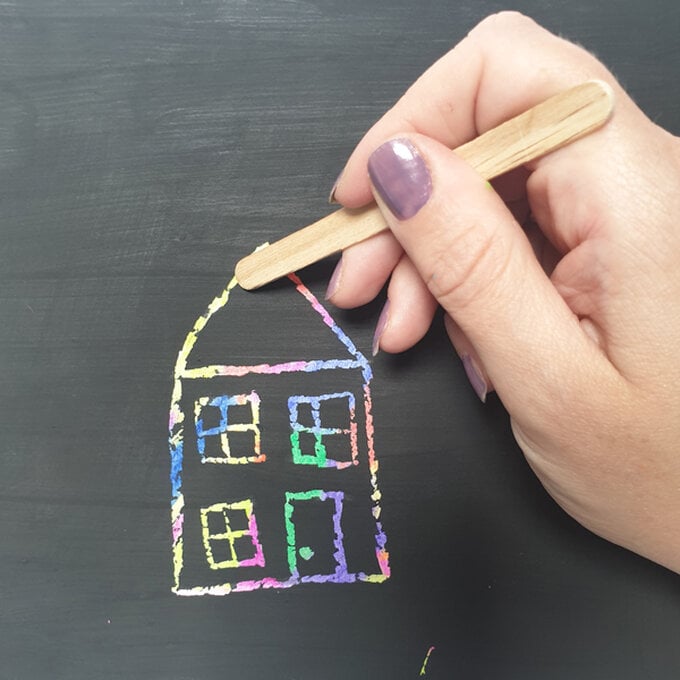
Using a wooden lolly stick, start to scratch into the black paint to reveal the vibrant colours beneath.
Top Tip: To help you create an accurate drawing, you could draw your design in pencil beforehand.
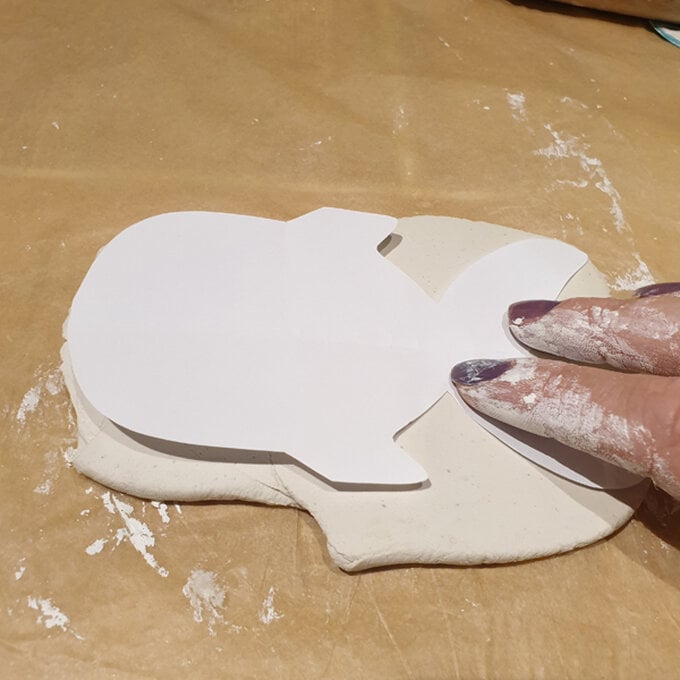
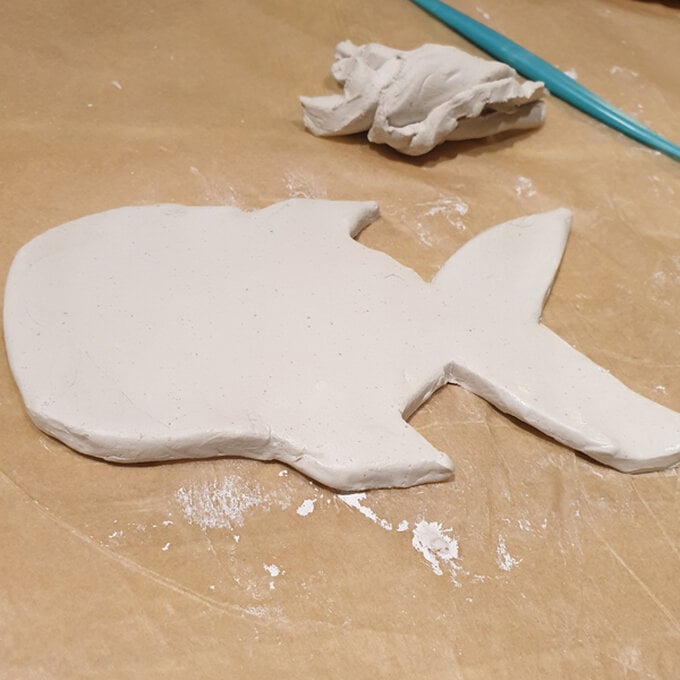
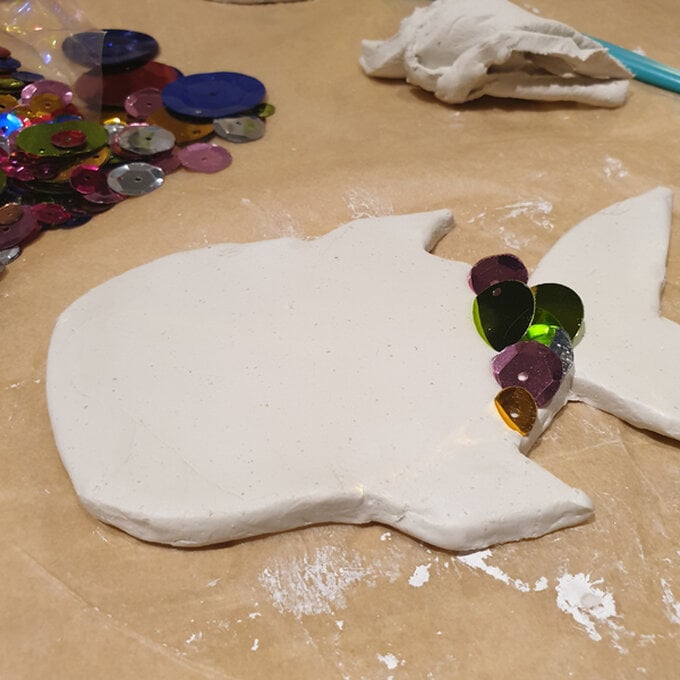
Before you get to the head, roll a little clay into two balls (one smaller than the other) for the fish’s eye.
Rough up the sides that will meet each other, and add a little water before positioning the eye.
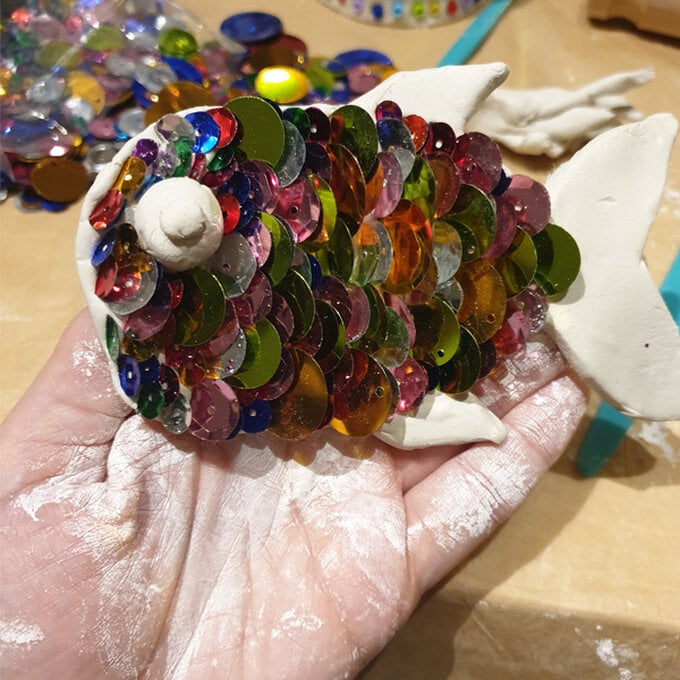
Continue pushing sequins into the rest of the fish’s body as desired.
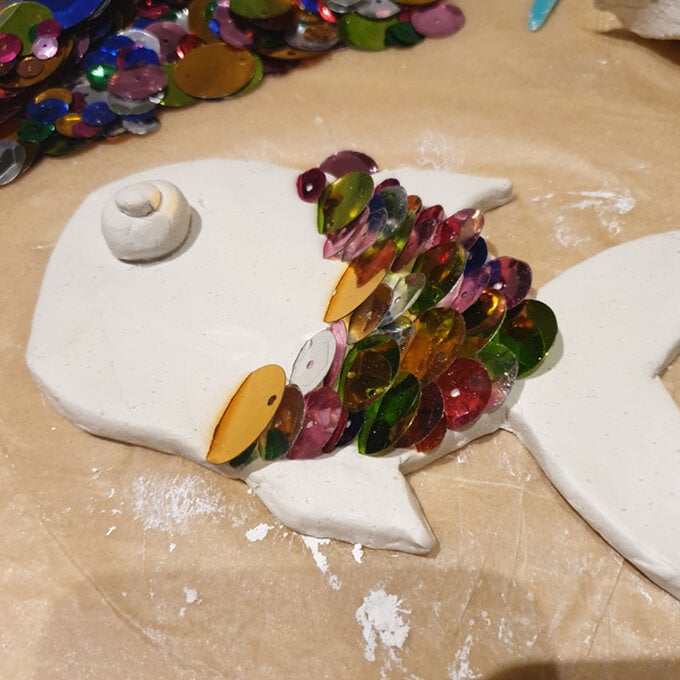
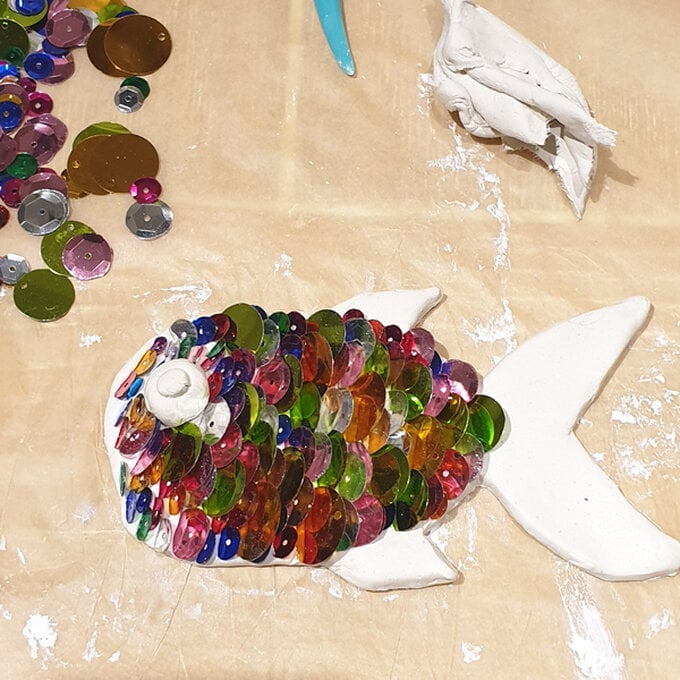
Let the clay dry fully before painting the eye.
Also ensure the paint is dry before applying clear sealant to give a layer of protection.
Cover a food can in cling film or non-stick paper.
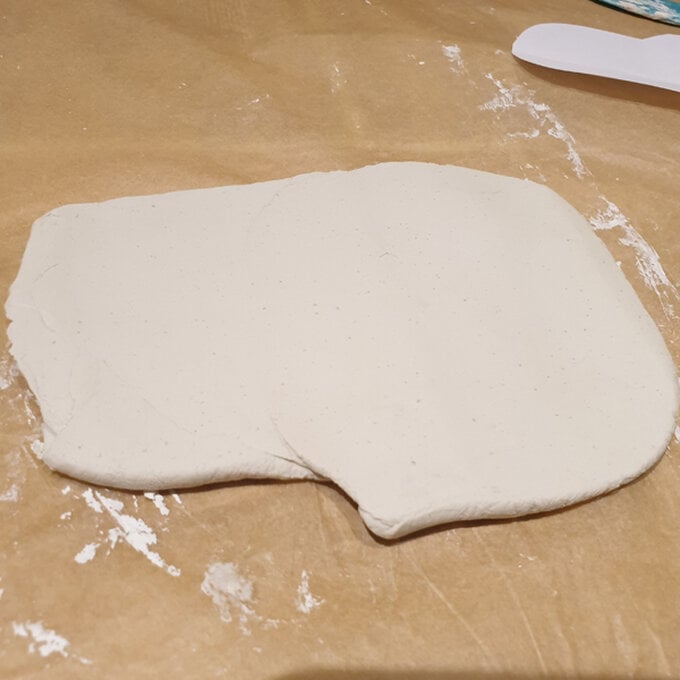
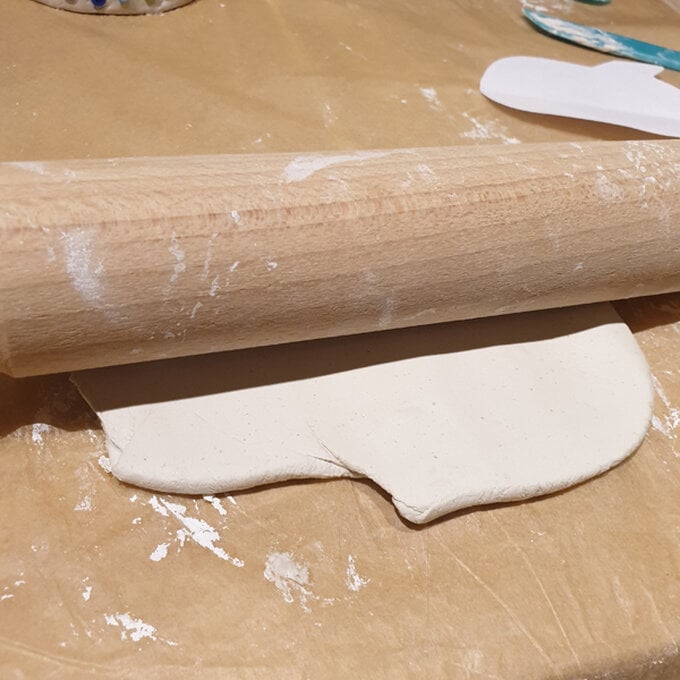
Then, roll out the clay until approximately 5-10mm thick and large enough to tower the food tin.
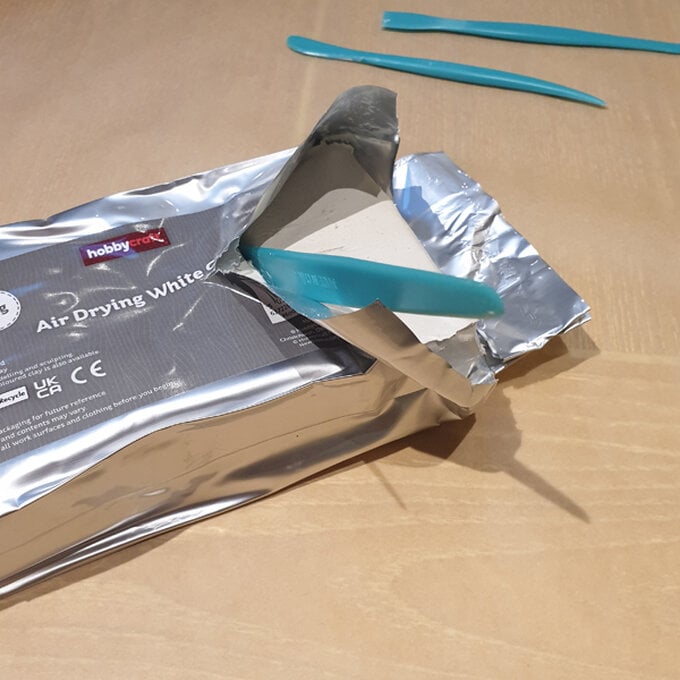
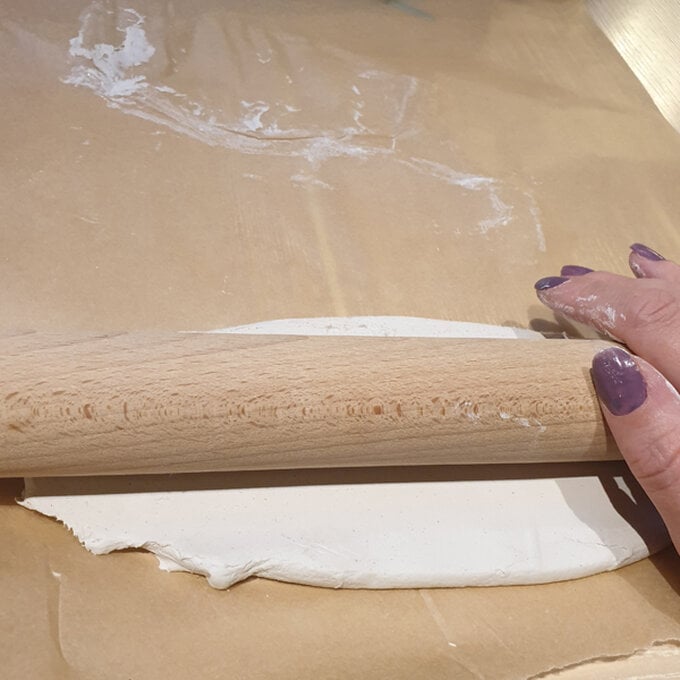
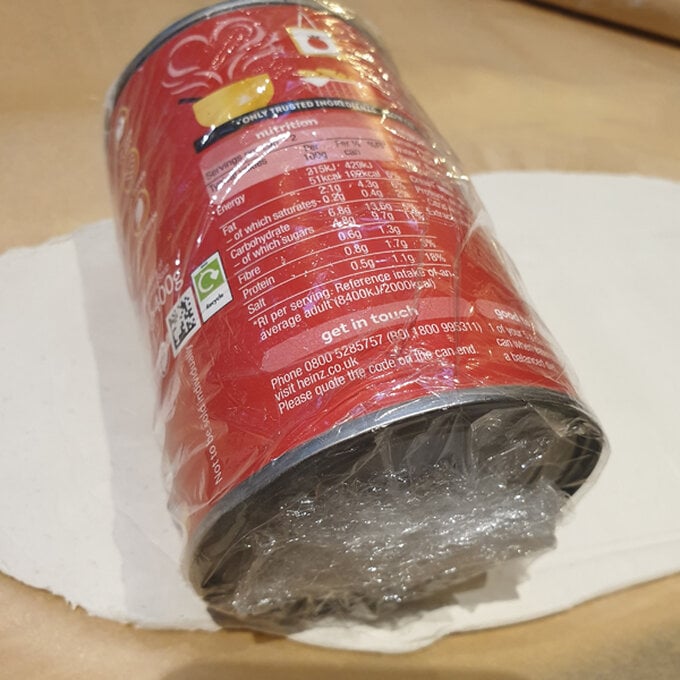
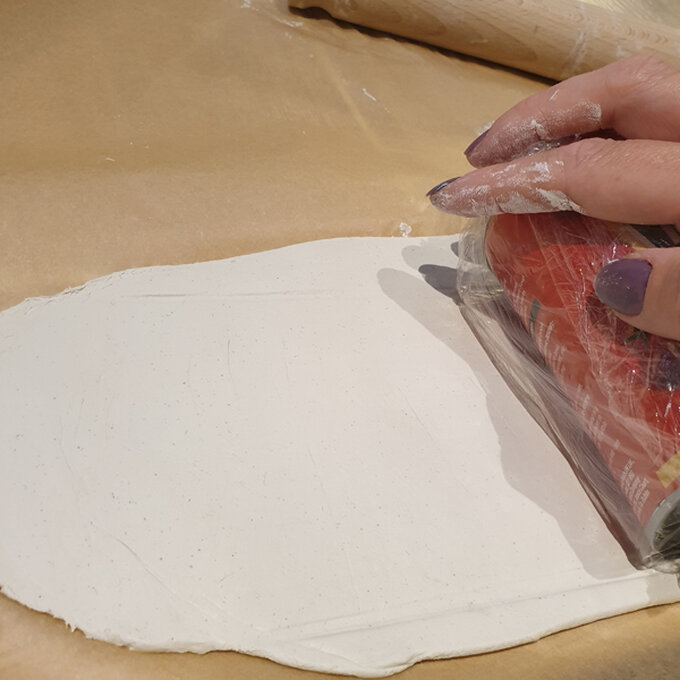
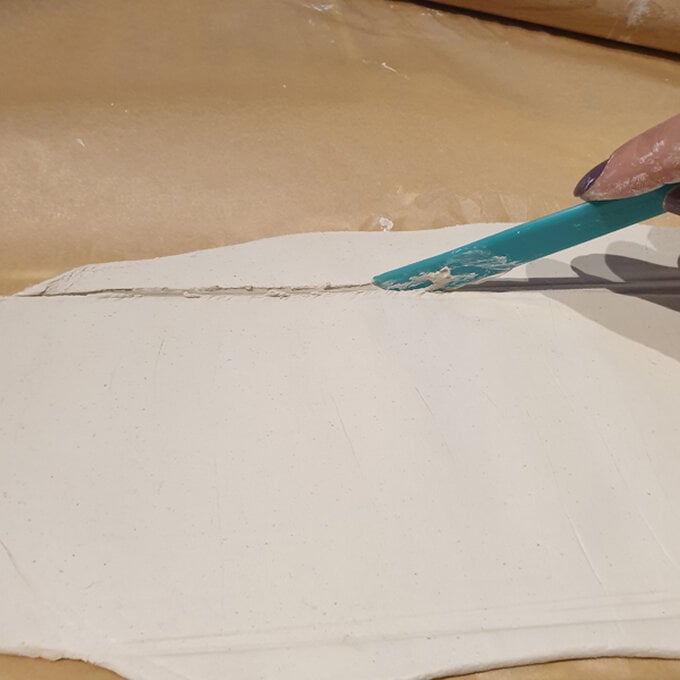
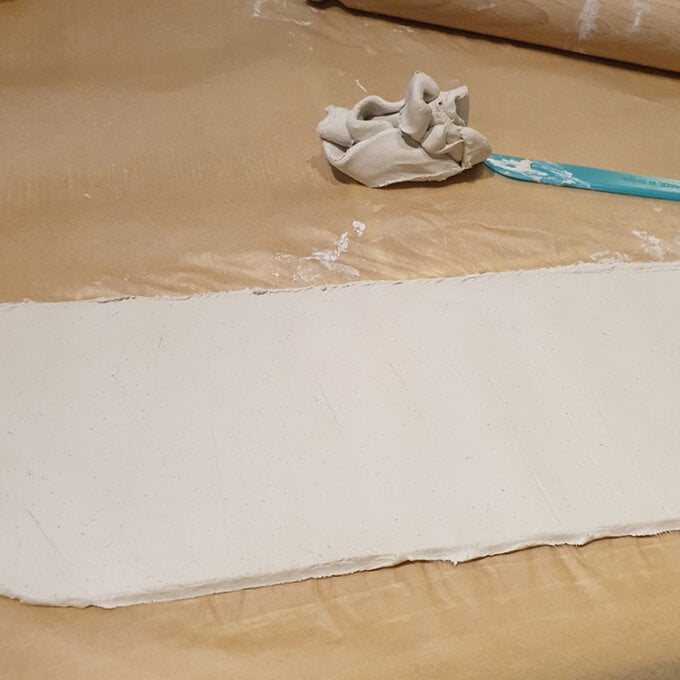
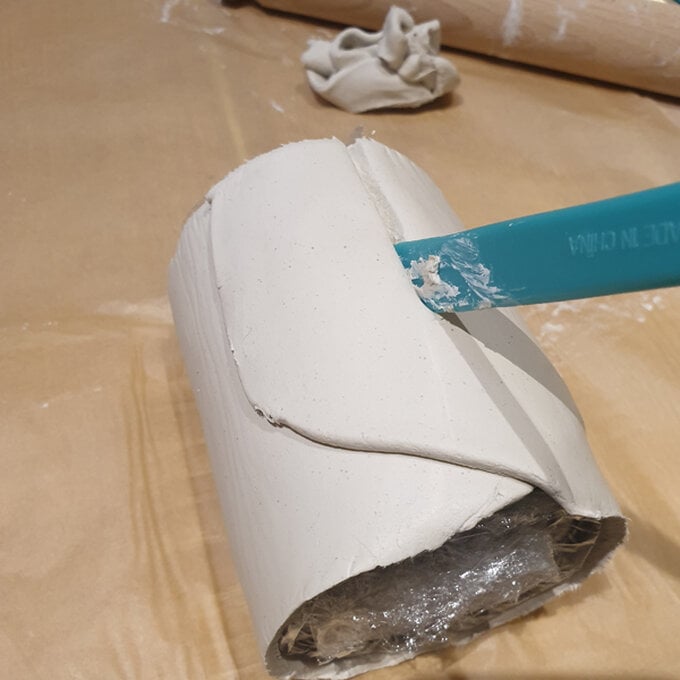
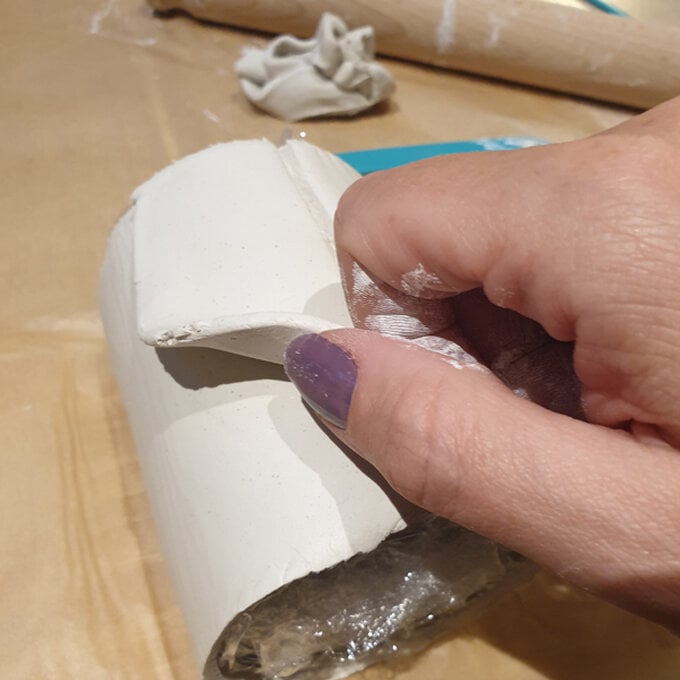
Wrap the clay loosely around the food can.
Cut off the excess clay and use a clay tool or butter knife to rough up the edges, use a little water to join and form the outside of the pot.
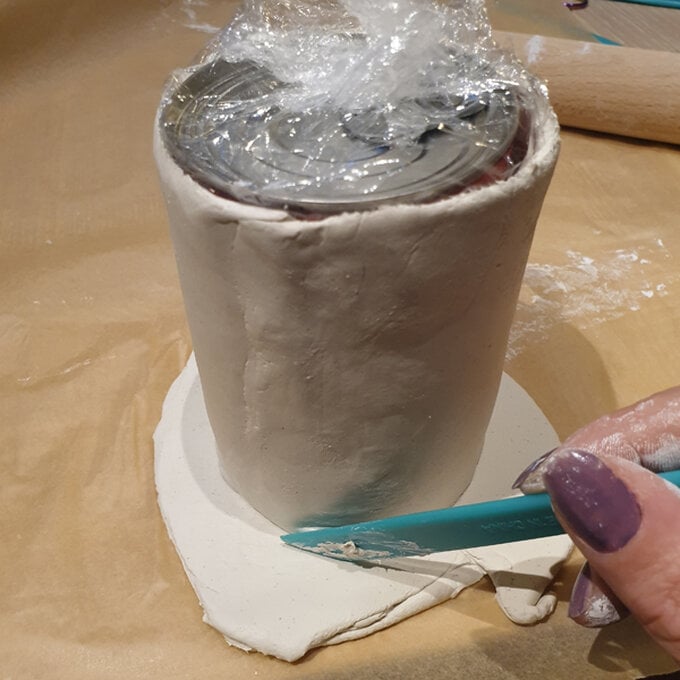
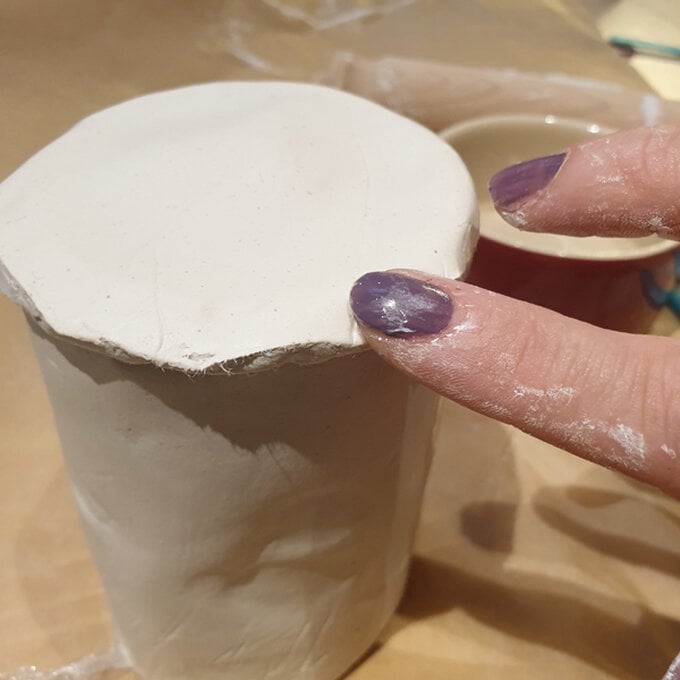
With the excess clay, roll out a second piece of clay large enough to cover the pot base and approximately 5-10mm thick.
Use the food can as a guide and cut around the tin. Cut slightly bigger so you have some clay to play with whilst joining the base to the sides.
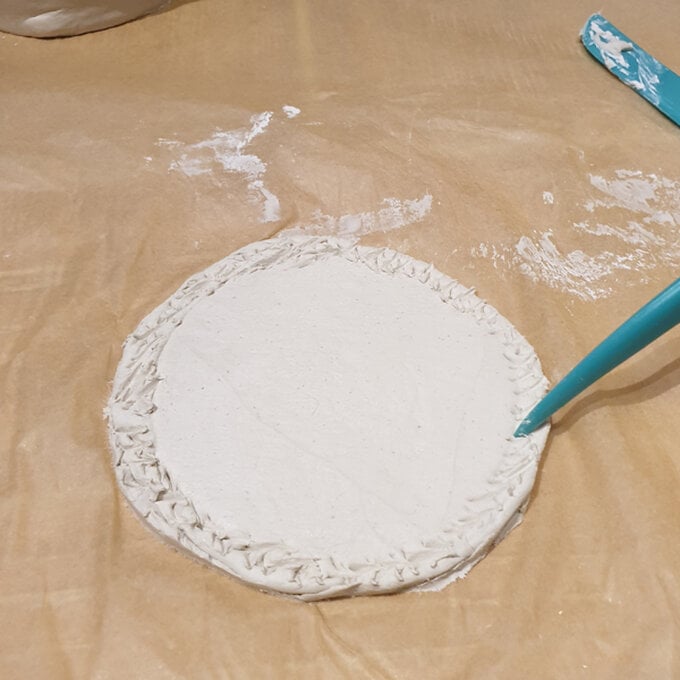
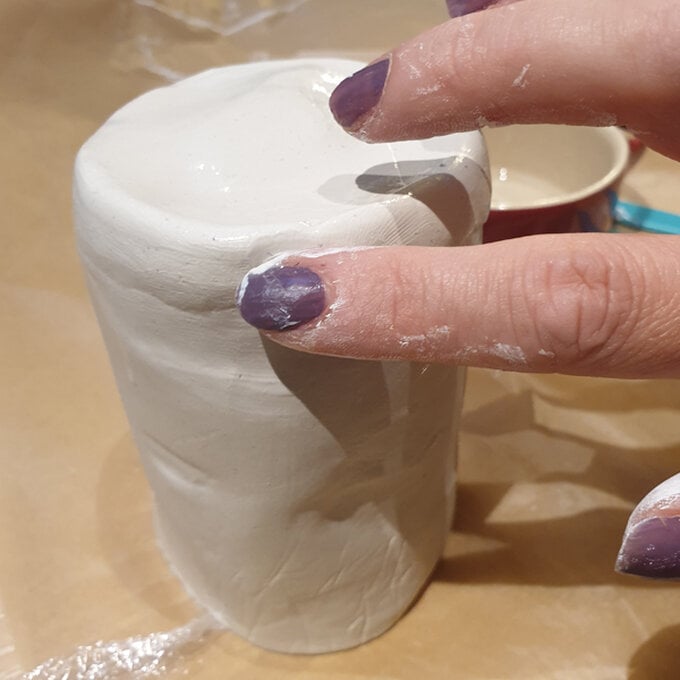
Rough up the outer edges of the circle and the bottom edge of the pot sides, add a little water and join together. Smooth around the sides.
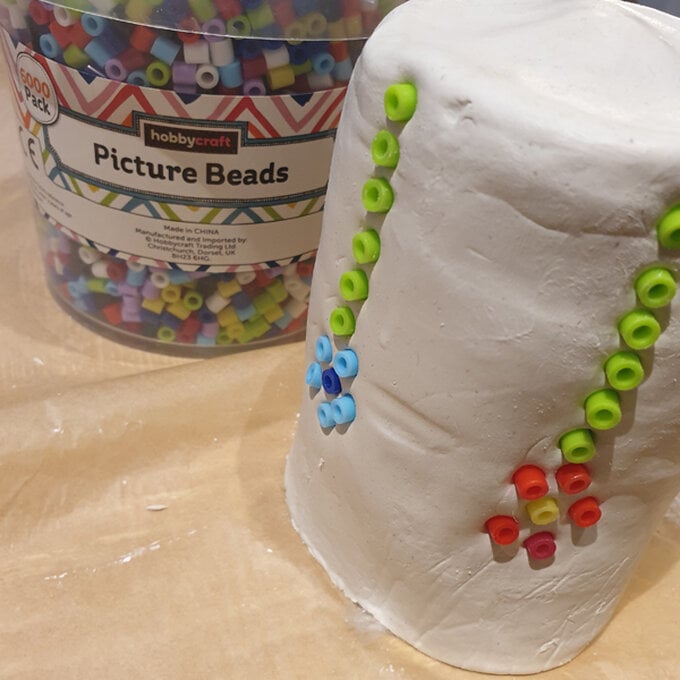
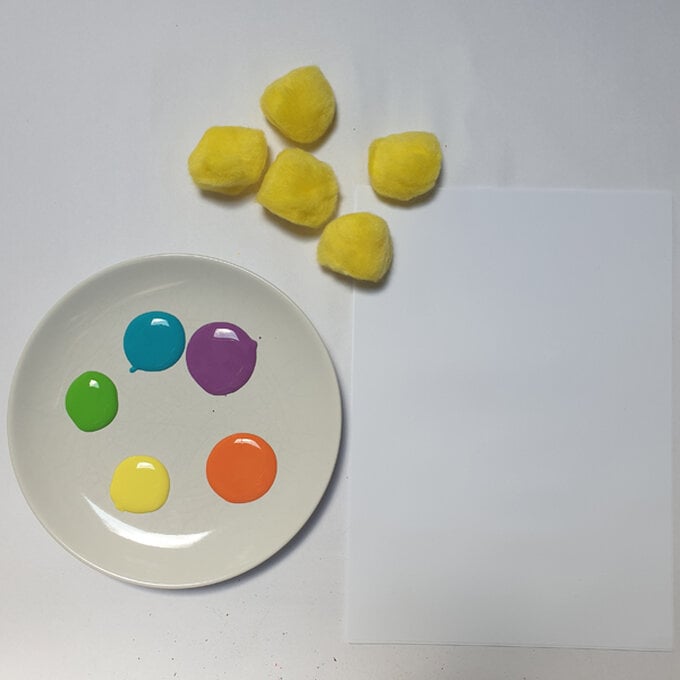
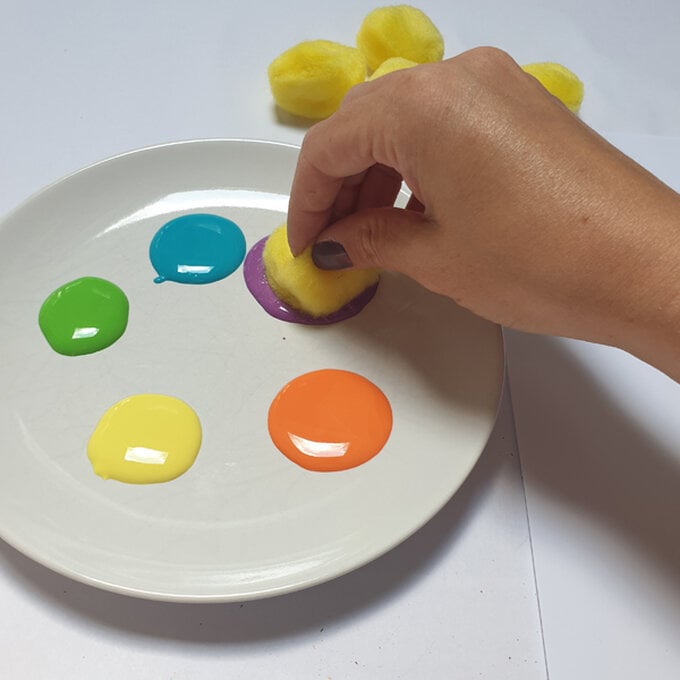
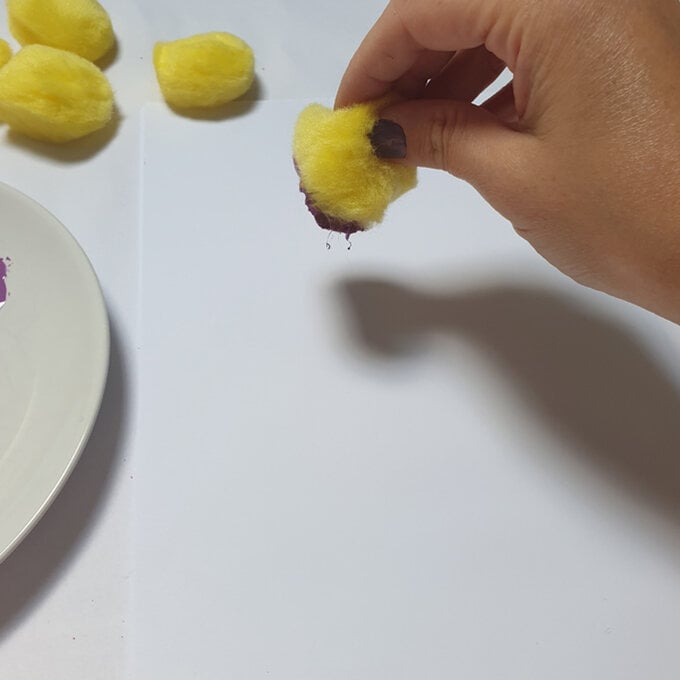
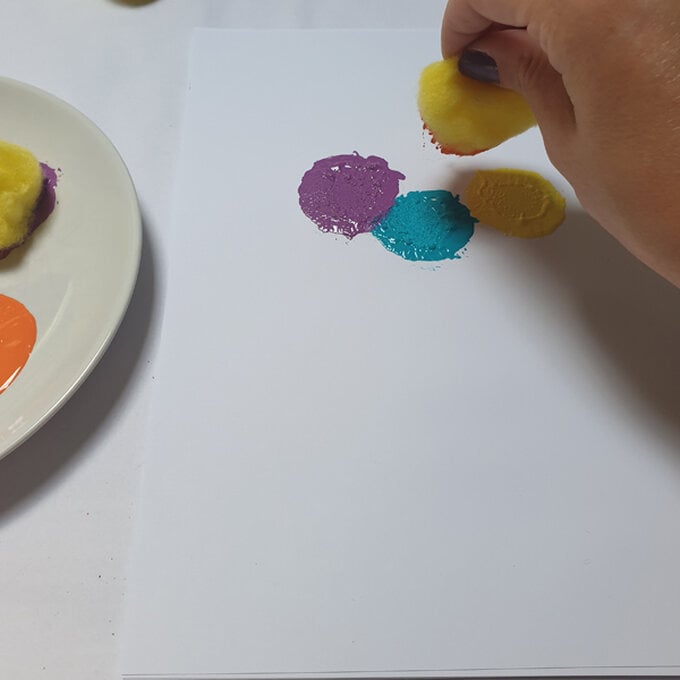
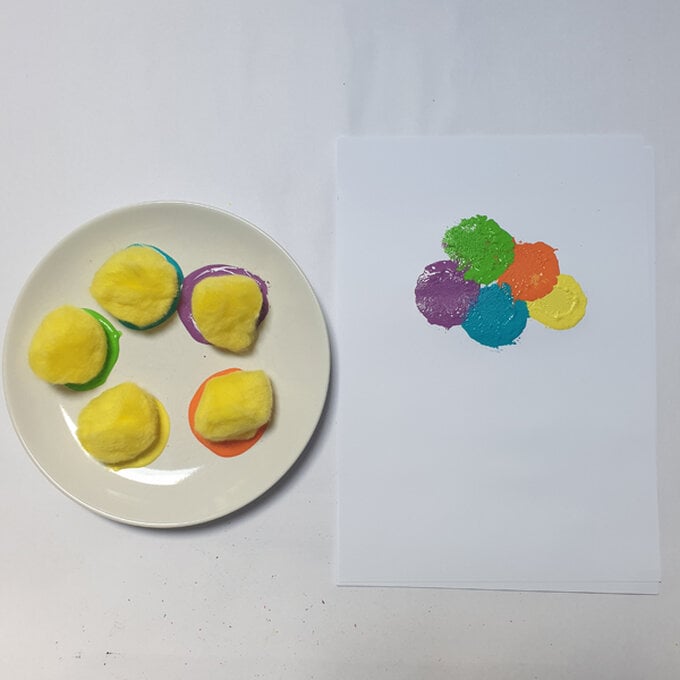
Using a paint pallet or plate, squirt a selection of acrylic paint in different colours onto you pallet.
