How to Screen Print at Home Using Mod Podge
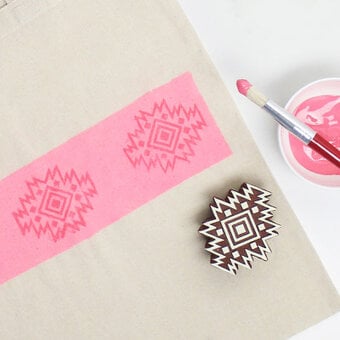
Why not try some screen printing? A little different from traditional format. With some versatile Mod Podge, this fantastic product helps you block the fabric to create a screen you can easily print on.
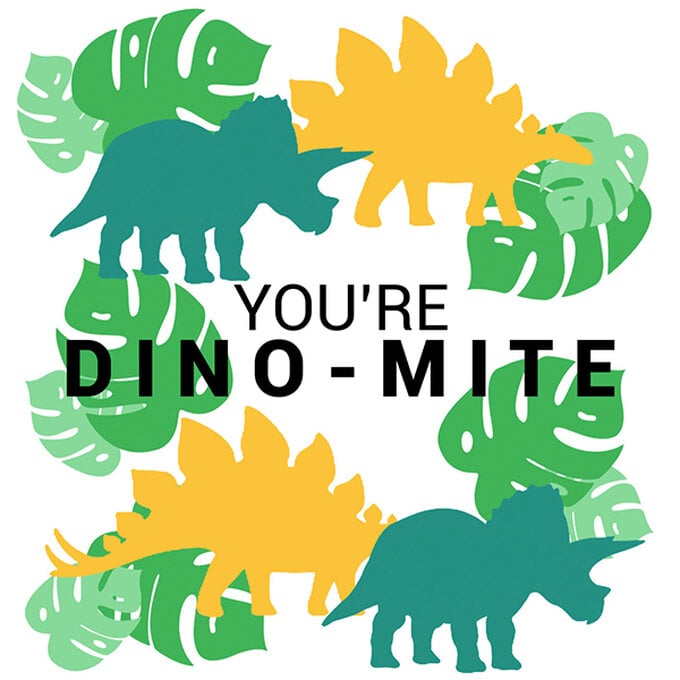
Grab your embroidery hoop, pair of tights and fabric paints and design anything you want. We've provided a dinosaur template so that you can create a fun dinosaur tote bag!
Project and instructions by Kathi
You will need
Subtotal
Is $ 21.00
Subtotal
Is $ 3.49
Subtotal
Is $ 7.49
Subtotal
Is $ 7.49
Subtotal
Is $ 7.49
Subtotal
Is $ 7.49
Subtotal
Is $ 7.49
Subtotal
Is $ 4.49
Subtotal
Is $ 8.49
You will also need:
* A Pair of Ladies Nude 15 Denier Tights
Create your own design or download and print our free template. The template is larger than A4 so you may need to adjust the print settings.
Stretch tights material across the embroidery hoop (you may need an extra pair of hand for this).
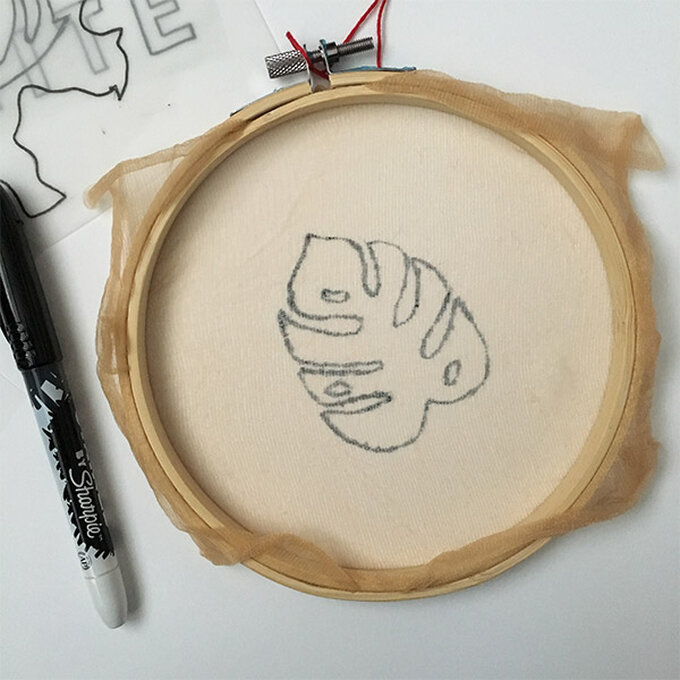
Starting with the large leaf, trace the design onto tights material using a black marker.
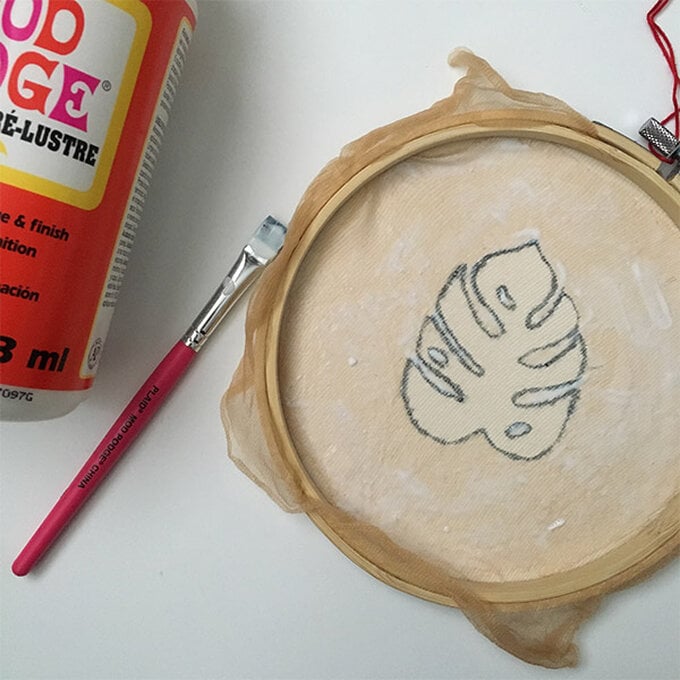
Paint the negative space around the design with Mod Podge.
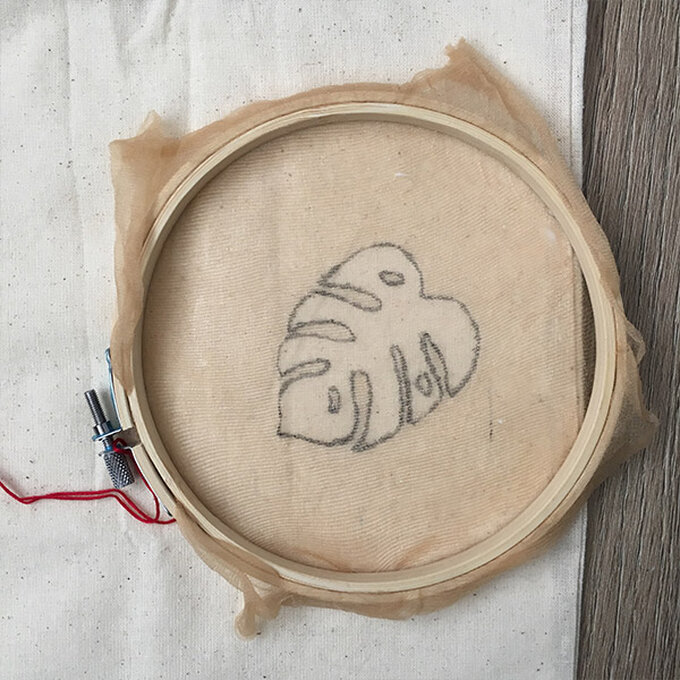
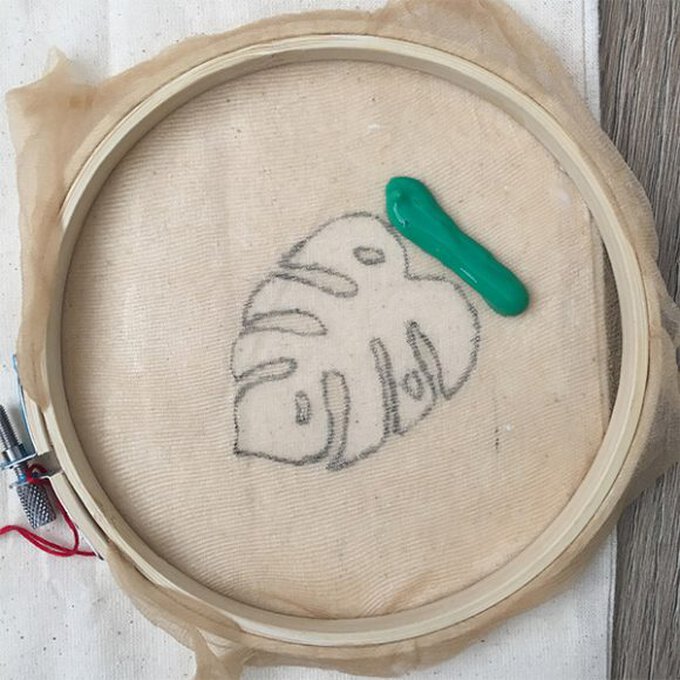
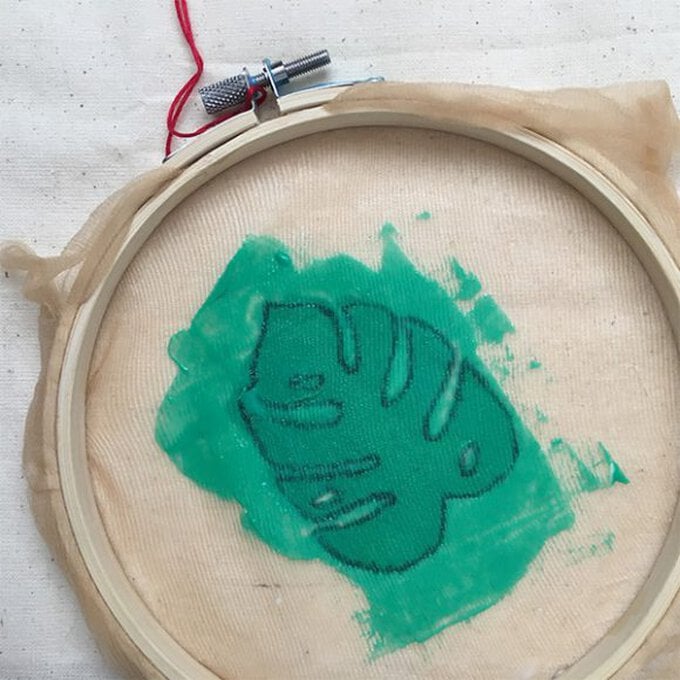
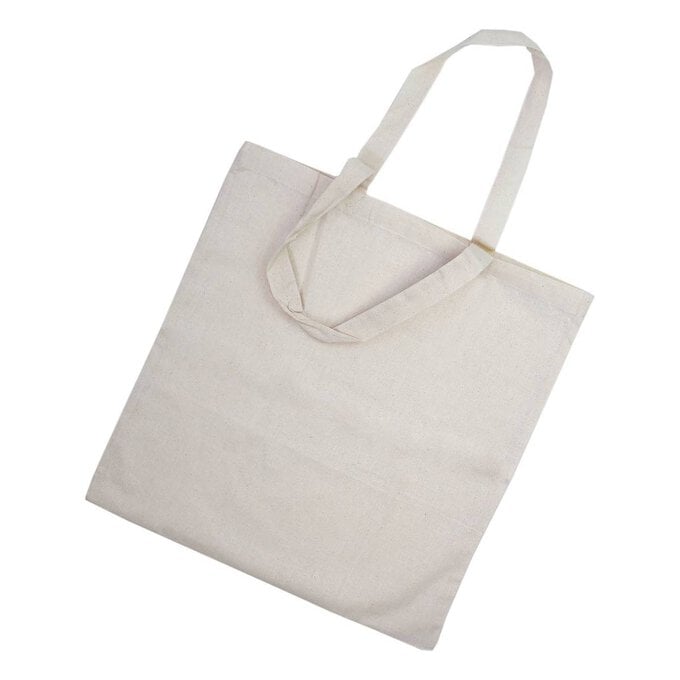
Insert a piece of baking paper into the bag to protect the back.
Once the Mod Podge is dry, place onto the tote bag and cover with dark green tulip paint. Use a piece of plastic (an old credit card or store card works well for this) to scrape the paint across the design.
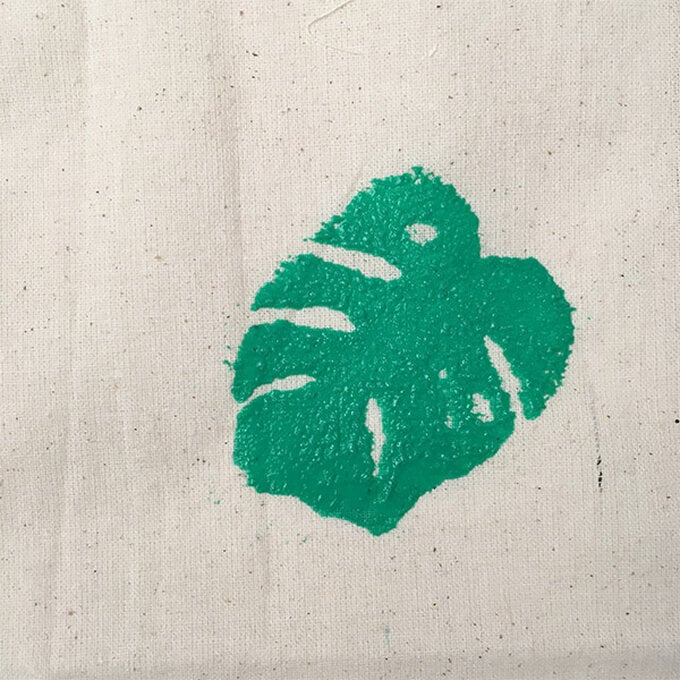
Carefully lift the hoop/screen off the tote bag. Each print can take up to four hours to dry, or can be dried by carefully using a hair dryer on low heat.
Create the screen print for the smaller leaf using the same process.
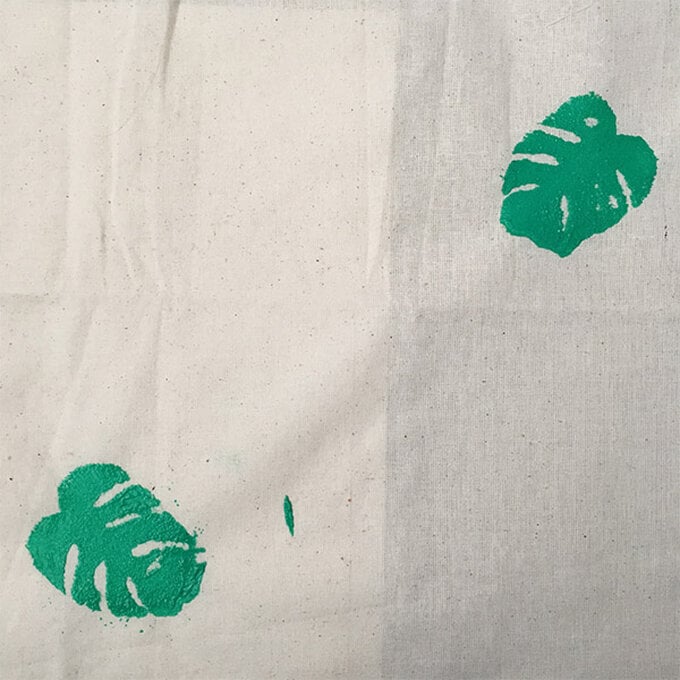
Once the first leaf is dry, continue adding the other leaves to the bag
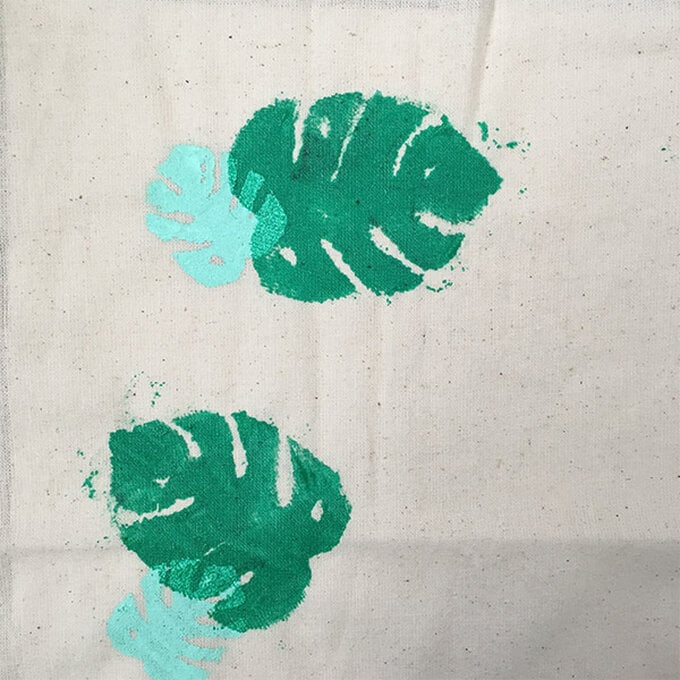
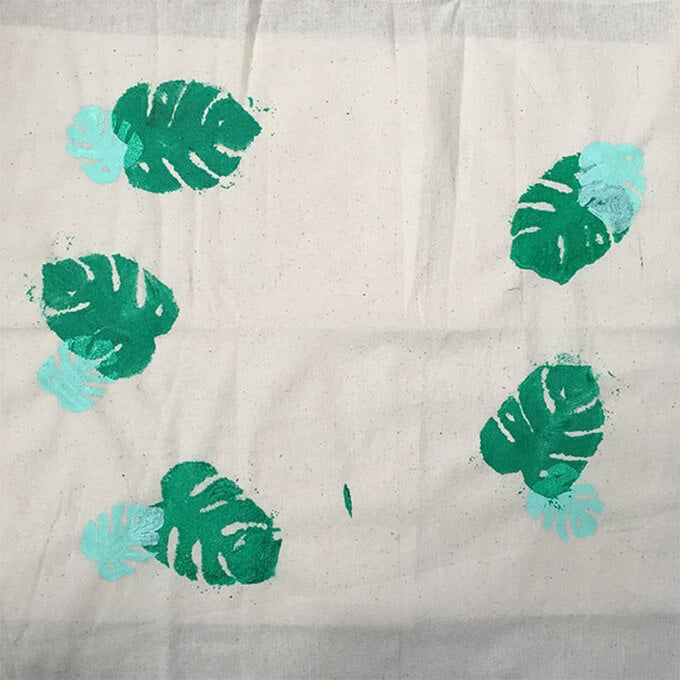
Create the screen print for the smaller leaf using the same process as before. Mix together the dark green and the white paints to get a lighter green.
Layer the larger and smaller leaves up, making sure they are fully dry before placing a new leaf on top.
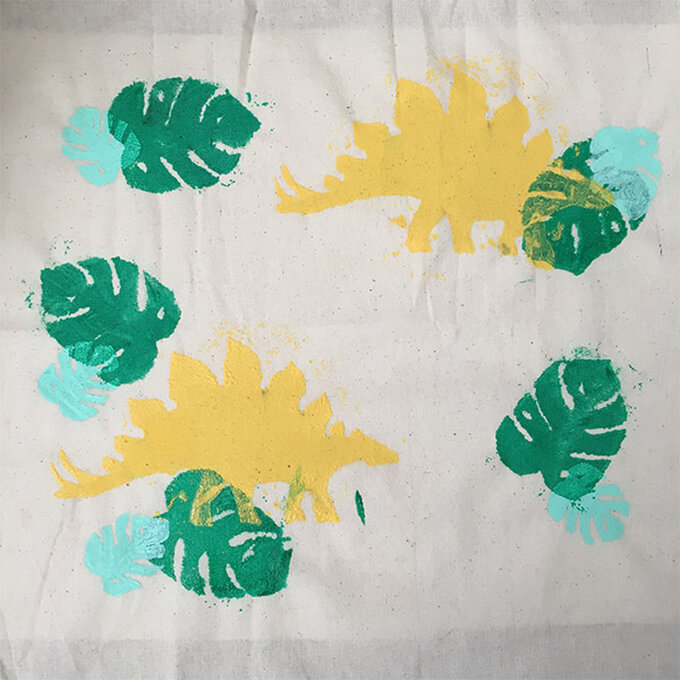
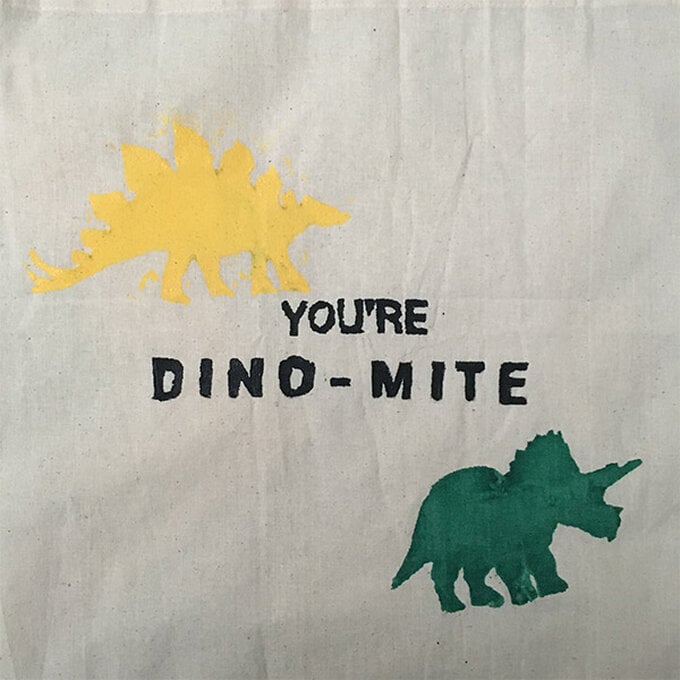
Next add the yellow dinosaur to the bag, following the same process as before.
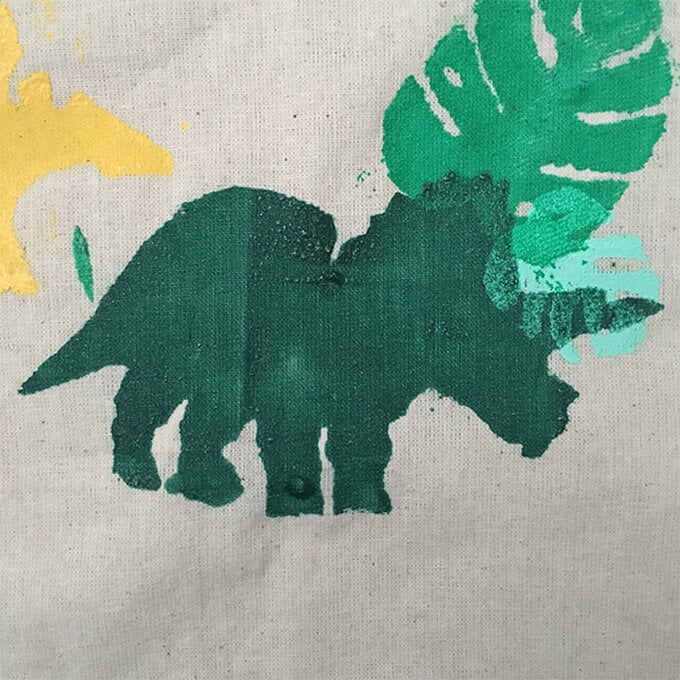
Once the yellow is dry, mix together the dark green and bit of the black paint to create a darker green. Print onto the bag, again following the same process as before.
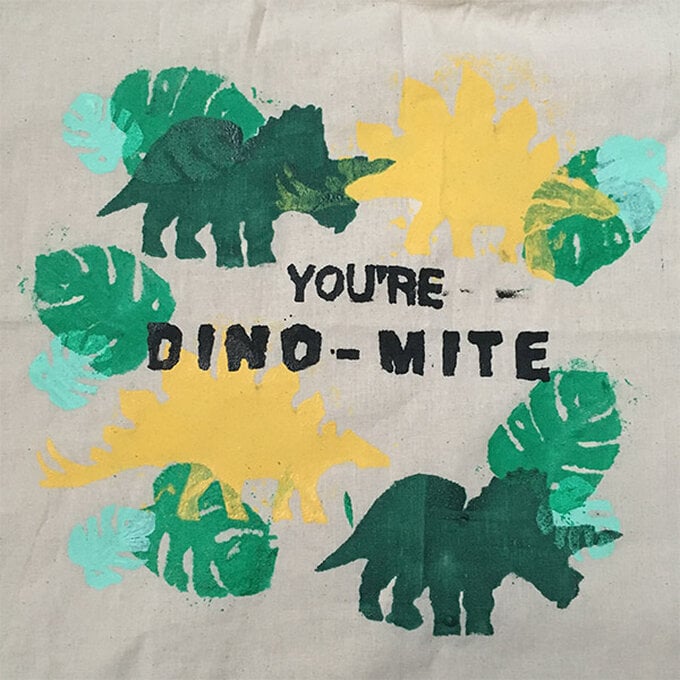
Finally, using the black paint, add the 'YOU'RE' and 'DINO-MITE' to the bag.
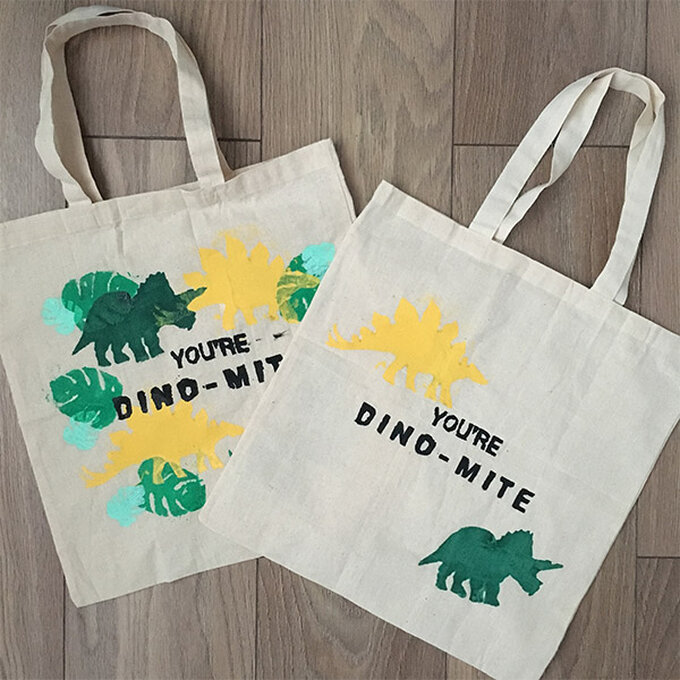
As an optional extra you could add a little embroidery to the bag to make the shapes really stand out from each other! I added a line of back stitch in complimenting colours around every part where the shapes overlap, but you could go round the whole shape or even add in extra detail.
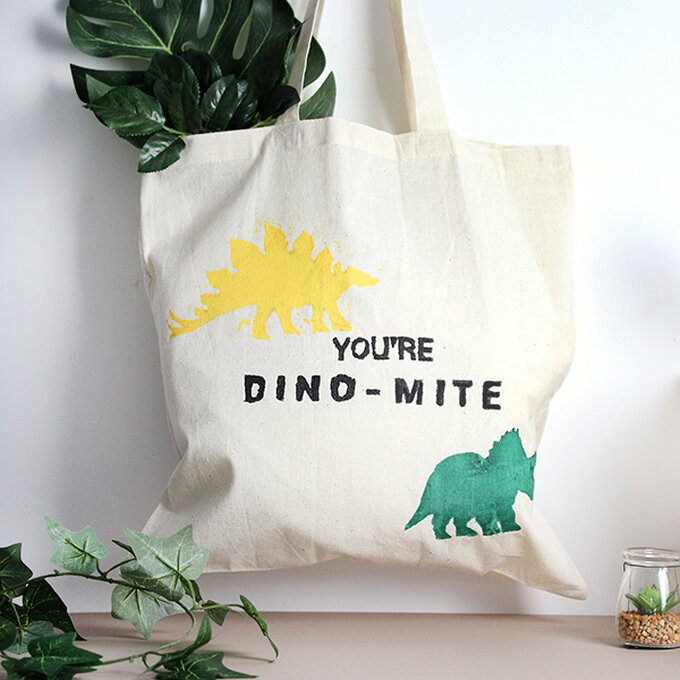
If you are new to screen printing and would like to try something simpler, here is an easier version where none of the shapes overlap, following the same process from above.
