Skip to Content (Press Enter) Skip to Footer (Press Enter)

How to Make a Birthday Scrapbook Layout

Level
Beginner
Time
1 hour
Budget
<10

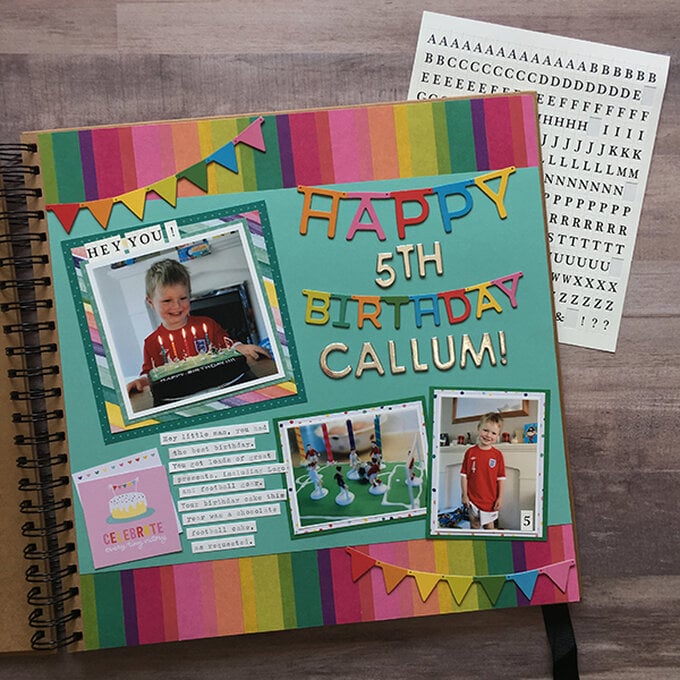
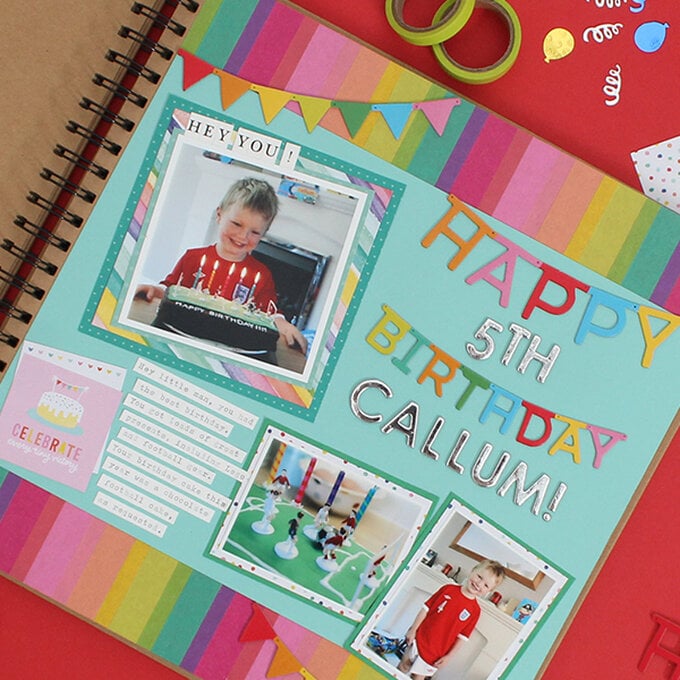
It's super easy to create a vibrant birthday scrapbook layout to celebrate a child's birthday using bright neon washi tapes for a colourful border. Just follow this fantastic tutorial by Jo Boland, who shows us expertly how to create gorgeous washi tape effects, as well as photo mat borders!

You will need

Is $ 15.00 , was $ 19.00

Quantity: 1

Subtotal

Is $ 15.00 , was $ 19.00

Out of stock

Is $ 1.49

Quantity: 1

Subtotal

Is $ 1.49

Out of stock

Is $ 4.49

Quantity: 1

Subtotal

Is $ 4.49

Out of stock

Is N/A

Quantity: 1

Subtotal

Is N/A

Out of stock

Is $ 6.49

Quantity: 1

Subtotal

Is $ 6.49

Out of stock

You’ve viewed 2 of 5 products

You’ve viewed 4 of 5 products

Total:

How to make

Step-1

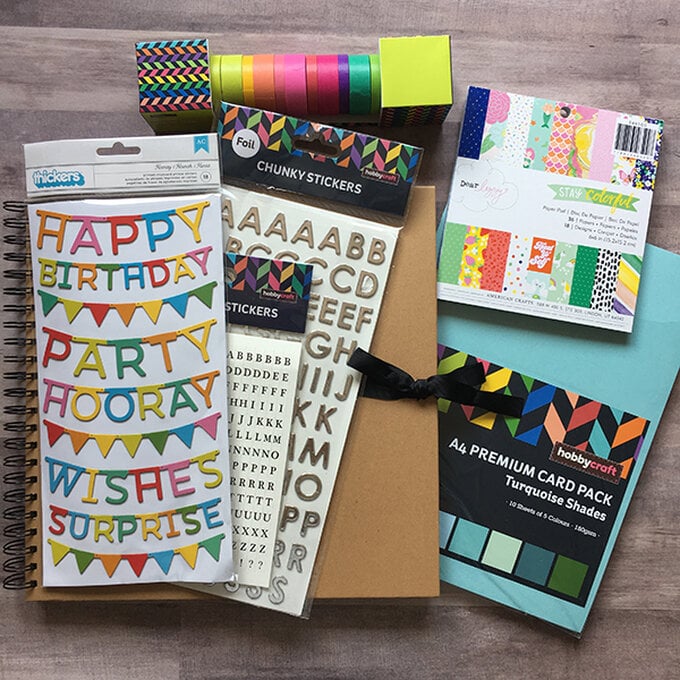
Gather your supplies; coloured cardstock, Over the Rainbow 6 x 6” paper pad, Hobbycraft Bright Neon Washi Tapes, Pebbles Happy Birthday Thickers, Hobbycraft Silver Foil Chunky Alphabet stickers, photos and adhesives.
p5-scrapbook-layout-birthday-step-1.jpg?sw=680&q=85
Step-2
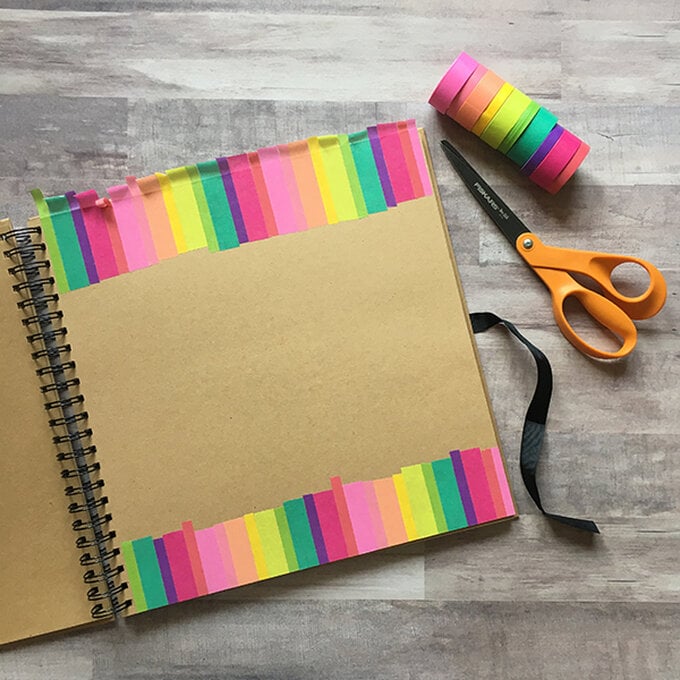
Place strips of bright neon washi tape along the top and bottom edges of the scrapbook page and trim away excess with scissors.
p5-scrapbook-layout-birthday-step-2.jpg?sw=680&q=85
Step-3
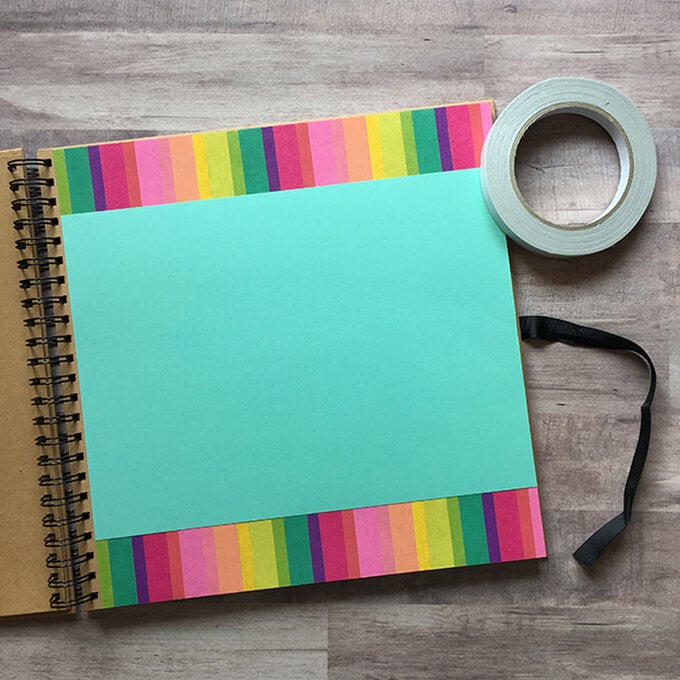
Trim a piece of coloured cardstock to fit the page and adhere with double sided tape to cover the ends of the washi tape.
p5-scrapbook-layout-birthday-step-3.jpg?sw=680&q=85
Step-4

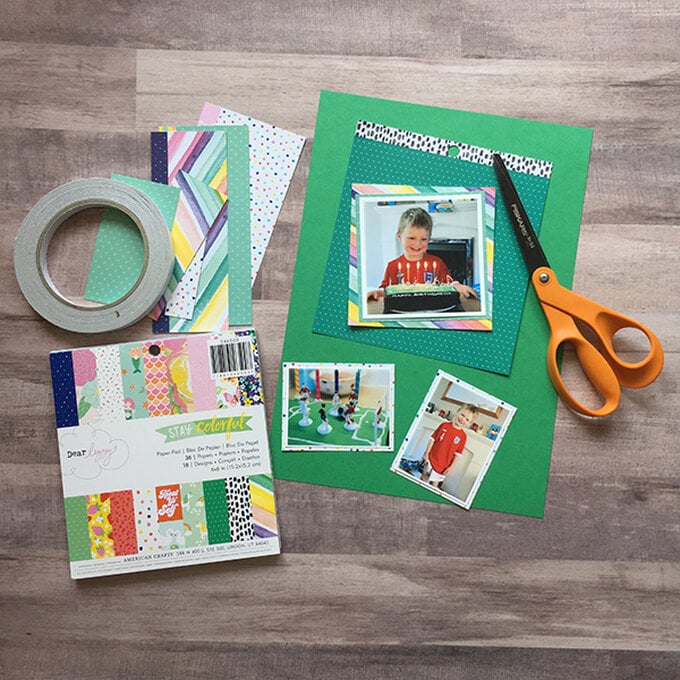
Create photo mats with papers from the over the raimbow 6 x 6” paper pad and coloured cardstock. Adhere to page with double sided tape.
p5-scrapbook-layout-birthday-step-4.jpg?sw=680&q=85
Step-5

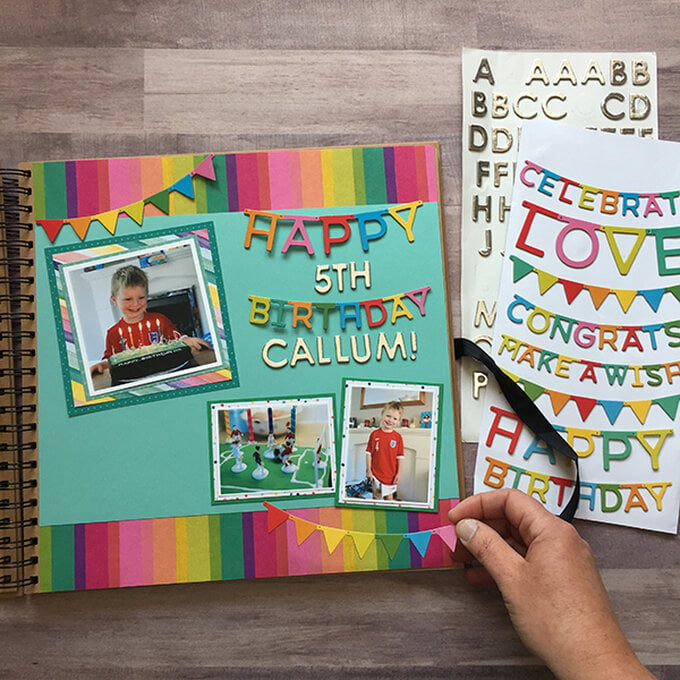
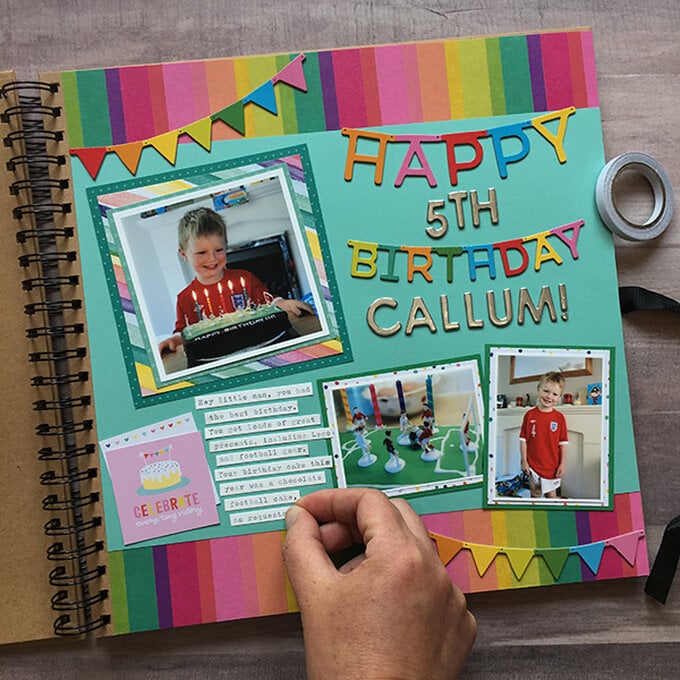
Add your title using the Pebbles happy birthday phrases pack and Hobbycraft silver chipboard letter stickers. Add chipboard embellishments, such as these fab strips of bunting from the 'Hooray' pack and cut apart cards from the over the rainbow 6 x 6” paper pad.
p5-scrapbook-layout-birthday-step-5.jpg?sw=680&q=85
Step-6
Type, print or handwrite your journaling on to white cardstock and trim into strips. These show up great against the coloured background.
p5-scrapbook-layout-birthday-step-6.jpg?sw=680&q=85
Step-7
Add some letter stickers to the photos.
  • bvseo_sdk, dw_cartridge, 18.2.0, p_sdk_3.2.0
  • CLOUD, getReviews, 5ms
  • reviews, product
  • bvseo-msg: Unsuccessful GET. status = 'ERROR', msg = 'Not Found.'; Unsuccessful GET. status = 'ERROR', msg = 'Not Found.';
Top