How to Make a Shaker Card
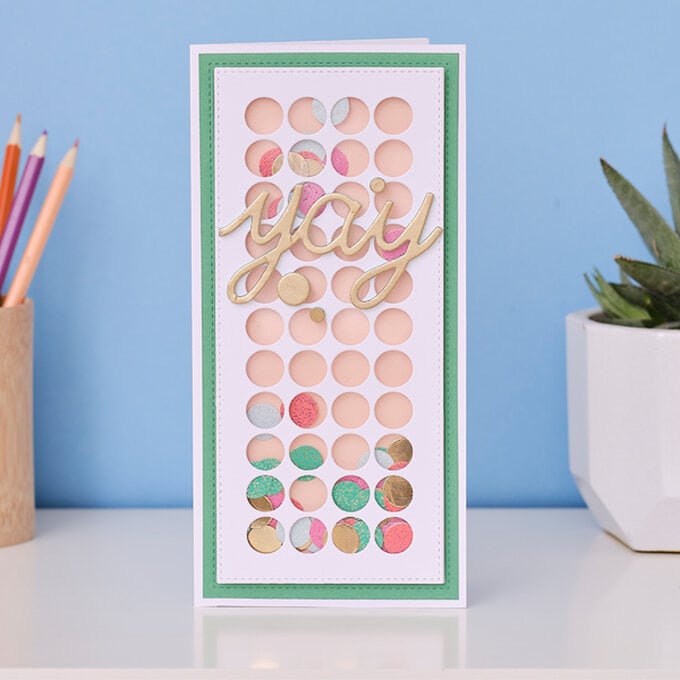
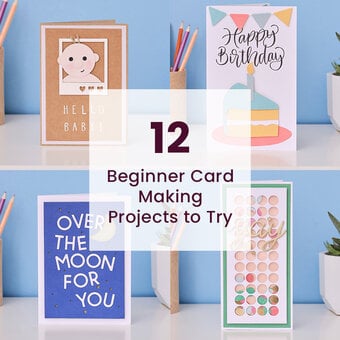
Create a personalised shaker card with the help of our easy-to-follow guide! This unique shaker card project uses cardstock offcuts to create a bright and colourful card, perfect for wishing a loved one ‘Happy Birthday’ or ‘Congratulations!’.
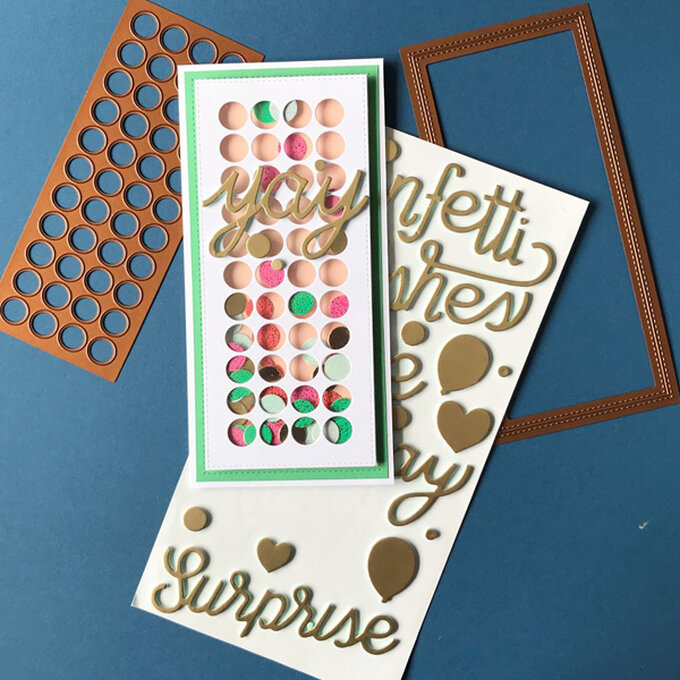
The apertures in this card have been created using a die that allows for all the circle holes to be cut out in a couple of turns of your die cutting machine handle.
Project and instructions by Jackie Jasper
You will need
Subtotal
Is $ 128.00
You will also need
*3D foam pads
*A4 acetate sheets
*Double sided sticky tape
*Washi tape
How to make
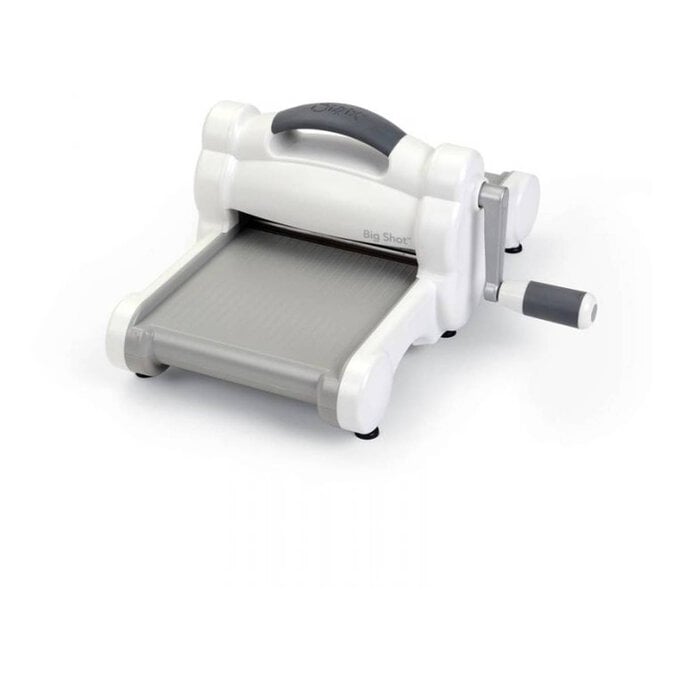
Use the largest rectangle die to cut a panel of green card. Place the die at the very corner of the card panel, then run it through a die cutting machine.
Trim the other two sides creating a frame.
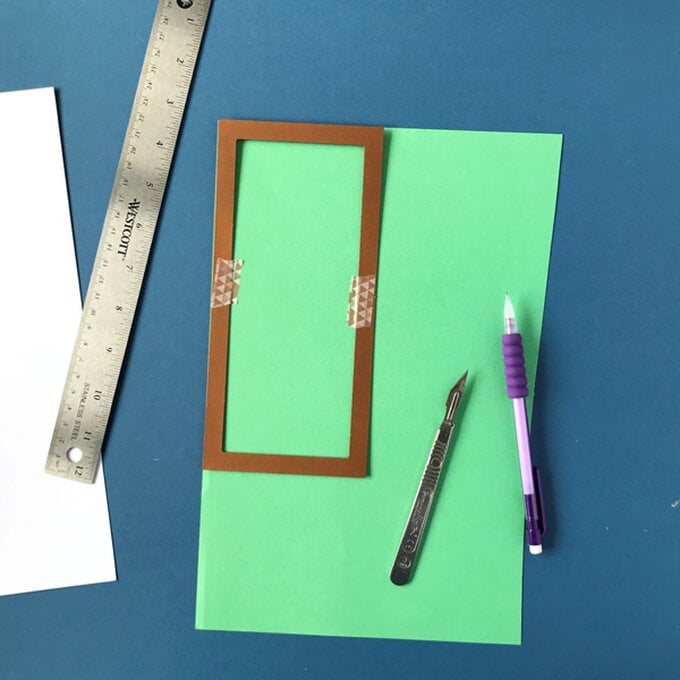
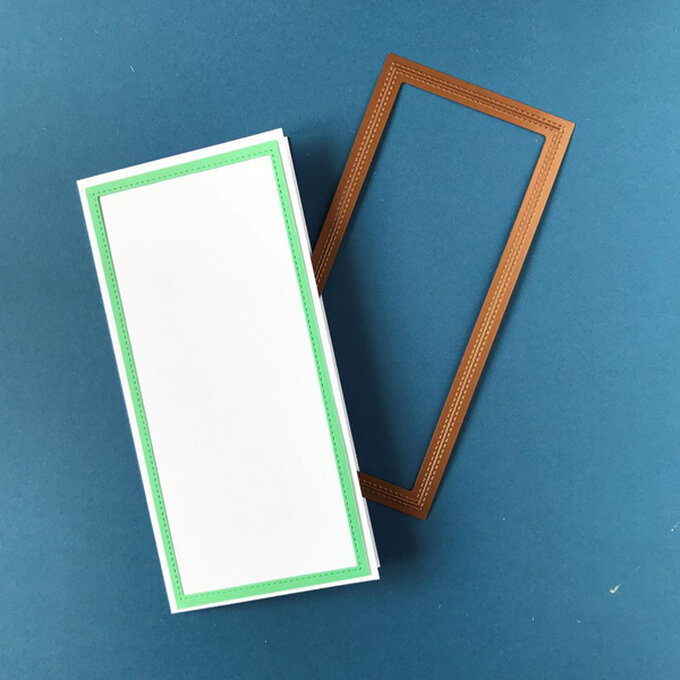
Next, lay the circle die inside the rectangle stitched die and secure it in place with a piece of washi tape, then die cut into a piece of white card.
Fix a piece of acetate to the reverse side using double sided tape, then add 3D foam pieces all around the edges and a few in the centre.
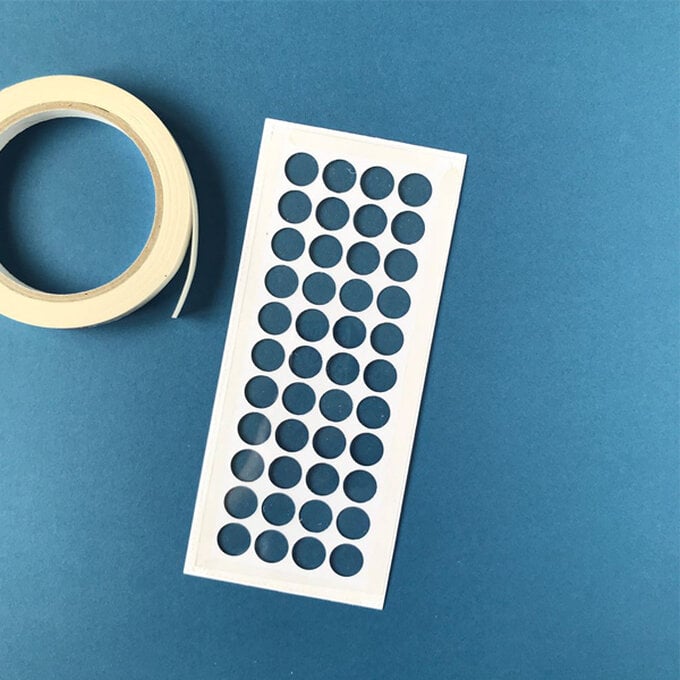
Continue to use the circle die again and again to create a handful of shaker pieces.
Add some glitter and gold card to add glamour to your card.
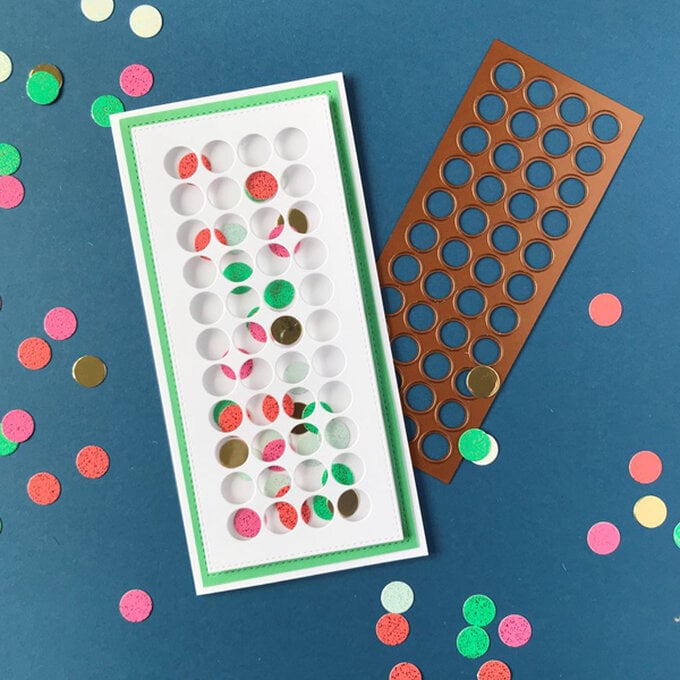
Attach a piece of pale pink card to the centre of the card front inside the green frame, then lay the circle shaker pieces on top followed by the circle/acetate panel.
Finish off by adding the yay sentiment to the upper half.
