How to Make a Calendar Scrapbook
Make a new start in the new year in style! You'll be ready for all 12 months with this scrapbook calendar project, showing you how to transform a scrapbook into a unique way to keep track of every meeting, date, appointment and more!
This is a perfect way to personalise each page to suit the most important events for you.
Tutorial by Daisy Martin.
You will need
Subtotal
Is N/A
Out of stock
Subtotal
Is $ 27.00
Subtotal
Is $ 17.00
Subtotal
Is $ 4.49
Subtotal
Is $ 0.49 , was $ 1.49
Subtotal
Is N/A
Out of stock
Subtotal
Is $ 4.49
Subtotal
Is N/A
Out of stock
How to make
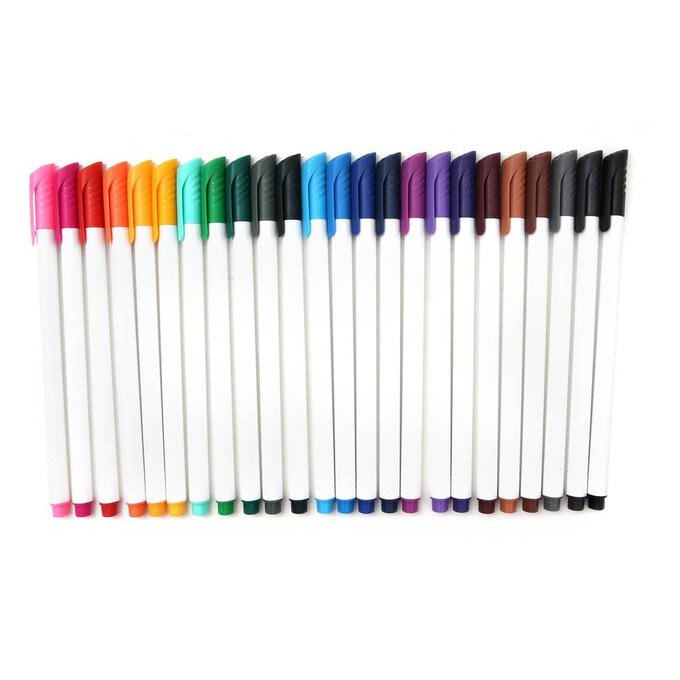
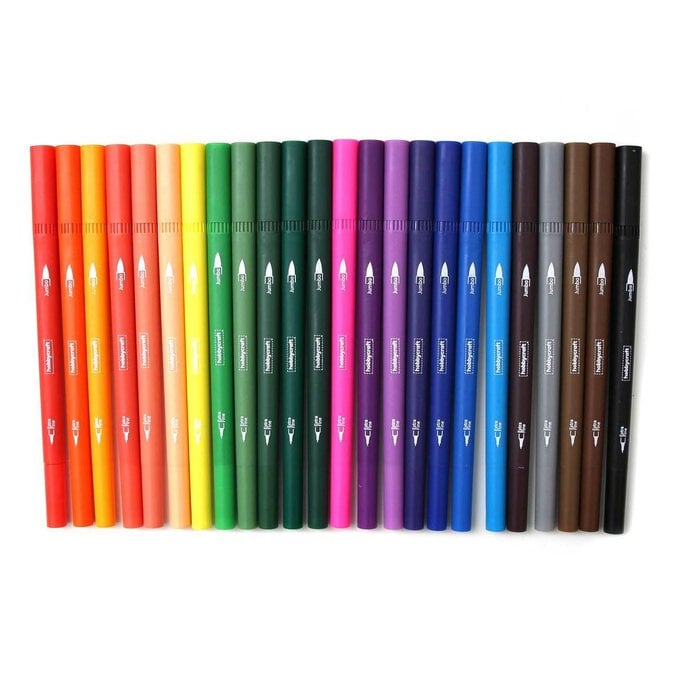
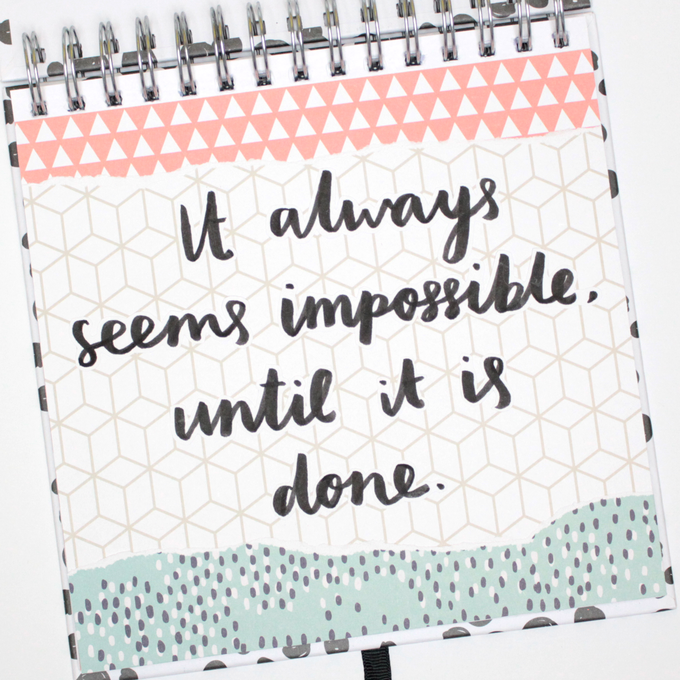
After turning the scrapbook so the coil is along the top, open it up and on the first page create a cover page for the year. Write out a motivational quote using the Hobbycraft brush pens, and cut around each word.
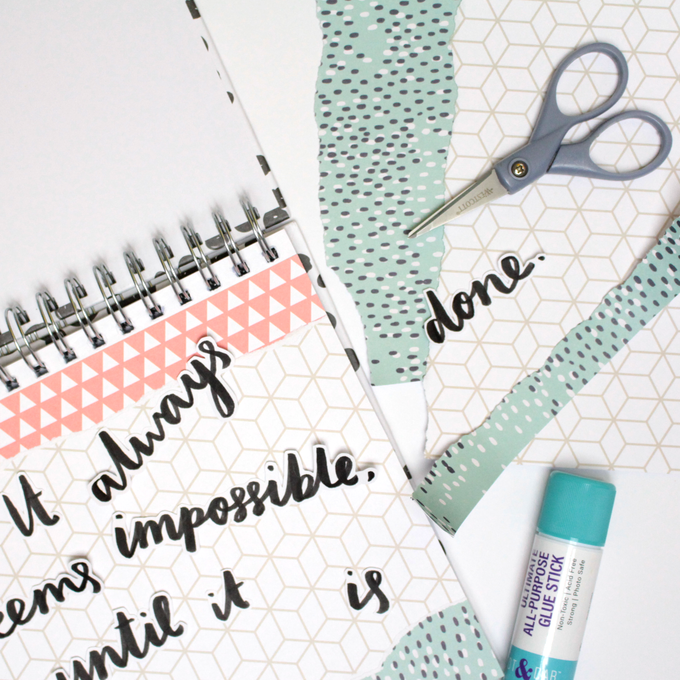
Choose some patterned papers that compliment one another, and rip them into strips to layer behind the quote. This creates a busy background without taking focus away from the main quote.
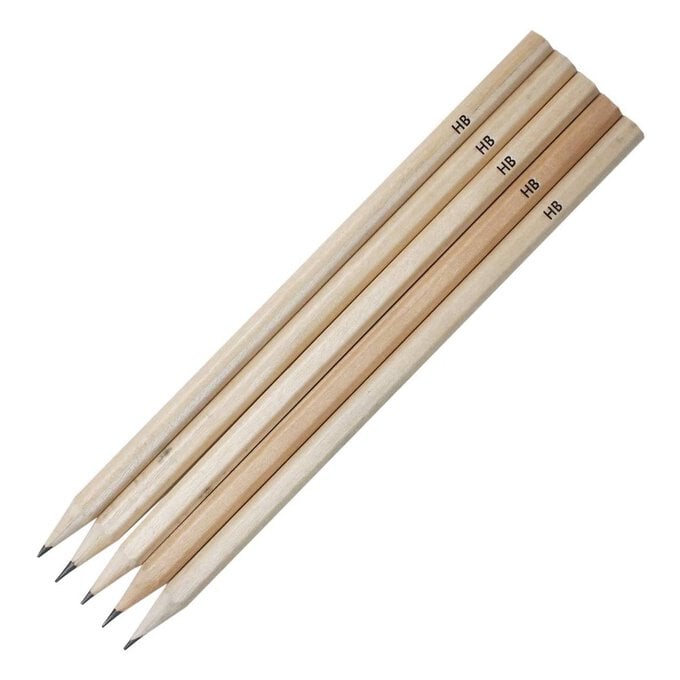
To create the calendar pages, measure and draw out a grid which is seven boxes by five boxes. Be sure to do this using a pencil so you can alter any mistakes. Make sure you leave one page between each calendar page for the pocket pages we will be adding a little later.
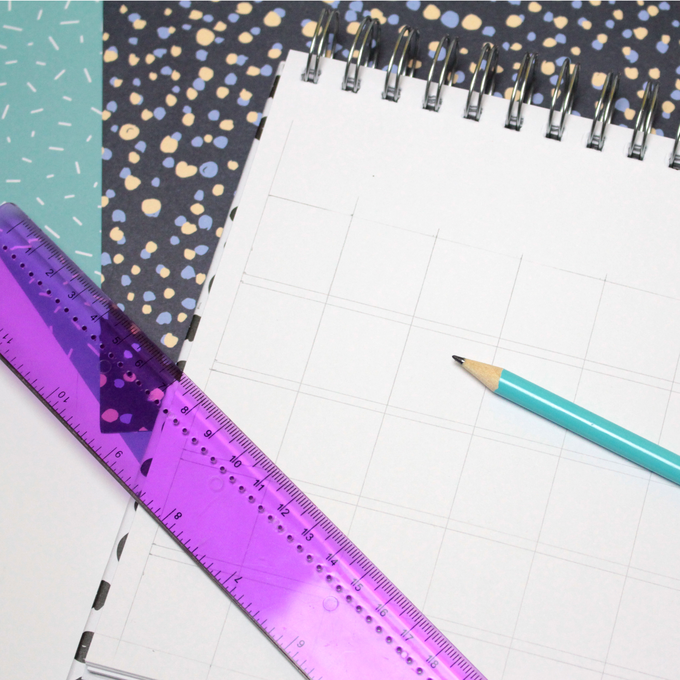
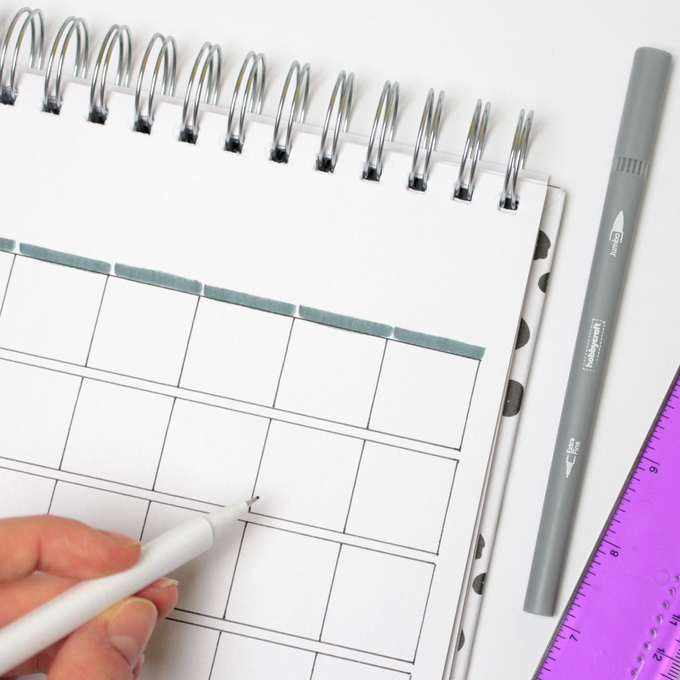
Once you've drawn out the calendar grid in pencil, use a black fine liner to make it stand out. Rub out the remaining pencil lines to neaten everything up. Using the coloured brush pens, add coloured lines along the top of the grid ready to write the days of the week onto.
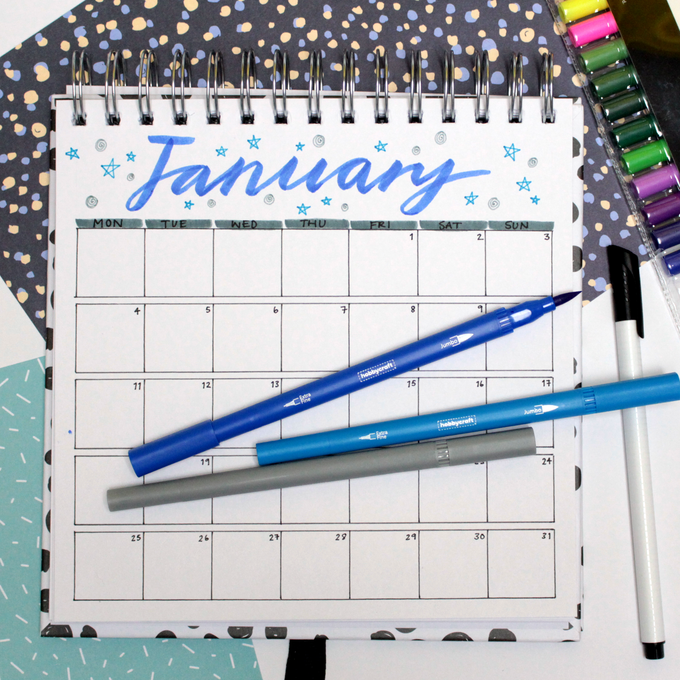
Using one of the brush pens, write out the month in the blank space at the top of the grid. Fill in the dates for the calendar & pop the days of the week on top of the coloured lines. Lastly using coloured fineliners, decorate around the brush lettered month with doodles that correspond with that month (for January we've gone with wintery stars & doodles).
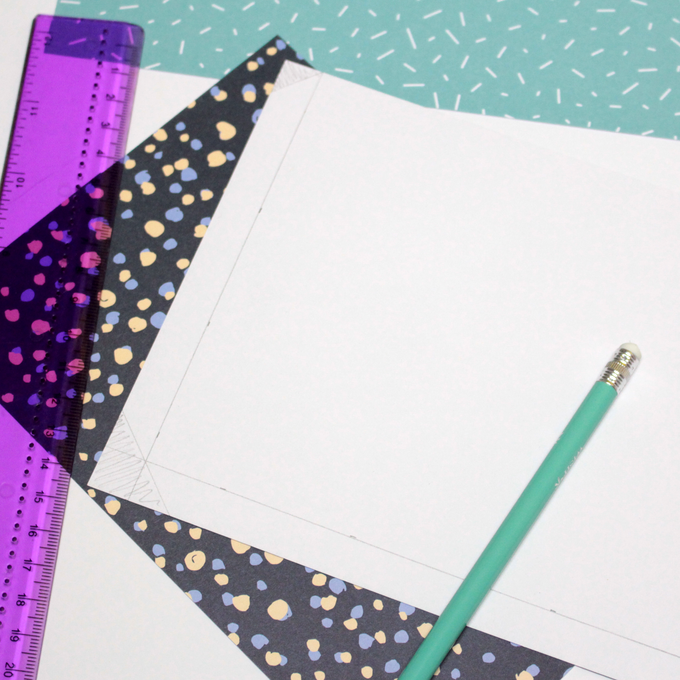
To create the pocket pages between each month, cut a piece of patterned paper to 6x8 inches. Then measure out half an inch at the bottom & the two sides and draw lines for these measurements. Cut off the corners diagonally, and fold the half inch flaps inwards.
Before sticking the pocket to the page, using a craft knife, cut a slot in the middle of the pocket wherever you want (we've put it to the right of the pocket). This will allow you to add smaller mementos or photos from the month into the pocket. If you want, you can add more than one slot!
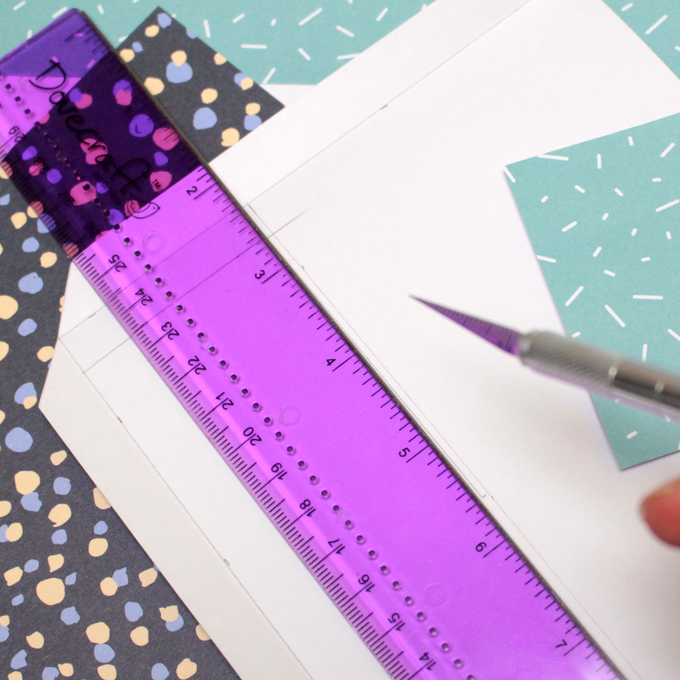
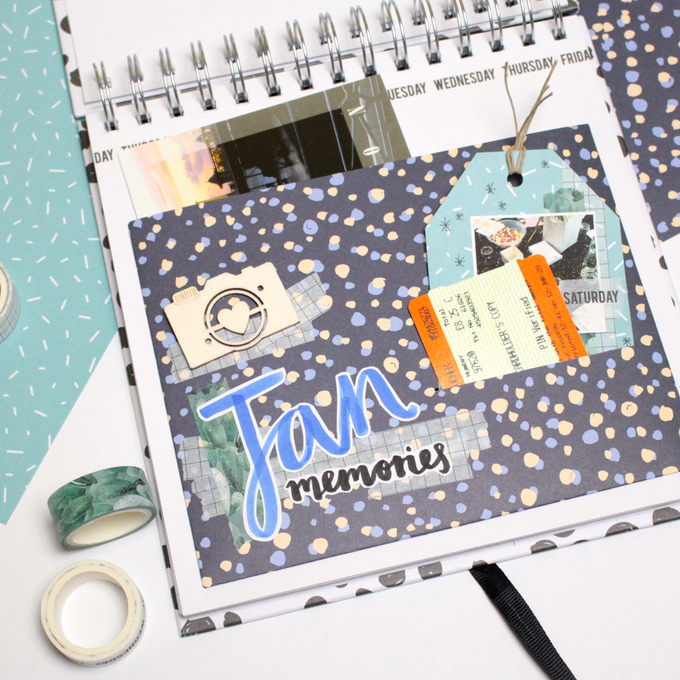
Attach the pocket to the page by applying double sided tape to the back of the flaps and sticking it down. Decorate the pocket using a similar colour scheme to the calendar page before it, and fill the pocket with mementos you've picked up during the month!
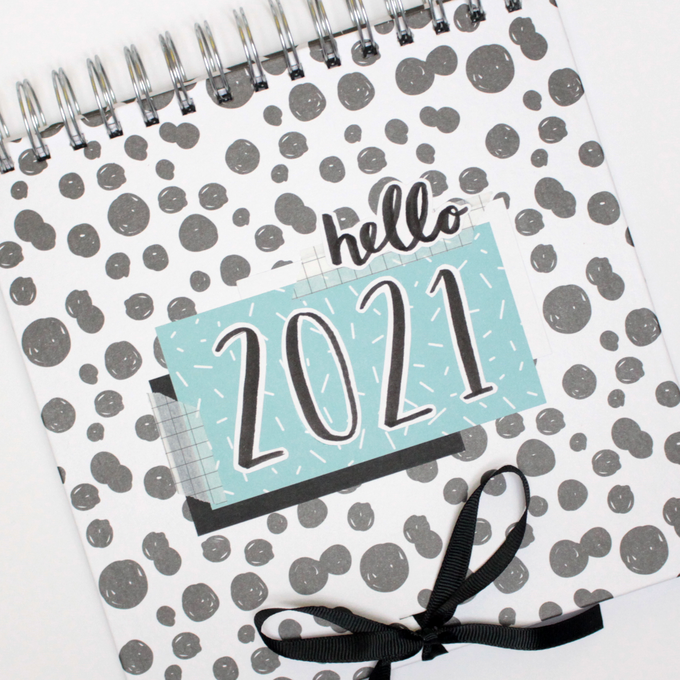
To finish the calendar album, write out the number 2021 using the brush pens, and cut the individual numbers out by hand. Choose some patterned papers and arrange them to create a base for the numbers to sit on. If the cover has a busy pattern, try to choose papers that are a little less busy to balance things out.
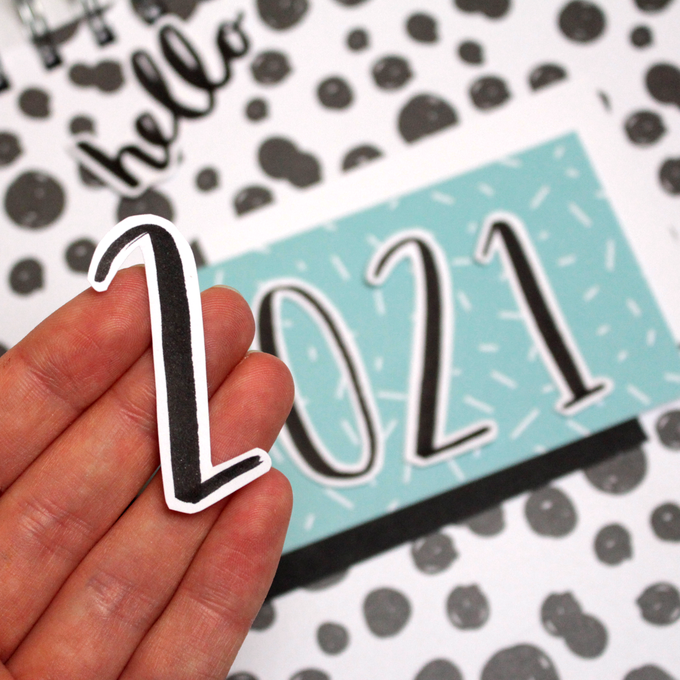
Stick the numbers and patterned paper down on the front of the scrapbook album. You could add a few other elements around this is you want. We added the word 'hello' above the 2021. You may want to add the name of the recipient, or another little motivational quote on here!
