How to Make Die Cut 'Hello Spring' Wall Art
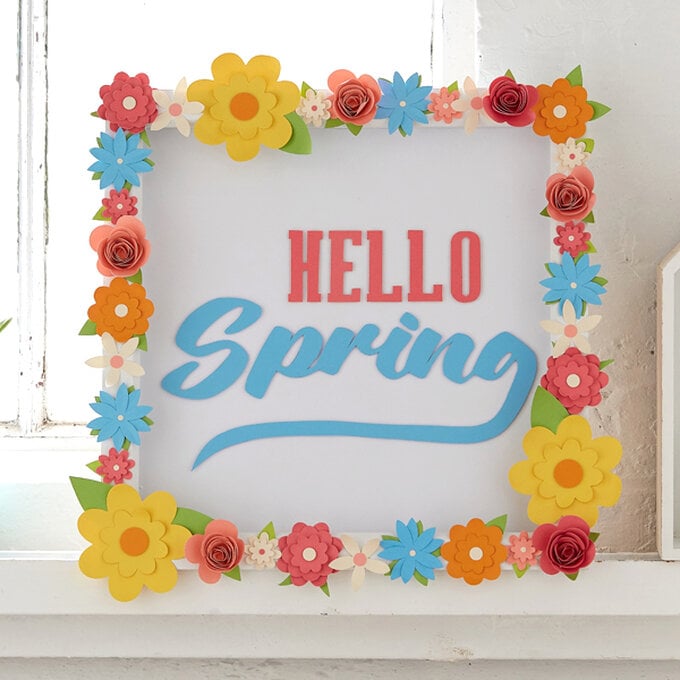
Bring some fresh artwork into your home this spring and welcome the warmer weather with a colourful 'happy spring' sign. Easy to make with a few dies, cardstock and a box frame! Just follow the directions from the below tutorial.
You will need
Subtotal
Is $ 6.49
Subtotal
Is $ 8.49
Subtotal
Is $ 165.00
Subtotal
Is $ 6.49
Subtotal
Is $ 0.49 , was $ 1.49
Subtotal
Is $ 57.00
How to make
Take the box frame and carefully remove the backing, discarding the glass. Attach the inner paper to the inside of the backing board and fix back into the frame.
Using various coloured cardstocks die cut enough flowers to fit all the way around the edge of the box frame
Lay all the flowers around the edges and when you are happy with the arrangement fix each flower in place using double sided tape and 3d foam pads
For the sentiment draw around the templates onto coloured cardstock then carefully cut out all the letters and words using a craft knife and ruler.
Fix the lettering to the centre of the sign using 3d foam pads to finish
