How to Make a Terrazzo Plant Pot with FIMO
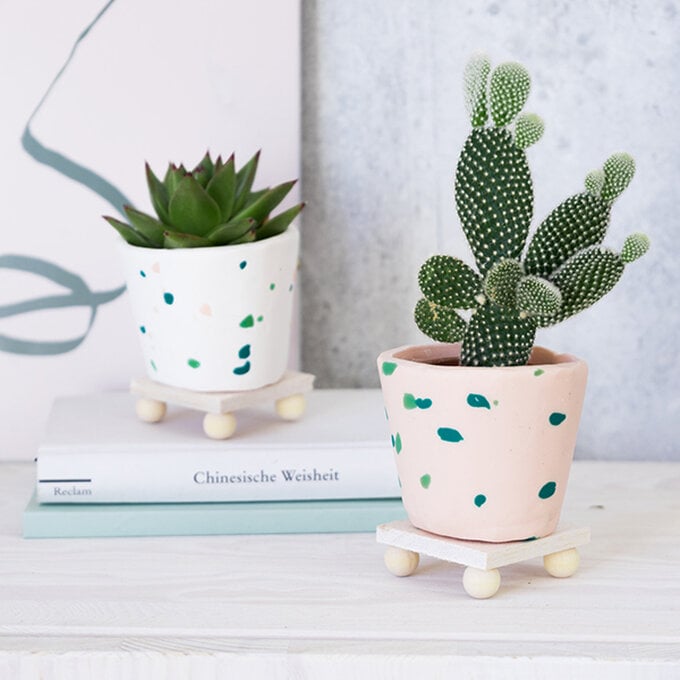
Creating a beautiful terrazzo pot for your plants has never been easier! Create your pot any size and colour you like using FIMO Modelling Clay.
Co-ordinate with your decor or make a statement with these cute plant pots. They make the perfect housewarming gift, and it can be whipped up in next to no time!
Project and instructions by Luisa @schereleimpapier for FIMO
You will need
Subtotal
Is $ 5.49
Subtotal
Is $ 5.49
Subtotal
Is $ 5.49
Subtotal
Is $ 12.00
Out of stock
You Will Need
* FIMO Modelling Clay - White, Pale Pink, Emerald and Mint
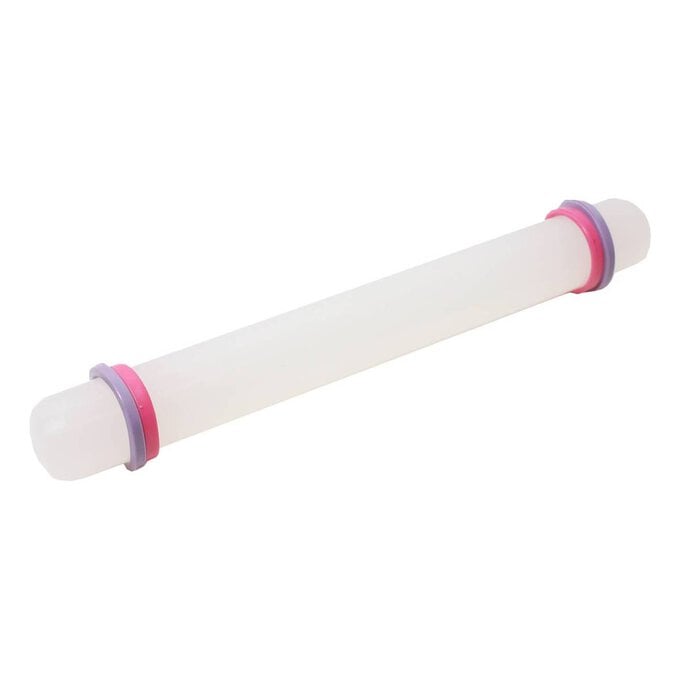
* Rolling Pin
* Knife
* Small Plastic Plant Pots
How To Make
Depending on the size of your plant pot holders, knead one to two blocks of FIMO Soft (Pale Pink) per pot until soft and roll out to a 5mm sheet using a rolling pin.
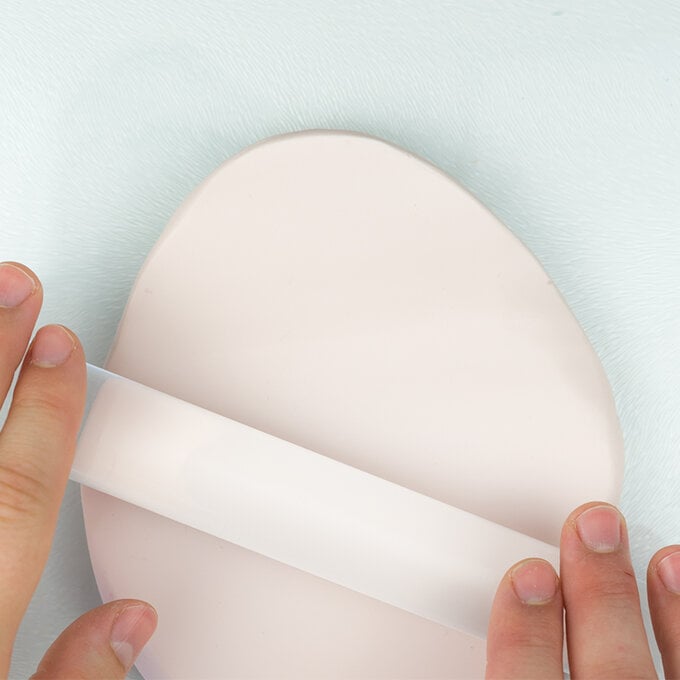
Roll out half a block each of the FIMO Soft (Emerald) and FIMO Effect (Mint) until soft and then into a sheet approximately 2-3mm thick.
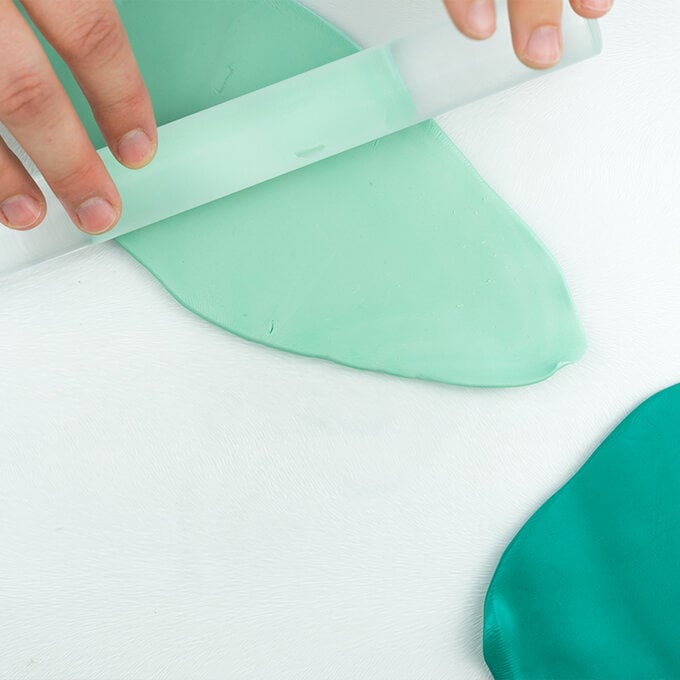
Cut part of each green sheet into small shards.
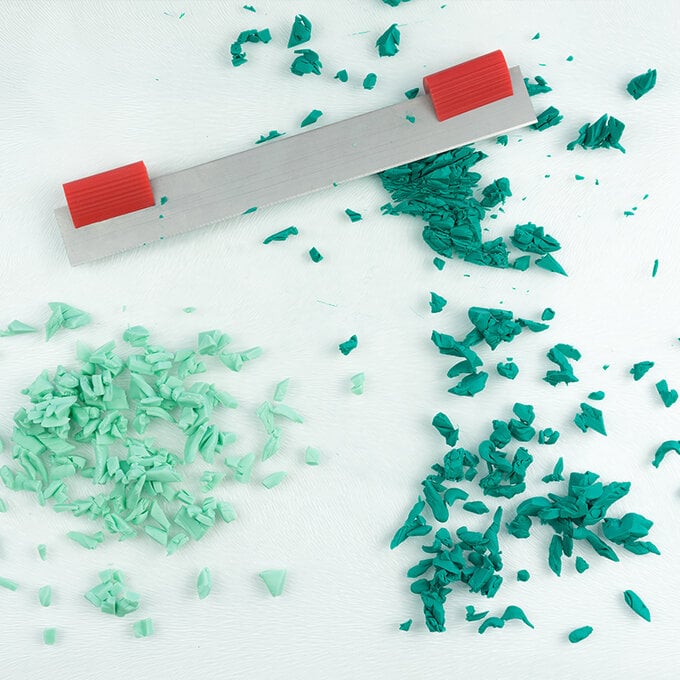
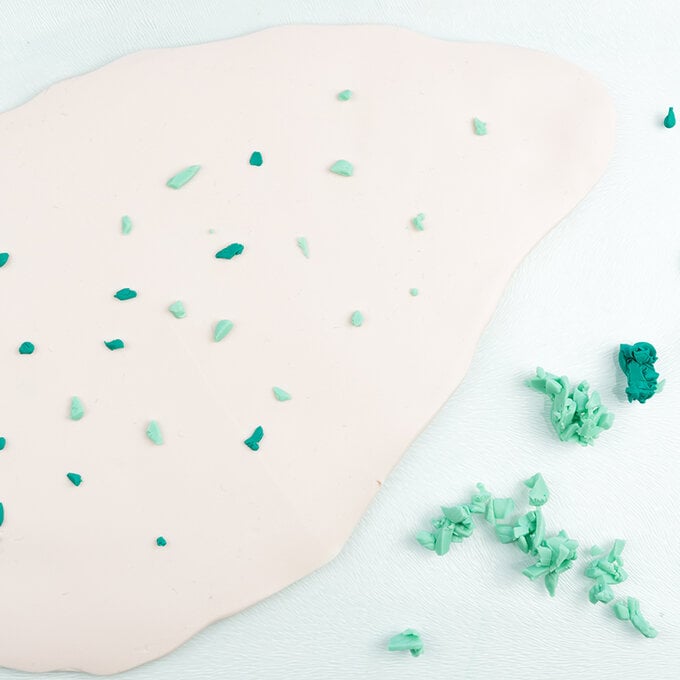
Next, place the green FIMO shards onto the base sheet to create a terrazzo effect.
Tip: Less is more, and the fragments should not be too neatly arranged.
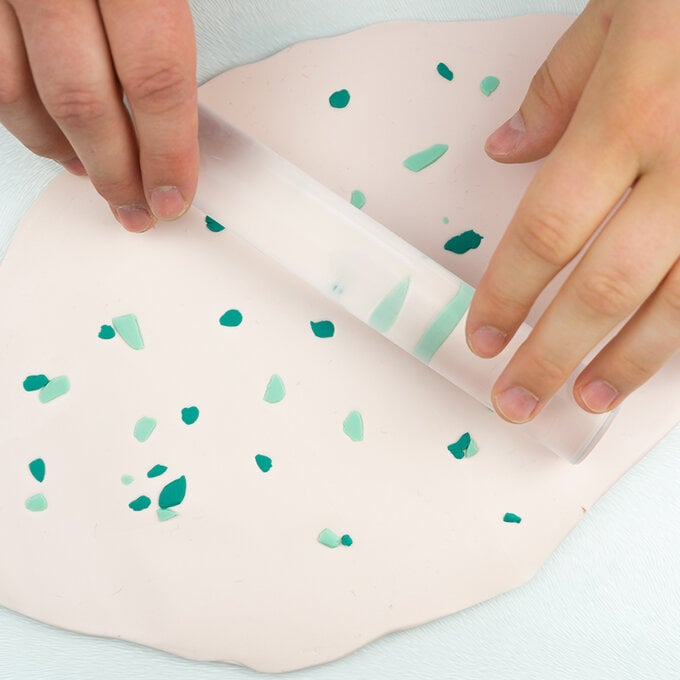
Then roll over with the rolling pin to bind the shards with the base sheet and create an even surface.
Now cut the rough shape of the plant potholder from the FIMO sheet.
Tip: Roll the plant potholder gently over the modelling clay, creating a faint impression on the clay which you can then cut round roughly.
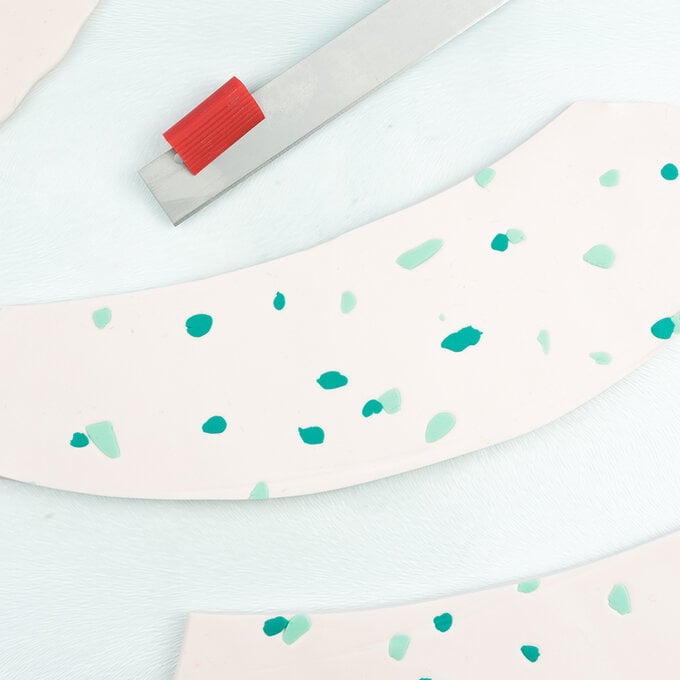
Place the trimmed strip around the pot, press down and then cut to the required length. Close the join and smooth it flat.
Tip: To avoid leaving fingerprints on the FIMO, place some baking paper over the join and smooth over it with your finger.
Remove any modelling clay that is protruding over the top of the pot. Smooth over the edges with your finger.
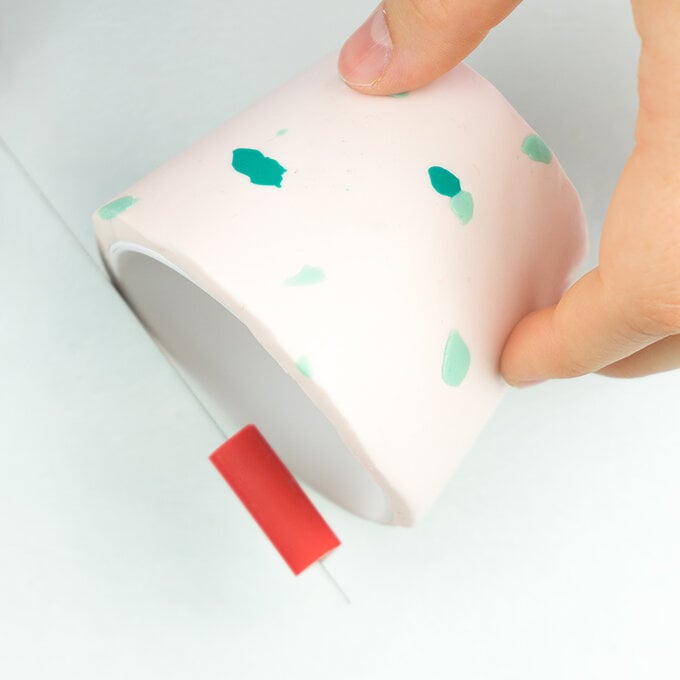
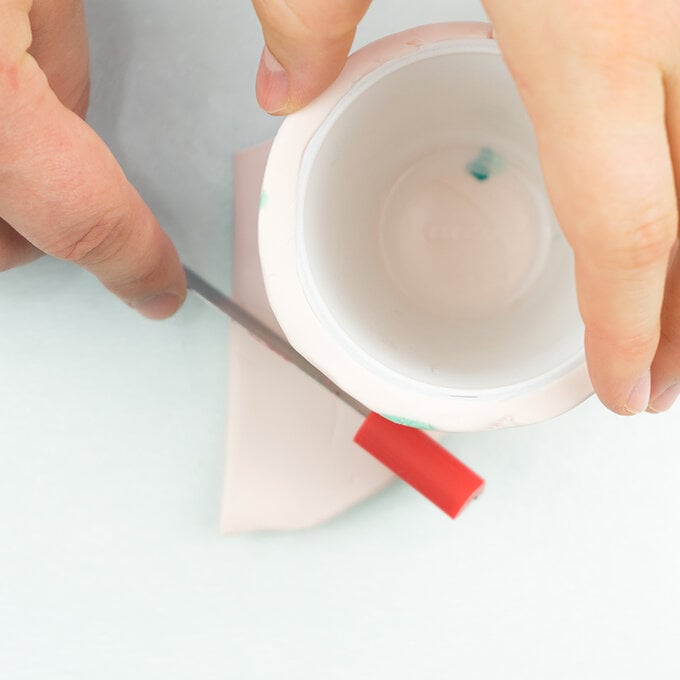
Next, place the plant potholder on the remaining piece of FIMO and cut to fit the bottom.
Join the seam between the bottom and the sides of the plant potholder by smoothing it down with your finger.
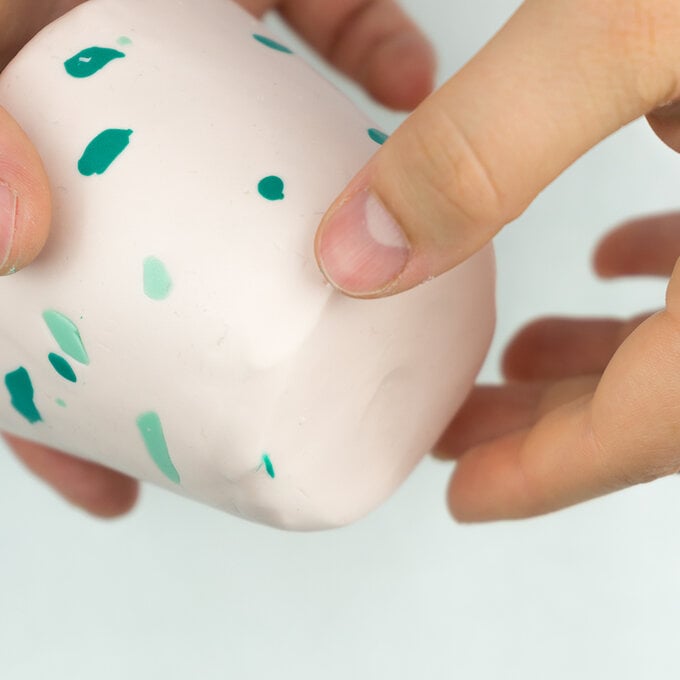
Place the plant pot in the oven to harden at 110 degrees Celsius/230 degrees Fahrenheit for 30 minutes, then leave until completely cool before adding your plant.
