How to Make a Duck Tape Gift Bag and Tags
I love using Duck Tape to jazz up my gift wrap. I learnt how to make a Duck Tape rosette last year, and I immediately set to work creating lots of rosettes for all of my Christmas gifts.
As the festive season is upon us, I've been using the pretty gold metallic tape to decorate gift bags and tags. It's really easy to do and perfect for beginner crafters too!
You will need
Subtotal
Is $ 6.49
Subtotal
Is $ 3.49
Subtotal
Is $ 6.49
Out of stock
How to make
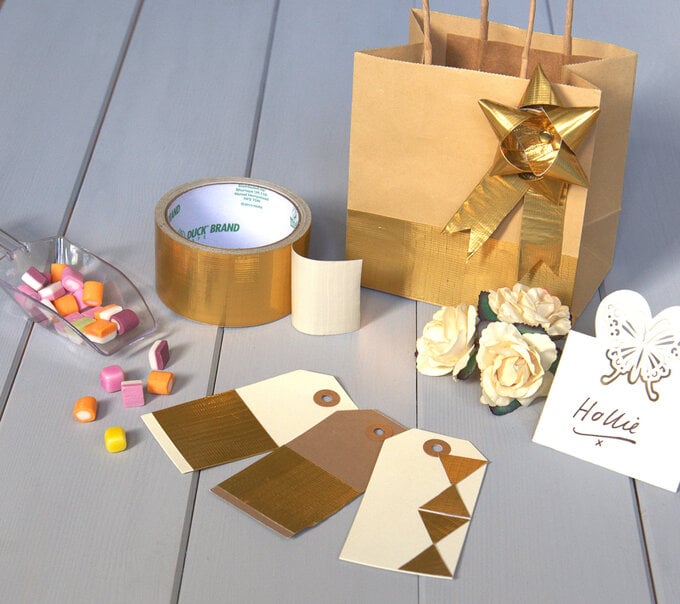
Start by decorating the tags with the Duck Tape by cutting geometric shapes from the tape and sticking onto the tag. For a simpler tag design, just run a strip of the tape along the bottom of the tag.
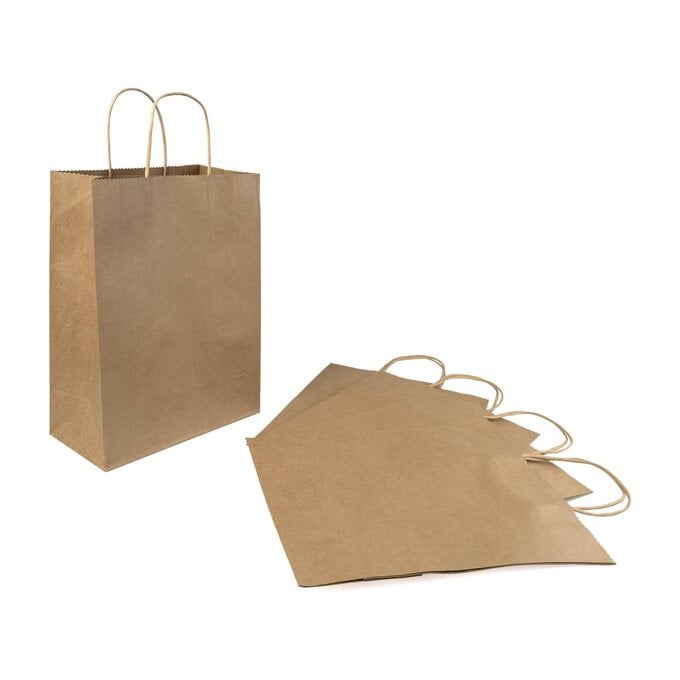
To decorate the gift bag, start by running a strip of the tape along the bottom of the bag, using sharp scissors to cut off any excess. To Make the bow, begin by cutting an 8 centimetre strip of the tape and then folding it in half vertically (along the long edge), repeat this process to make two more strips.
With one of the strips held in your hand, with your thumb positioned centrally on the strip, turn the end clockwise until it overlaps the centre point slightly. Hold in place and then repeat the process with the bottom half of the tape. Pierce the overlapping centre sections of tape with a split pin, and slid down onto the pin.
Repeat this process with the remaining strips, making sure to pierce each with the split pin and then slide it on.
To create the rosette tails cut a length of Duck Tape 20 centimetres in length, again folding in half horizontally (along the long edge). Then cut a 'v' shape in each end. Fold the length of tape in half, and pierce the central overlapping sections with the split pin.
To secure, open up the split pin legs, so that they lie flat on the back of your rosette.
Attach the rosette on your gift bag using tacky glue or some strong double sided tape.
