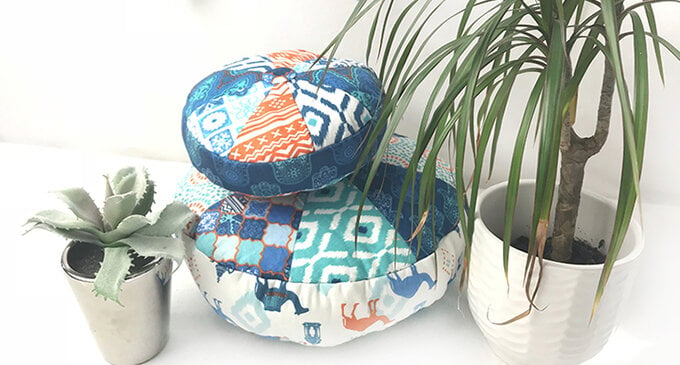
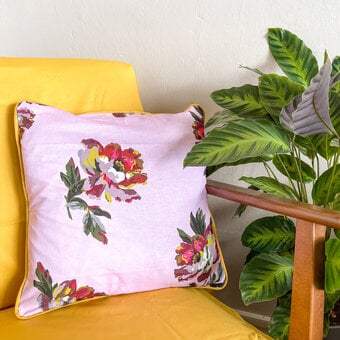
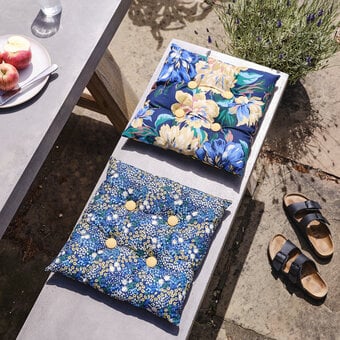
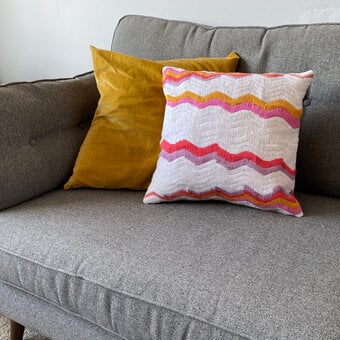
How to Make a Sprocket Cushion
Sprocket cushions are great for home interiors and create that added touch to your garden or conservatory. The new fat quarter fabric range at Hobbycraft provide the perfect way to brighten the up any room- with Moroccan-inspired and jungle prints being bang on trend for spring and summer 2018! Read on to find out how to make your own cushion using these fabrics. Tutorial below by Lesley Foster at Hook, Stitch, Sew for The Craft Cotton Company 2016
You will need
Subtotal
Is $ 6.49
Subtotal
Is $ 4.49
Subtotal
Is $ 14.00
How to make
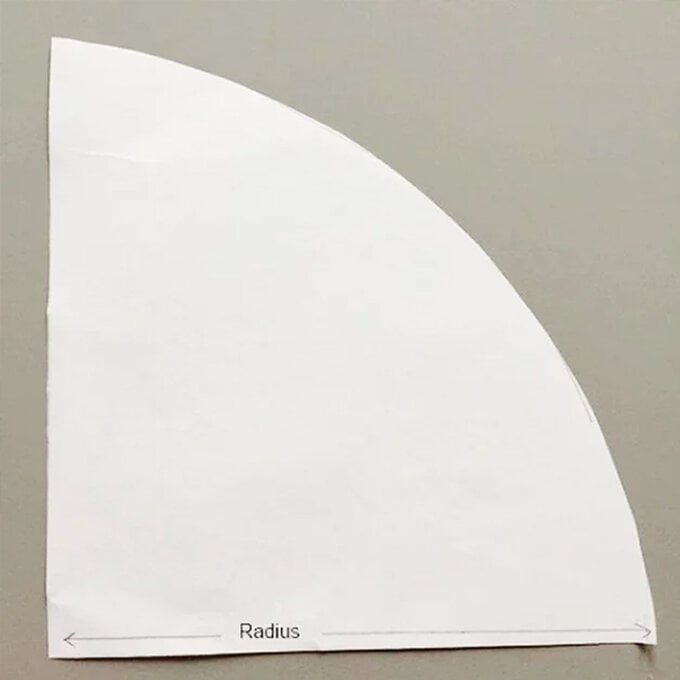
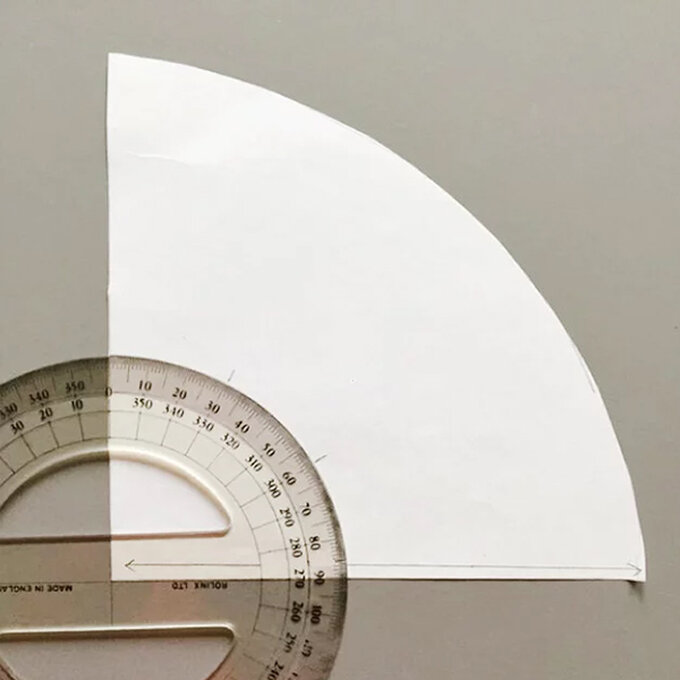
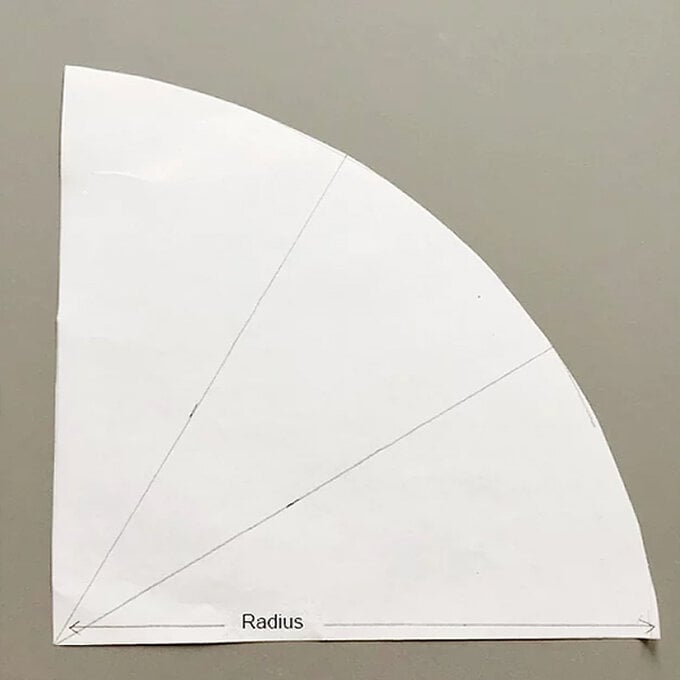
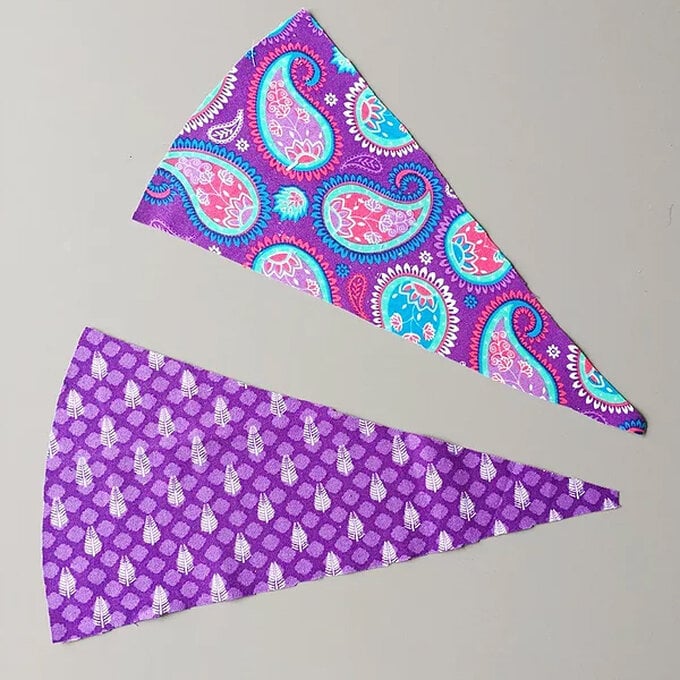
On a piece of paper draw a curved line using a pencil and string (or compass) so you have a quarter of a circle. This represents a quarter of the size of the final cushion, with the radius you choose (length of the string) being the length of the sprocket pieces. I used a piece of string 30 cm long for the large, 20 cm long for the medium, and 10 cm for the small.
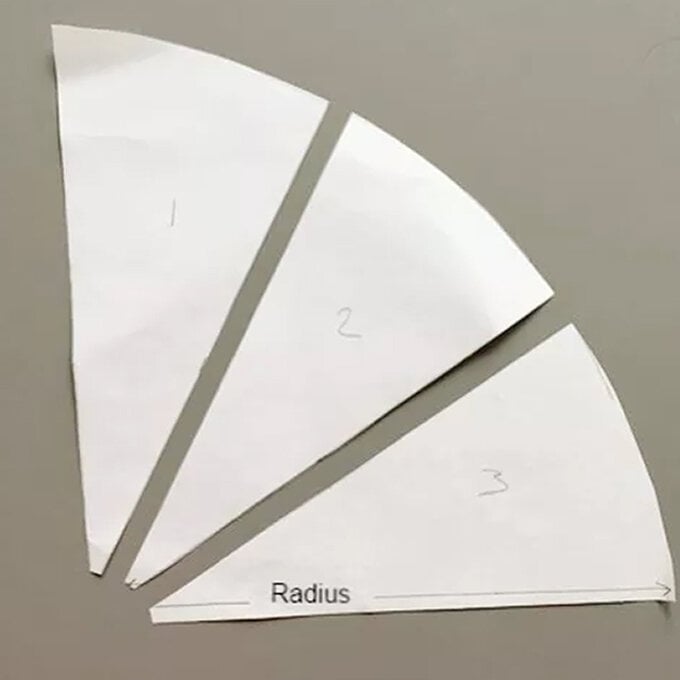
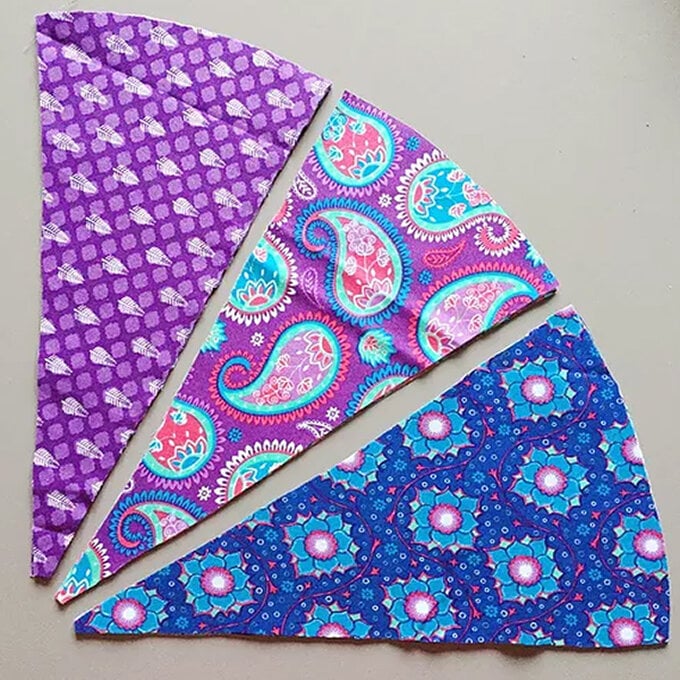
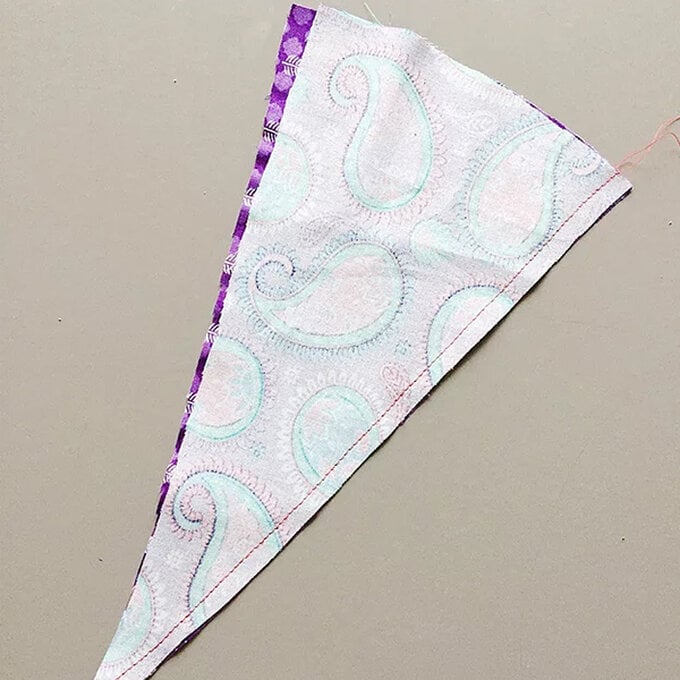
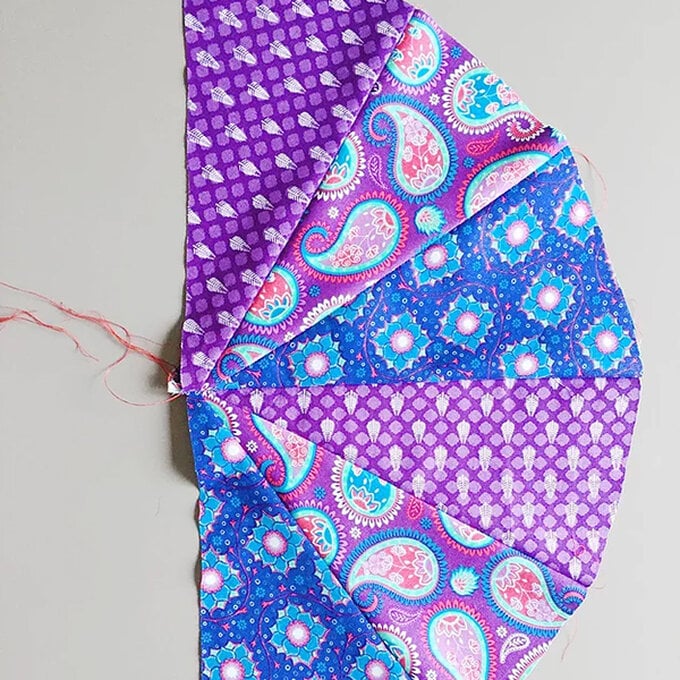
Then take a piece of section 3 fabric and place right sides together against the section 2 fabric piece (with the section 2 piece at the bottom and the section 3 piece on top) and sew down the right hand side.
You will then have one quarter of the pillow completed. Repeat for the other 3 sets so you have 4 separate quarters.
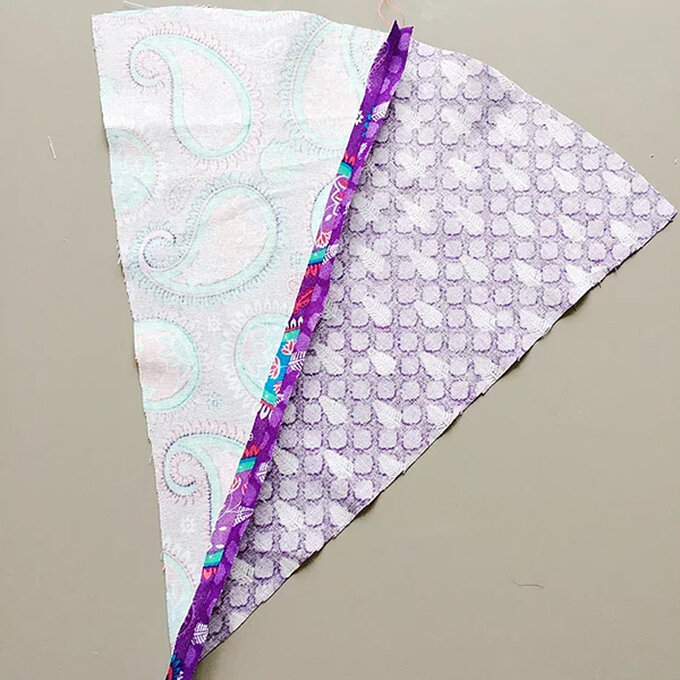
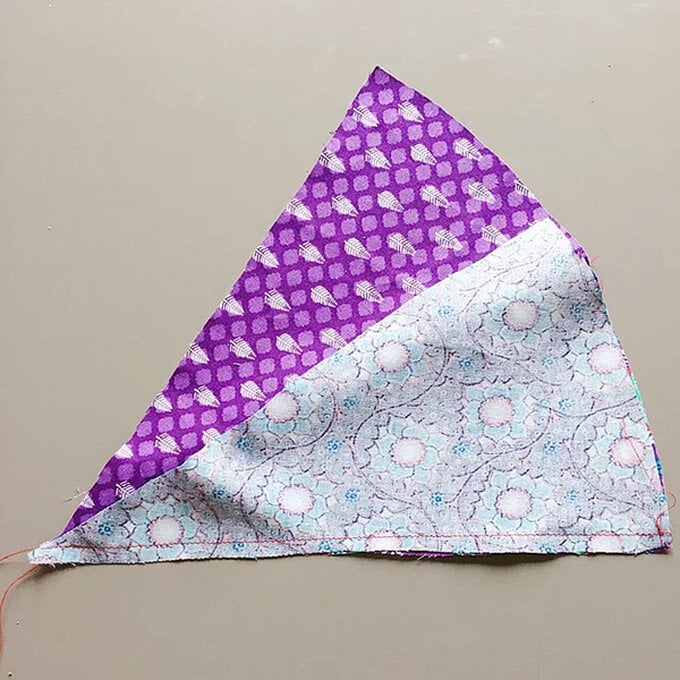
Now sew the two halves together placing right sides together and sewing along the top. Repeat this to make the back.
Lay the back and front on top of each other and trim to make them the same size around the edges, if required
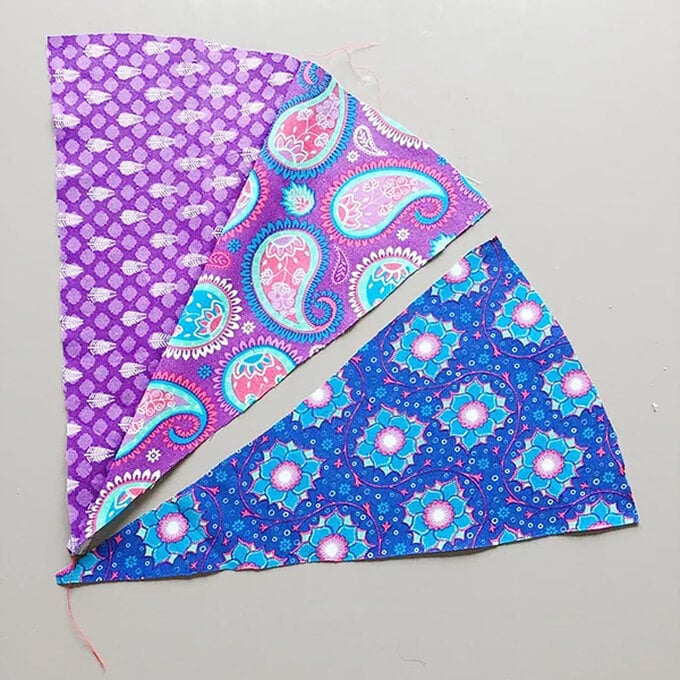
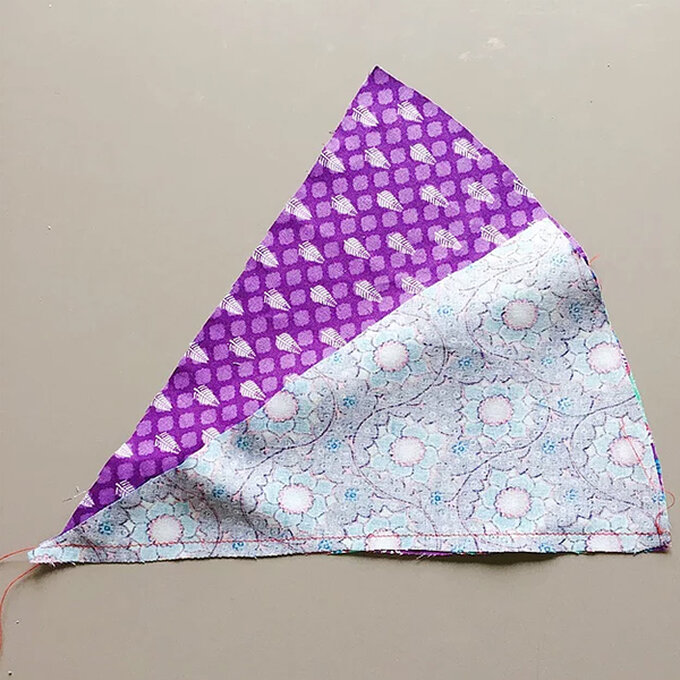
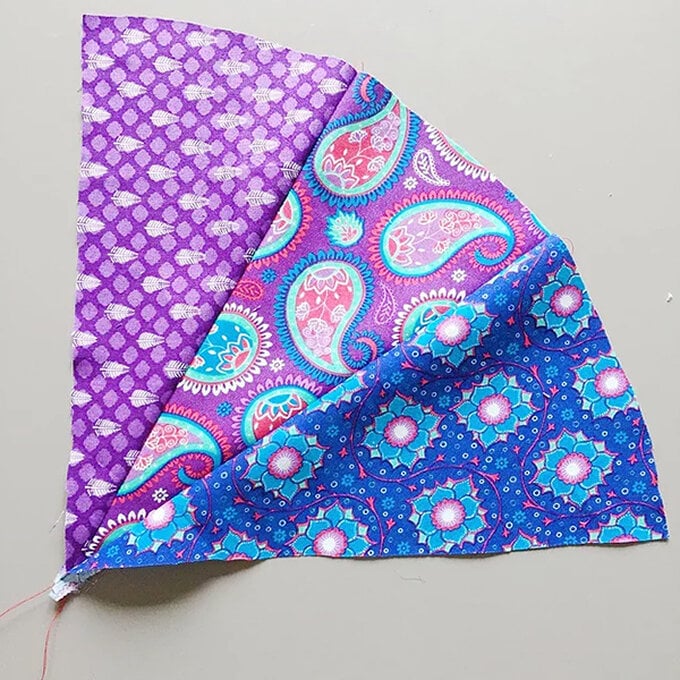
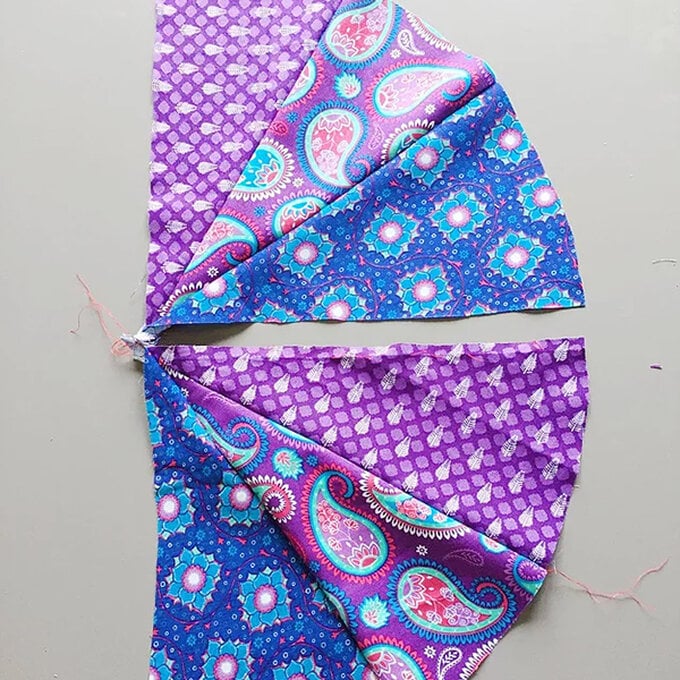
You will need a strip of fabric to form the pillow edge. The width of the strip I used are as follows: large – 12 cm wide, medium – 9 cm wide, and the small – 5 cm wide). To get the correct length of fabric, take a piece of string and run it around the edge of the pillow front piece, add on 1 cm seam allowance for sewing the two ends together to make a circle.
The lengths of the strips I used are as follows: Large approx. 170 cm, medium approx. 104 cm, and small approx. 42 cm. Lay out the length of fabric around the edge of the front piece once cut just to check the length – if it's too long trim it down slightly making sure you keep a 1 cm seam allowance.
Fold the strip in half along the short edge with right sides facing and sew along the top edge to make a circle.
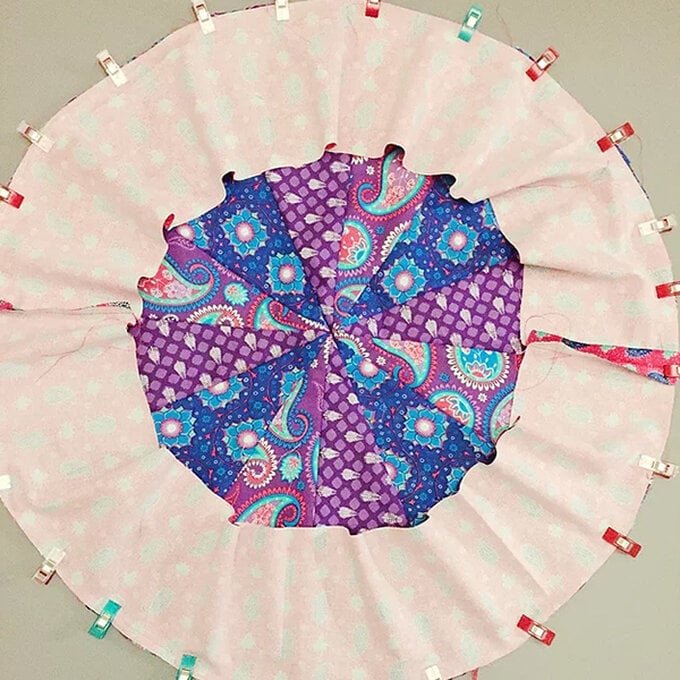
Pin the side fabric piece and front fabric piece right sides together and sew around the edge. Repeat for the back, remembering to leave a 10 cm gap for turning and stuffing. You can match up the back and front sprocket lines if you choose, but I have opted to keep them unmatched.
Turn the pillow out and stuff the pillow through the gap, slip stitch to close.
Take one of your buttons and sew to the front of the pillow in the centre point where the sprocket points meet.
Do not fasten off but pull the needle through to the back of the pillow, make a few stitches to hold and then sew on the second button.
Fasten off
