How to Decorate a Mermaid Cake
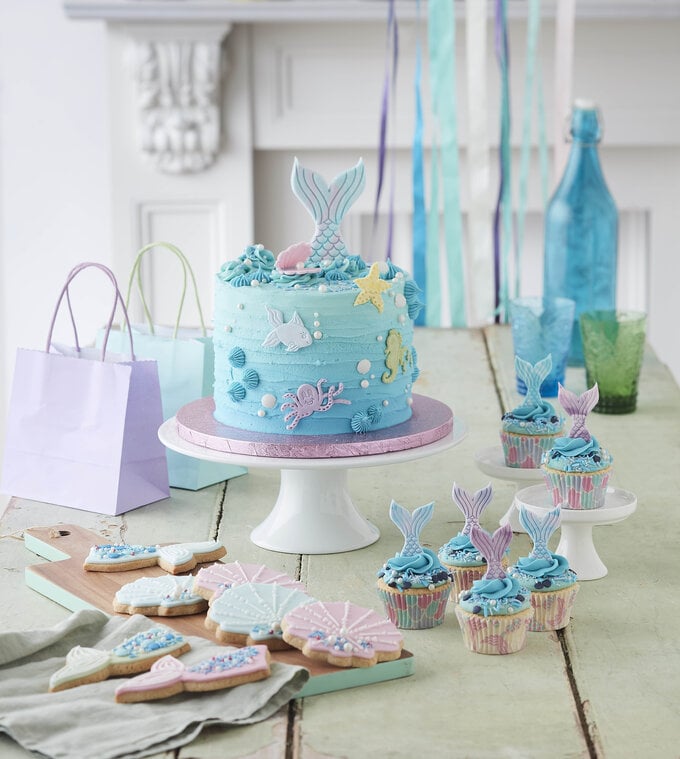
Celebrate your special occasion with a magical mermaid theme! This spectacular mermaid cake features stunning underwater-inspired details that truly set the scene for your biggest celebrations, combining colourful ombre effects and on-trend pastels. It's the perfect choice for a show-stopping birthday cake.
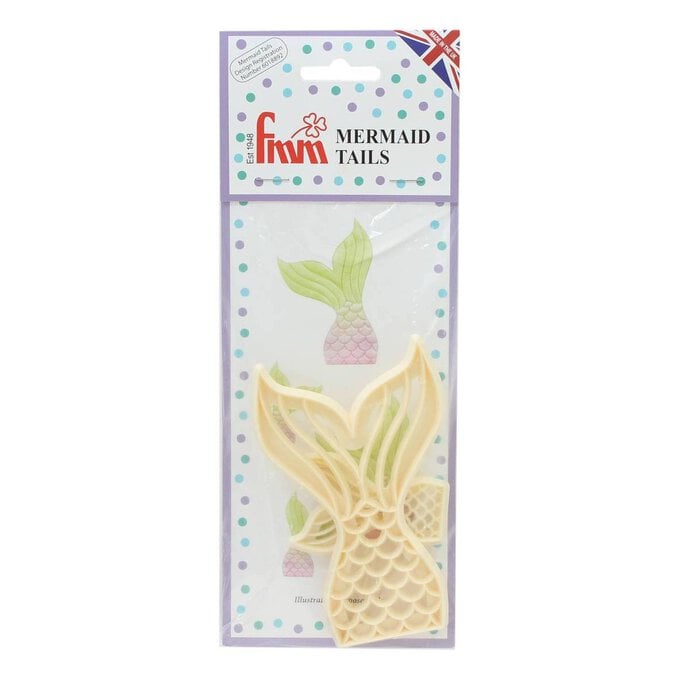
The cutter sets used to help decorate this mermaid marvel create detailed, professional-looking results every time.
Project and instructions by Lucy Bruns
You will need
Subtotal
Is $ 21.00
Subtotal
Is $ 15.00
Subtotal
Is $ 0.49 , was $ 1.49
Subtotal
Is $ 6.49
Out of stock
How to make
You will also need:
* 7” cake of your choice, crumb-coated and on a 10” board
* Renshaw White Modelling Paste
* Renshaw Icing in Yellow, Pink, Green & Blue
* Betty Crocker Vanilla Buttercream Icing
* Disposable Decorating Icing Bags
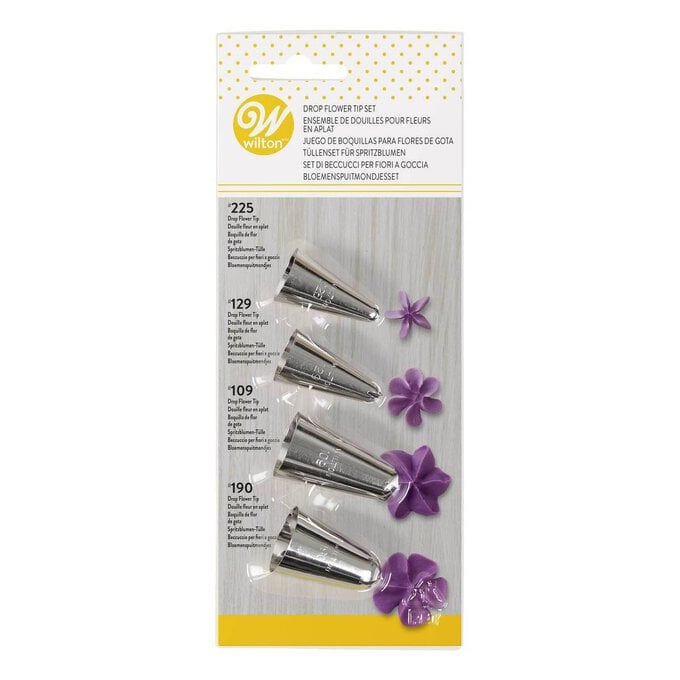
* Wilton No.32 Open Star Decorating Tip
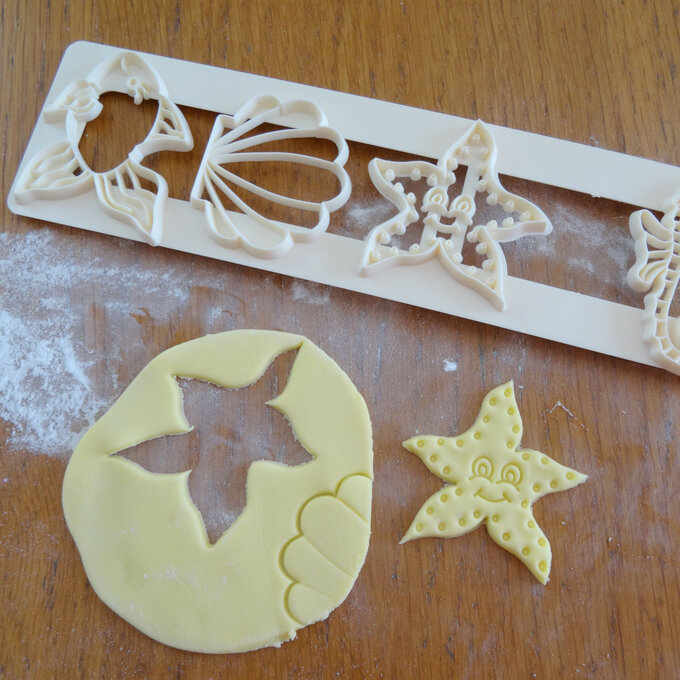
Take a small amount of the modelling paste and roll out thinly, approximately 2mm thick, and leave to dry for a few minutes.
Press the Under the Sea cutter into the icing and slide it around on your work surface to make a clean cut. Flip the cutter over and remove the excess icing.
Gently rub the back of the shape to make sure all the detail is embossed and then flex the cutter to release the shape.
Cut one of every shape and two of the shells. Leave all of the icing shapes to dry on a flat surface.
Top tip: To make pastel shades of the modelling paste, add in more white modelling paste.
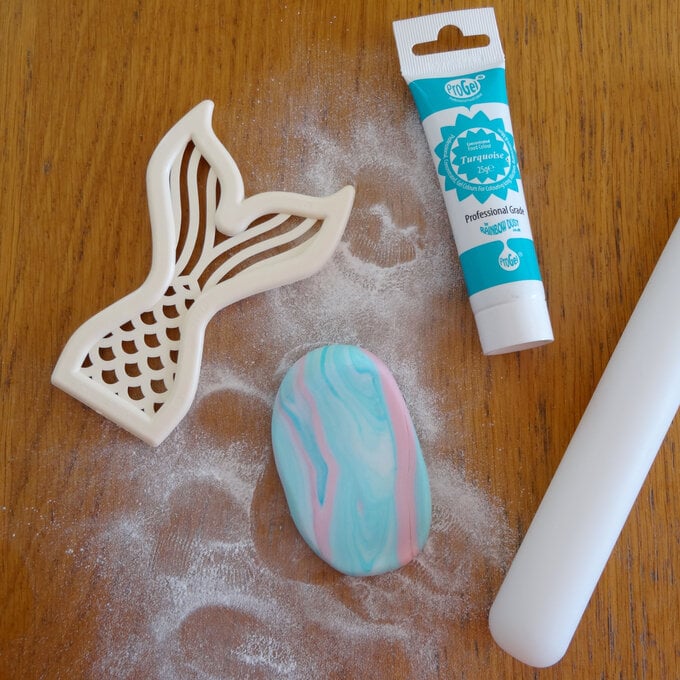
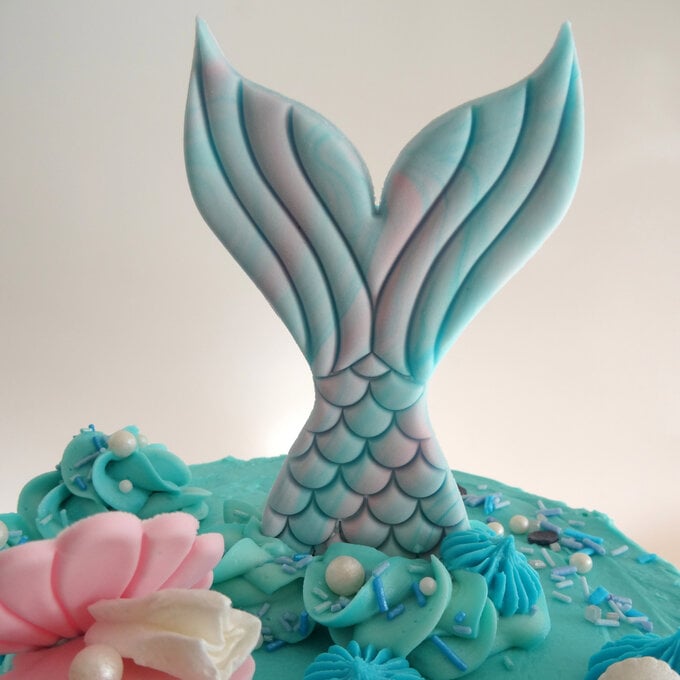
To make the mermaid tail, take a strawberry-sized ball of pink modelling paste and a golf ball-sized ball of white modelling paste.
Add a drop or two of turquoise food colouring to the white modelling paste and knead it in a few times to make it marbled. Add the pink ball and knead it all together a few times until the pink is marbled in with the blue.
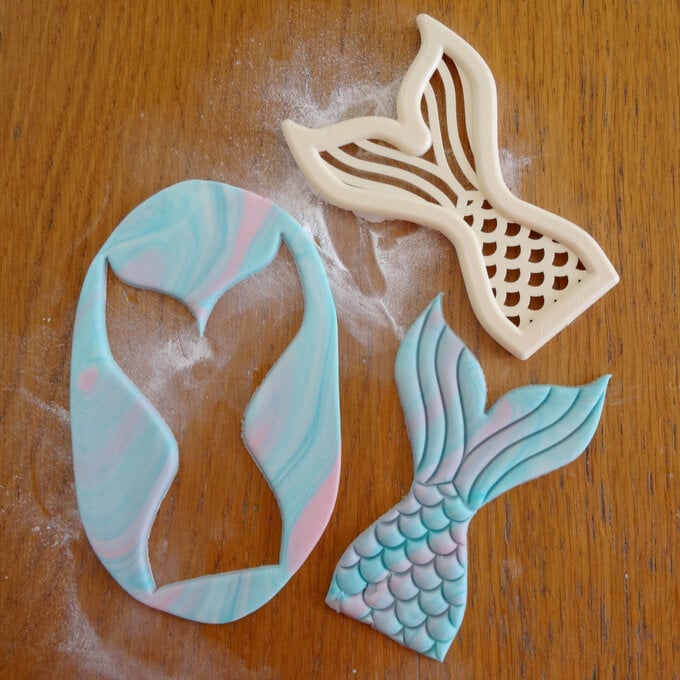
Roll the modelling paste out approximately 3mm thick and cut out two tail shapes. Use a little water to stick the two tails together back-to-back and leave it to dry, preferably overnight.
Top tip: All of your icing shapes can be made ahead of time and stored in an airtight container until you are ready to decorate your cake.
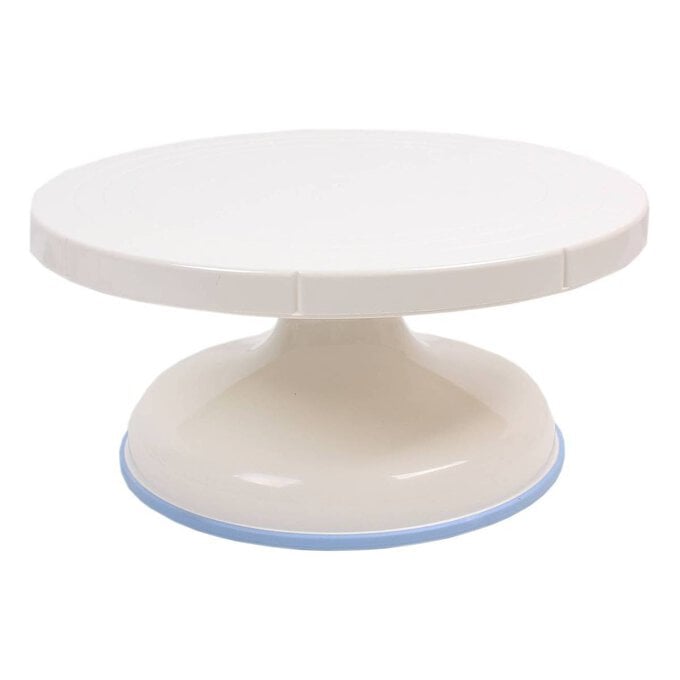
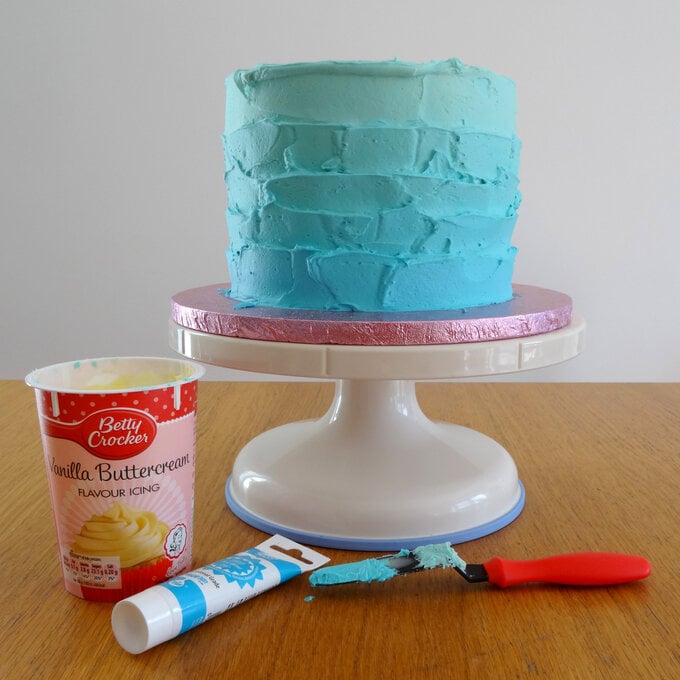
Place your cake on a turntable.
Put the vanilla buttercream into a bowl and add a few drops of Ice Blue food colouring to make a pale aqua shade. Use a small palette knife to cover the top of the cake and the top ¼ of the side of the cake with a thick layer of buttercream.
Put another couple of drops of blue food colouring in the remaining buttercream in the bowl to make a slightly darker shade.
Apply a layer of the buttercream to the next ¼ down the side of the cake. Repeat twice more, colouring the buttercream a shade or two darker each time to achieve an ombre effect.
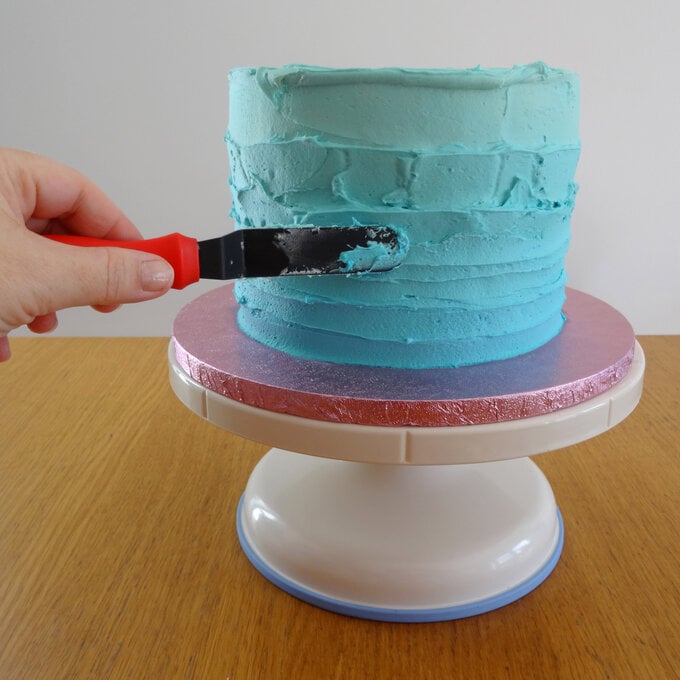
Hold the palette knife at a right angle to the side of the cake and spin the turntable with the other hand.
Starting from the bottom lightly drag the knife through the buttercream to make a continuous dip in the sides of the cake. Remove the knife when you reach the top.
To do the top of the cake, hold the knife at the outside edge and move the knife slowly inwards whilst turning the turntable with the other hand to make a continuous circle to the centre.
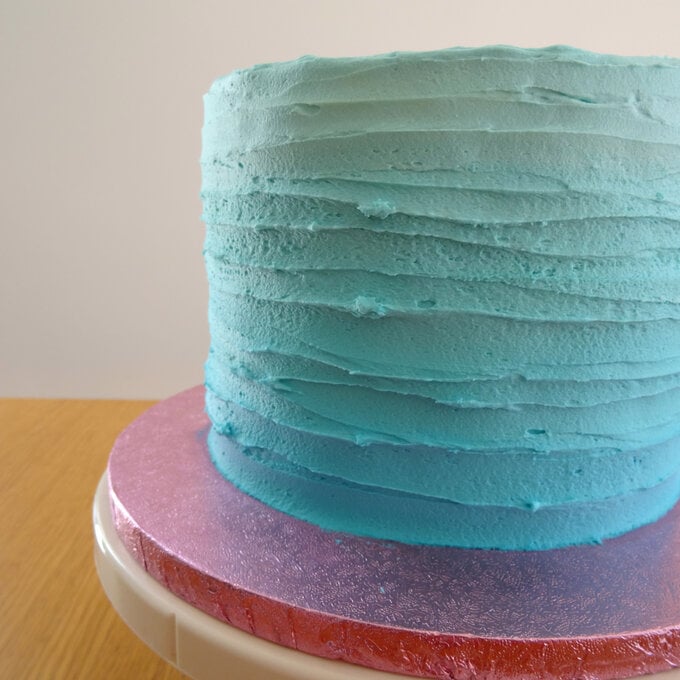
Decorate your cake with the dried icing shapes and add the Mermaid Sprinkletti for added detail. Use a piping bag fitted with an open star nozzle to pipe buttercream details.
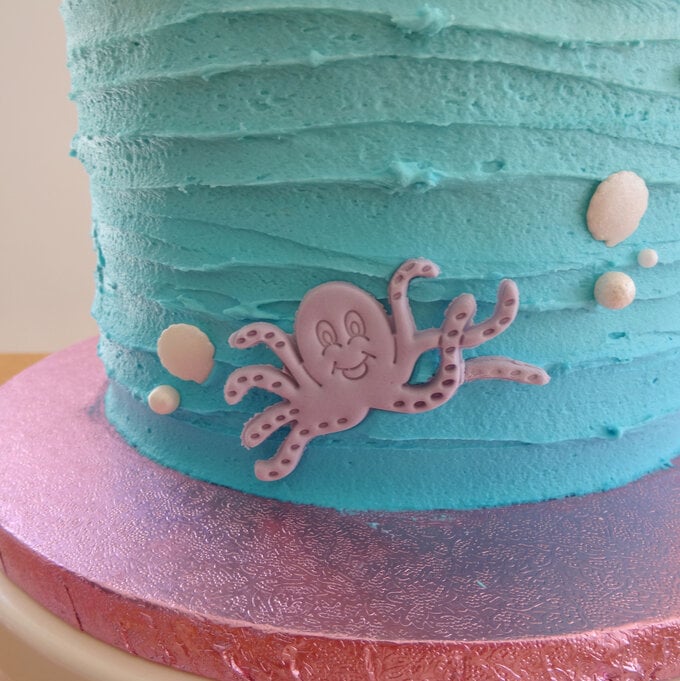
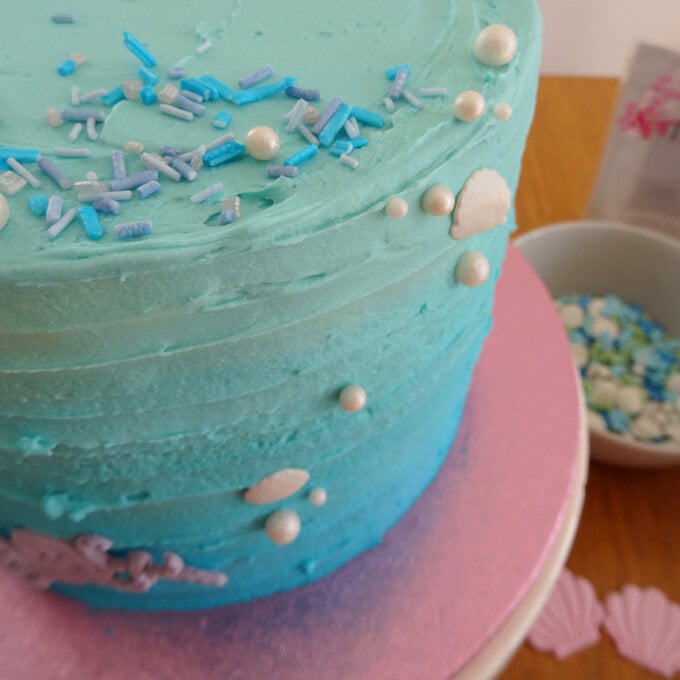
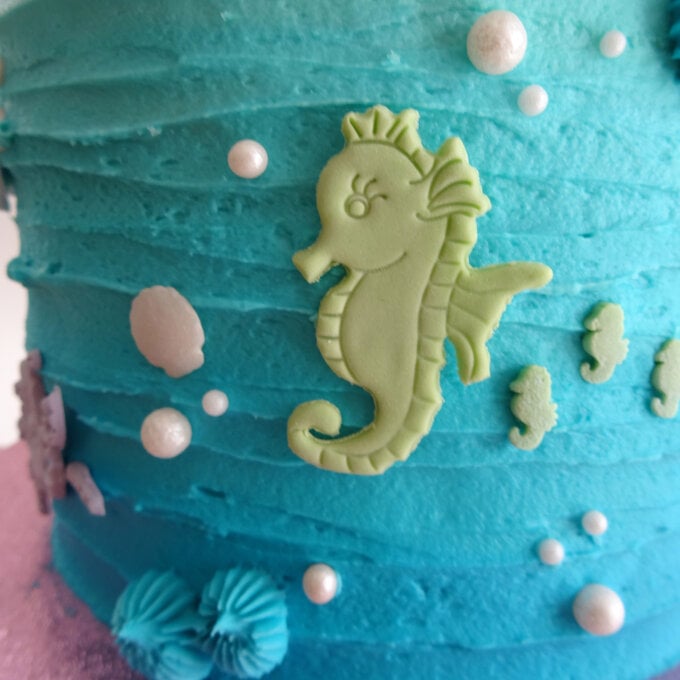
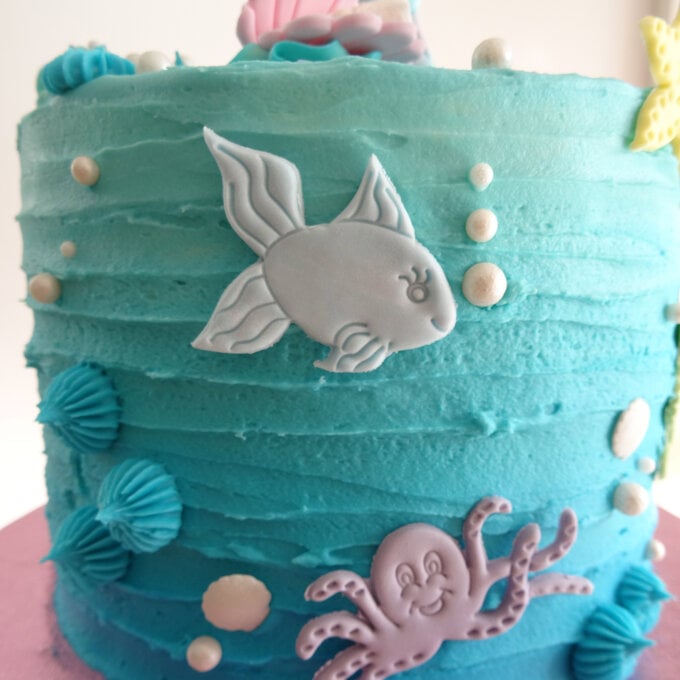
Pipe a few buttercream swirls on the top of the cake with the 2D nozzle and insert the mermaid tail into one of these.
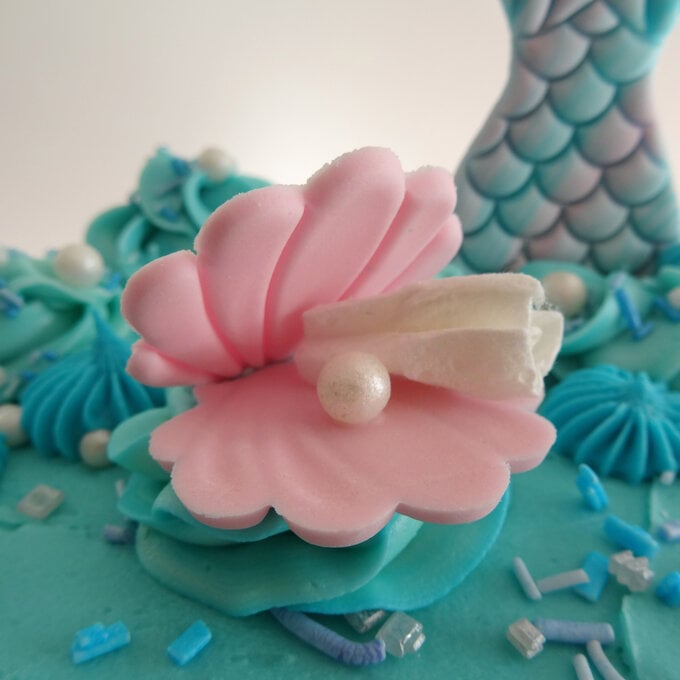
Top tip: Use a couple of cocktail sticks behind the mermaid tail to support it if needed. On another buttercream swirl, create a clam shell using the two shell shapes with a large pearl sprinkle inside. Use a piece of kitchen roll to hold the clam shell open until the buttercream has set hard.
Once everything has set, it's time for the cake to take pride of place at your party!
