How to Make a Gravity Cake
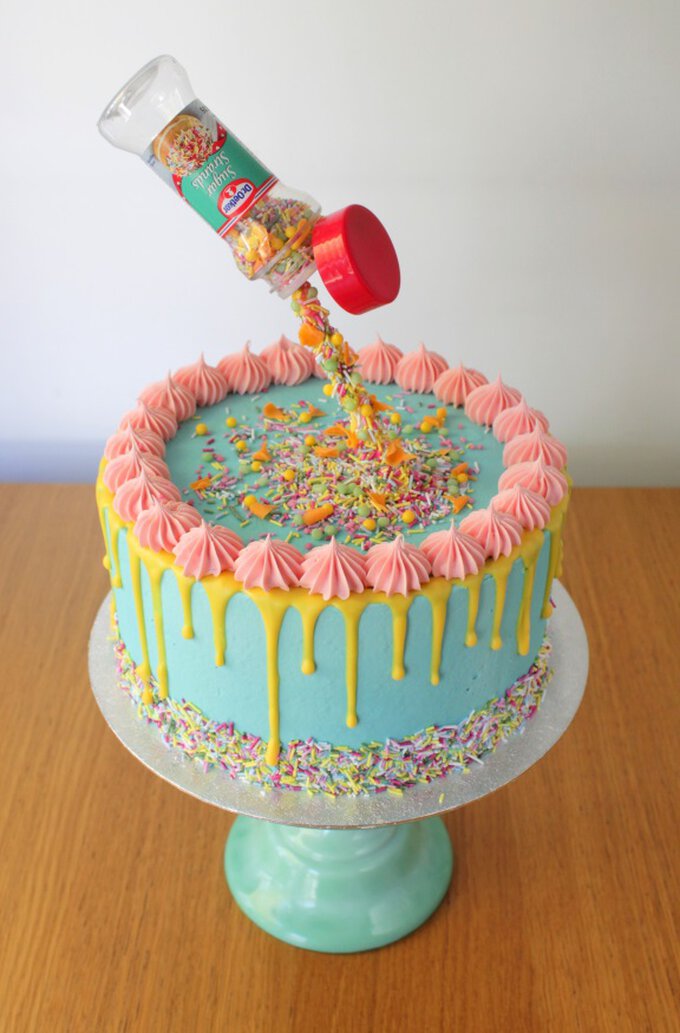
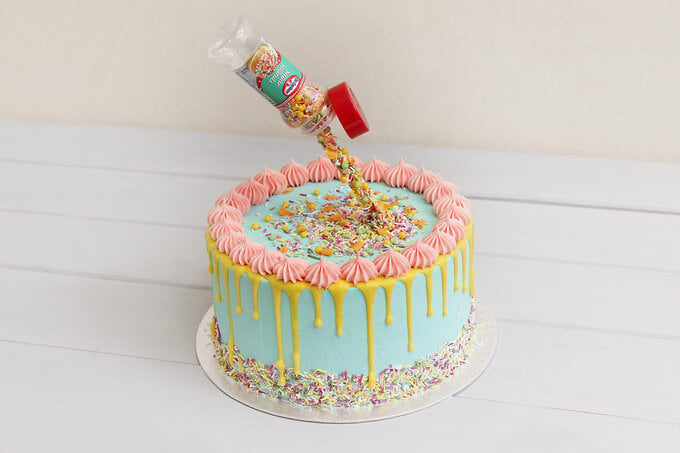
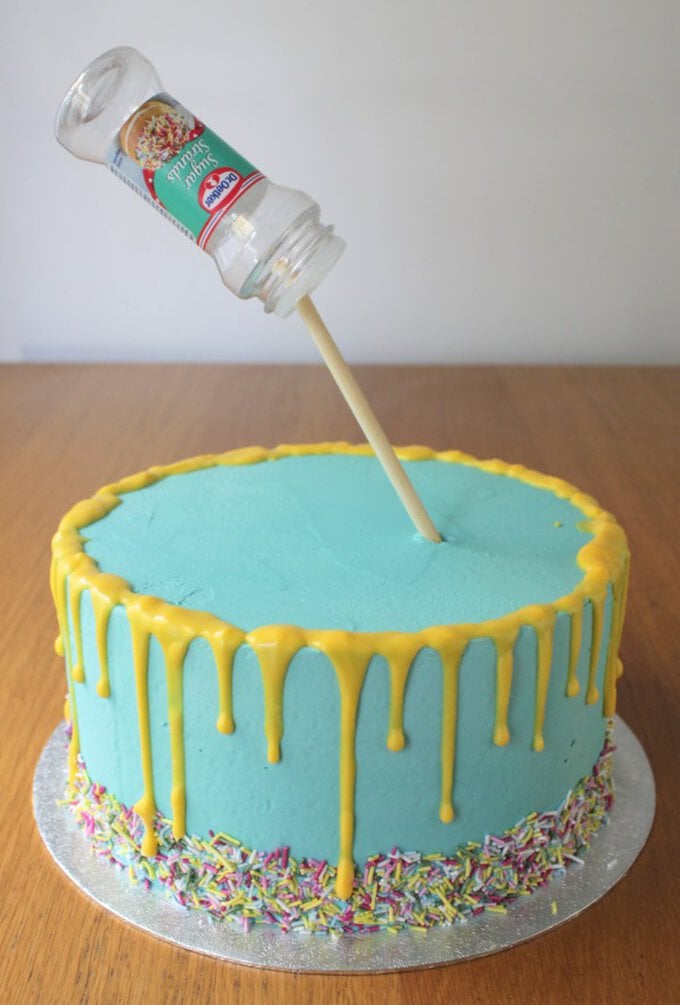
Learn how to make one of the hottest trends in baking right now - a gravity cake. This one is unbelievably easy and yet looks so impressive, it's bound to be a hit as a birthday showstopper! Best of all, you don't need a special gravity cake making kit for this project, just one bamboo dowel!
You will need
Subtotal
Is $ 7.49
Subtotal
Is $ 4.49
Subtotal
Is $ 4.49
Subtotal
Is $ 3.49 , was $ 4.49
Subtotal
Is $ 5.49
Subtotal
Is $ 7.49
Subtotal
Is $ 8.49
Subtotal
Is $ 12.00
How to make
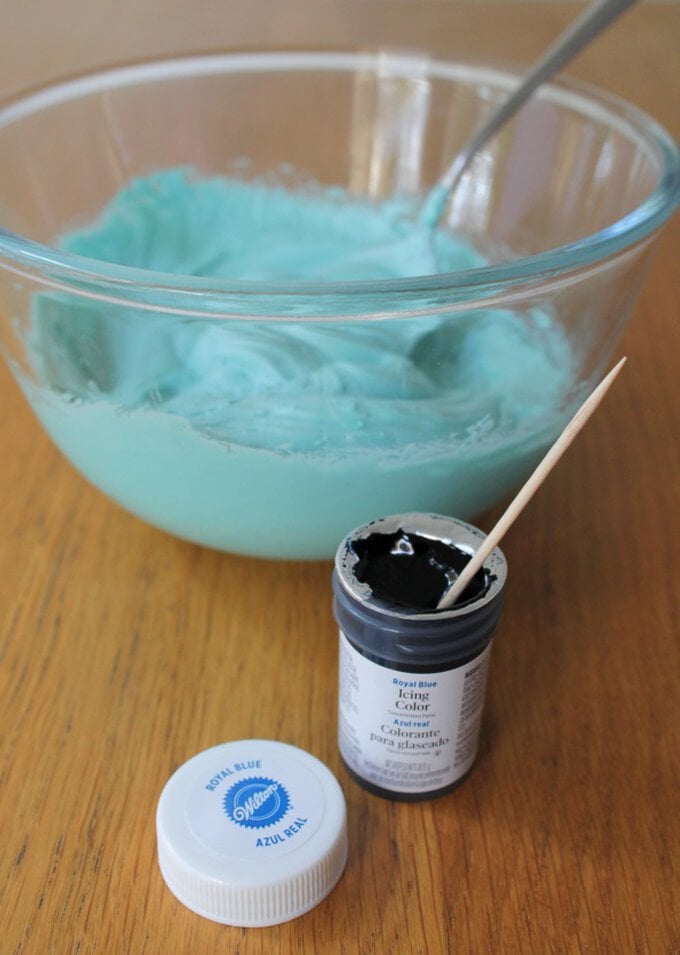
Colour 300 grams of the buttercream with the blue food colour – use a cocktail stick to add a little at a time.
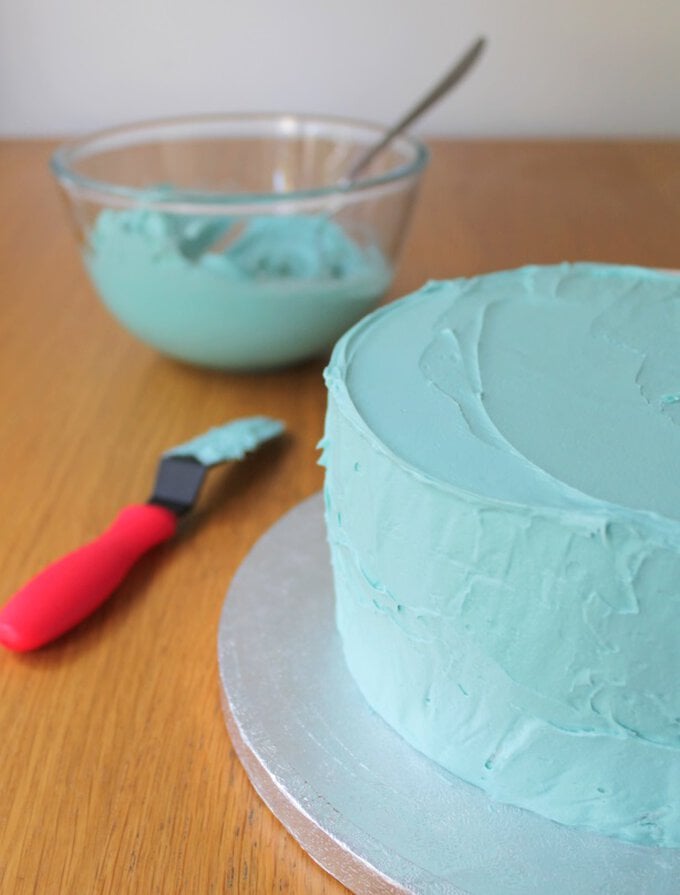
Cover the top and sides of your cake with the buttercream and smooth it as much as possible – I sat my cake on a turntable and used the PME Arts And Crafts Plain Edge Side Scraper to remove the excess and get a smooth finish (not shown).
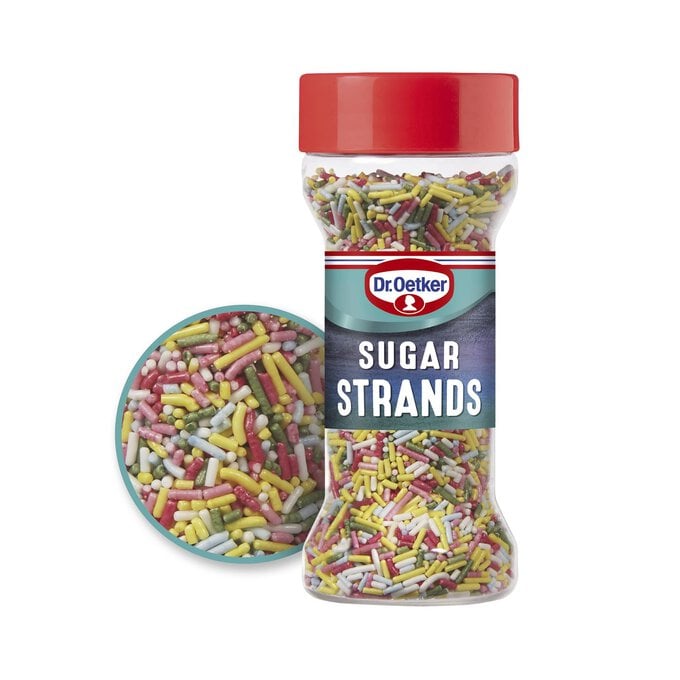
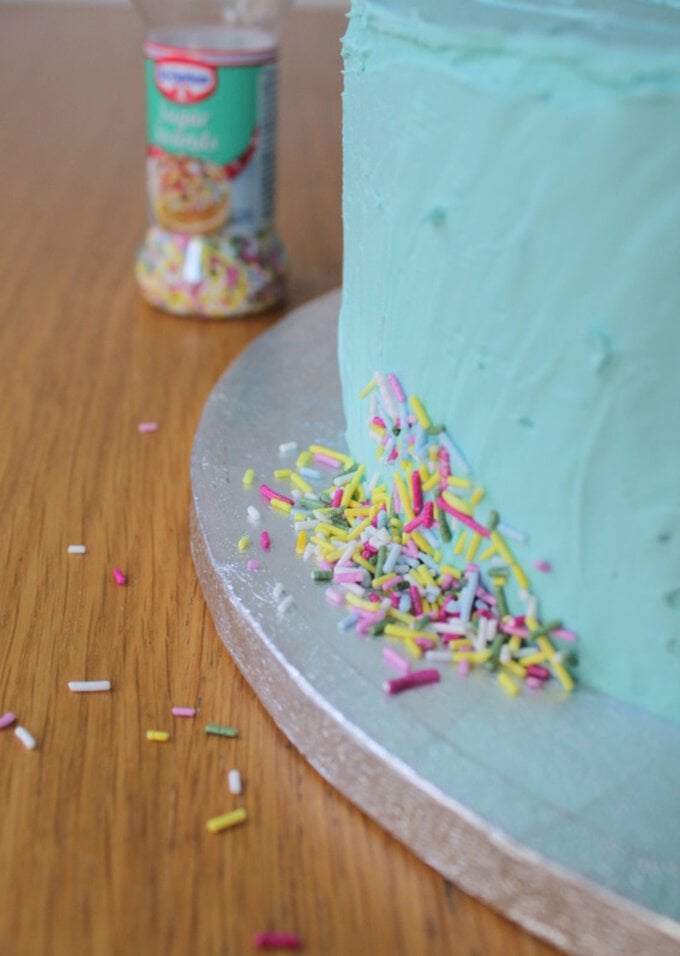
Whilst the buttercream is still sticky add Dr Oetker sugar strands all around the base of the cake. Leave the cake for at least two hours for the buttercream to crust and harden.
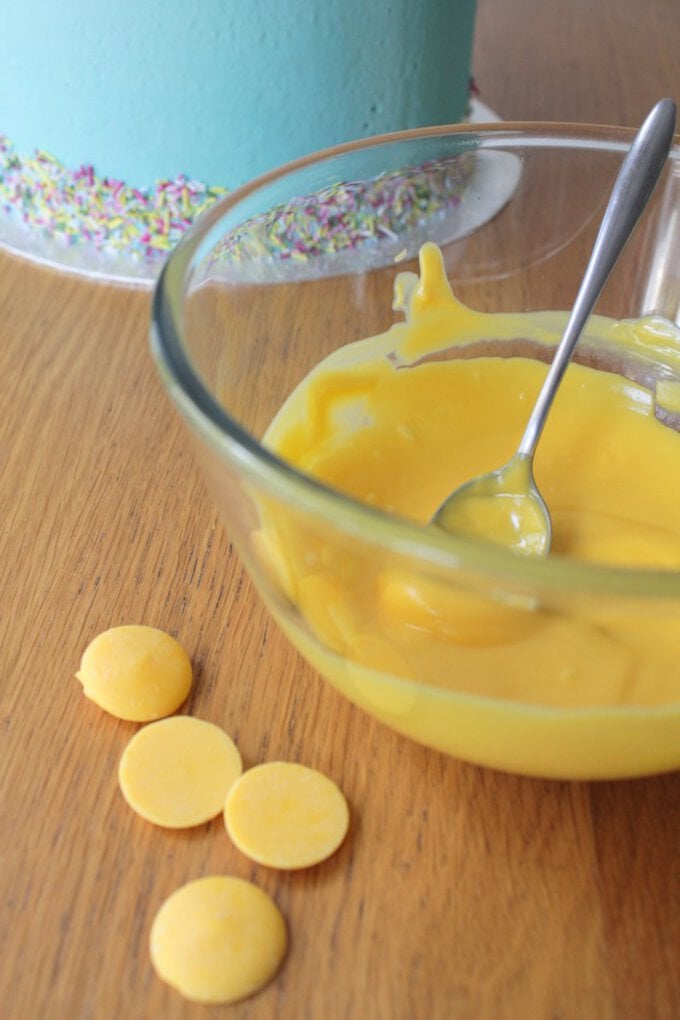
Melt 200 grams of the yellow Candy Melts (I used a microwave) and stir in a little vegetable oil until a thick but runny consistency is achieved (you may not need all four tablespoons).
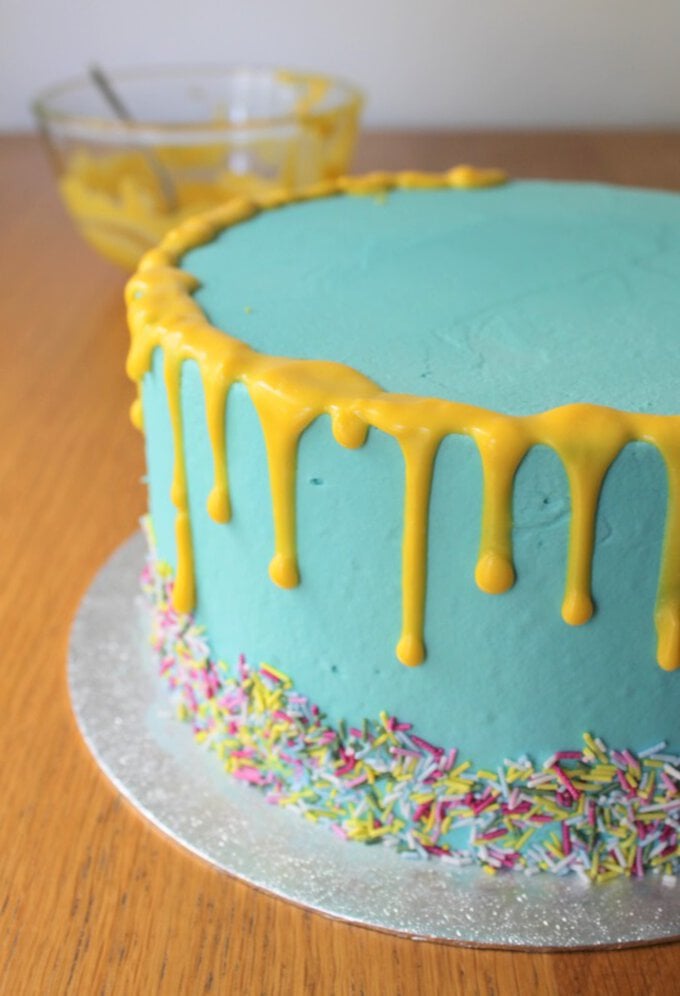
Use a teaspoon to add dribbles of the Candy Melts down the sides of the cake – do this all the way around the top edge. Leave to set.
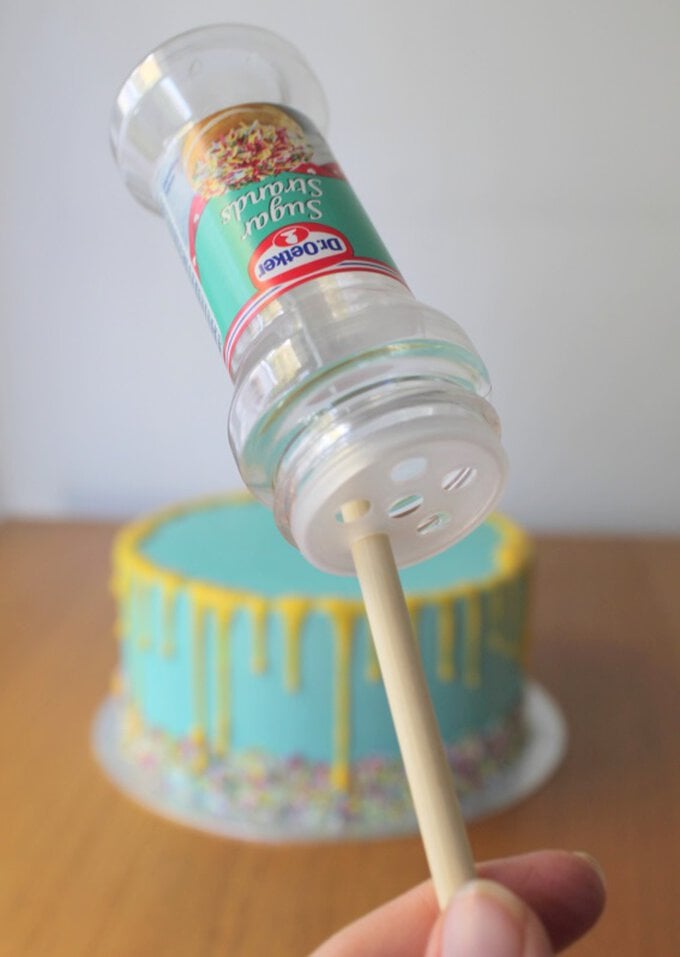
Take the bamboo dowel and insert it into one of the holes at the top of the empty sugar strands pot.
Insert the other end of the dowel into your cake at an angle. You can trim the dowel if it is too long – use a sharp kitchen knife to score a line in the dowel and snap the dowel at the cut – (insert the cut end into the pot rather than the cake). When you're happy with the positioning, make a pencil mark where the dowel meets the pot and remove the pot.
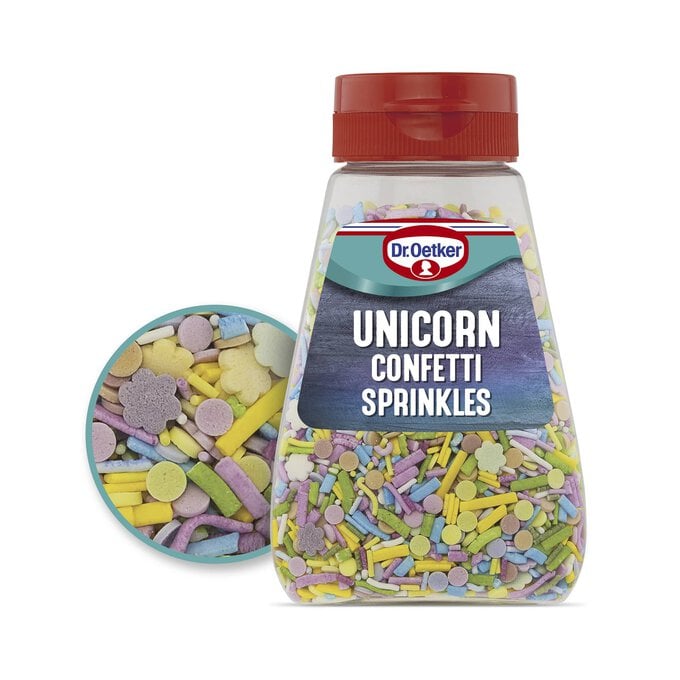
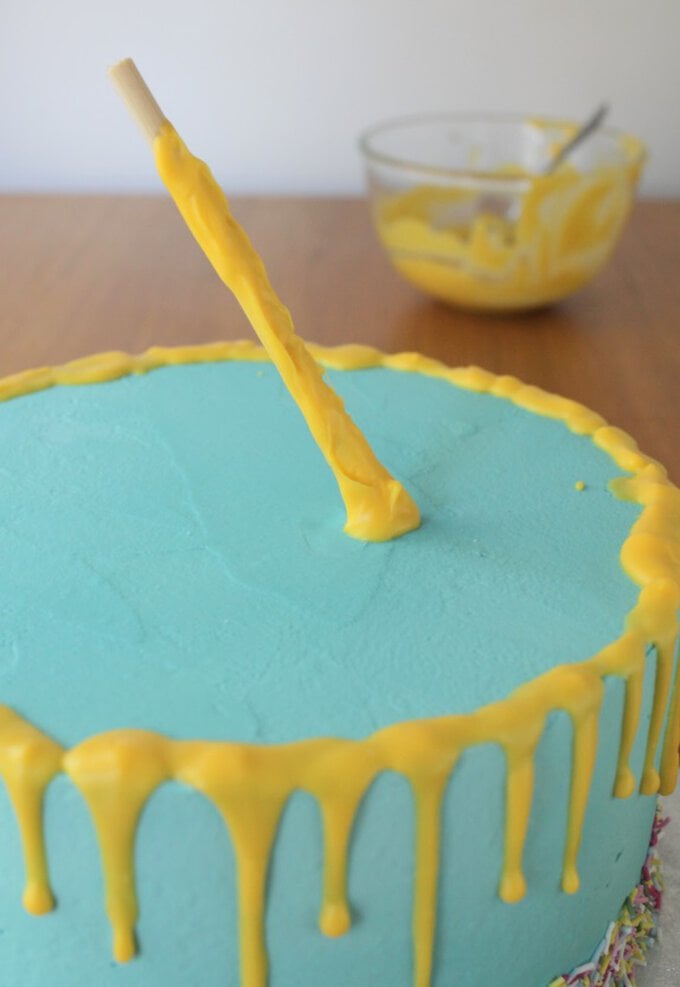
Cover the dowel with melted Candy Melts (apart from the very end which will be inserted into the pot) and cover with various sprinkles of your choice – try to make it wider and thicker at the base of the dowel where it meets the cake to make it look more realistic.
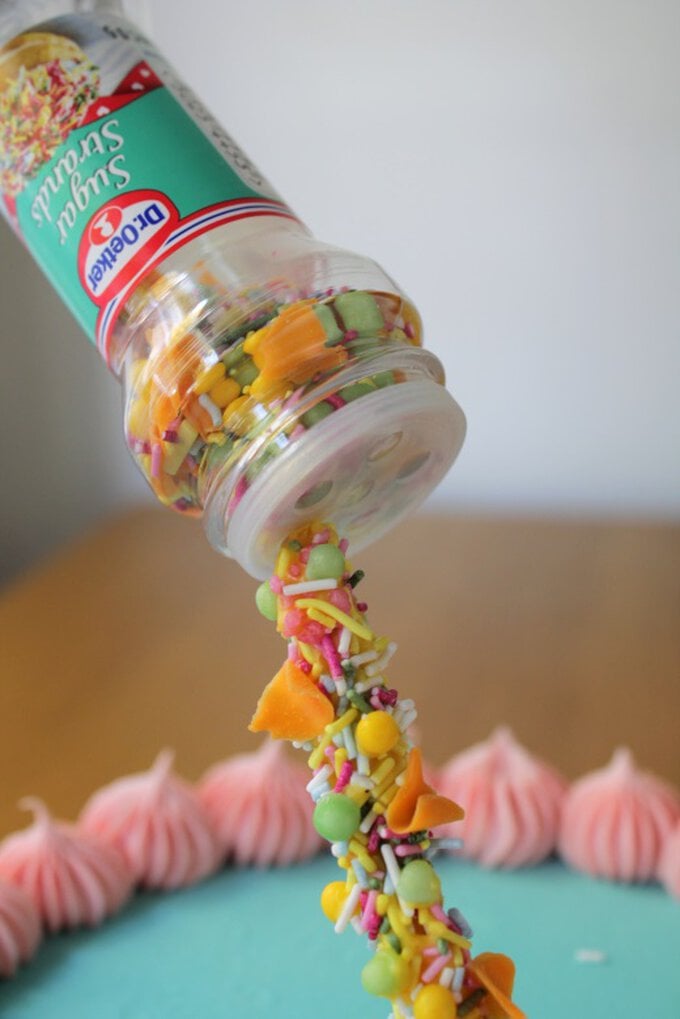
Remove the holed lid from the empty pot and use sellotape to seal all but one of the holes. Put some sprinkles back into the pot and replace the lid. Insert the pot on the end of the dowel.
Colour the rest of the buttercream pink and put it into a piping bag fitted with an open star nozzle. Pipe rosettes all around the top edge of the cake.
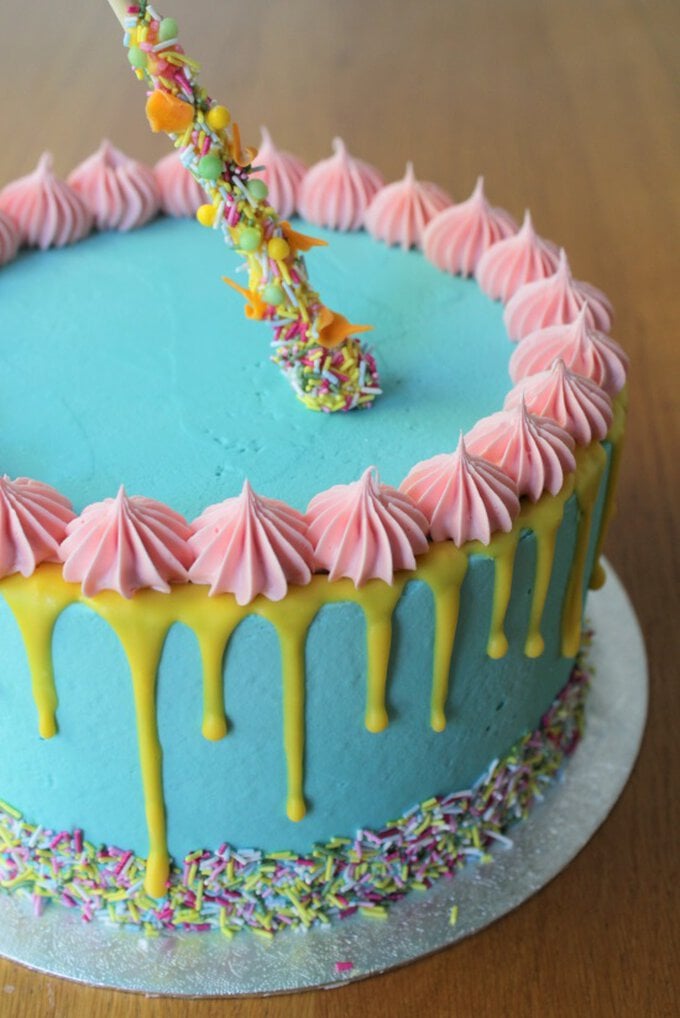
To finish the cake, add a little Candy Melts to the inside of the pot screwcap and stick in place. Add plenty of sprinkles to the top of the cake, concentrating them around the base of the dowel.
