How to Make a Pink Floral Spring Wreath
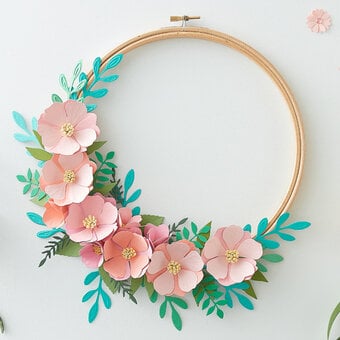
Put a spring in your step with this gorgeous floral wreath.bSpring wreaths are a great addition to the home, and by using artificial flowers, they can be re-used year after year.
At Hobbycraft we have a lovely selection of artificial flowers, so you can create the perfect wreath for your home.
Project and instructions by Jo Boland
You will need
Subtotal
Is $ 2.49
Subtotal
Is $ 8.49
Subtotal
Is $ 4.49
Subtotal
Is $ 3.49
You Will Need
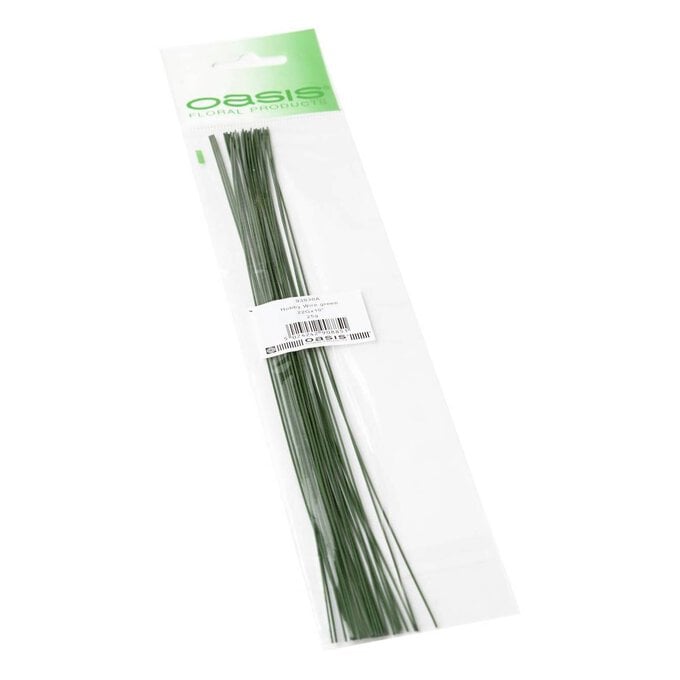
* Oasis Green Hobby Wire 25cm
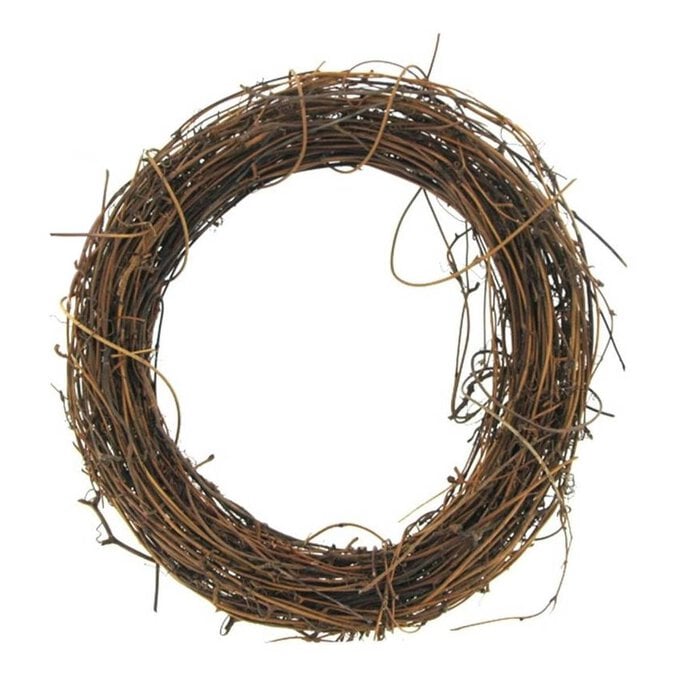
* Rattan Grapevine Wreath 20cm
* Fuchsia Rose Stem 44cm
* Cream Gypsophila Bundle 28cm 6 Pieces
* White Hydrangea 72cm
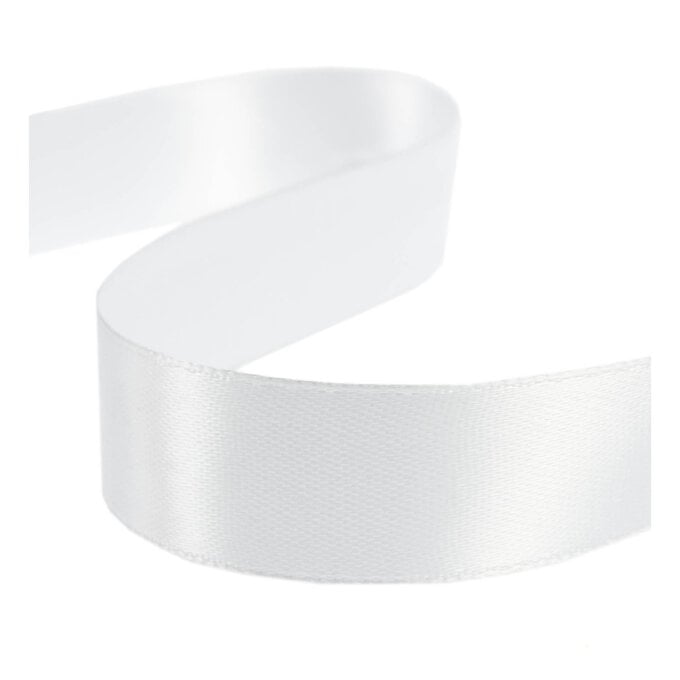
* White Satin Ribbon 24mm x 5m
How to make
Cut the hydrangea into florets rather than use as whole heads. Cut off the leaves.

Trim the rose stem, removing the leaves too.

Trim the artificial flower stems to make them easier to work with.

Trim the foliage as shown in the photo; cut the eucalyptus into single stems, pull the parsley fern wires out of the stem bundle, cut the mint pick into three pieces and pull each piece of asparagus fern off the main stems.

Push the wires of the parsley fern and the eucalyptus stems into the rattan wreath, spreading them evenly. If the wire pokes through to the back of the wreath, re-insert it back in.


Twist Oasis Wire around the stems of the sprigs.

Cover the wire and stems with Oasis Flower Tape, leaving the long wire ends exposed out the back.

Create clusters of flowers and leaves, wiring and taping them together as above.


Add them to the wreath by inserting the two wires through the rattan wreath,

Turn the wreath over and twist the ends together to hold it firmly in place. Push the exposed wires back into the wreath.

Continue to add the clusters and sprigs of flowers and leaves around the wreath until its all full. Add any extra leaves if you have them left over to fill any gaps

Turn your wreath over and add a loop of ribbon to the 'top' of the wreath. Trim and hide the ends behind the back.
Look at your wreath and 'fluff' up and reposition any bits that need adjustment. The beauty of wired flowers and leaves is that they can be positioned just where you want them by bending the internal wires. Left up the eucalyptus laid into the wreath at the beginning so that it can be seen between the blooms.

Hang your wreath up inside or outside on the door and enjoy it!

