How to Make a Rustic Christmas Garland
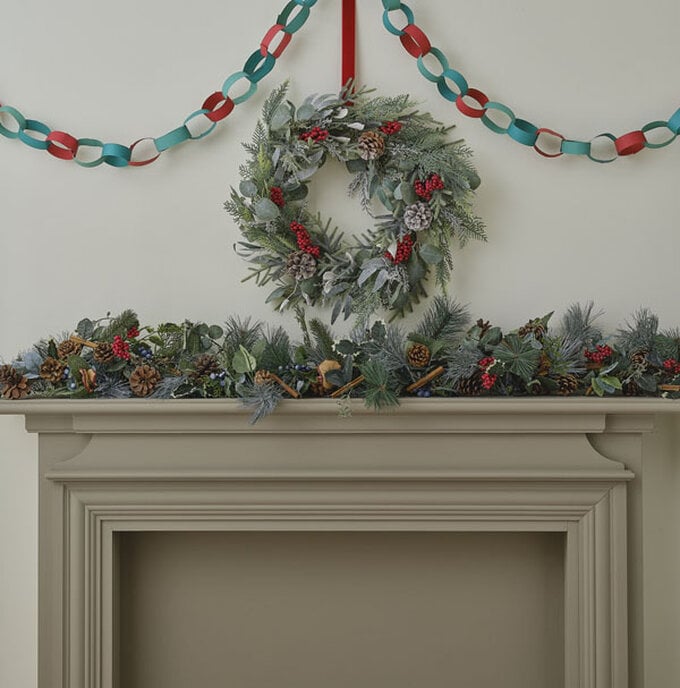
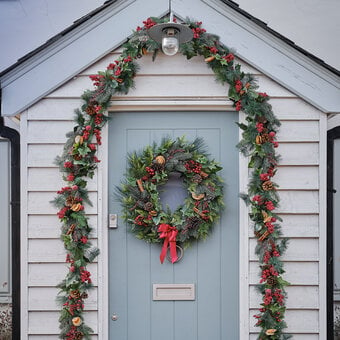
Using a mixture of faux and natural materials, this rustic Christmas garland is perfect for your mantelpiece or console table. Follow along with the instructions to find out how to create this beautiful piece!
The finished garland is around 4m long, but you can easily adapt it to fit your desired space by adding or removing the amount of garlands you join together.
Project and instructions by Jo Boland
You will need
Subtotal
Is $ 5.49
Subtotal
Is $ 6.49
Out of stock
Subtotal
Is $ 6.49
* 3x Blueberry Garland
* 3x Wreath Component Kit
* Dried Apple Slices
* Decorative Cinnamon Sticks
* Natural Pinecones
* Green Hobby Wire
* Gold Floral Bullion Wire
* Gold Metallic Wire Stick
* Wire Cutters

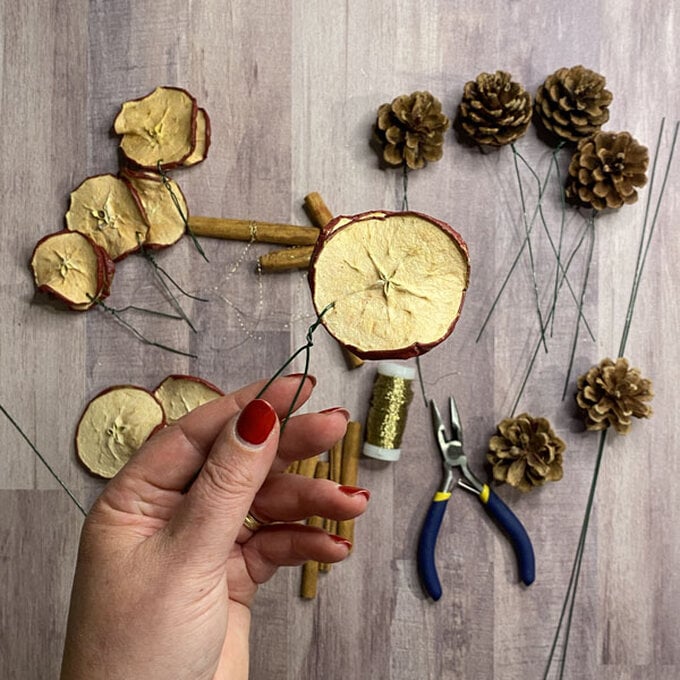
Firstly, add wire to the natural materials ready for adding to the garland.
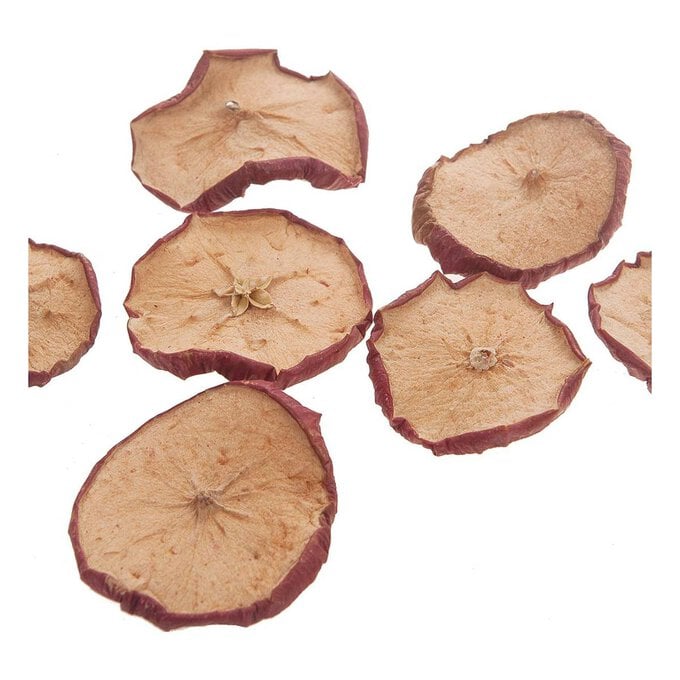
Apple Slices - Cut a green wire in half with wire cutters, insert an end through two apple slices, carefully fold the wire in half and twist the ends together.
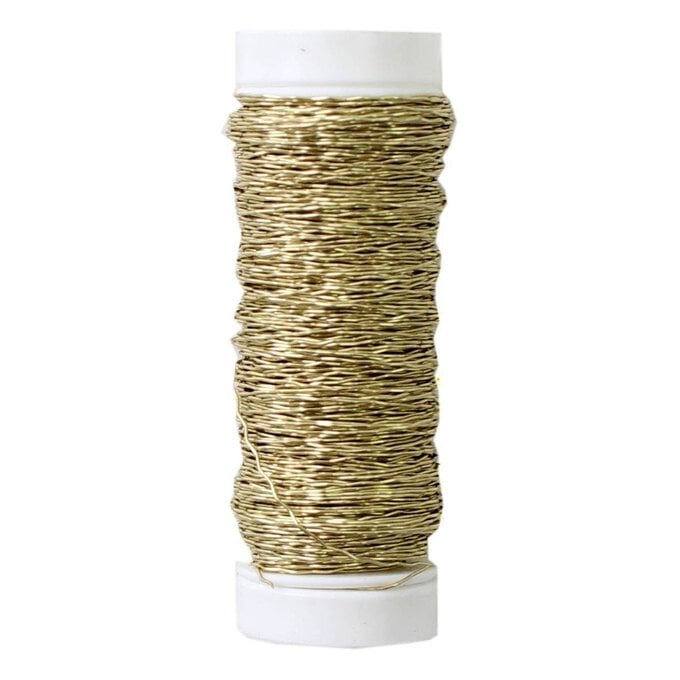
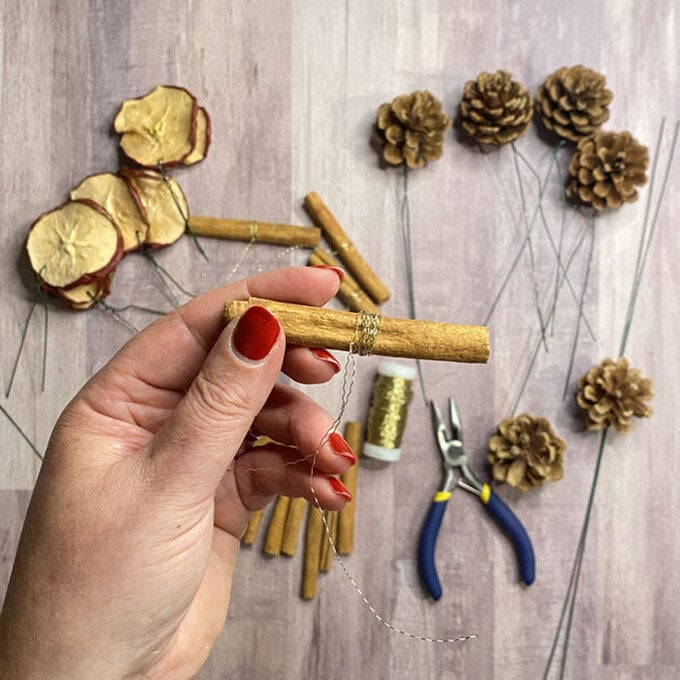
Cinnamon Sticks - Using gold bullion wire or gold metallic wire, wrap the wire several times around the cinnamon sticks to hold it tightly either as a single stick or in pairs. Twist the ends together to secure.
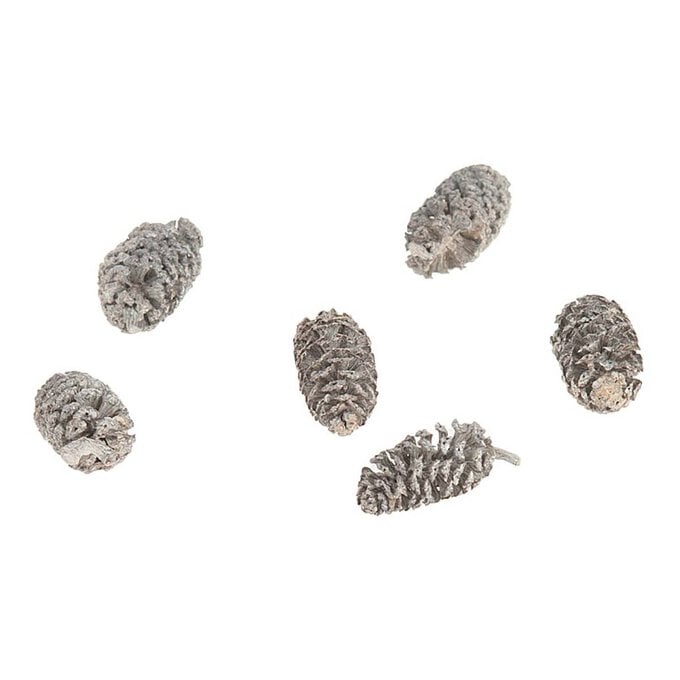
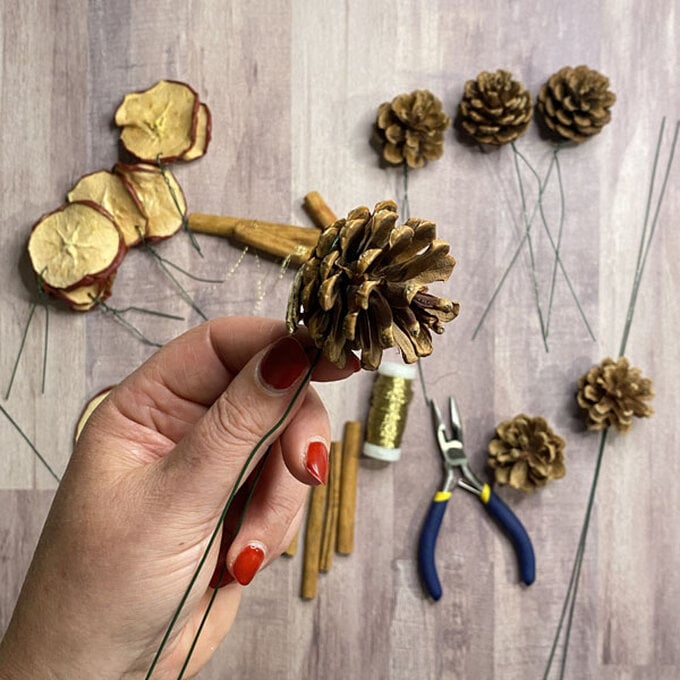
Pinecones - Use a full length of green wire to wrap around the pinecones. Hide the wire between the open scales as near to the bottom of the pinecone as possible. Overlap the ends of the wires and pull tight to hide the wire between the open scales. Twist the ends together to secure.
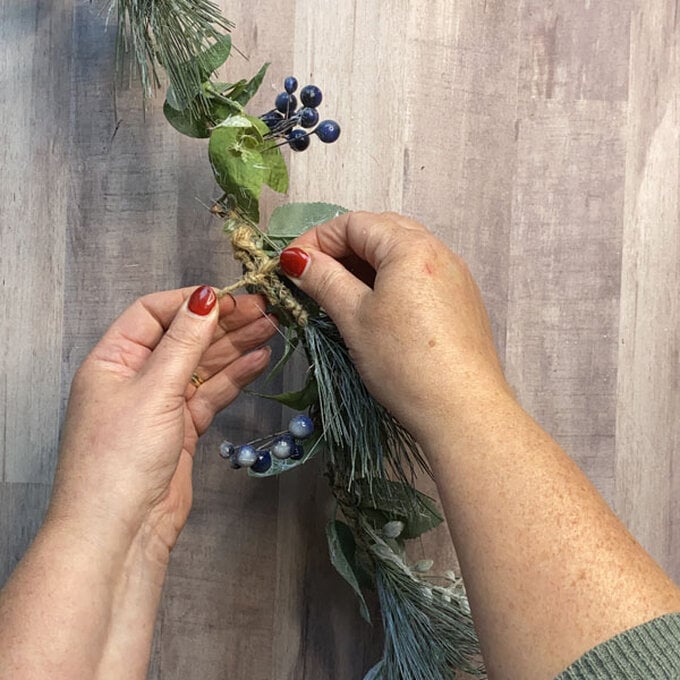
Next, join the three blueberry garlands together using the twine attached to the garland.
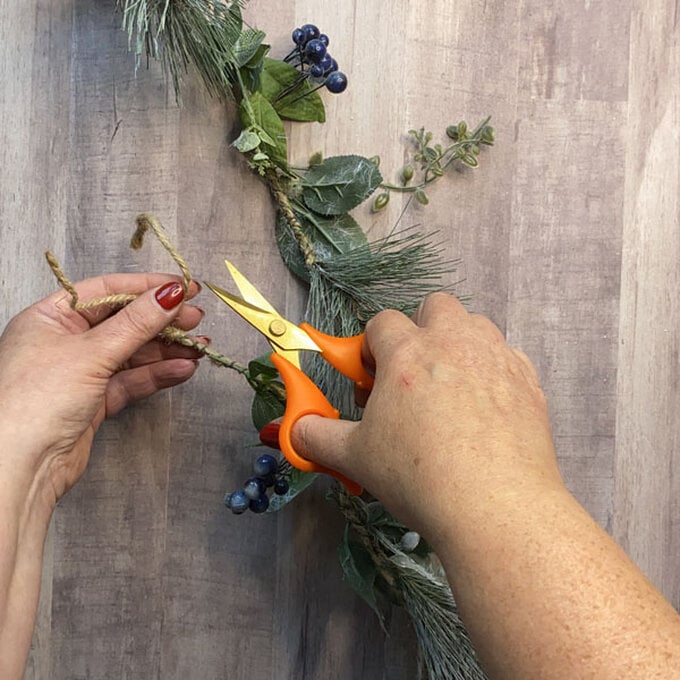
Lay two garlands next to each other (making sure the foliage runs in the same direction), with the twine end next to the end with no twine. Cut the twine loop in half, creating two lengths of twine at the end of one of the garlands.
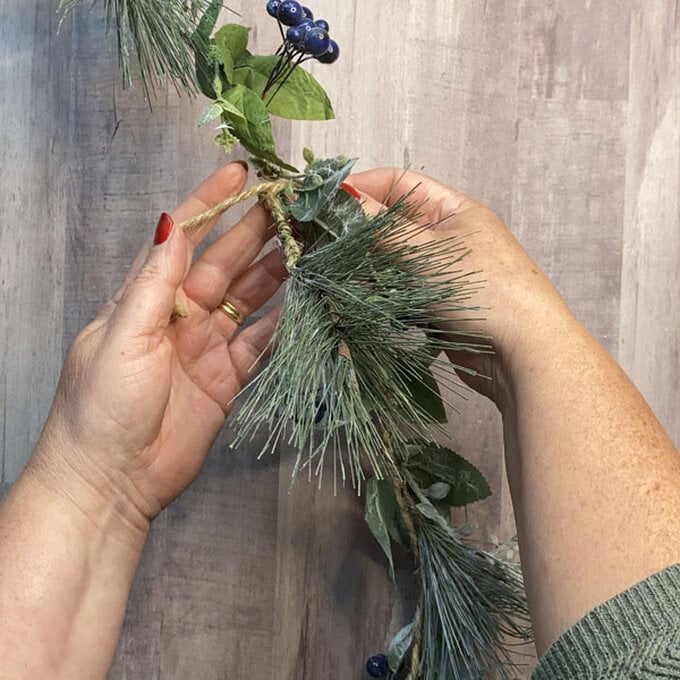
Lay the garland with the twine slightly under the other (without twine) and use the two cut ends to tie them together. Tie around a set of leaves from the back to the front, then pass the ends to the back and tie again in a double knot to secure. Tying around the leaf embellishment prevents the garlands slipping apart.
Snip off excess twine ends.
Repeat this step to add the third garland.
Divide the apple slices, cinnamon sticks, pinecones and wreath components kit into three piles - one for each section of the garland - with roughly the same amount of each item in each pile. This allows you to know how much you have for each section and prevents you running out.
Starting at the top of your garland and working your way down, begin adding your items as decribed in the following steps. Each time another item is added, it helps to hold the previous item in place.
Pinecones - Place the pinecone on top of the garland with a wire 'leg' on each side of the twine base. Nestle the pinecone to the twine and twist the wires together at the back to secure it in place. Then wrap the excess wires around the twine base of the garland. You can snip off excess wires if you like.
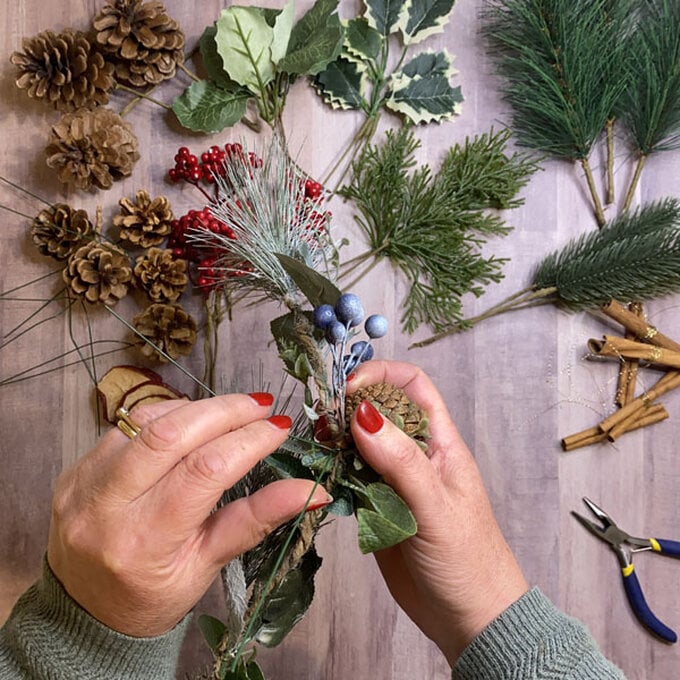
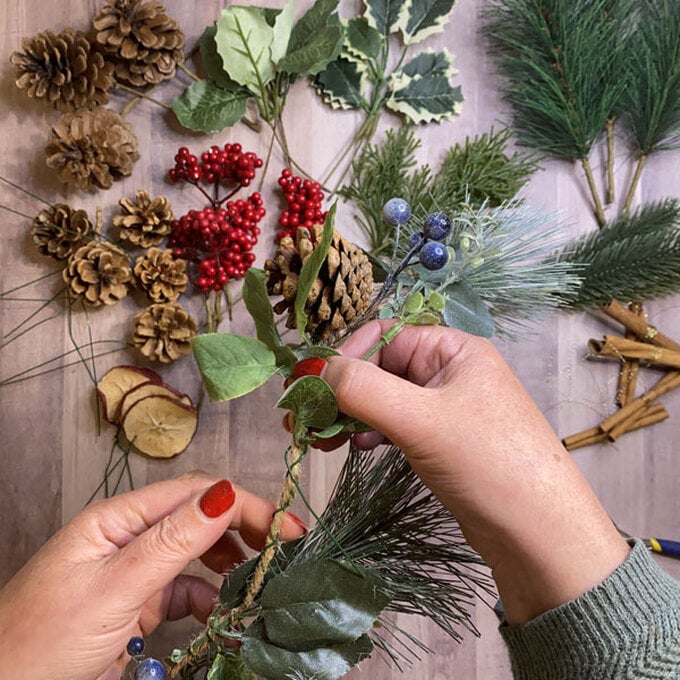
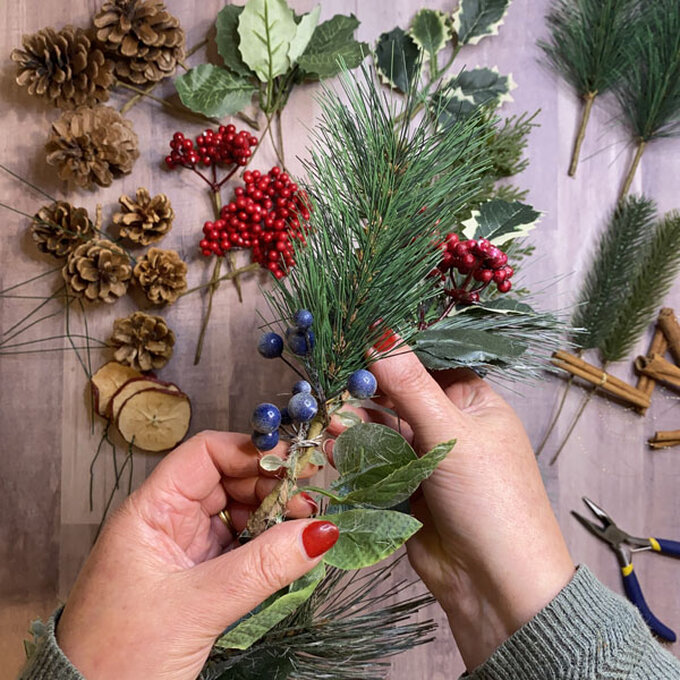
Holly Leaves, Red Berries, Apple Slices and Cinnamon Sticks - Hold in position on the garland base and wrap the wired stems around the twine.
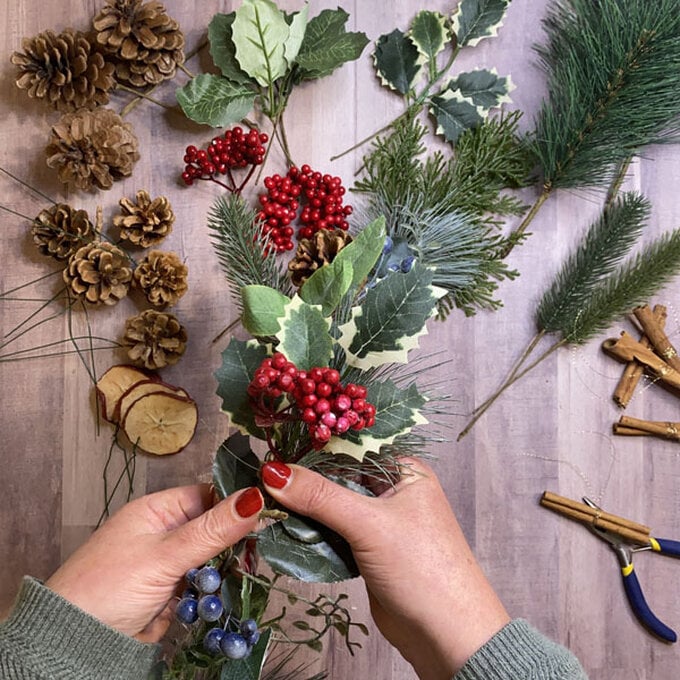
Bushy pine stem - This wire stem is too stiff to be twisted around the garland base, so needs to be positioned where the blueberries are wired to the garland. Open out the wired blueberry cluster and lay the thick wire stem of the bushy pine on top. Wrap the blueberries from one side tightly over the top of the pine stem and around it. Repeat with the other side to secure the pine stem. Add a wired pinecone next, with the two long wired 'legs'. These will overlap the pine stem that's laid along the garland's twine base and make it secure.
When you reach the end of the garland, add a pinecone and twist the wires back up the garland base in the opposite direction so it's hidden from sight.
Snip the final twine loop at the end of the garland. Use the twine ends to wrap around and cover the stems on the garland base. Tie them together on the back of the garland in a double knot and snip off any excess.
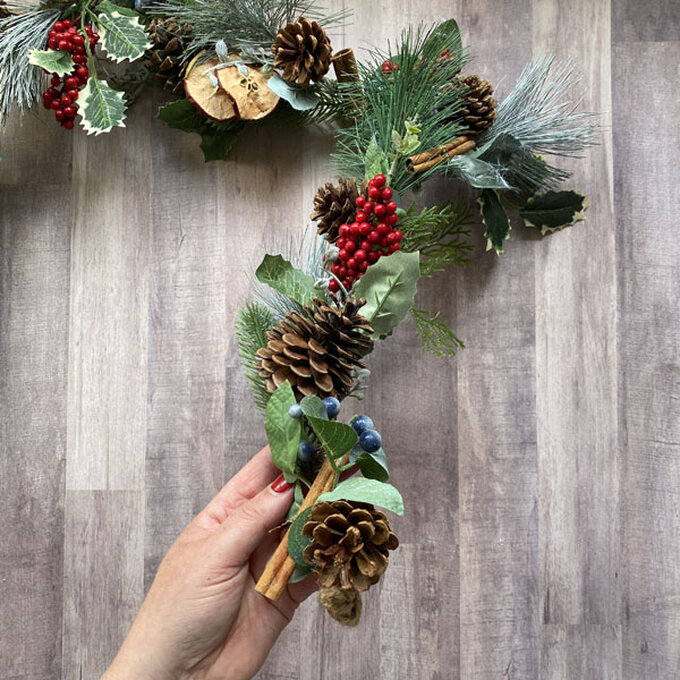
You have now finished your rustic garland!
