Skip to Content (Press Enter) Skip to Footer (Press Enter)

How to Make a Woven Christmas Banner

Level
Beginner
Time
1/2 day
Budget
10 - 30

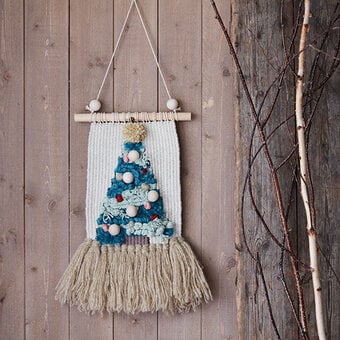
Discover how to create a woven Christmas banner for your mantel piece with this beginner friendly step-by-step guide. Perfect for weavers of all levels, this woven banner design will make a stunning addition to your home! Simply customise the design with your favourite yarns to match the design to your festive décor.

Project and instructions by Lucy Rowan.

Discover more Weaving projects here >

You will need

Is $ 21.00

Quantity: 1

Subtotal

Is $ 21.00

Out of stock

Is $ 4.49

Quantity: 1

Subtotal

Is $ 4.49

Is $ 7.49

Quantity: 1

Subtotal

Is $ 7.49

Is $ 7.49

Quantity: 1

Subtotal

Is $ 7.49

Is $ 15.00

Quantity: 2

Subtotal

Is $30.00

Is $ 3.49 , was $ 4.49

Quantity: 1

Subtotal

Is $ 3.49 , was $ 4.49

Out of stock

You’ve viewed 2 of 6 products

You’ve viewed 4 of 6 products

Total:

You will also need:

* Scissors

* Yarn needle

* 2m of 5mm rope

Step 1
To warp up your loom, tie your warp thread around the first notch from the left. Secure with a double knot.
Idea_how-to-make-a-woven-christmas-banner_step1.jpg?sw=680&q=85
Step 2
Bring the warp thread directly towards the top, hook around the notch and bring it back down towards you. Repeat this creating an ‘s’ movement. Try to keep the tension of your warp nice and tight. This will be the base of your weave, so it needs to be strong.
Idea_how-to-make-a-woven-christmas-banner_step2.jpg?sw=680&q=85
Step 3
Tie off the warp around the notch using a double knot, you will need 12 warp strings.
Idea_how-to-make-a-woven-christmas-banner_step3.jpg?sw=680&q=85
Step 4
There is enough space on this loom to warp up enough for 2 separate weaves. Repeat the last few steps so you have another 12 warp strings ready.
Idea_how-to-make-a-woven-christmas-banner_step4.jpg?sw=680&q=85
Step 5
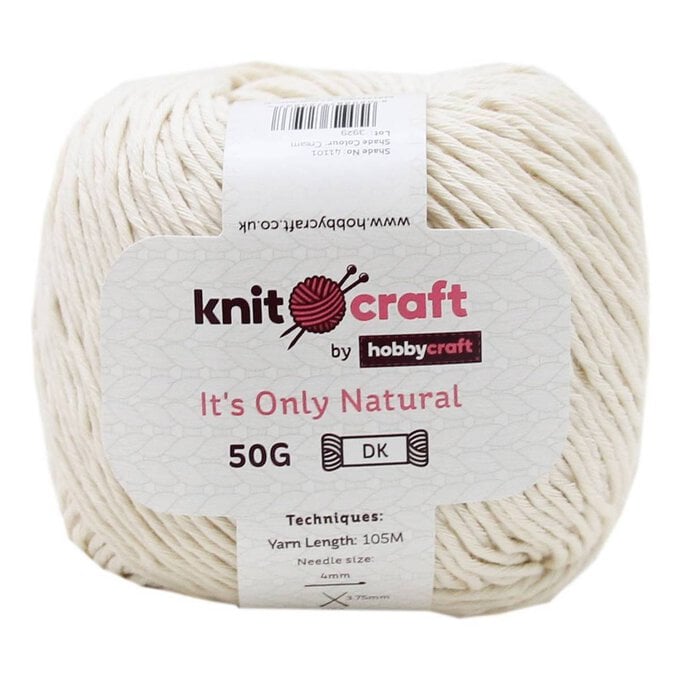
With a piece of cream wool, approximately 40cm, tie one end to the first warp thread.
Idea_how-to-make-a-woven-christmas-banner_step5.jpg?sw=680&q=85
Step 6
Create a loop on the left-hand side, lay the wool over the top of the second warp thread. Wrap around the warp thread and back through the loop.
Idea_how-to-make-a-woven-christmas-banner_step6.jpg?sw=680&q=85
Step 7
Pull the cream wool towards yourself and to the bottom of the loom. Repeat this knot again on the same warp thread.
Idea_how-to-make-a-woven-christmas-banner_step7.jpg?sw=680&q=85
Step 8
You will want to do this knot twice on each warp thread. This will secure your warps for when you take it off the loom.
Idea_how-to-make-a-woven-christmas-banner_step8.jpg?sw=680&q=85
Step 9
To create your first row of tassels you will need to cut strips of cream wool approximately 13cm in length. The easiest way to do this is by wrapping the wool around an old notebook or tile and cut down the middle with a sharp pair of scissors.
Idea_how-to-make-a-woven-christmas-banner_step9.jpg?sw=680&q=85
Step 10
Take your cream wool and lay 3 strands on top of the warp threads.
Idea_how-to-make-a-woven-christmas-banner_step10.jpg?sw=680&q=85
Step 11
Each tassel will use 2 warp threads at a time. With your left hand, twist the wool over and around the warp and poke it back through. Bring the two sections together and gently pull towards yourself.
Idea_how-to-make-a-woven-christmas-banner_step11.jpg?sw=680&q=85
Step 12
Repeat until you have a full row of tassels. I did not trim my tassels for this project as I like the organic look, but you can do so with a sharp pair of scissors.
Idea_how-to-make-a-woven-christmas-banner_step12.jpg?sw=680&q=85
Step 13
Using your cream wool, wrap it around your shuttle so you are ready to weave.
Idea_how-to-make-a-woven-christmas-banner_step13.jpg?sw=680&q=85
Step 14
To start weaving you will want to weave from the middle, bring your shuttle up from behind around halfway. Weave the shuttle up and over the warp threads.
Idea_how-to-make-a-woven-christmas-banner_step14.jpg?sw=680&q=85
Step 15
Once you reach the end you will want to weave back in the opposite direction, this time weaving the opposite to the row below.
Idea_how-to-make-a-woven-christmas-banner_step15.jpg?sw=680&q=85
Step 16
Carry on weaving the cream wool until you have woven approximately 9cm. To finish off your weave repeat the knots we did at the beginning. This will help keep your weave together when you take it off the loom.
Idea_how-to-make-a-woven-christmas-banner_step16.jpg?sw=680&q=85
Step 17
Repeat on the other warp threads you already have on your loom.
Idea_how-to-make-a-woven-christmas-banner_step17.jpg?sw=680&q=85
Step 18
With your scissors, cut the warp threads and gently lift off the loom. Take your yarn needle and thread with 2 warp threads at a time. Sew the warp threads down your weave towards the base of your weave. Snip the excess off. You will need to create 13 of these mini weaves.
Idea_how-to-make-a-woven-christmas-banner_step18.jpg?sw=680&q=85
Step 19
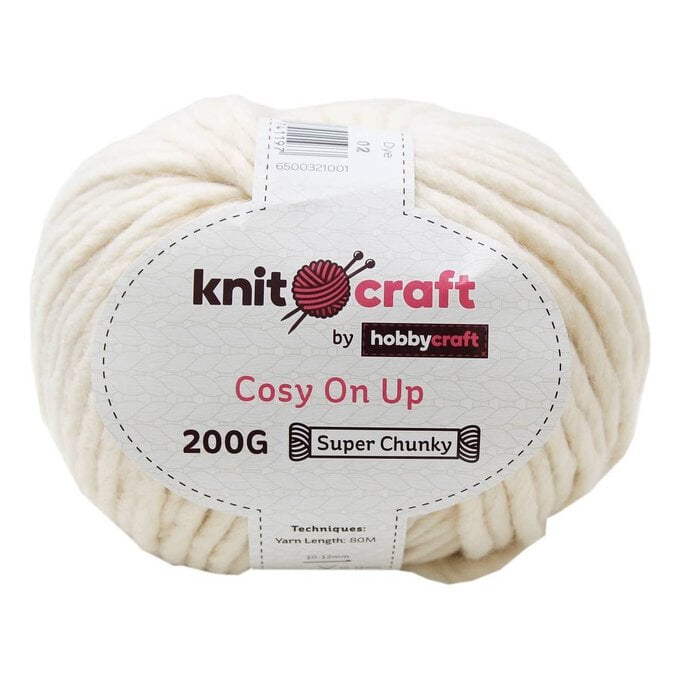
To decorate your weaves, you will need any type of coloured wool and a yarn needle. For the star we used a chunky mustard wool. Thread your needle, make sure you have doubled your threads so it's nice and chunky. Tie a knot in the end and hand sew in your star. Tie off at the back and trim any excess.
Idea_how-to-make-a-woven-christmas-banner_step19.jpg?sw=680&q=85
Step 20
Repeat this technique but this time sewing in some holly leaves and berries. For the green wool I used 6 strands at a time as it wasn’t so chunky.
Idea_how-to-make-a-woven-christmas-banner_step20.jpg?sw=680&q=85
Step 21
For the letters I used the same sage green as the holly leaves. Again, I used 6 strands of wool at a time to create a chunky effect. Sewing in long stitches to create the letters for the words ‘HOLLY JOLLY’
Idea_how-to-make-a-woven-christmas-banner_step21.jpg?sw=680&q=85
Step 22
Once you have finished sewing, lay them all out in the right order and make sure you are not missing any.
Idea_how-to-make-a-woven-christmas-banner_step22.jpg?sw=680&q=85
Step 23
To make the weaves into the bunting you will need some cream rope and matching cream wool. Thread your cream wool onto your needle. Bind the weaves around the rope with a simple binding stitch. Sew in all your ends with your yarn needle in the same way as you did before.
Idea_how-to-make-a-woven-christmas-banner_step23.jpg?sw=680&q=85
Step 24
Create little hoops at the ends of your rope so you can hang it up. Do this by folding the rope over to create a loop. In either a contrasting or matching colour wool, wrap around the rope to bind the two pieces together.
Idea_how-to-make-a-woven-christmas-banner_step24.jpg?sw=680&q=85
  • bvseo_sdk, dw_cartridge, 18.2.0, p_sdk_3.2.0
  • CLOUD, getReviews, 5ms
  • reviews, product
  • bvseo-msg: Unsuccessful GET. status = 'ERROR', msg = 'Not Found.'; Unsuccessful GET. status = 'ERROR', msg = 'Not Found.';

Related Products

Top