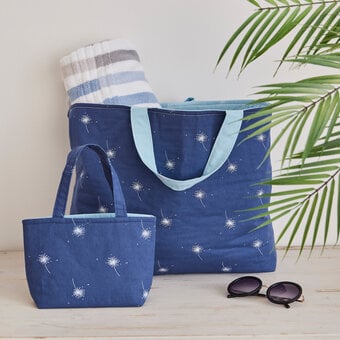
How to Make a Seat Cushion
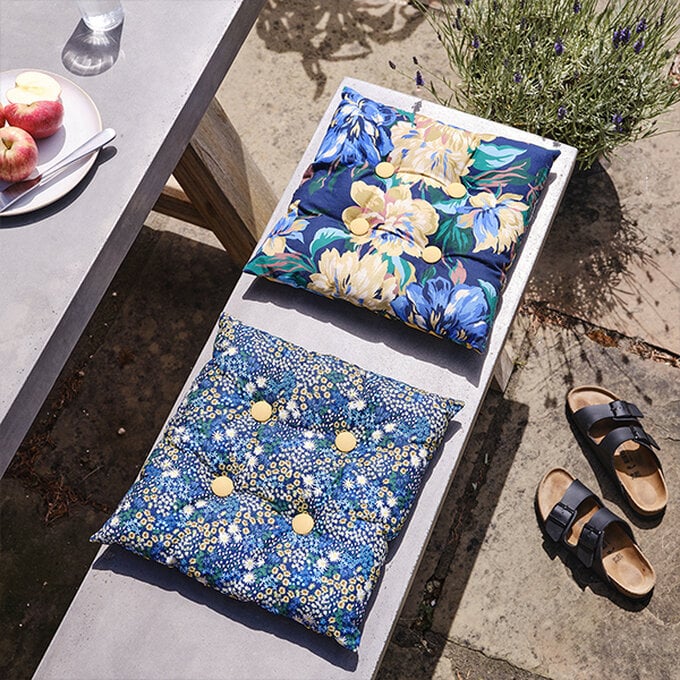
Learn how to make your own seat cushion using this super-simple how-to guide, along with the beautiful Flowerbed Ditsy Joules fabric range. Each seat cushion has been created using two fat quarters, so make sure to purchase multiple packs if you'd like to create a whole set for a table of two or more.
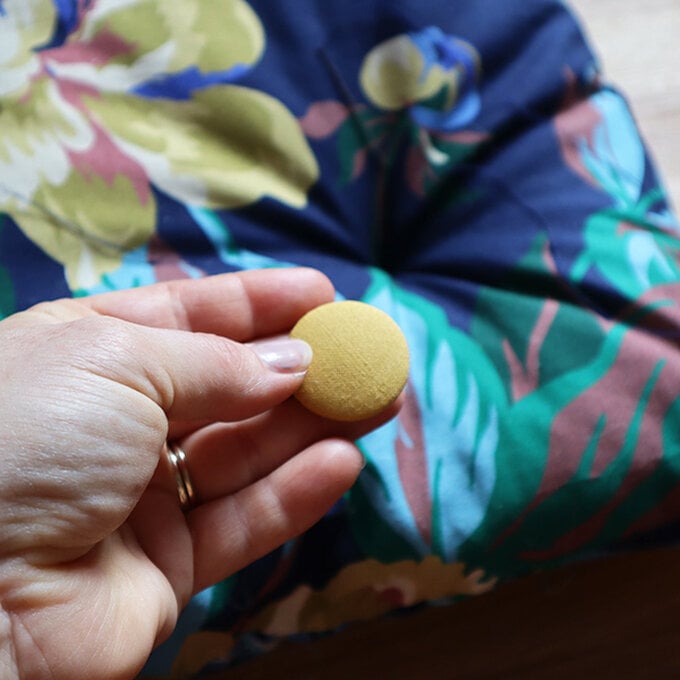
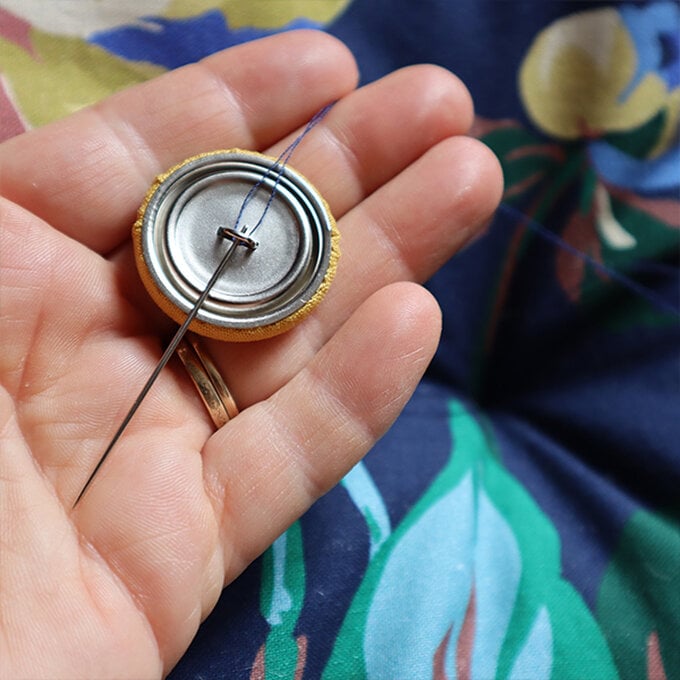
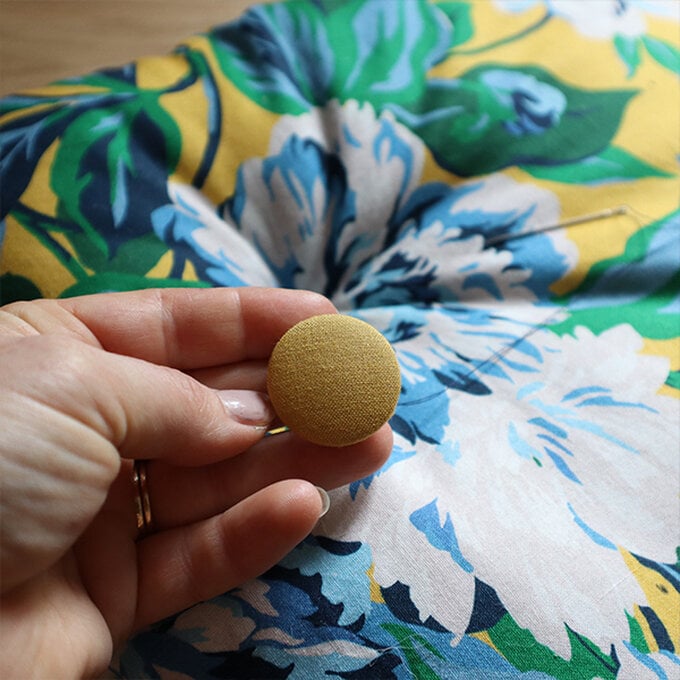
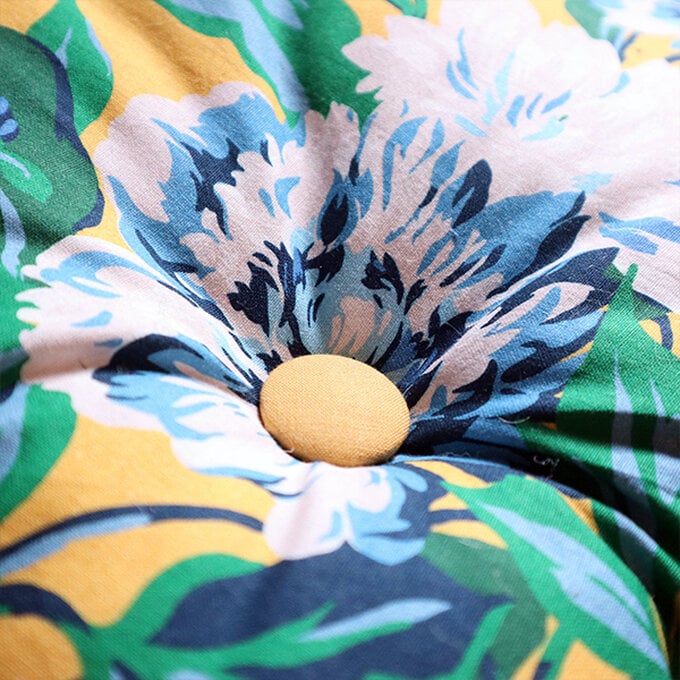
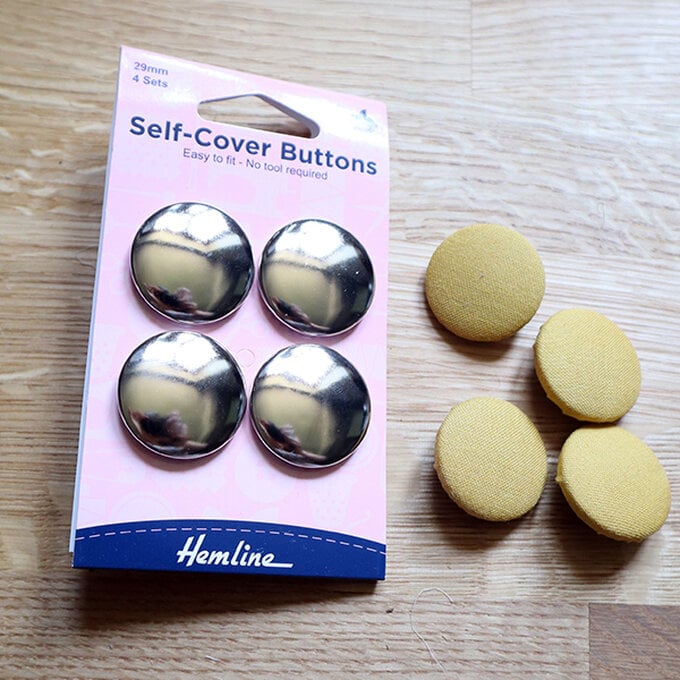
Finish your cushions with coordinating self-cover buttons on both sides for a decorative finish.
These seat cushions are perfect for use indoors or out, come rain or shine!
Project and instructions by Paula Milner, The Crafty Lass
You will need
Subtotal
Is $ 5.49
Subtotal
Is $ 15.00
Subtotal
Is $ 7.49
Subtotal
Is $ 20.00
You Will Need
* Sewing Machine
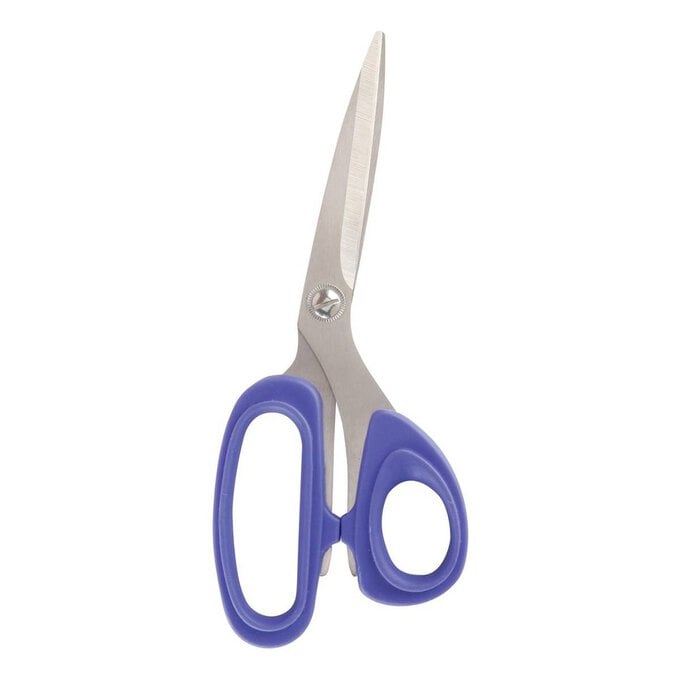
* Dressmaking Scissors
* Pins
* Hand Needles
* Tape Measure
* Fat Quarters
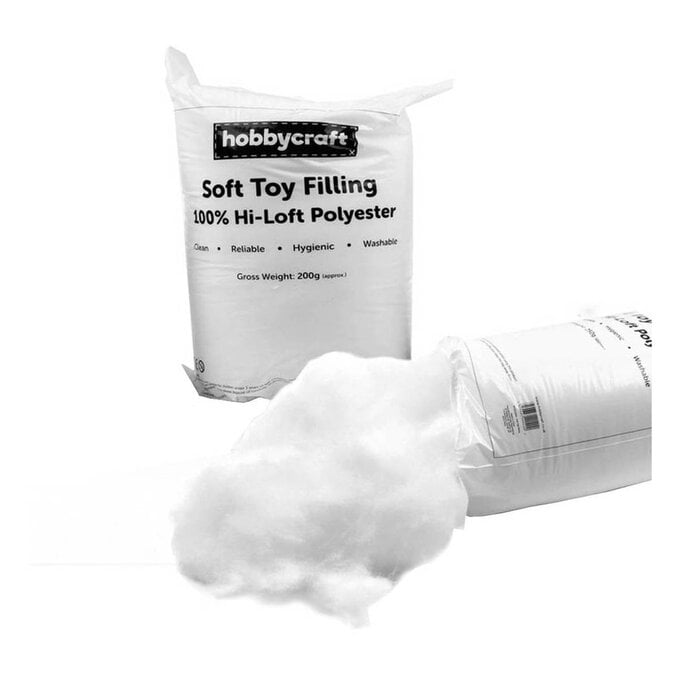
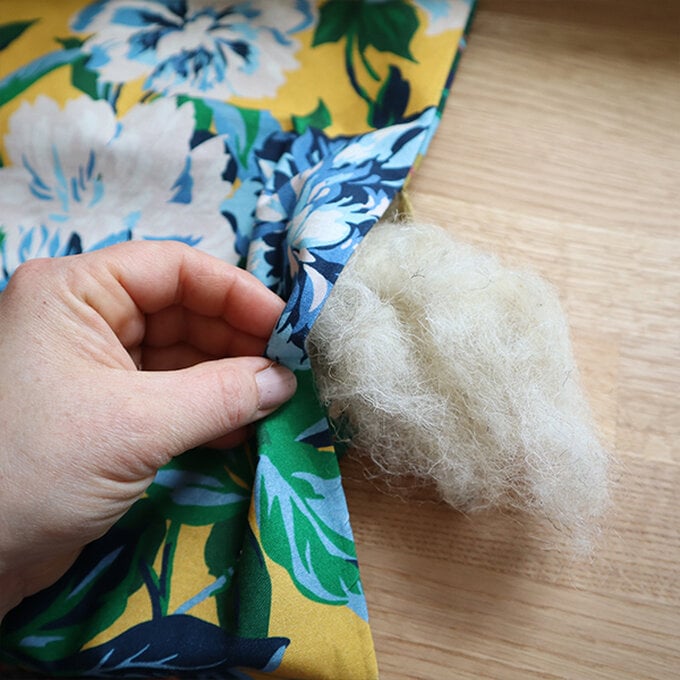
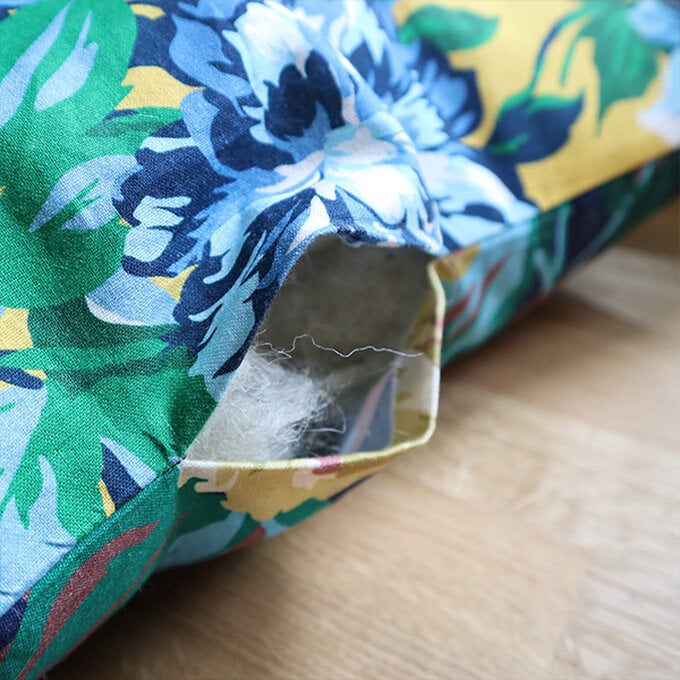
* Toy Filling
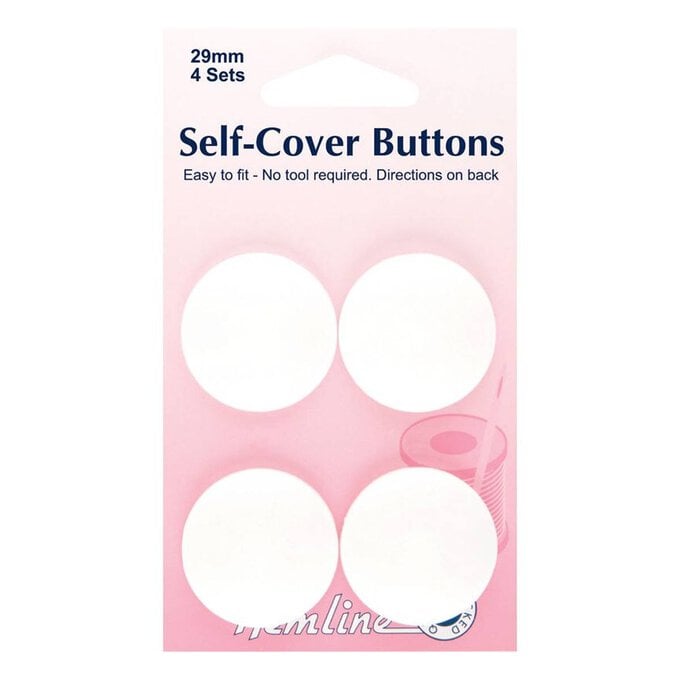
* Self Cover Buttons
* A Pencil
How to make
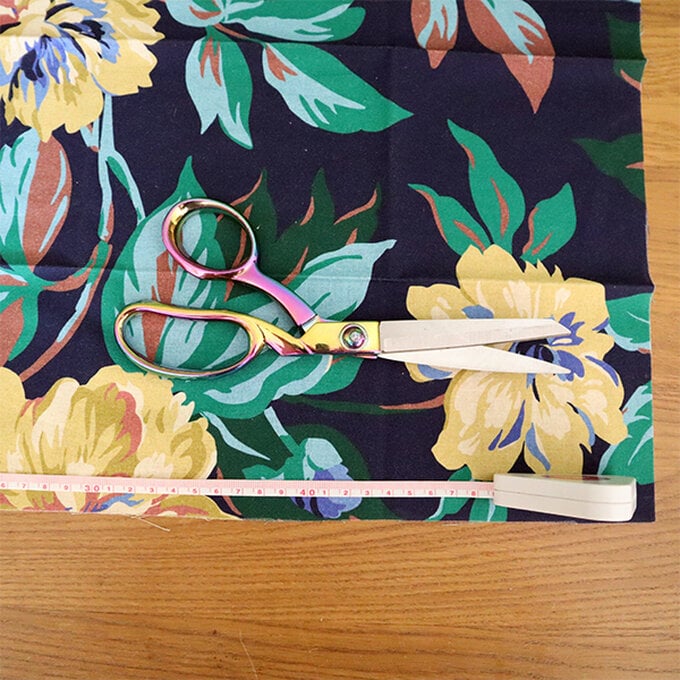
Measure two 42cm square pieces of fabric - one for the top of the cushion, and one for the back.
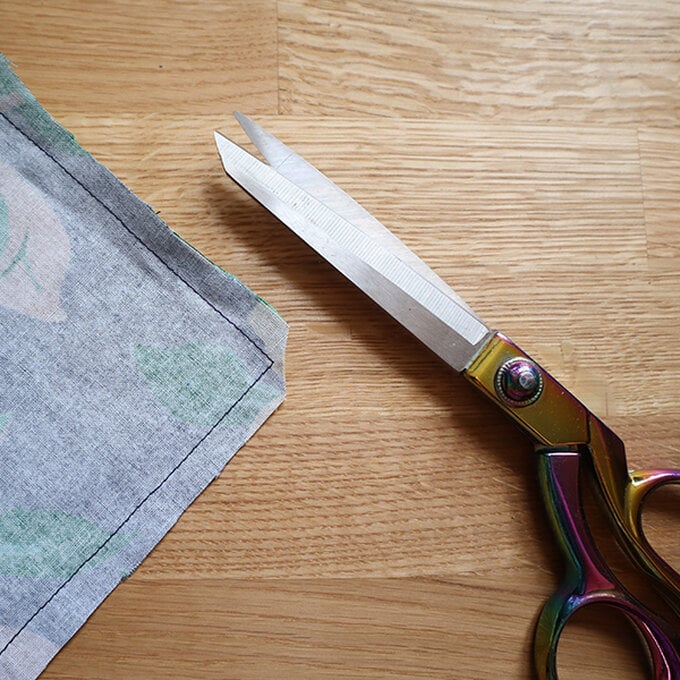
Cut the pieces out using fabric scissors.
Press the fabric/s if required.
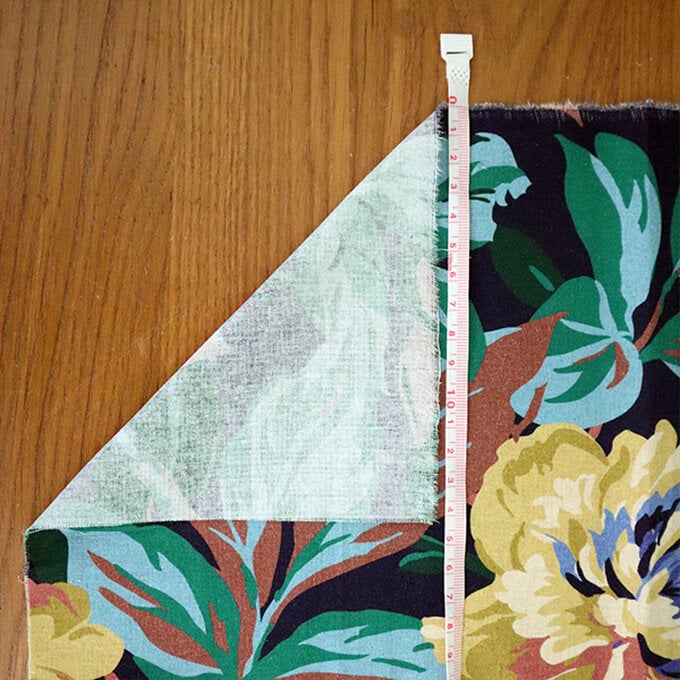
Take the top piece of fabric and measure 14cm diagonally in from each corner. Mark the point lightly with a pen or pencil - you should have four equal points. This will help guide you when sewing on your buttons.
Repeat with the back piece of fabric.
Top Tip: You may find it useful to fold each corner inwards at 90 degrees to measure the 14cm accurately from both sides.
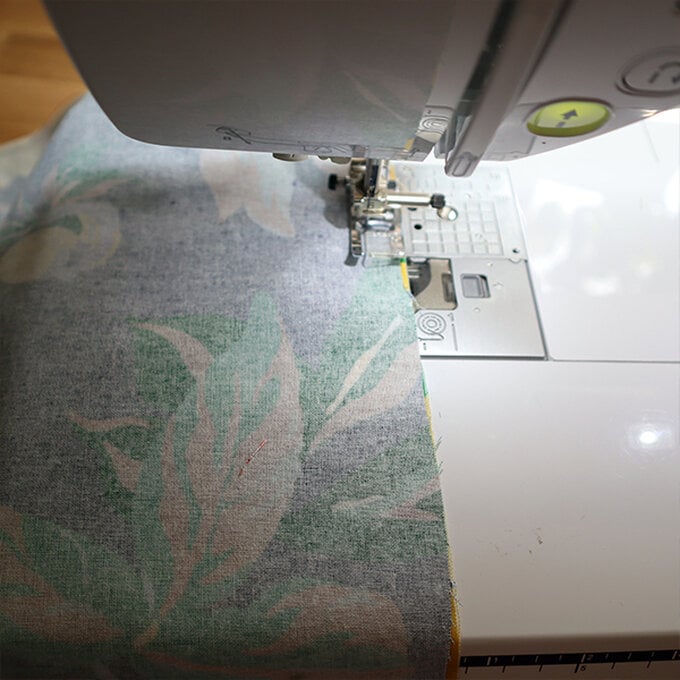
Place the fabrics right sides together and pin if desired.
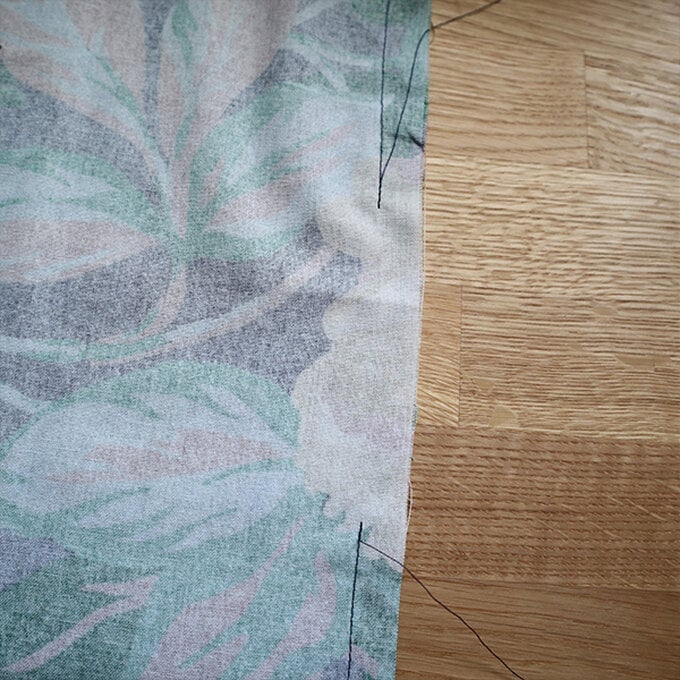
Use a simple running stitch on a sewing machine, to sew around the edges of the cushion to secure everything in place.
Remember to leave a gap for turning out!
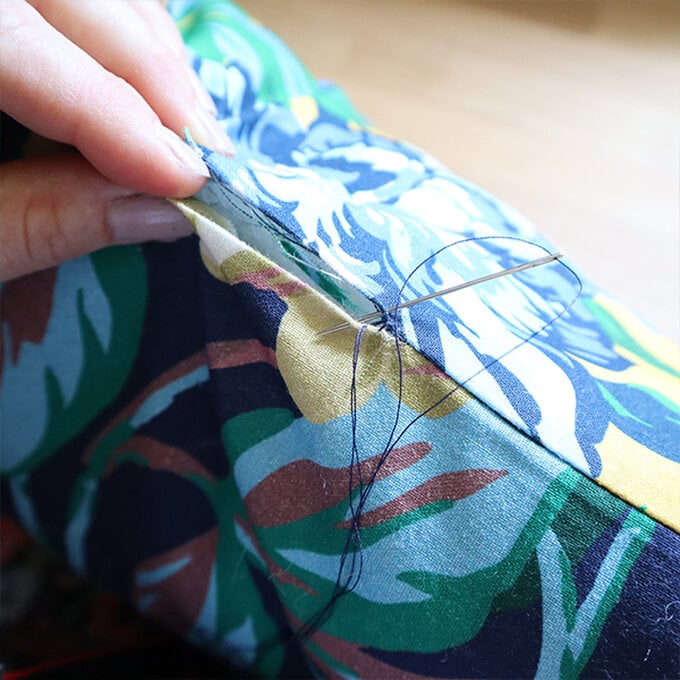
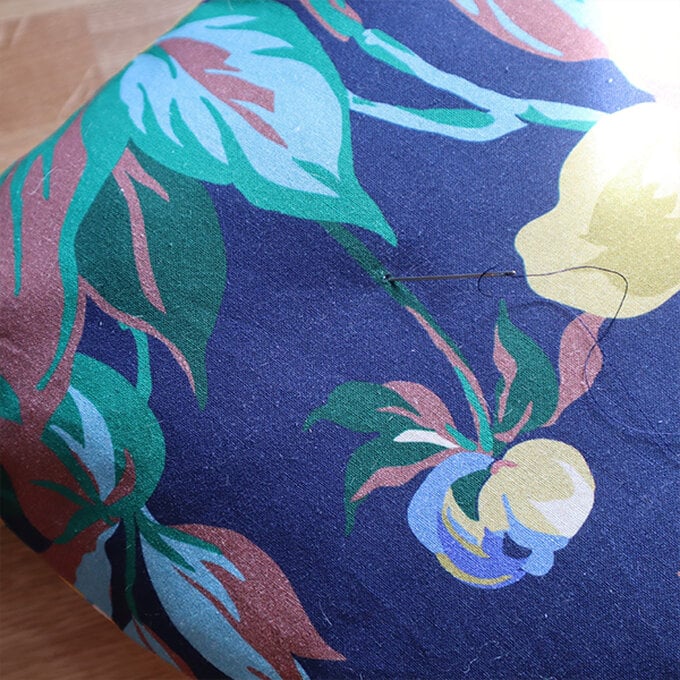
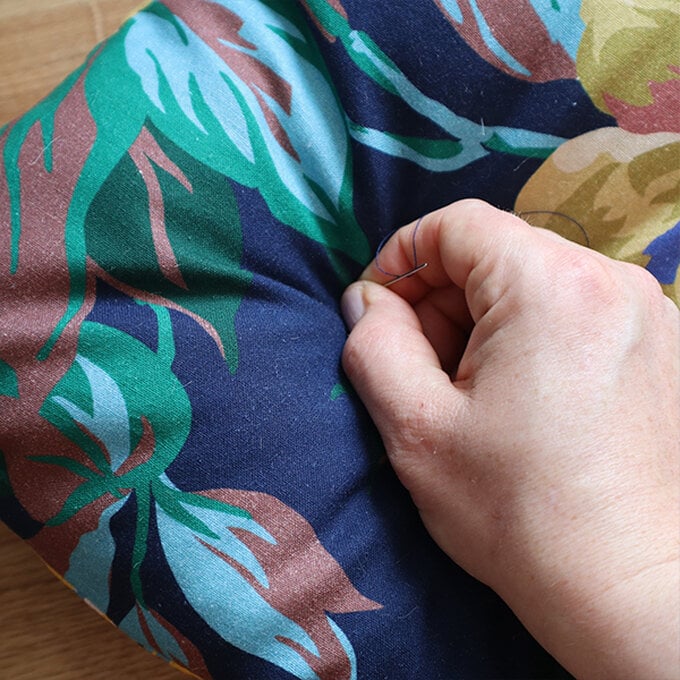
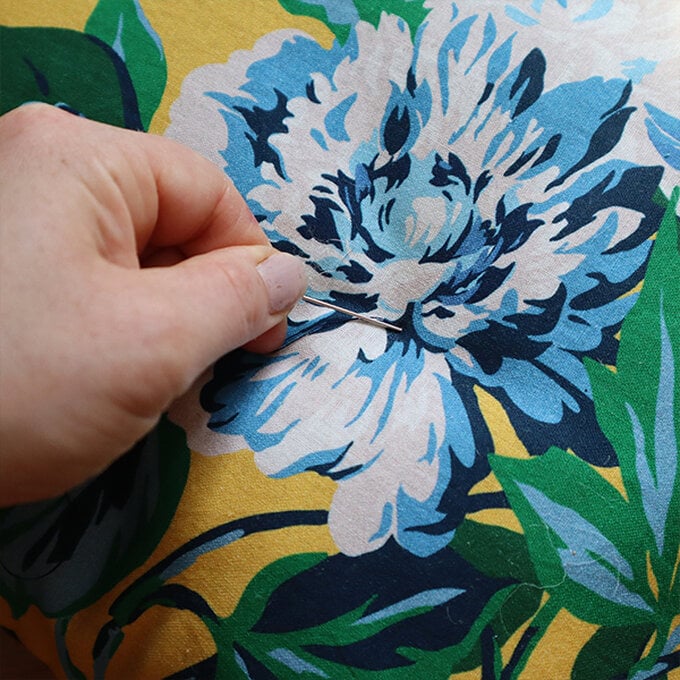
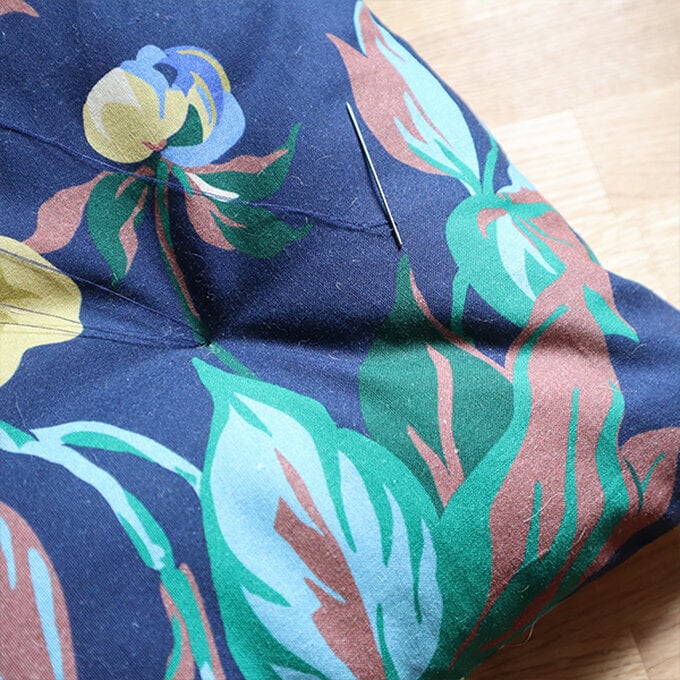
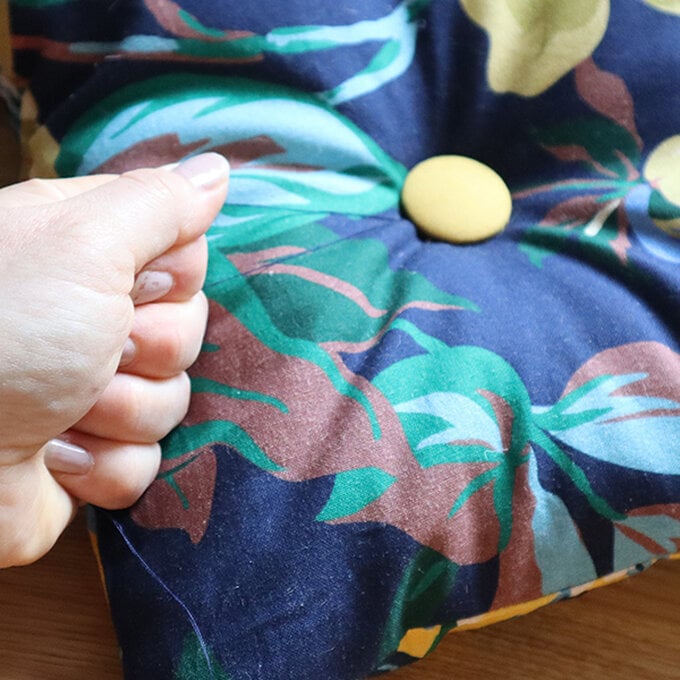
Thread a needle, and sew through the cushion from one side to the other using the marked points as your guide.
Top Top: We would recommend pulling your thread all the way through the needle and putting a knot in the thread using both strands. This provides extra strength to the sewing and ensures you can pull quite taught for the puckered effect under the buttons.
