How to Sew a Doll
Celebrate International Women’s Day with these adorable sewn dolls. Although the template stays the same, they’re completely customisable! Choose different skin tones, hair types and even add glasses.
With interchangeable clothing options, you can create a whole wardrobe for your doll to wear. In this tutorial, we’ve shown how to create a variety of looks, but anything is possible – why not have a go at personalising garments or creating a new hairstyle?
Project and instructions by Sew Jessalli
You will need
Subtotal
Is $ 37.00
Out of stock
Subtotal
Is $ 15.00
Subtotal
Is $ 11.00
Subtotal
Is $ 7.49
Subtotal
Is $ 37.00
How to Make
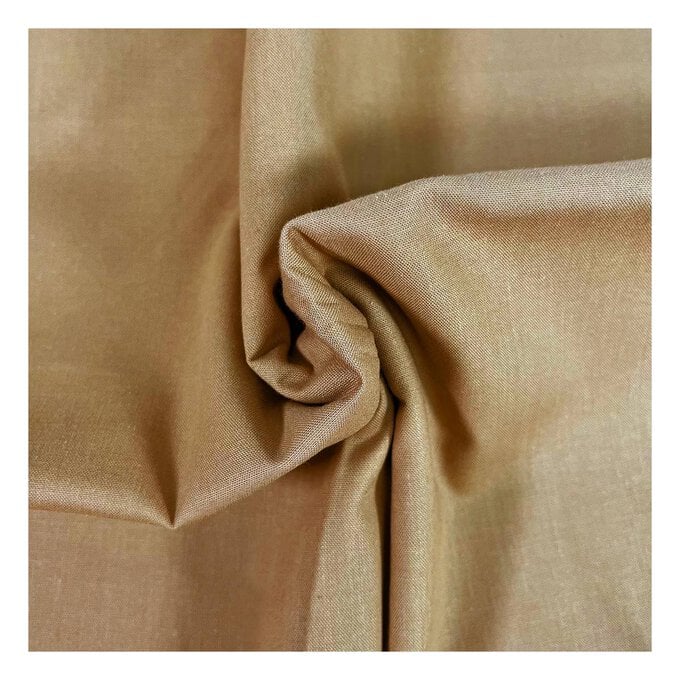
* 1m of Cotton Fabric
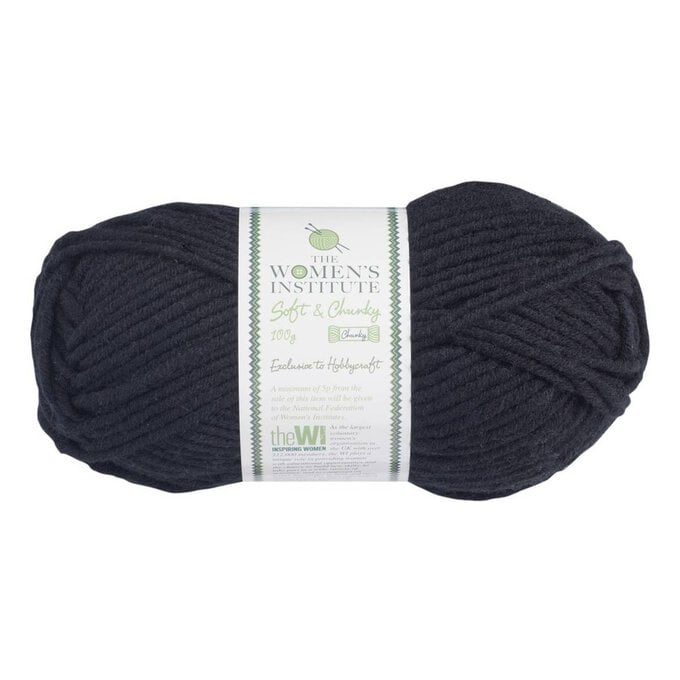
* Yarn - We've used Everyday Chunky, Soft and Chunky and Macrame Cord
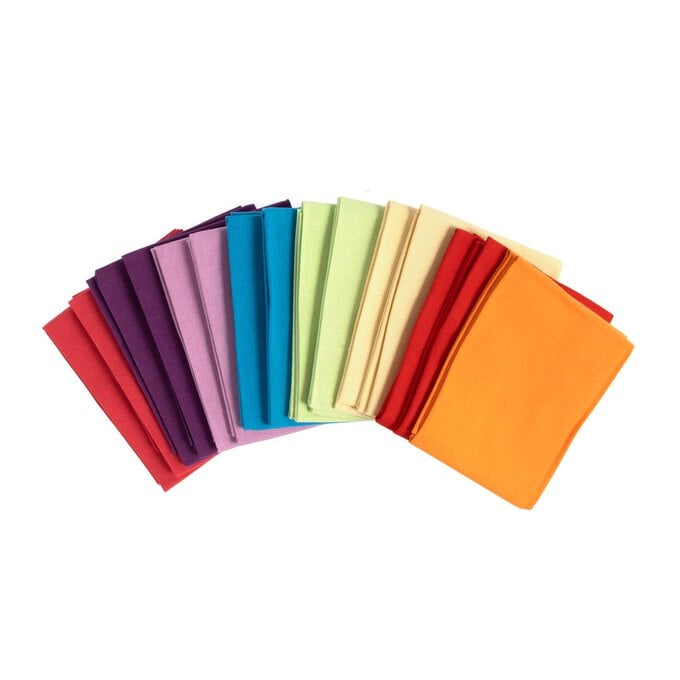
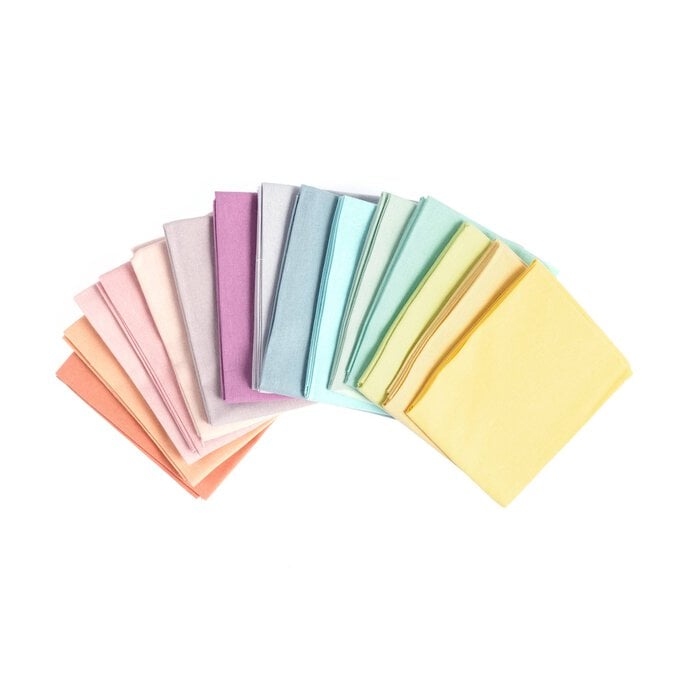
* Fat Quarters (these are for the clothes)
* Embroidery Thread - We've used DMC 604, 310 and 5282 (for the glasses)
* Matching Thread for the Doll Body
* Thread for the Clothes - You could use matching or contrasting
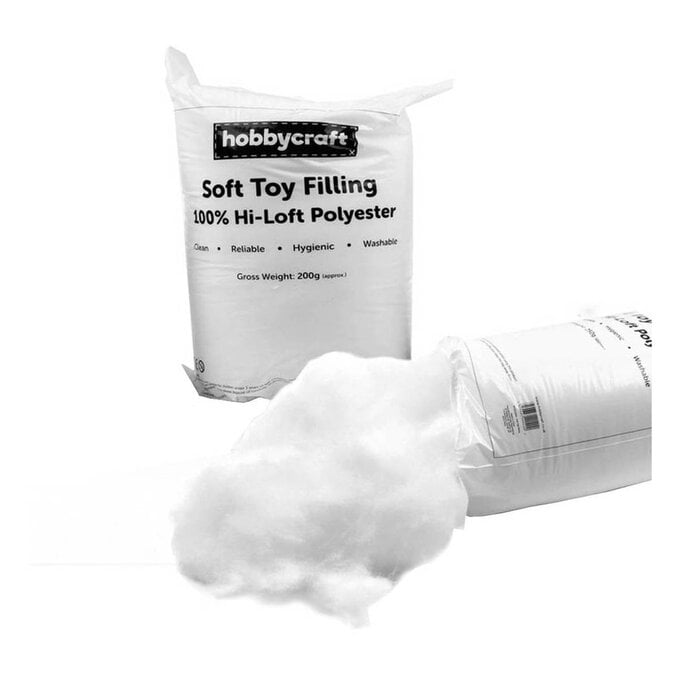
* Toy Stuffing
* Fabric Scissors
* A Sewing Machine
* Pins
* Measuring Tape
* Masking Tape
* Fabric Glue
* Fabric Marker or Tracing Paper
* Embroidery Needle
* Sew-on Velcro
* Elastic
* PDF Patterns - Downloaded + Printed
* Paintbrush and Bleach (optional)
Finished doll is approximately 25cm long.
For this project, we've used a seam allowance of 6mm or 1/4".
Abbreviations
RST - Right Sides Together
WS - Wrong Sides
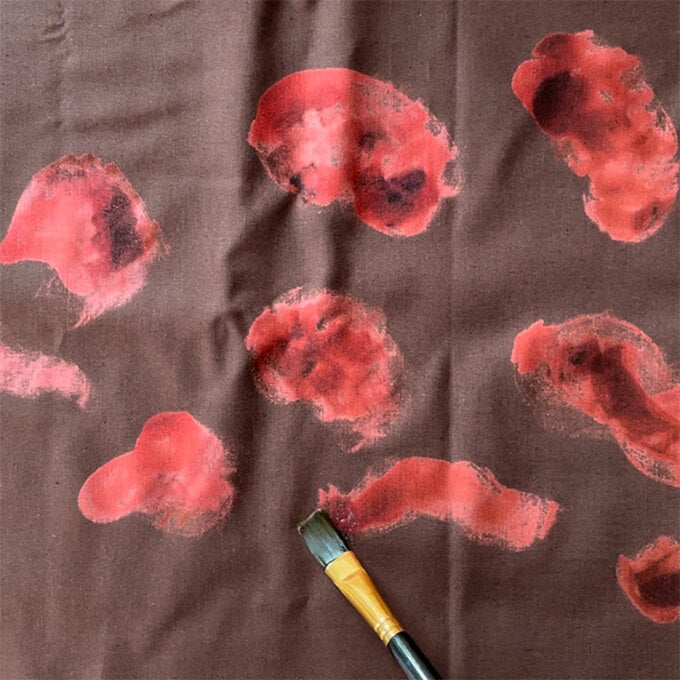
Protect the surface you’re working on and make sure you’re in a well ventilated area. Cut a piece of your fabric to test first. Use a paintbrush and bleach to paint irregular rounded shapes all over the fabric.
Leave overnight and see how the colour looks, you may need to add more bleach if the colour hasn’t faded enough. Once you’re happy with the result and technique repeat on a larger piece of fabric.
Once the fabric has been left overnight and you’re happy. Rinse the fabric well with water and leave to dry. Then you can press and cut your fabric using the pattern pieces.
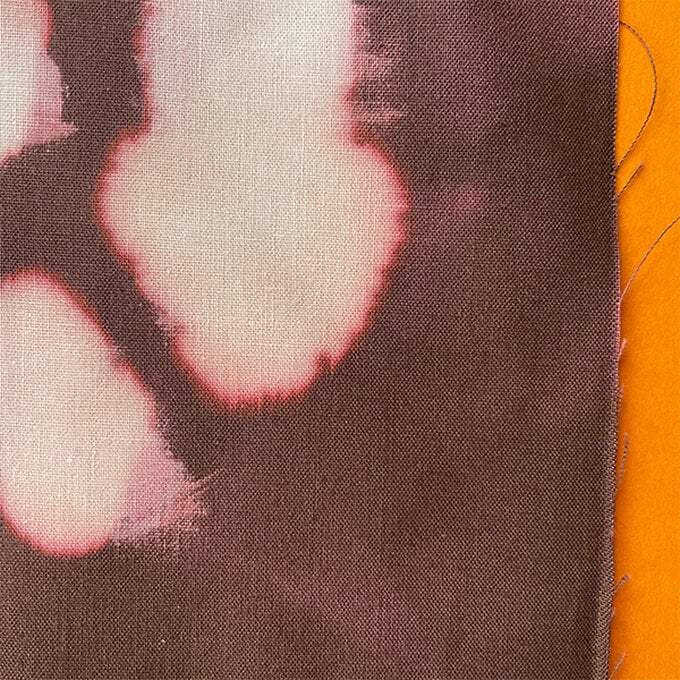
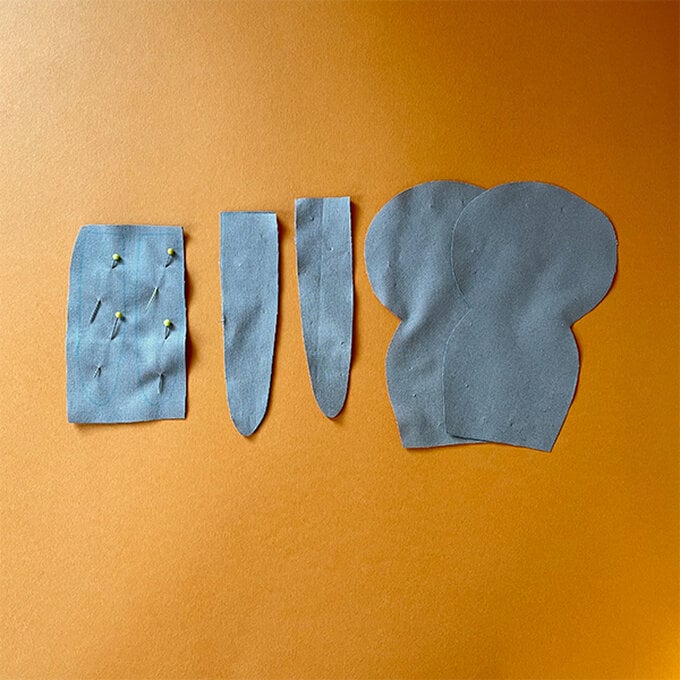
Use the templates to draw and cut out two main body pieces, 4 legs and 4 arms from your chosen fabric. If using the bleached fabric, ‘fussy cut’ the pieces to where you want the lighter patches to be.
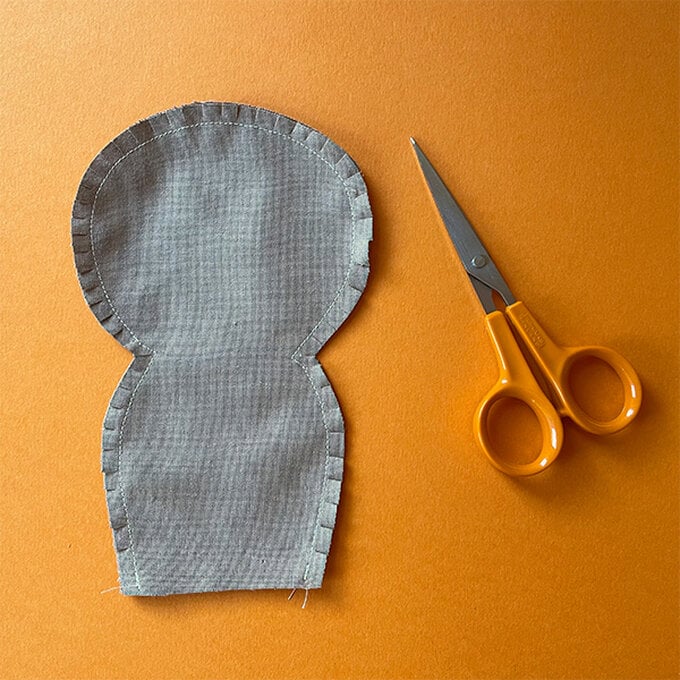
Sew the two body pieces RST, leaving the bottom straight side open. Use a smaller stitch length to sew all your pieces. Once sewn, add small cuts in the seam allowance towards your sewn line. You need to do this on all the curves to help the shape once turned inside out. Tip: The tighter the curve, the more cuts you’ll need.
Repeat this process on the legs and arms. Use a knitting needle or crochet hook to help turn your pieces the right way around.
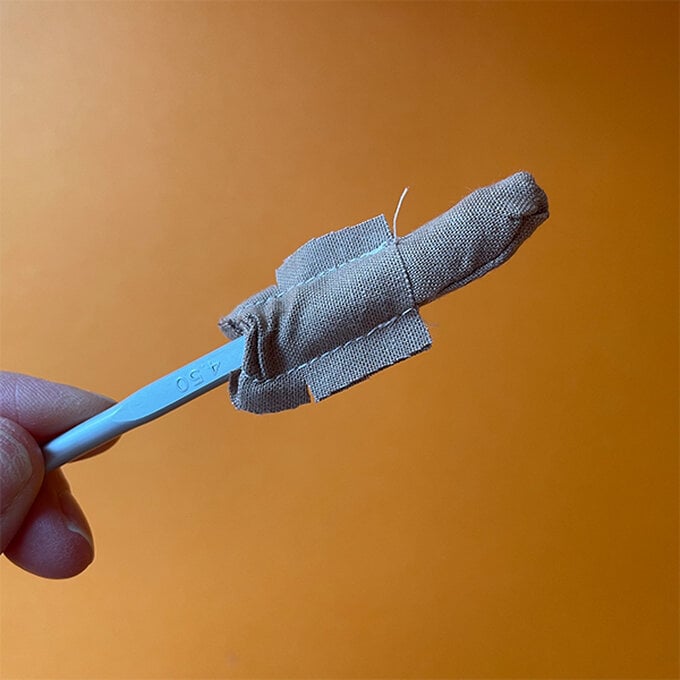
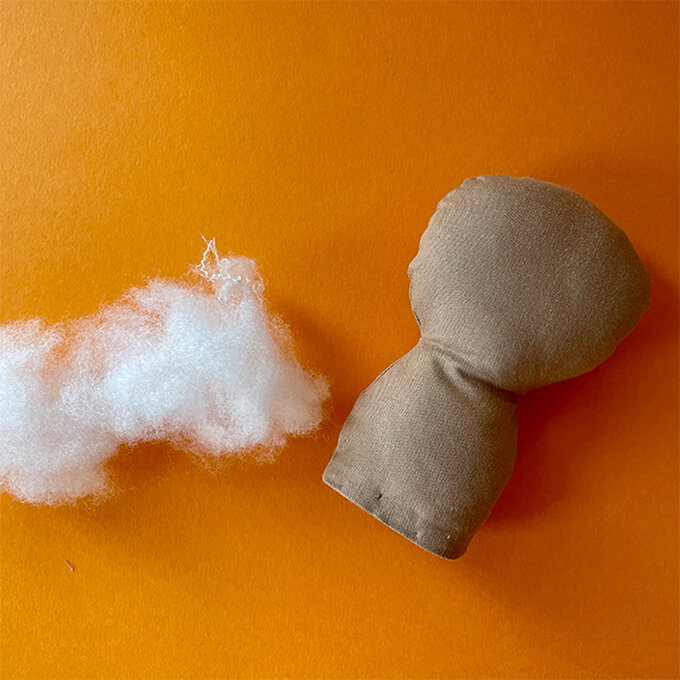
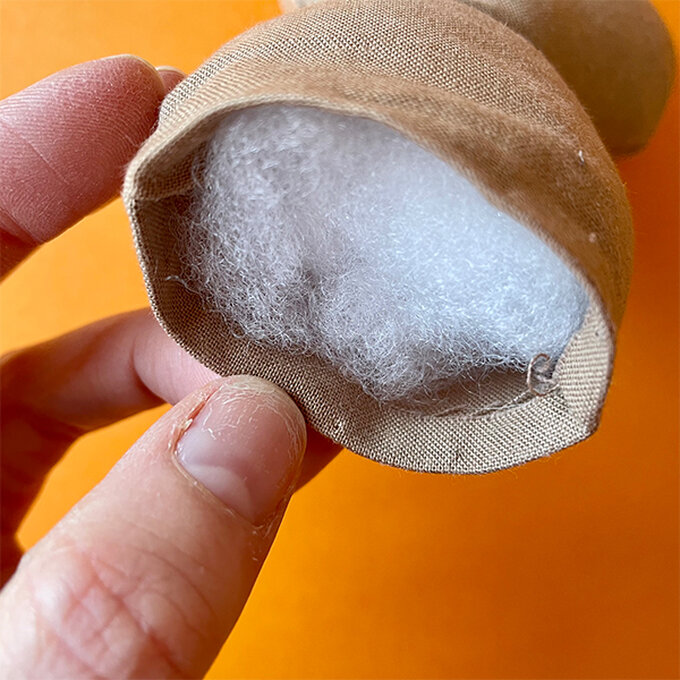
Stuff all the pieces firmly with toy stuffing. You can ‘massage’ the pieces to help distribute the stuffing inside. Leave about 1.5cm at the openings of all the pieces un-stuffed.
Press the raw edge of the body to the inside by 1cm.
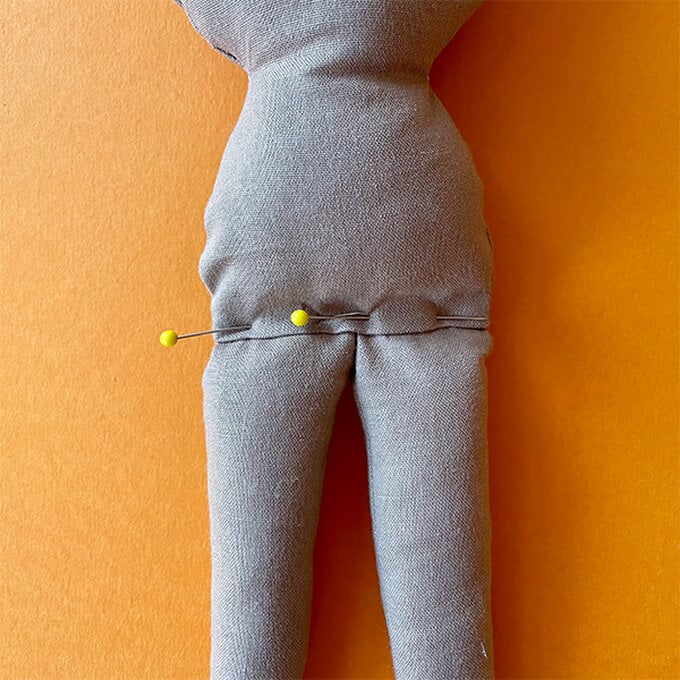
Place the legs inside the base of the body, pin in place. Make sure you’ve caught the pressed edge on the reverse in your pinning.
Sew through all layers with your machine, securing the legs to the body.
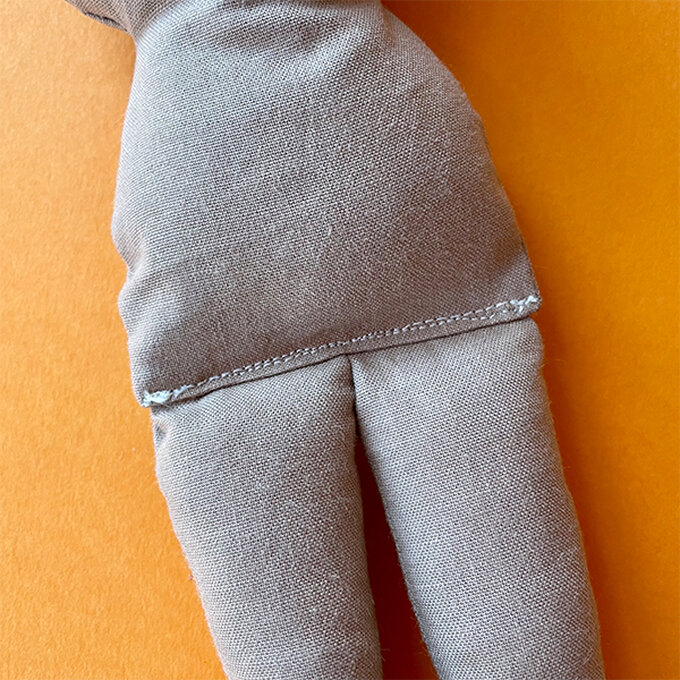
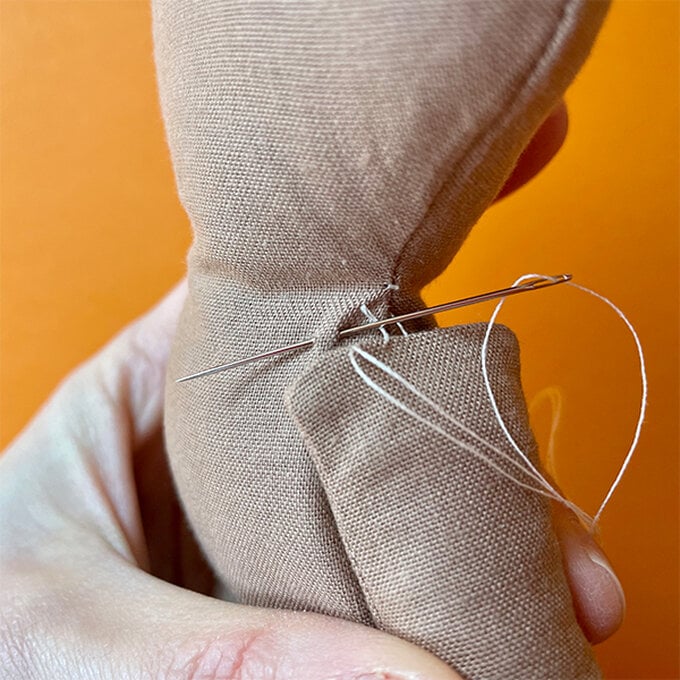
Press the raw edges of the arms inside by 1cm, as you did for the body piece.
Sew these by hand to the sides of the body with a small ladder stitch.
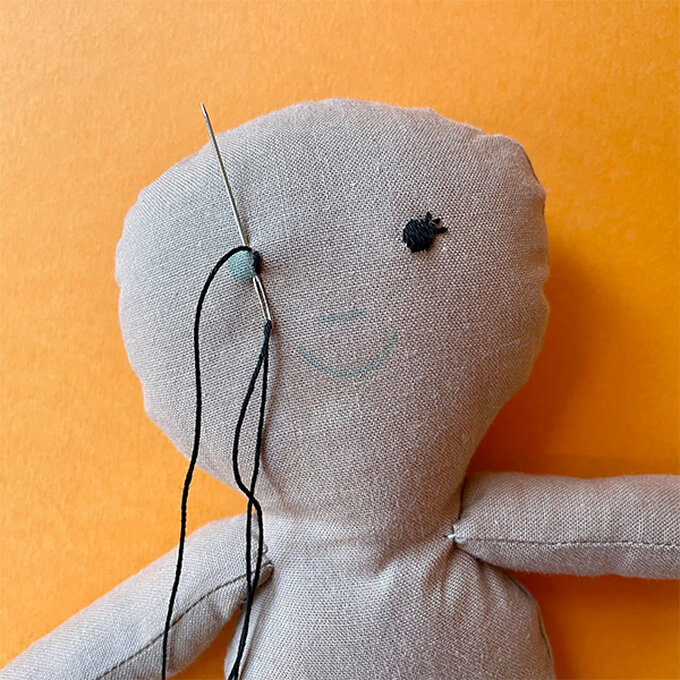
Use a piece of tracing paper, Fibrous Embroidery Stabiliser or Washable Fabric Marker to copy the face. Use embroidery thread and a simple back stitch to add the eyes, nose (6 strands) and mouth (3 strands).
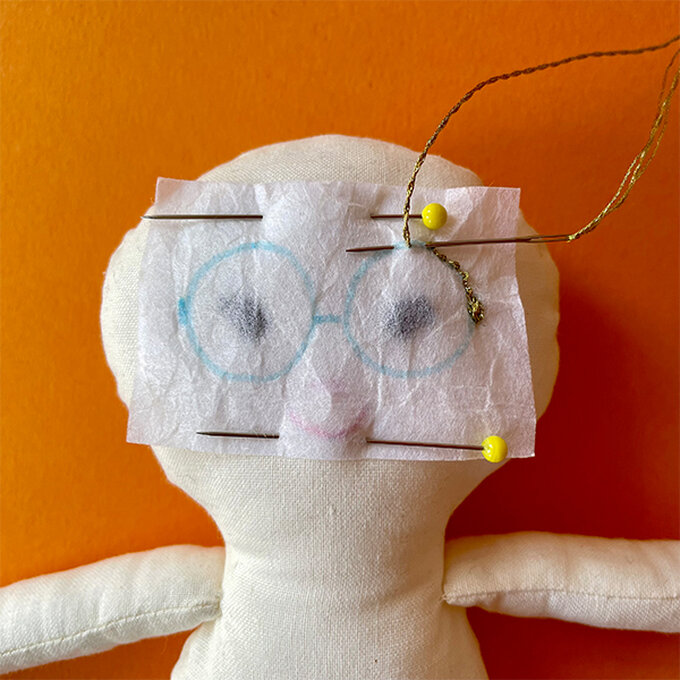
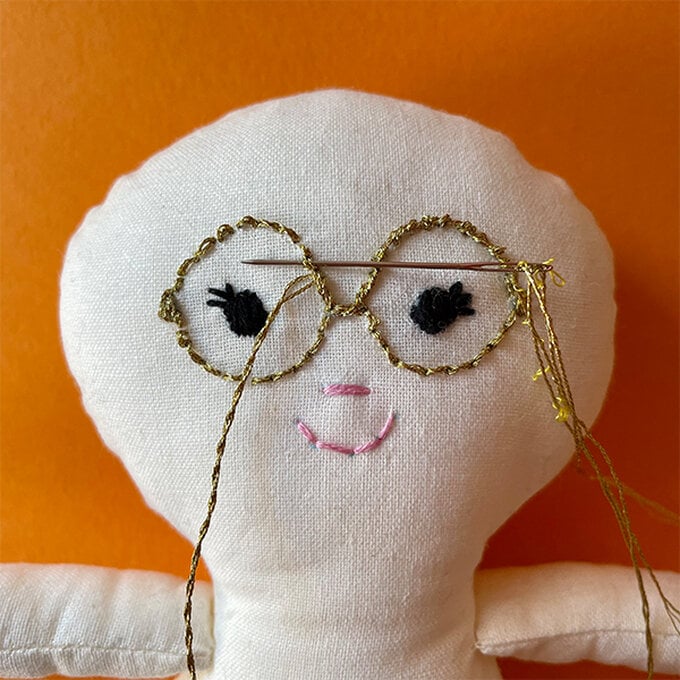
For the glasses, repeat your preferred copying method, then use a back stitch and metallic embroidery thread to add the glasses (3 strands). Then go back over it with a whipped back stitch to help with the shape.
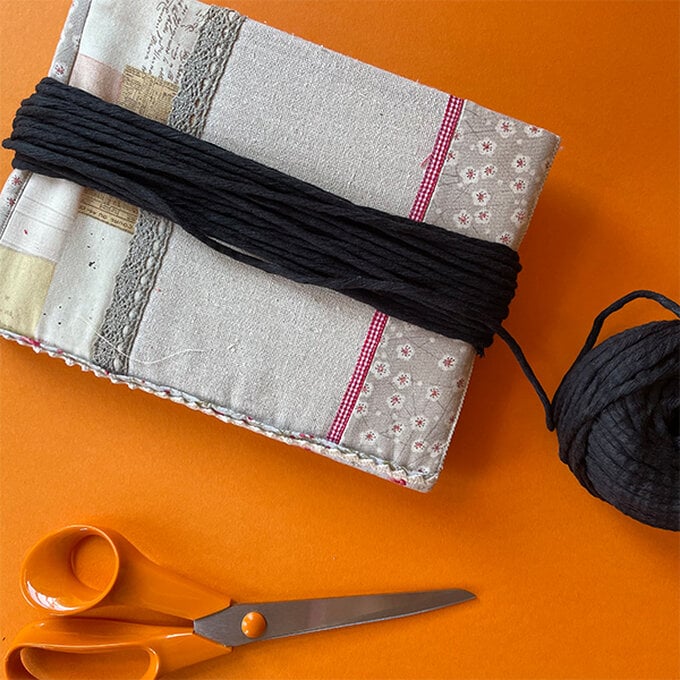
Use a book or piece of cardboard roughly 25cm long to wrap your yarn around. Once you have a good amount, cut at the top and bottom to create lots of 25cm lengths.
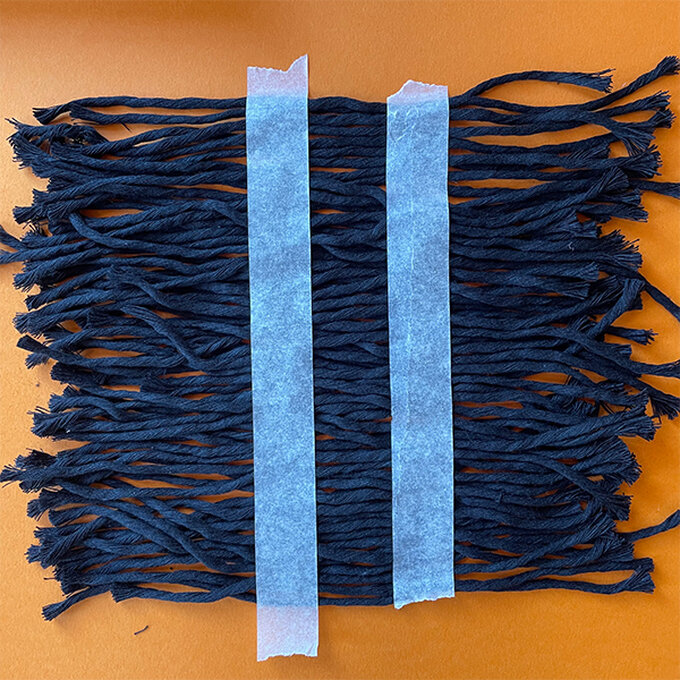
Lay the strands out. Try and have them together, but flat. Use masking tape to keep it all together to help you sew. Sew down the centre to join them all together. You need roughly 30-40cm of hair depending on the thickness. But you can do this in two sections.
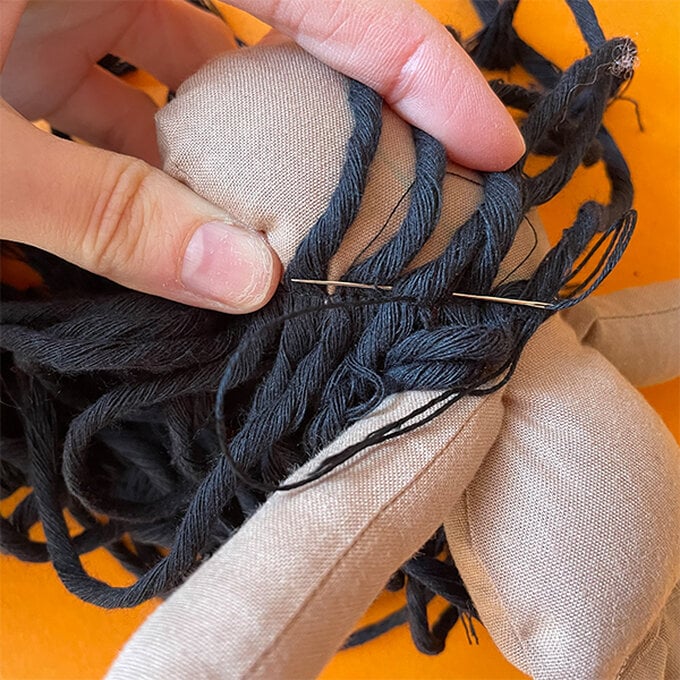
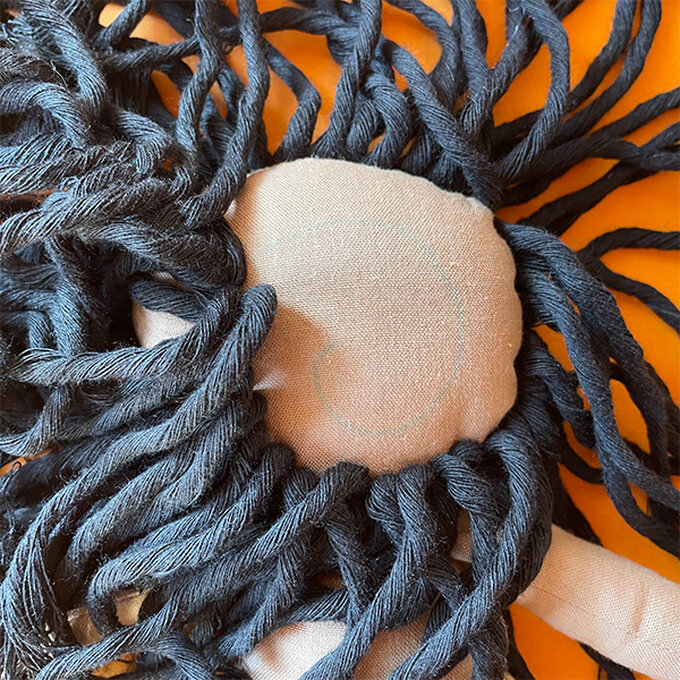
Use a needle and thread to start sewing the hair to the back of the head. Sew it in a circle from the base of the neck, around the face and back. Use a back stitch and small stitches, then knot it securely. Make sure you check the seam line as you sew, especially around the front of the face.
Continue sewing it in a ‘swirl' shape in the centre-back of the head. You can draw this on to help guide you. Use small stitches and knot it securely.
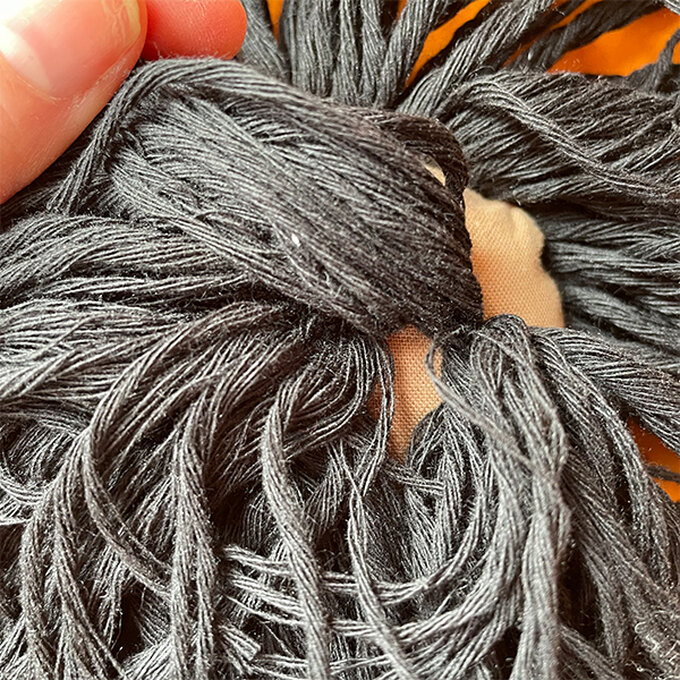
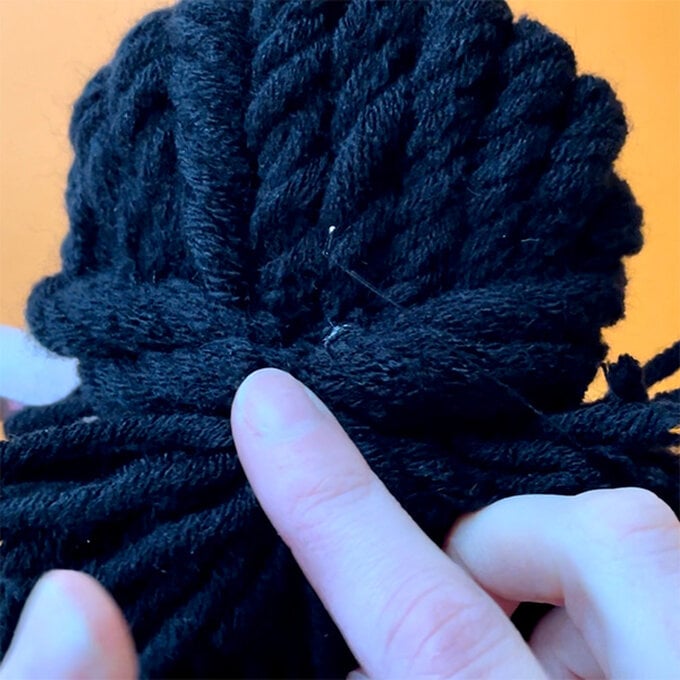
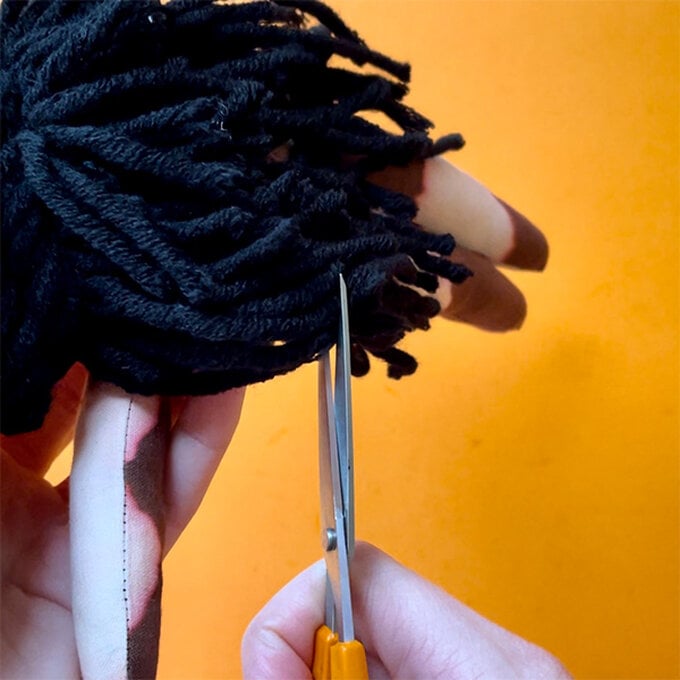
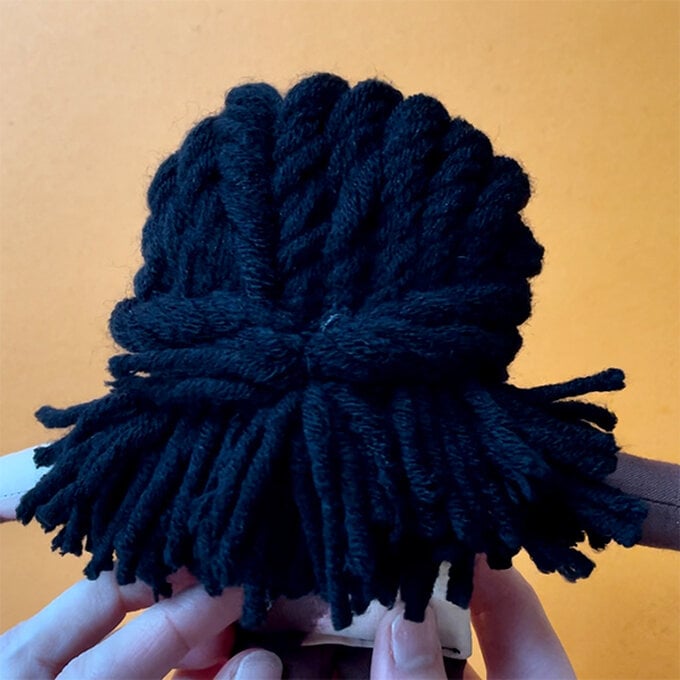
Carefully unwind each strand to fray the yarn. Do this carefully by hand so you don’t pull the hair from your stitches. Trim the hair to the length you like.
Use a book or piece of cardboard roughly 25cm long to wrap your yarn around. Once you have a good amount, cut at the top and bottom to create lots of 25cm lengths.
Lay the strands out - try and have them together, but flat. Use masking tape to keep it all together to help you sew. Sew down the centre to join them all together. You need two sections of hair, roughly 20-25cm, depending on the thickness.
Use a needle and thread to start sewing the hair to the top of the head, from one side of the face to the other. Use a back stitch and small stitches, then knot it securely. Make sure you check the seam line as you sew, especially around the front of the face.
Next, repeat the process on the back of the head, sewing the next section of hair down the centre-back of the head. You can draw this on to help guide you. Use small stitches and knot it securely.
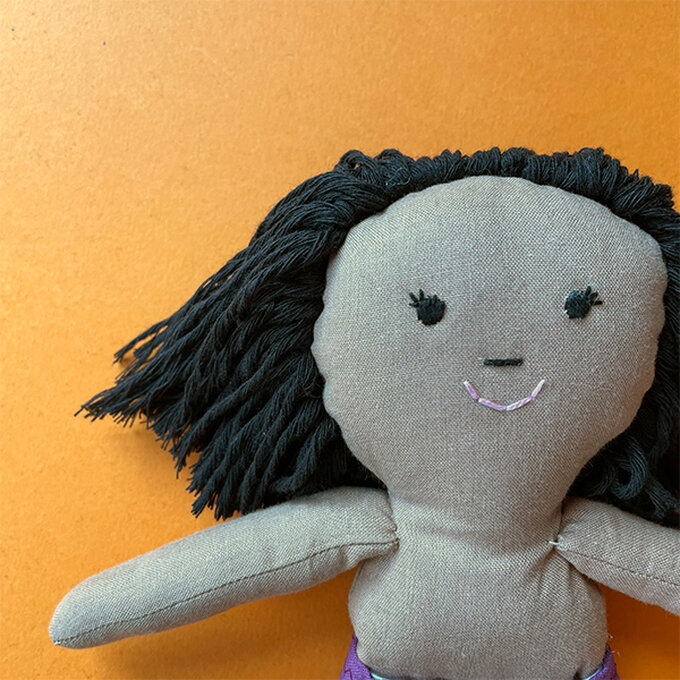
Part all the hair into two pig tails and use spare yarn to tie them into bunches. Pull out a few strands of yarn at the very centre top of the head, as this will become the fringe. Use a needle and thread to sew each bunch securely. Use a mix of wrapping the thread around and stitches to make sure they stay. You can cut off the spare yarn afterwards if you wish to.
Trim the pig tail bunches to the length you like. Then trim the strands on the front short to create a fringe.
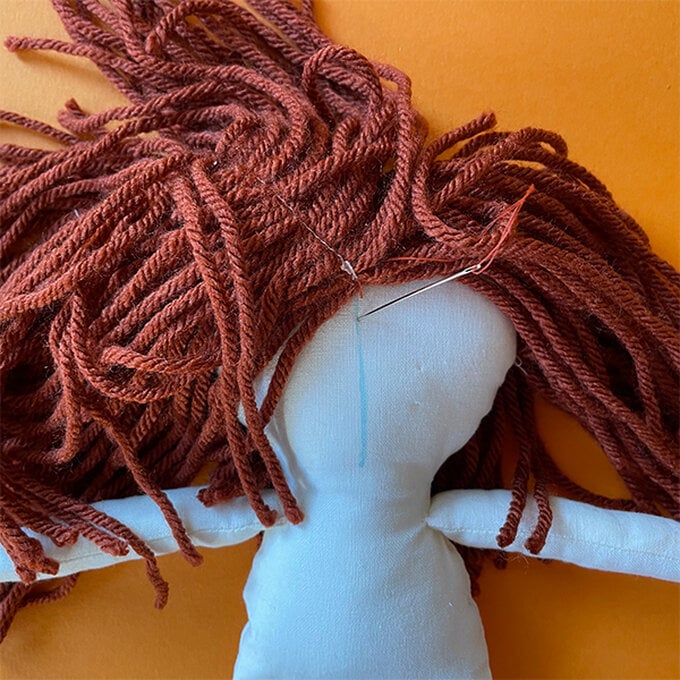
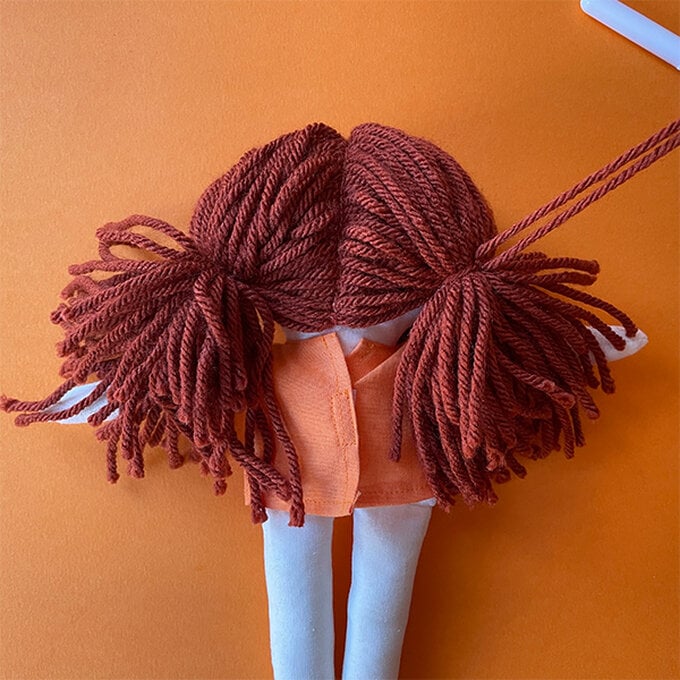
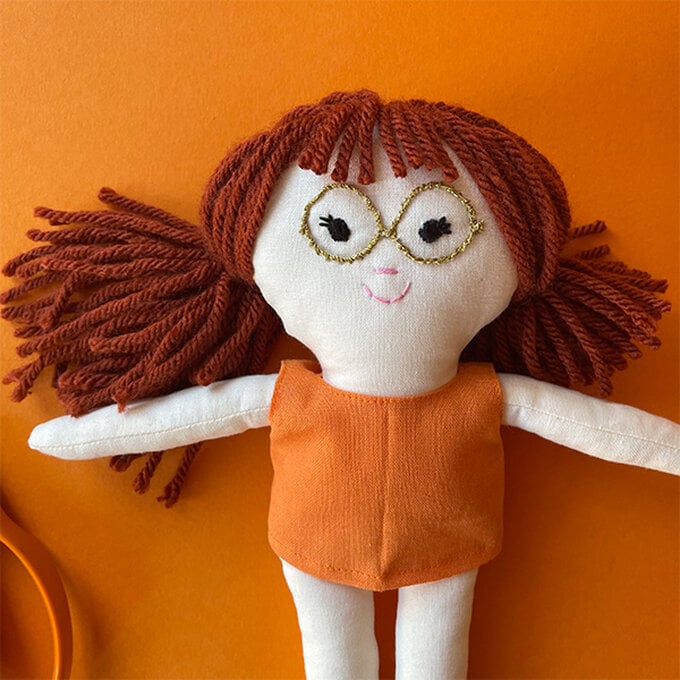
Use a book or piece of cardboard roughly 25cm long to wrap your yarn around. Once you have a good amount, cut at the top and bottom to create lots of 25cm lengths.
Lay the strands out. Try and have them together, but flat. Use masking tape to keep it all together to help you sew. Sew down the centre to join them all together. You need roughly 30-40cm of hair depending on the thickness. But you can do this in two sections.
Use a needle and thread to start sewing the hair to the back of the head. Sew it in a circle from the base of the neck, around the face and back. Use a back stitch and small stitches, then knot it securely.
Make sure you check the seam line as you sew, especially around the front of the face.
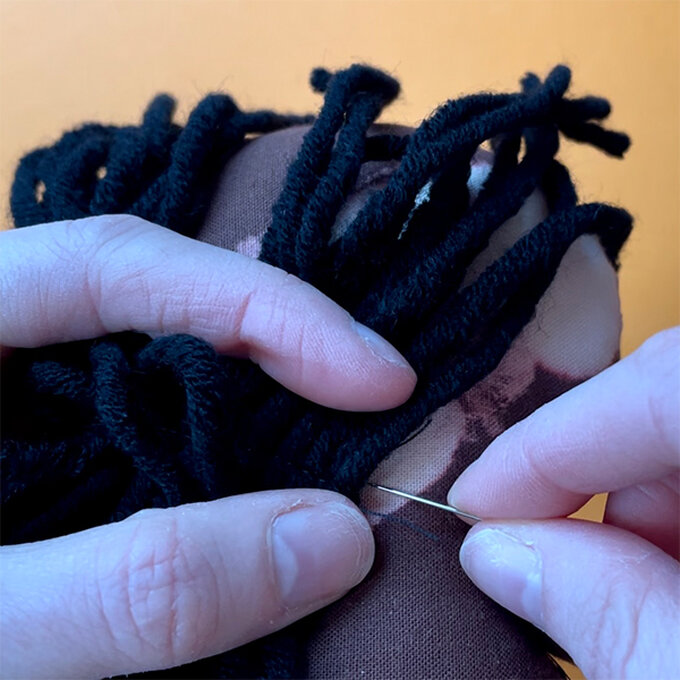
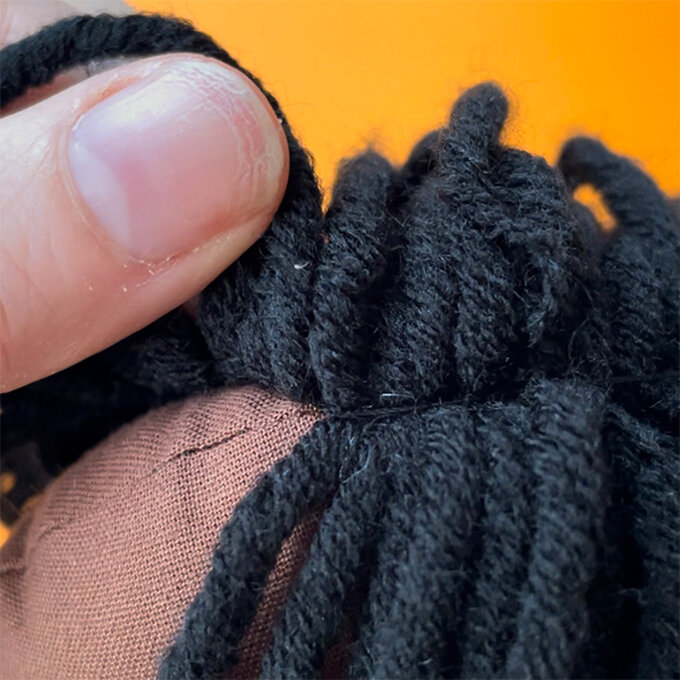
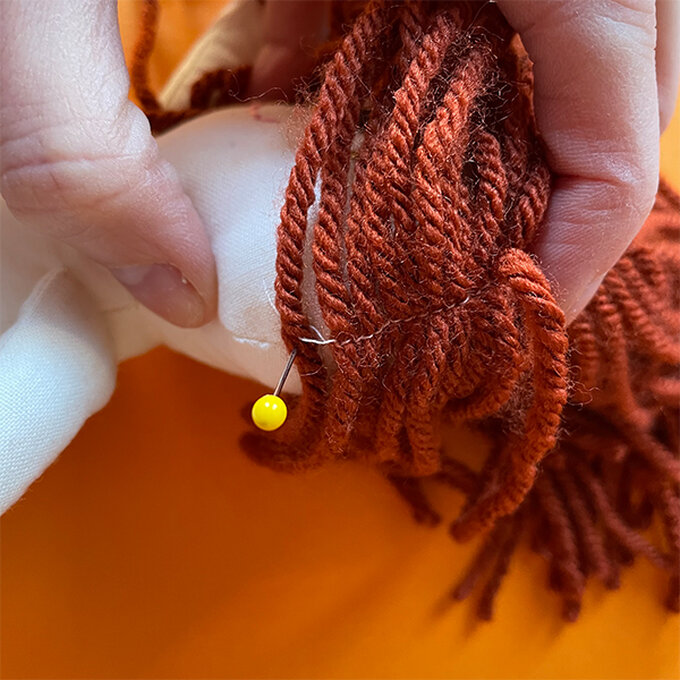
Starting at the centre top, twist 6-9 strands of yarn together, how many depends on the look and thickness of the yarn. Twist it tightly and pin in place, you can move the braids along later if you need.
Use a backstitch and a needle and thread to secure each braid in place. Make sure each one is secure.
As you get near the sides of the head, you can twist them more towards the centre back, rather than downwards.
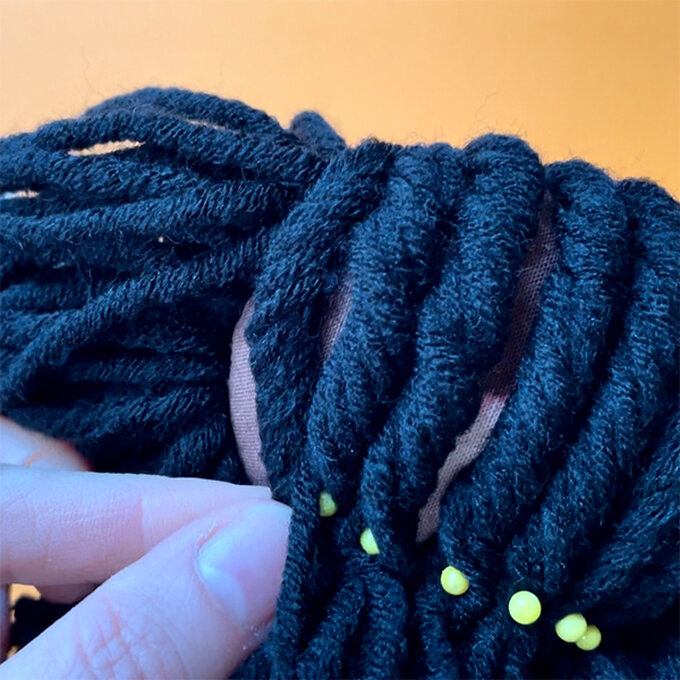
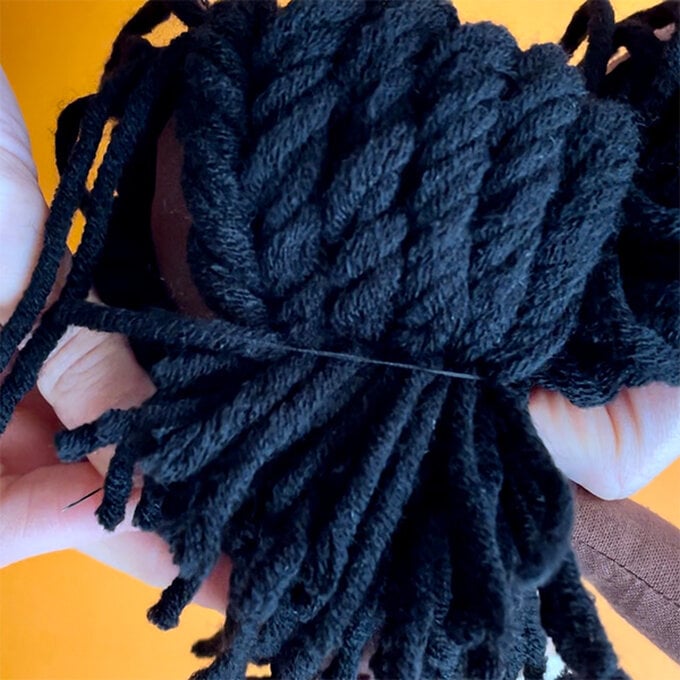
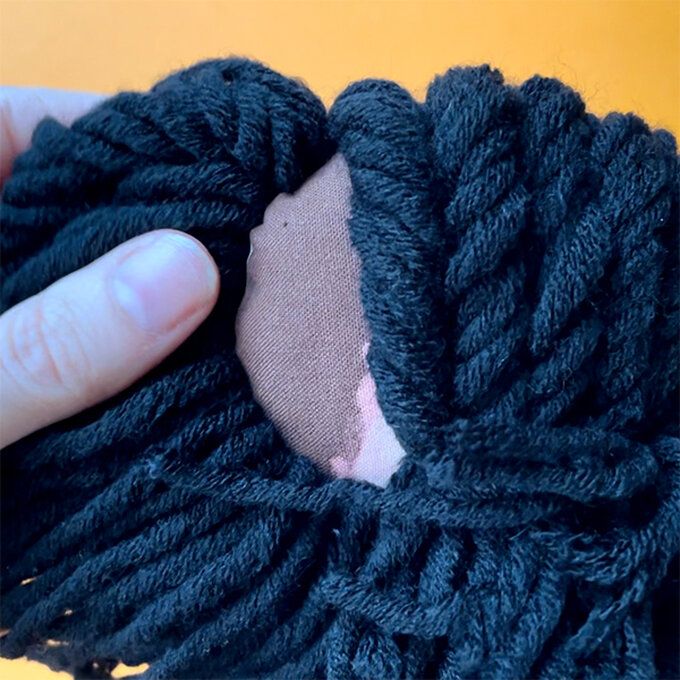
The last couple of braids on the side should be sewn on top of the others and secured in the centre back to create a ‘half up’ hair style.
Trim all the leftover yarn to the length you like.
Use the templates to cut out one vest front and two vest backs from your cotton. Sew them together at the shoulder seams only.
Use an iron to gently press the raw edges of the neckline and arm holes to the WS by 3-4mm. Use fabric glue to secure in place. Follow the fabric glue instructions for best results.
Sew the neckline and armholes down, close to the edge.
Fold the bottom hems and centre back raw edges to the WS by 6mm. Use fabric glue to secure in place.
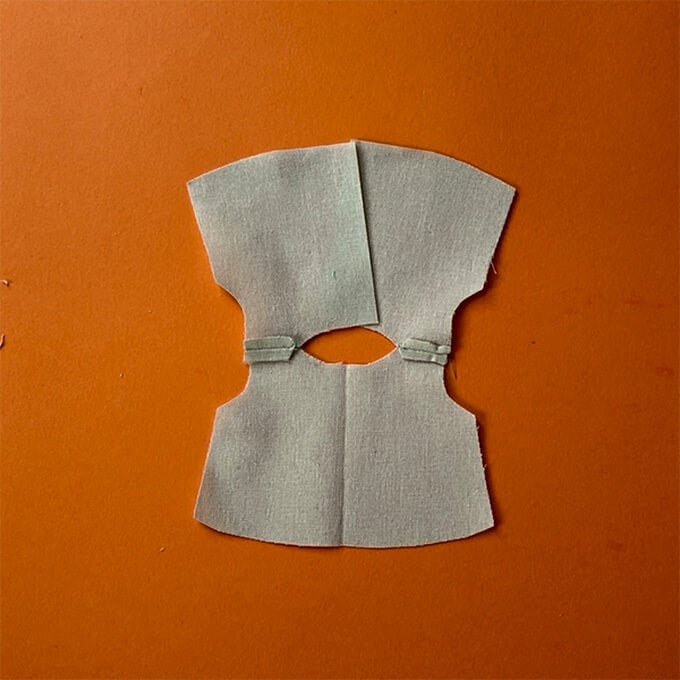
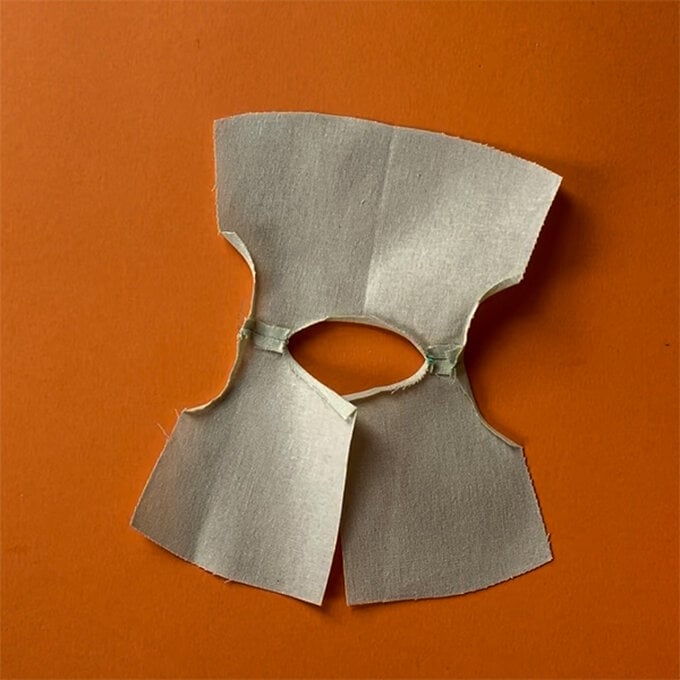
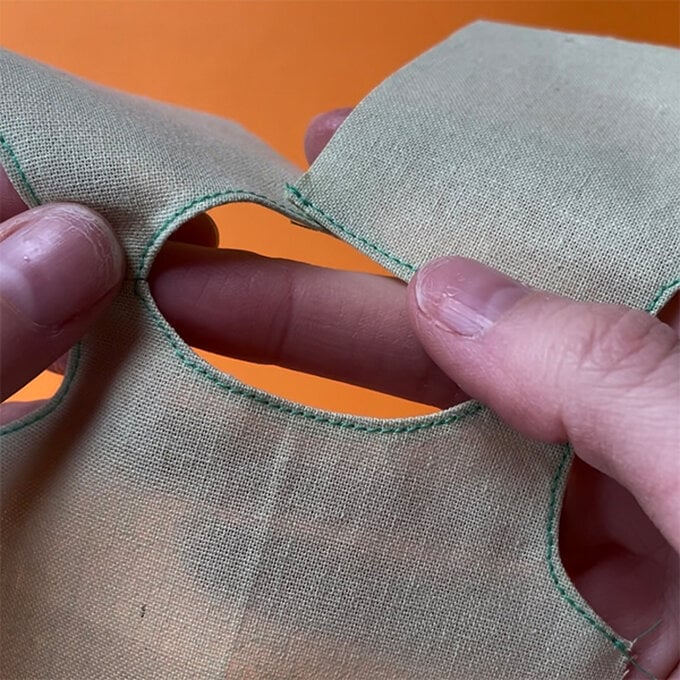
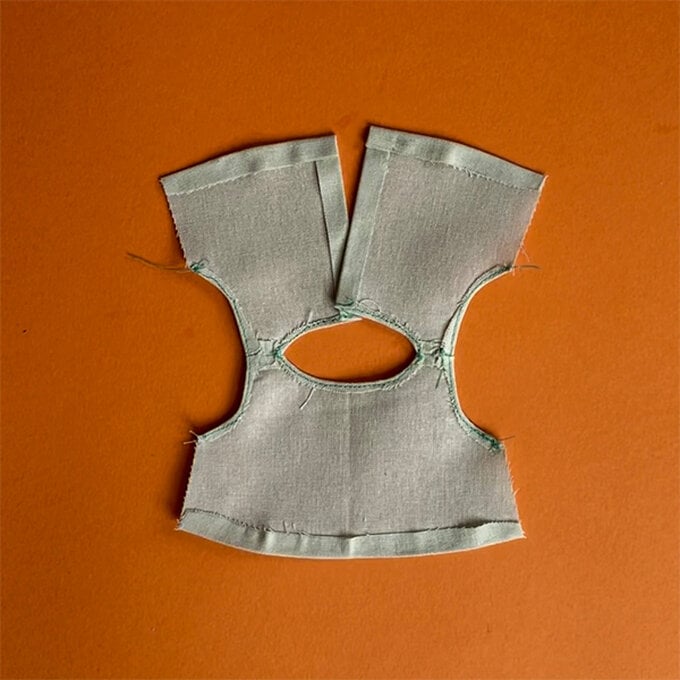
Sew the hems in place carefully.
Fold the whole vest in half RST and line up the side seams. Sew these together carefully.
Add a small piece of sew-on Velcro to the centre back on each side. Turn the right way, then press to finish.
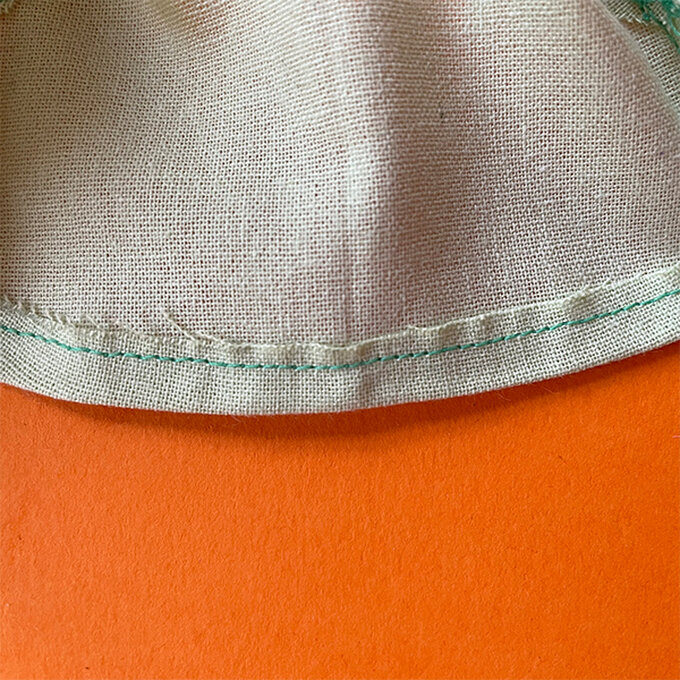
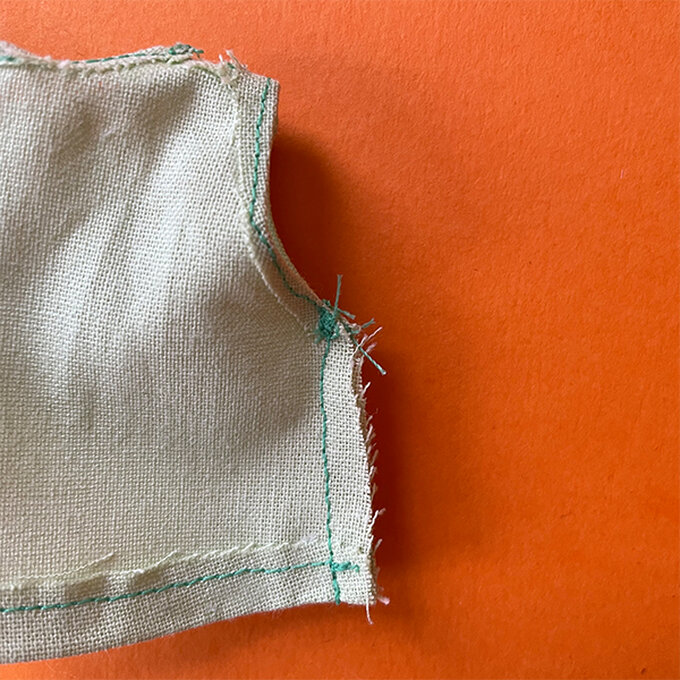
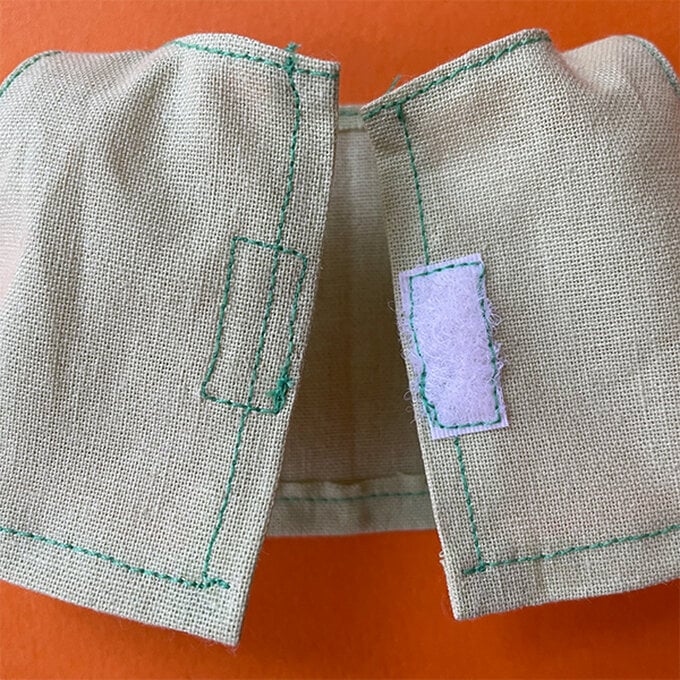
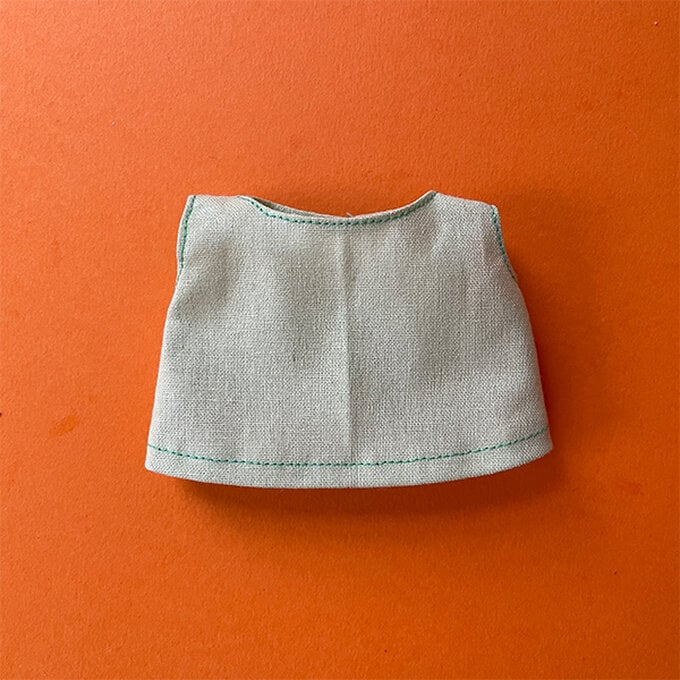
Use the templates to cut out one top front and two top backs from your cotton. Sew them together at the shoulder/top sleeve seams only.
Use an iron to gently press the raw edges of the neckline to the WS by 3-4mm. Use fabric glue to secure in place. Follow the fabric glue instructions for best results. Fold the bottom hems, the sleeve ends and centre back raw edges to the WS by 6mm. Use fabric glue to secure in place.
Sew the neckline down, close to the edge. Then sew all the hems in place carefully.
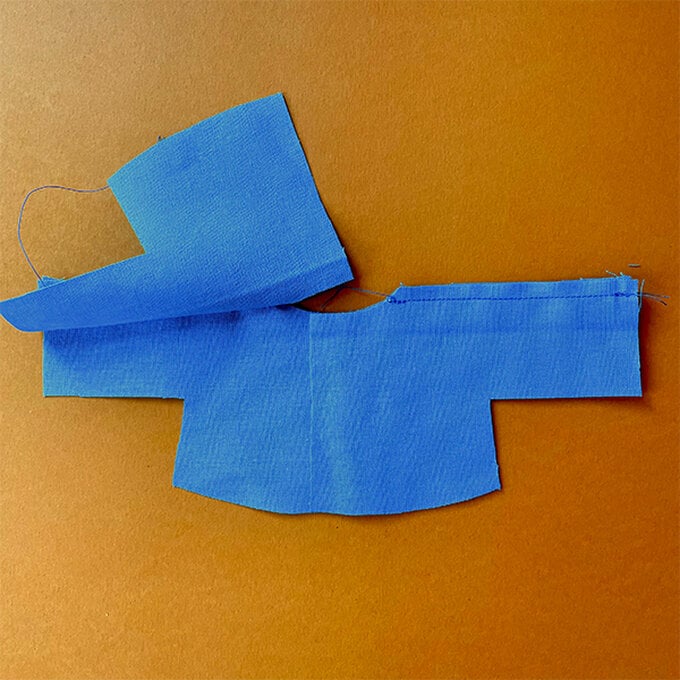
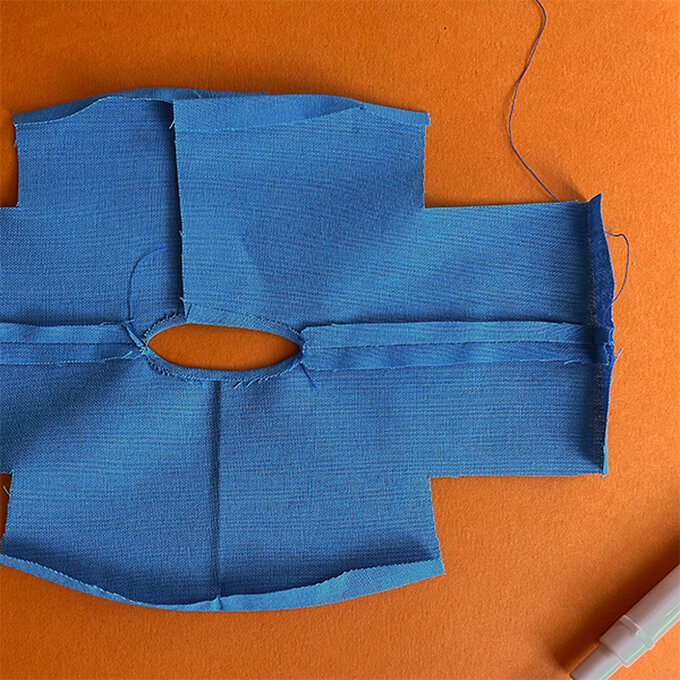
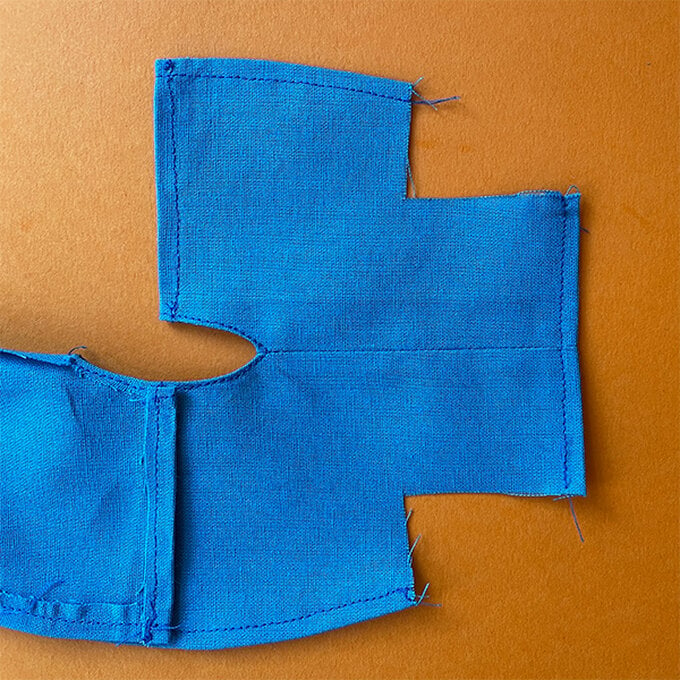
Fold the whole top in half RST and line up the side seams and sleeves. Sew these together carefully. Cut a small snip towards the seam at the underarm.
Add a small piece of sew-on Velcro to the centre back on each side. Turn the right way, then press to finish.
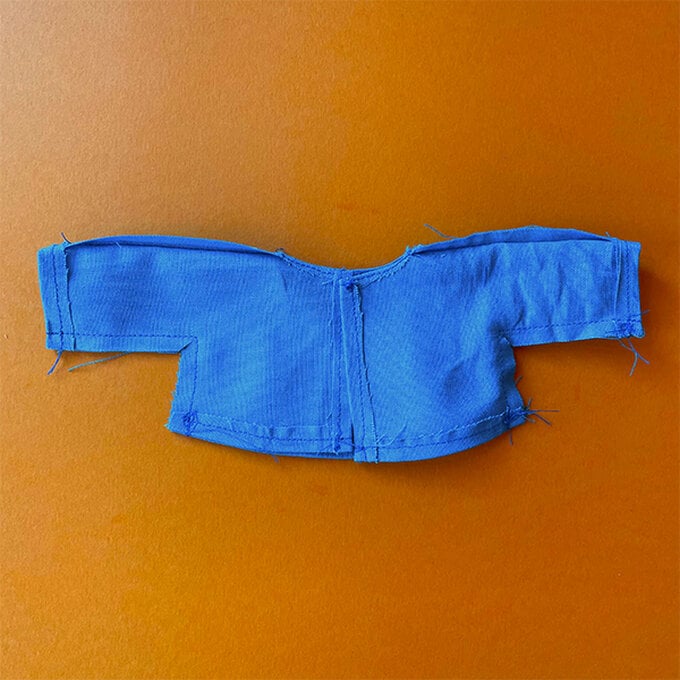
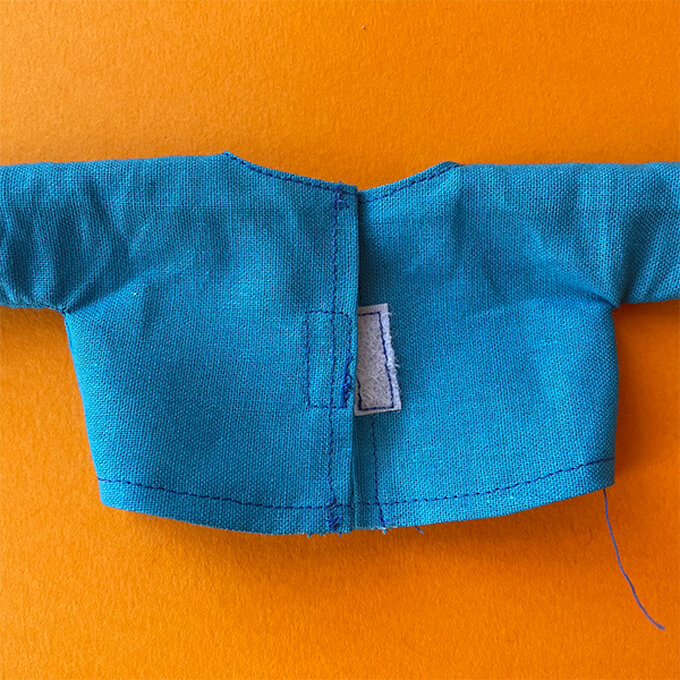
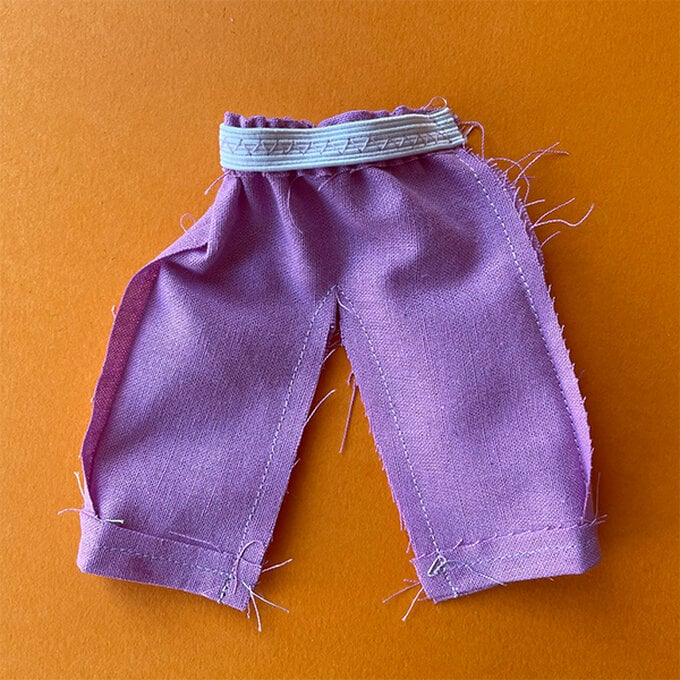
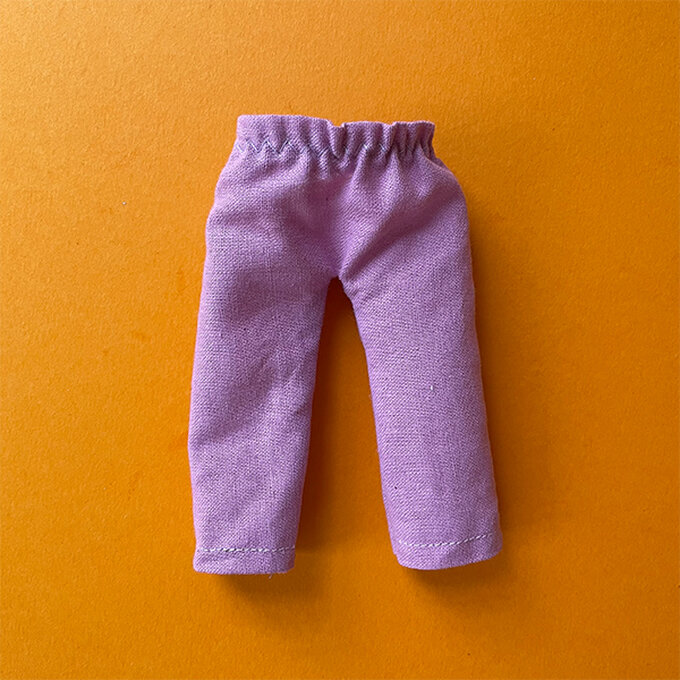
Use the templates to cut two trouser pieces. Put them RST and sew one of the long side seams.
Fold the top waist edge to the WS by about 6mm. Use fabric glue to secure in place. Follow the fabric glue instructions for best results. Then cut a piece of 6mm-8mm elastic slightly longer than your waist edge.
Using a zig zag stitch, carefully sew your elastic to the waist edge, stretching the elastic as you sew to gather the fabric.
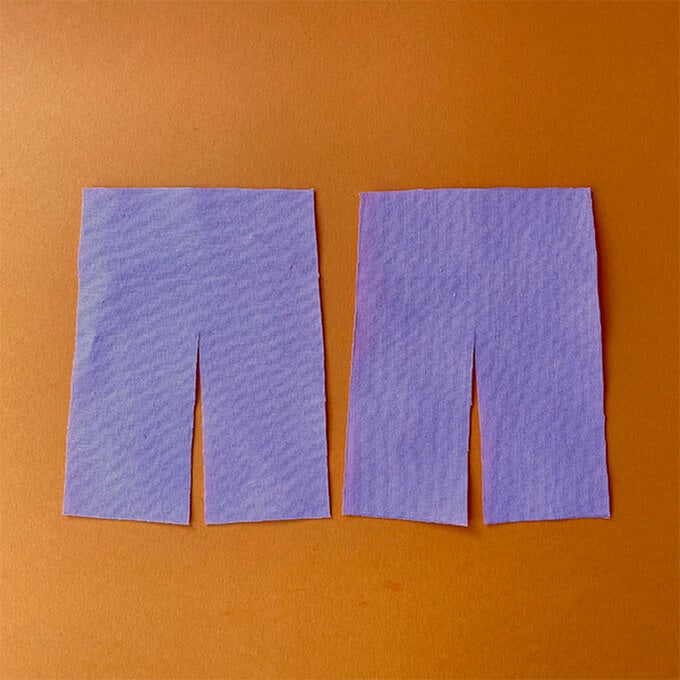
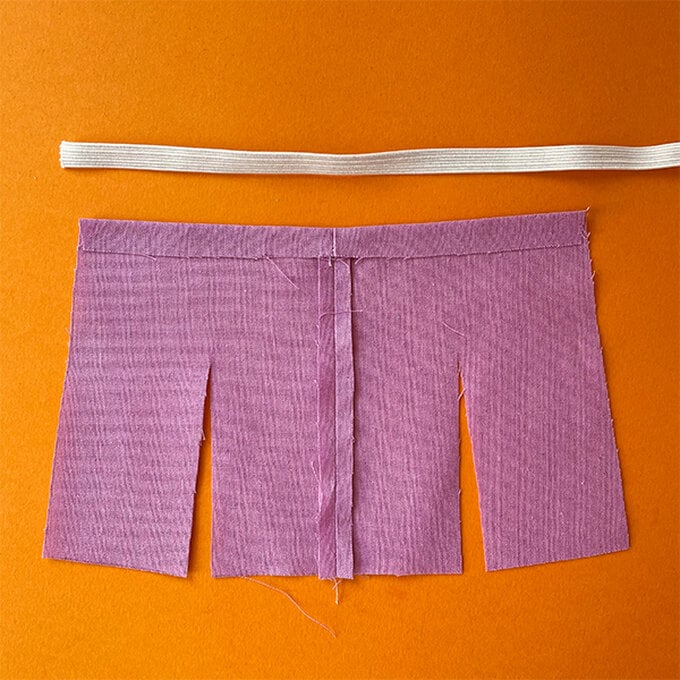
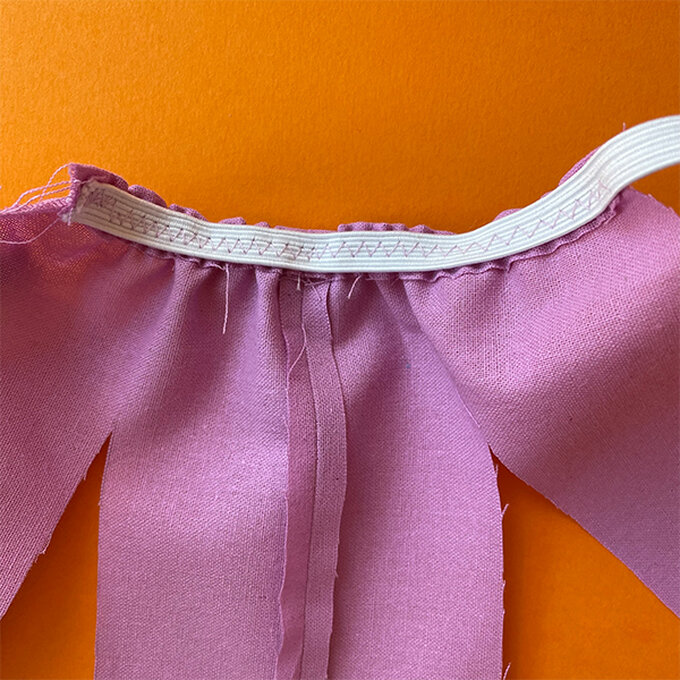
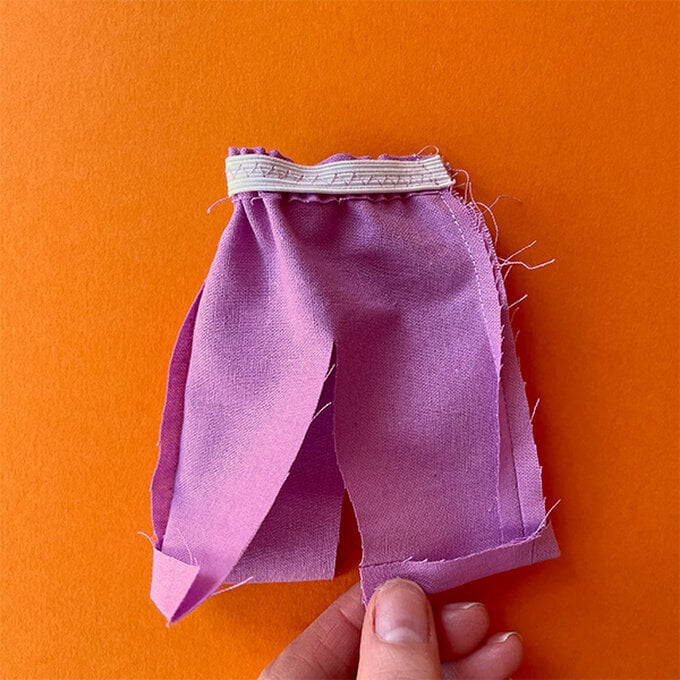
Now fold the trousers RST again and sew the other long side seam. Trim off any excess elastic. Then fold up the bottom hems to the WS by about 6mm. Use fabric glue to secure in place.
Sew the bottom hems, then sew the inner legs seams together. Turn the right way, then press to finish.
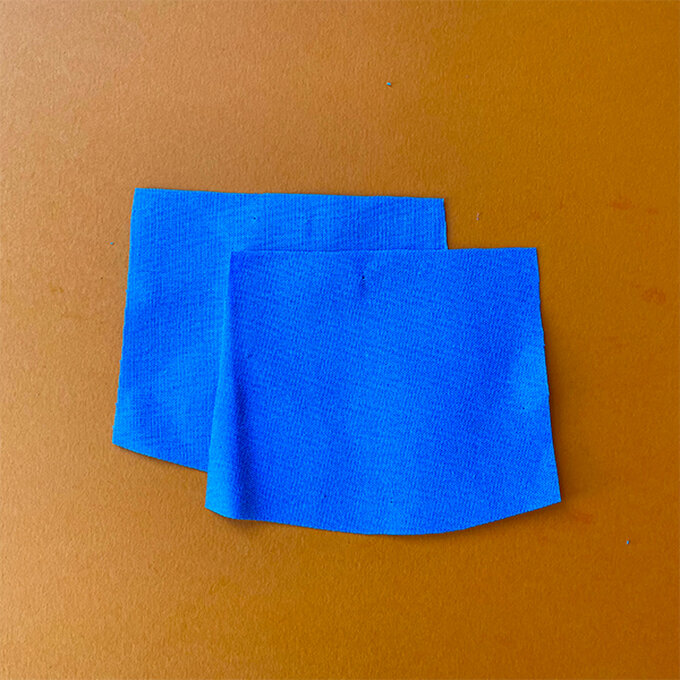
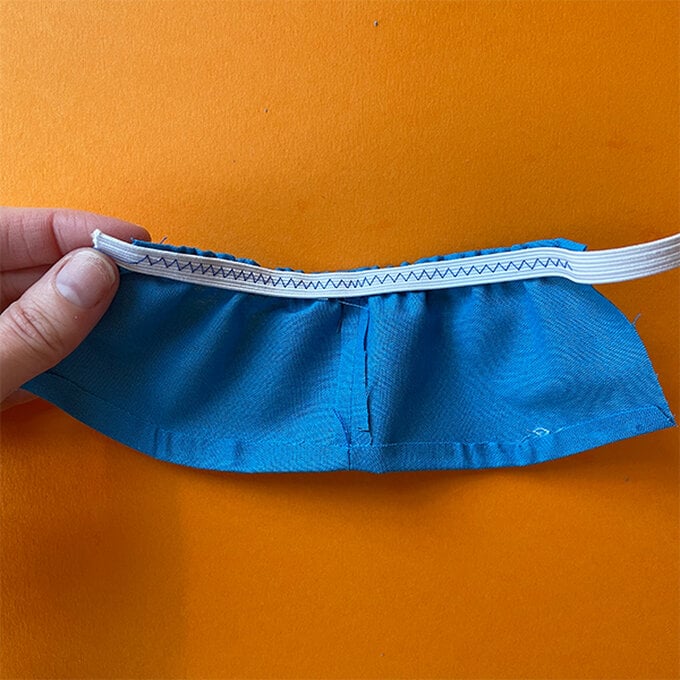
Use the templates to cut two skirt pieces. Put them RST and sew one of the long side seams.
Fold the top waist edge and the bottom hem to the WS by about 6mm. Use fabric glue to secure in place. Follow the fabric glue instructions for best results. Then cut a piece of 6mm-8mm elastic slightly longer than your waist edge.
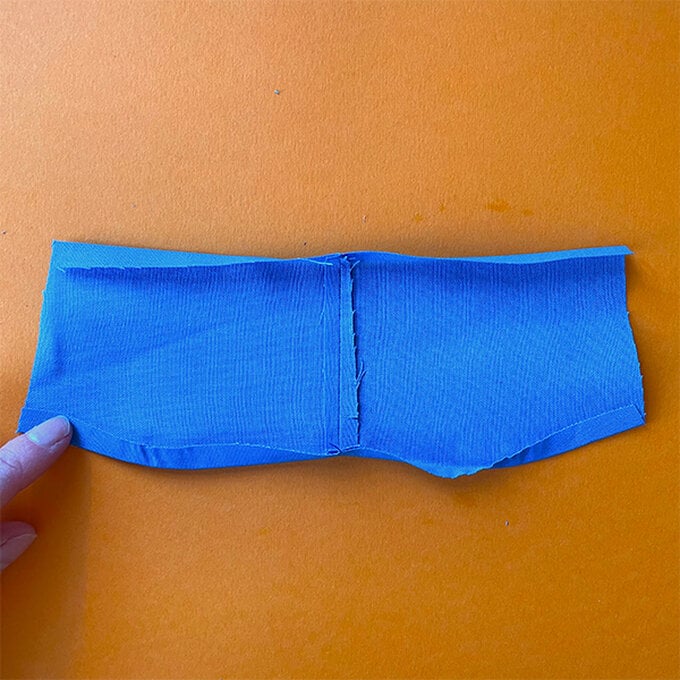
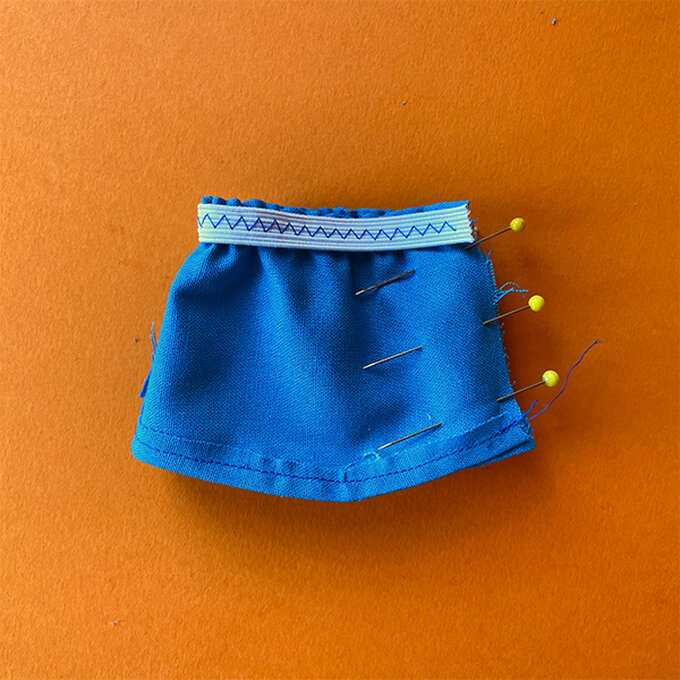
Using a zig zag stitch, carefully sew your elastic to the waist edge, stretching the elastic as you sew to gather the fabric.
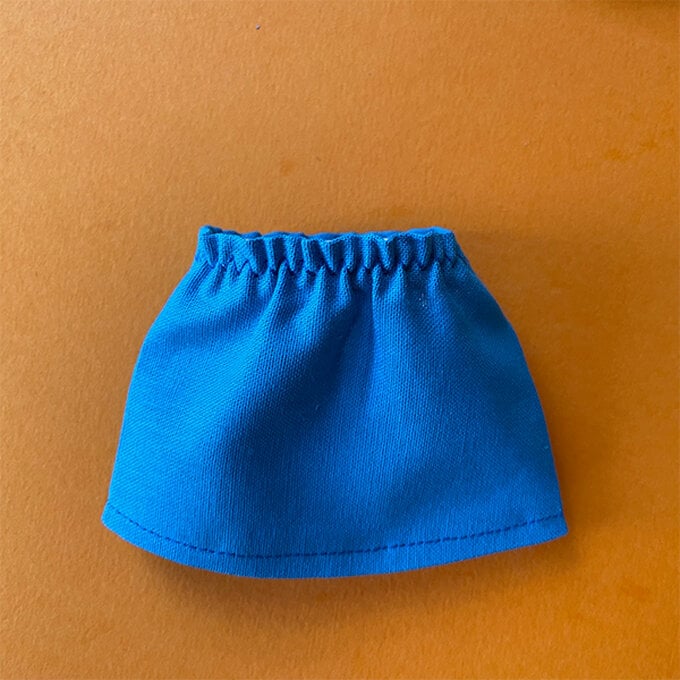
Sew the bottom hem in place. Now fold the skirt RST again and sew the other long side seam. Trim off any excess elastic.
Turn the right way, then press to finish.
Using the template, cut one headscarf piece on the fold of your chosen cotton fabric.
Fold RST and sew all the open edges together, leaving a gap at the base of about 5cm.
Cut small snips towards the seam line where all the curves are. Then cut any corners off. Turn the whole piece the right way around through the gap.
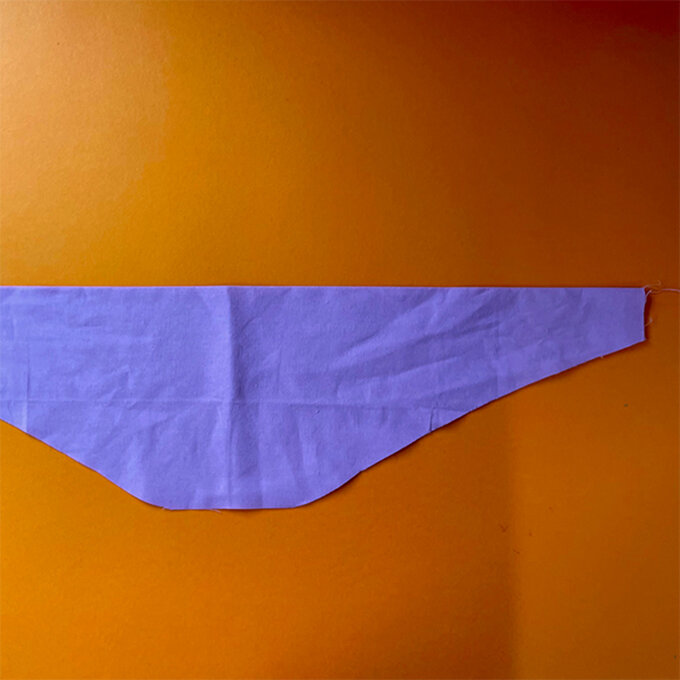
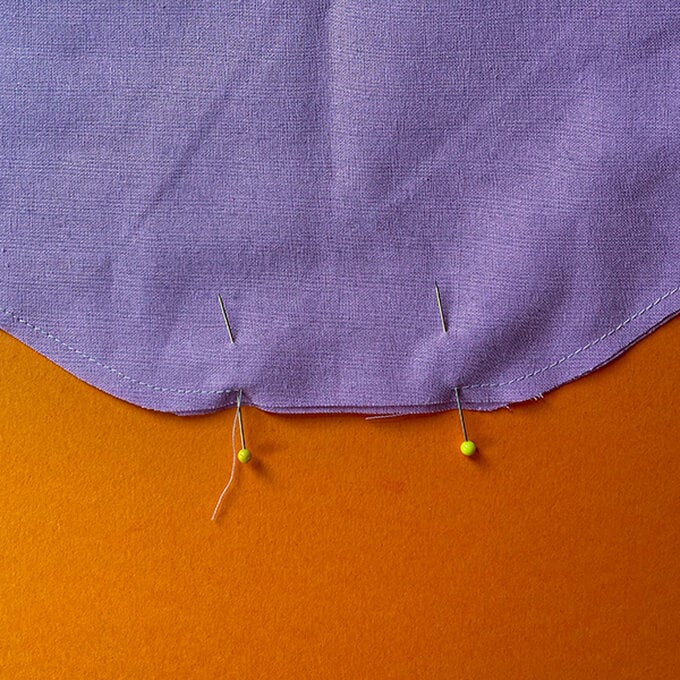
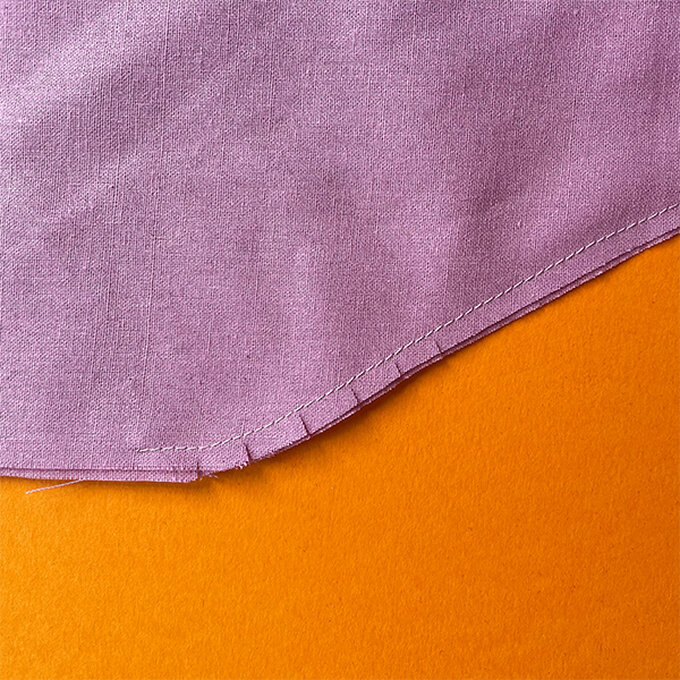
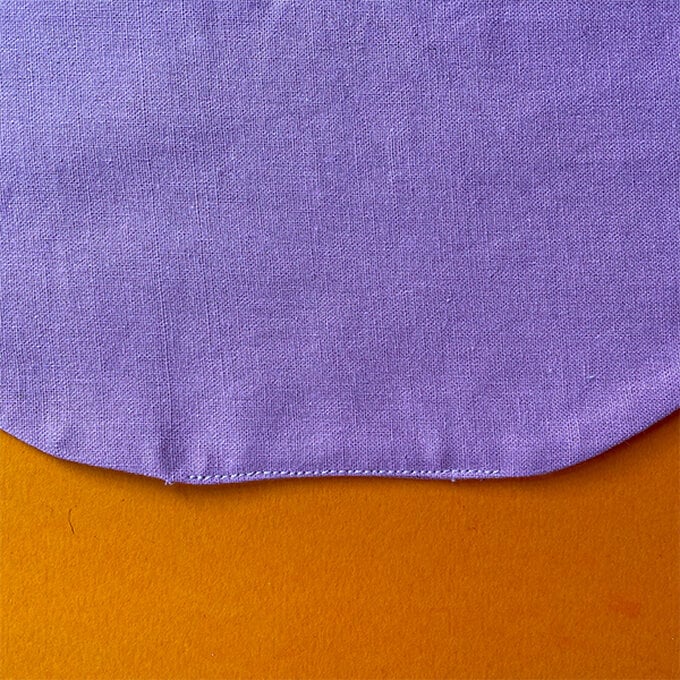
Press the whole piece flat, then top stitch the gap closed.
Sew small pieces of sew-on Velcro to the short ends of the headscarf. You need them sewn on the same side.
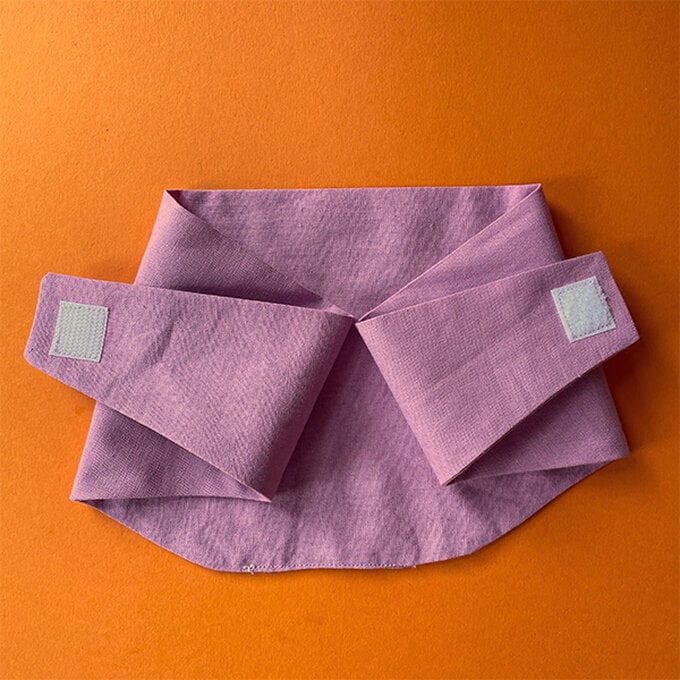
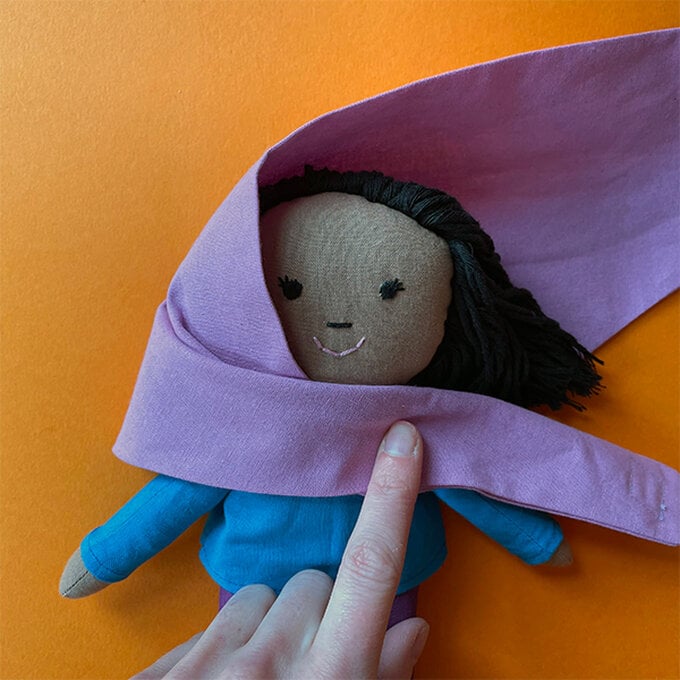
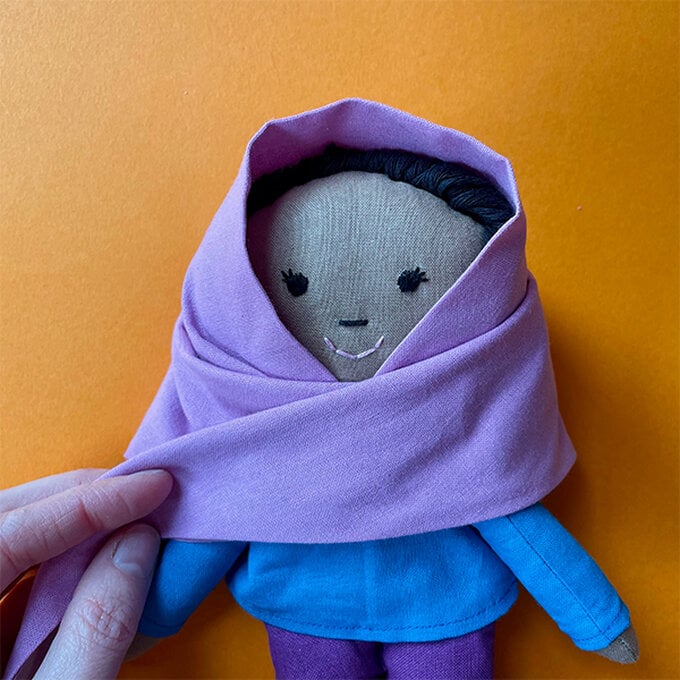
To put the headscarf on your doll, lay it underneath the doll (Velcro side up). Fold one long side over her shoulder and under her chin. Then fold it behind the opposite shoulder.
Repeat the process with the other long side of the headscarf, but tuck it slightly underneath the opposite side.
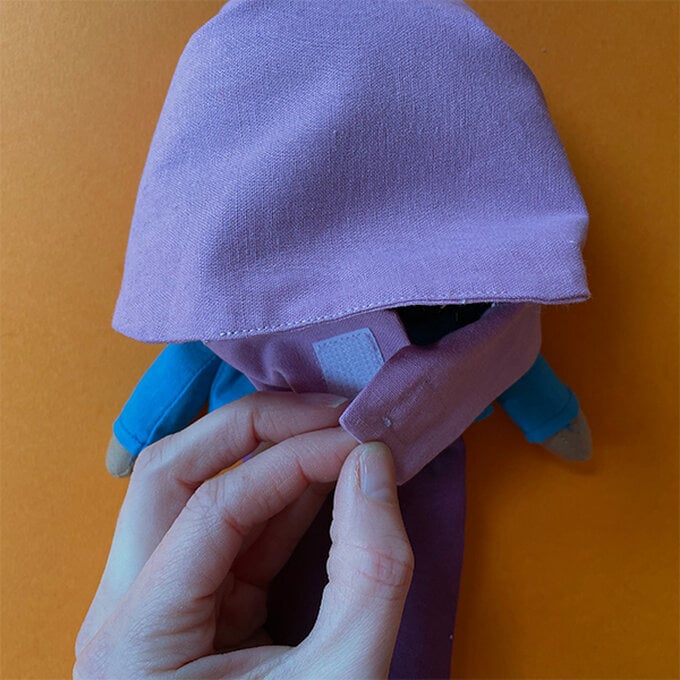
Turn the doll over and secure the Velcro ends together underneath the main headscarf piece.
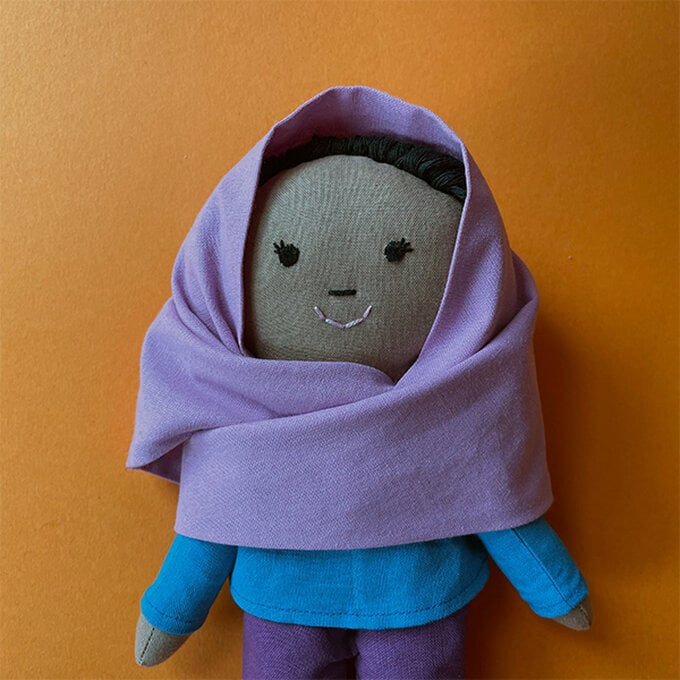
Adjust until you're happy with how the headscarf sits.
