How to Make Air Dry Clay Dinosaur Fossils
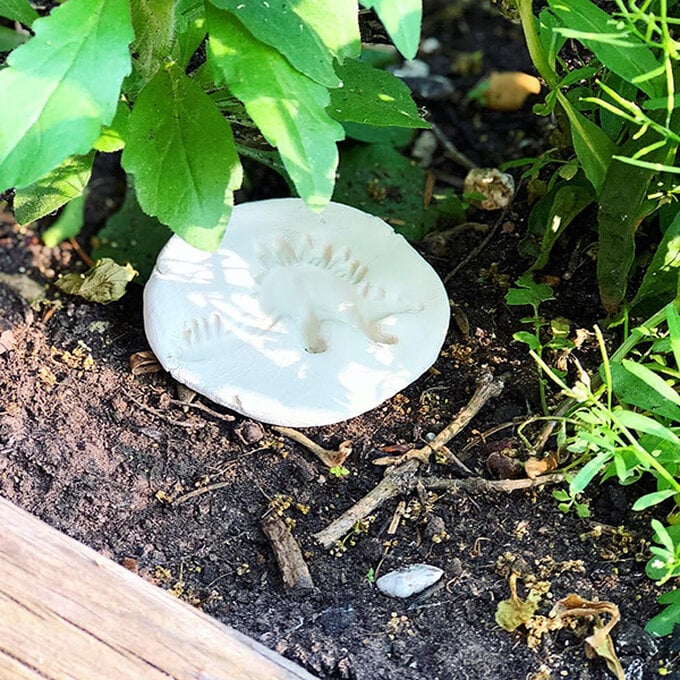
Let's imagine! Follow this simple step-by-step tutorial and learn how to create these fun and easy clay dinosaur fossils. Arrange your own fossil hunt for the children.
They will love pretending to be little paleontologists, making the fossils and digging for them around the garden.
Project and instructions by @ThePoncyPantry
You will need
Subtotal
Is $ 2.49 , was $ 4.49
Subtotal
Is $ 7.49
How to make
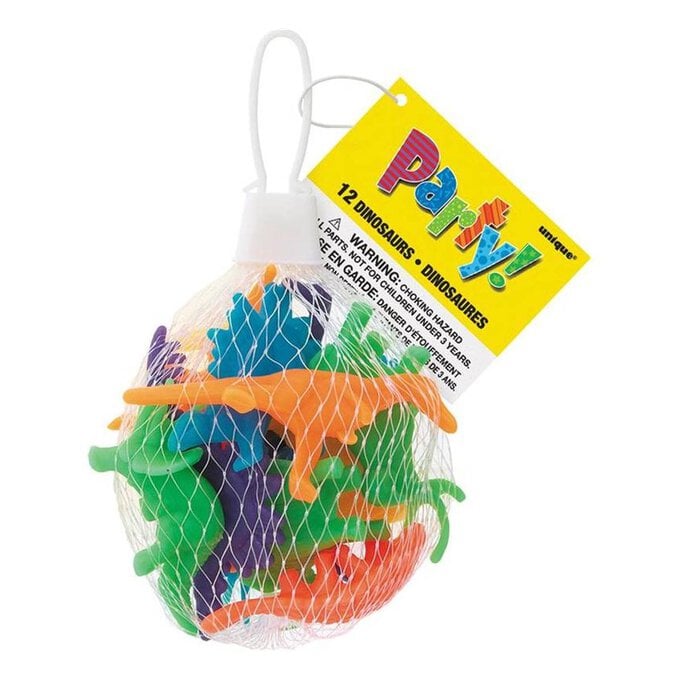
Lay out what you will need to make your fossils and select the dinosaur models you are going to use.
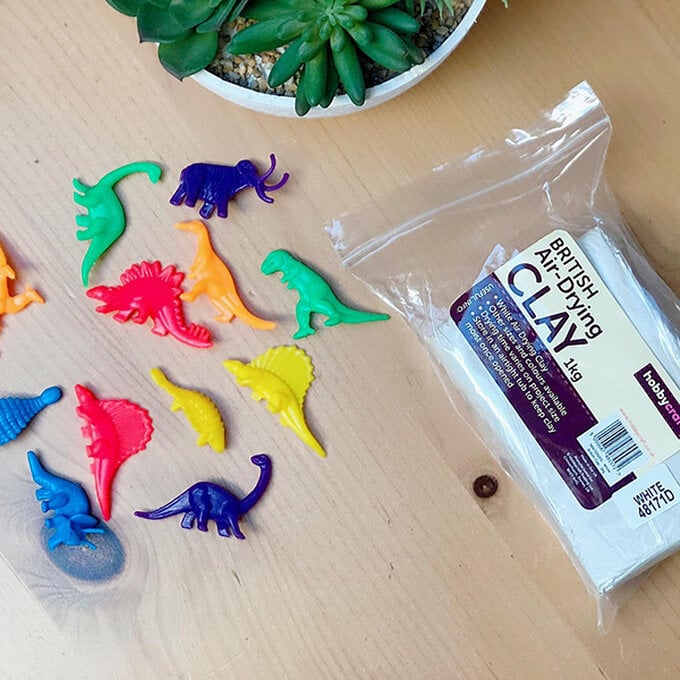
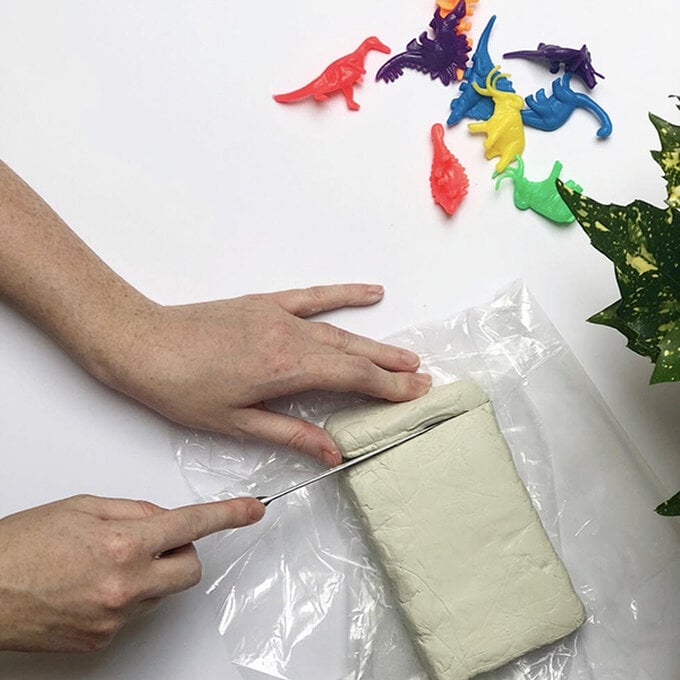
Start by cutting a section of clay with a knife. Modelling tools provide a safer way to do this with younger children. Alternatively, you can rip pieces of the clay with your hands. If your clay feels dry, try adding a small amount of water to soften.
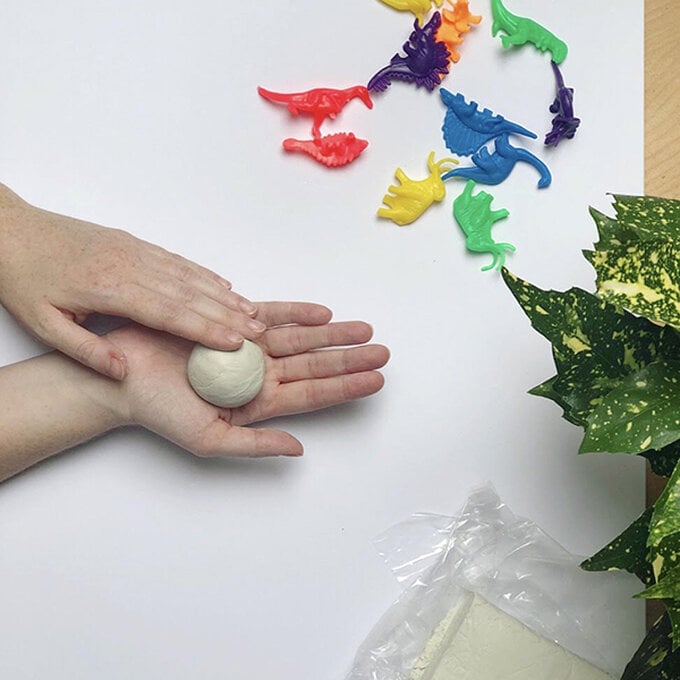
Massage the clay with your hands to soften, then roll into a smooth ball.
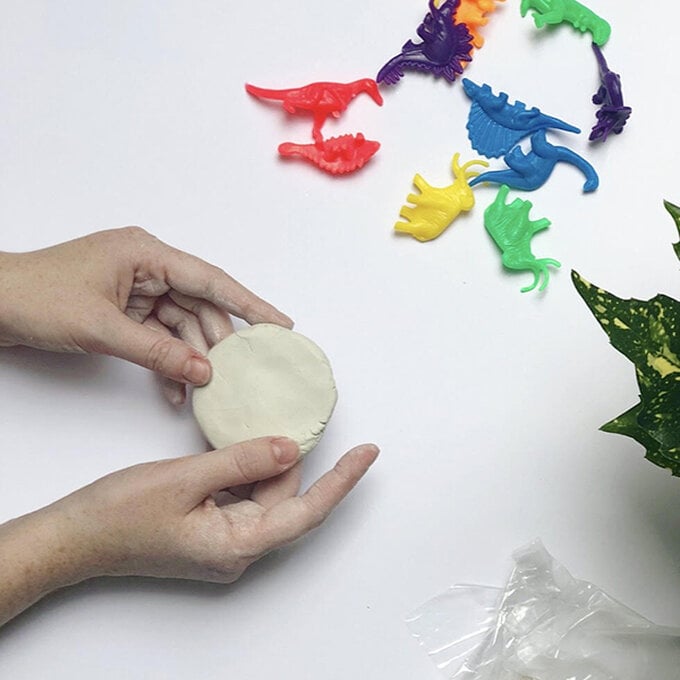
Flatten the clay ball into a round disk shape, smoothing the edges as you go. Make sure the clay disk is thick enough (1cm recommended) and wide enough for your dinosaur mould to imprint.
Place your dinosaur toy in the centre of the clay disk and press down. Apply pressure on all parts of the dinosaur (head, feet and tail) so that you are evenly distributing the print throughout.
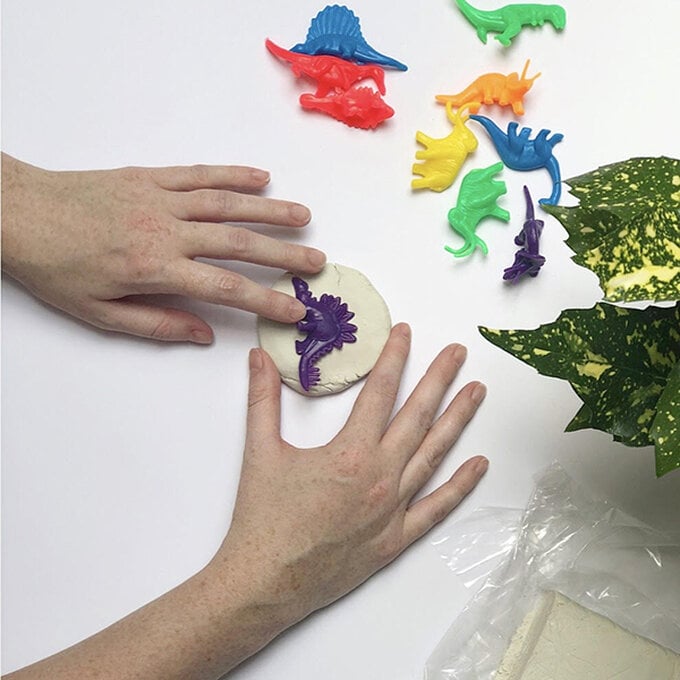
Set aside to dry in a warm place for approximately 24 hours.
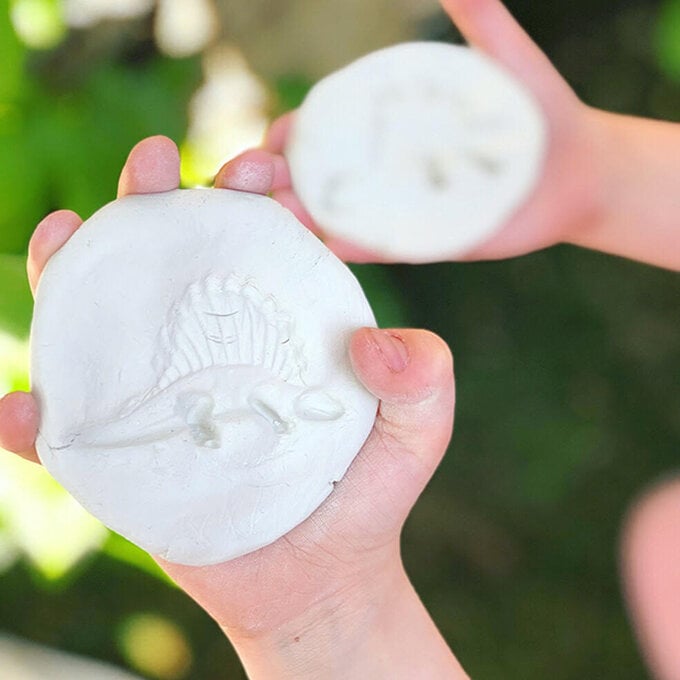
Hide them around the garden for the children to discover. How many fossils can they find? Can they tell you what dinosaur the fossil belongs to?
