How to Make Christmas Character Lightbulbs
You will need
Subtotal
Is $ 1.49
Subtotal
Is $ 4.49
Subtotal
Is $ 1.49
Subtotal
Is $ 1.49
Materials Needed for all Lightbulb Characters
* Lightbulbs
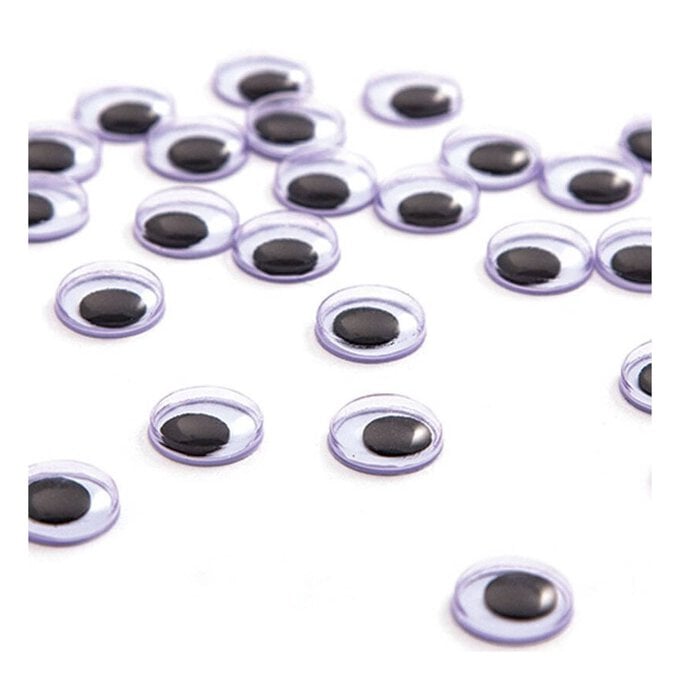
* Googly Eyes
* Glue
* Scissors
* Paintbrushes
* Pencil
Reindeer
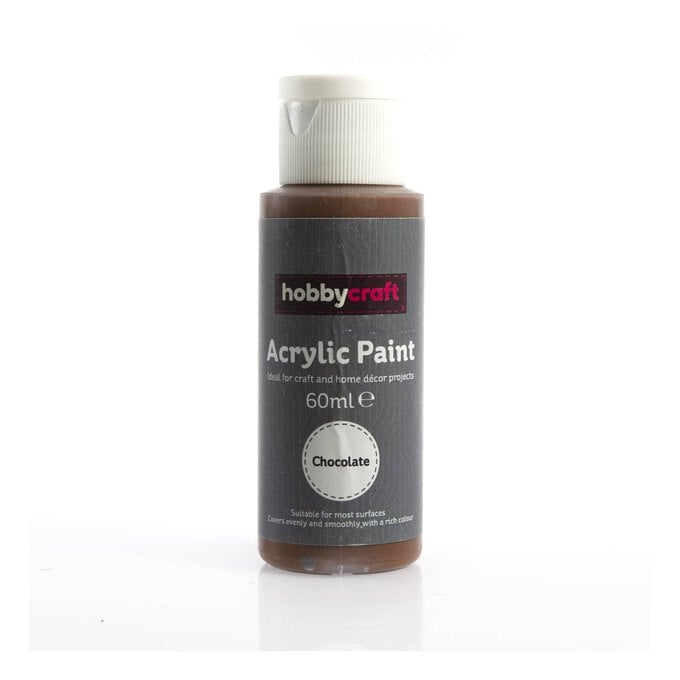
* Brown Acrylic Paint
* Black A4 Foam Sheet
* Red A4 Felt Sheet
Penguin
* Acrylic Paint - Black, White
* Orange A4 Felt Sheet
* Needle and Thread

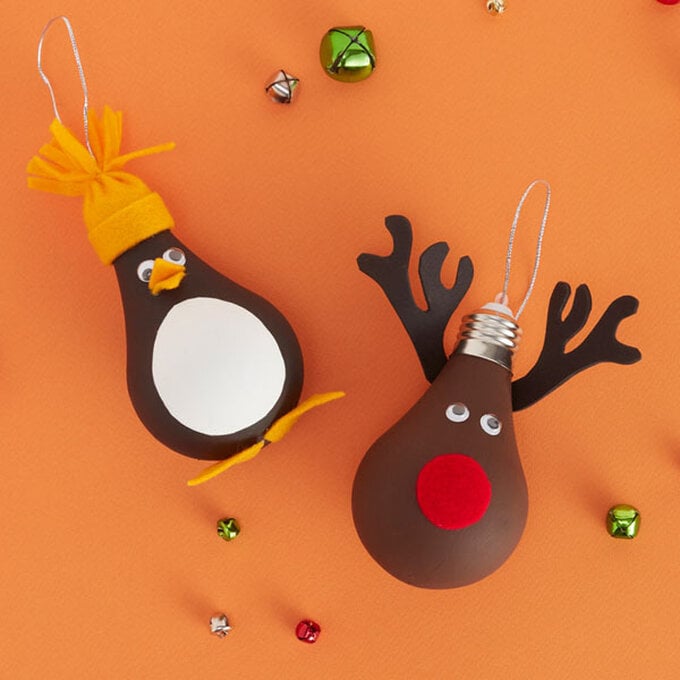
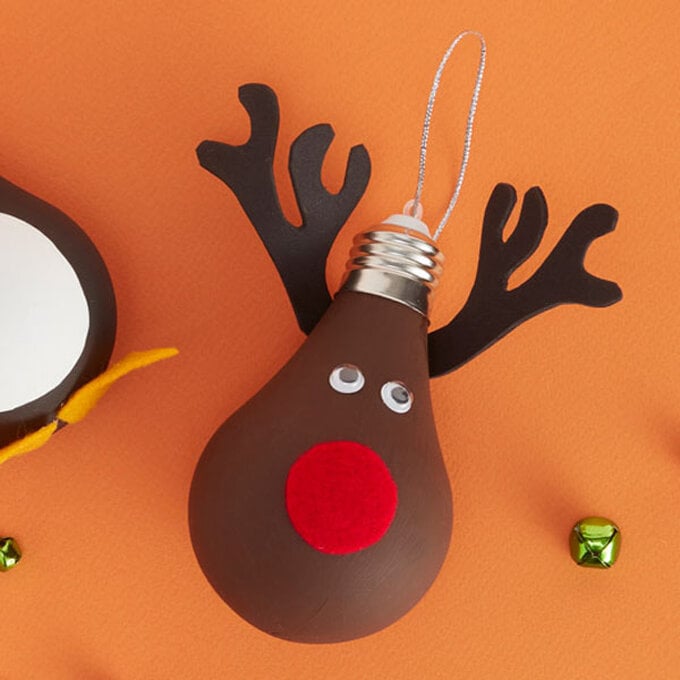
Unscrew the top off the lightbulb. Paint the lightbulb brown. Several layers will be needed to get a good finish. Leave to dry and then screw the top back on.
Draw a set of reindeer antlers on to black foam and cut out. Stick them on to the back of the lightbulb.
Cut a circle from red felt and stick on to the lightbulb to make the nose. Then stick on the googly eyes.
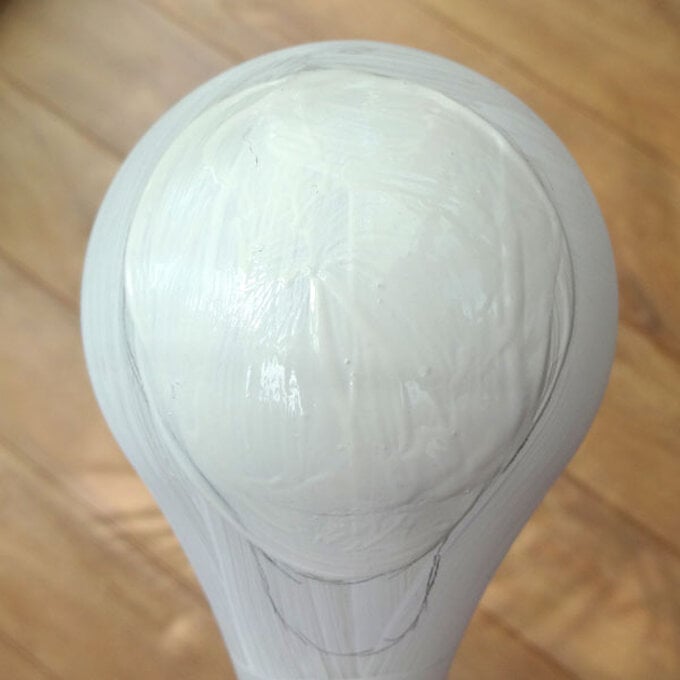
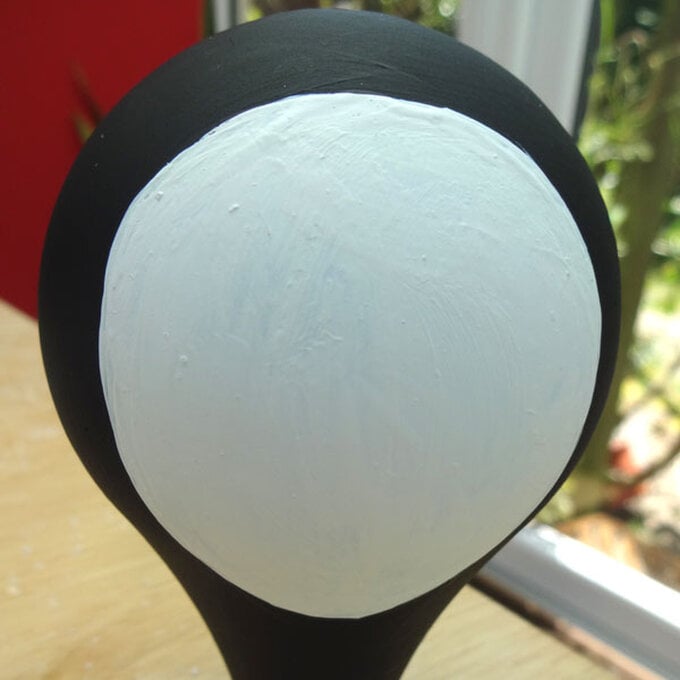
Unscrew the top off the lightbulb. Draw the penguin's tummy on to the lightbulb using a pencil. Then paint the tummy using white paint. You will need to paint several layers. Next, paint the rest of the lightbulb black (again, you will need multiple layers) and then hang up to dry.
When the lightbulb is completely dry, screw the top back on.
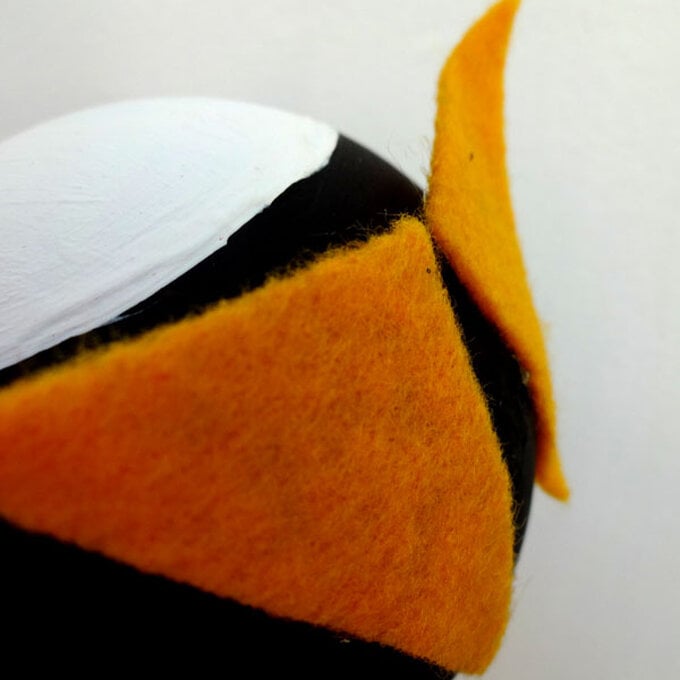
Cut out some triangle shapes from orange felt to make feet. Glue these on to the bottom of the lightbulb.
Then cut some smaller triangles to make the beak. Put a small line of glue on to the lightbulb where the beak needs to go and then stick both triangles on to the line of glue.
Now stick on the googly eyes.
To make the hat, first measure around the top of the lightbulb. Now draw a rectangle on to a piece of orange felt, with a width just slightly wider than your lightbulb measurement and around 30cm tall. Cut this rectangle out.
Fold over the felt to make the brim of the hat, and then apply glue to the other side of the hat. Stick on to the lightbulb and leave to dry.
Now cut a fringe in to the top of the felt. You may wish to trim down the height a bit at this point.
Using needle and thread, sew a running stitch around the bottom of the fringing and pull tightly to gather the hat together. Fasten off.
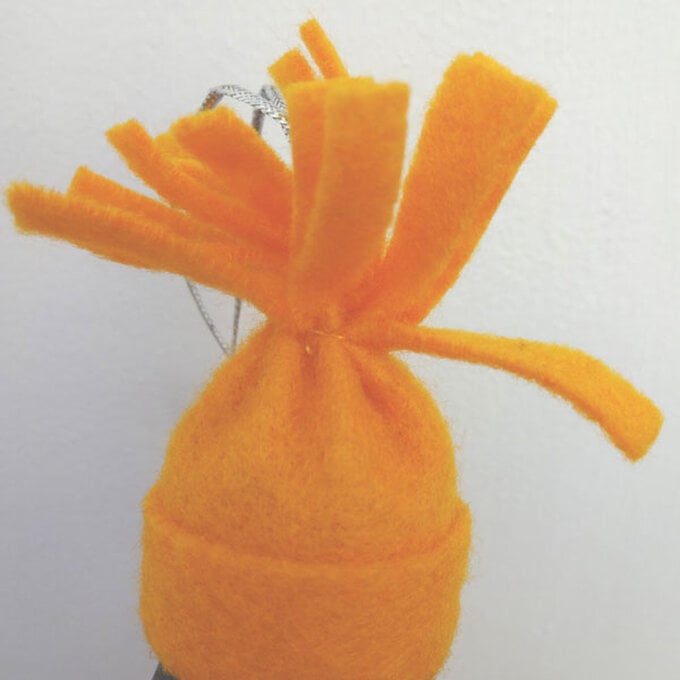
Your Christmas character lightbulbs are now complete!
