How to Sew Christmas Tree Cushions
Add a touch of Christmas magic to your décor with these easy-to-sew Christmas cushions.
Using your favourite festive fabrics, choose from two different designs with or without applique stars to bring Christmas cosiness into your home.
Project and instructions by Suzy Springall
You will need
Subtotal
Is $ 8.49
Out of stock
Subtotal
Is $ 14.00
Subtotal
Is $ 8.49
Subtotal
Is $ 8.49
You Will Need
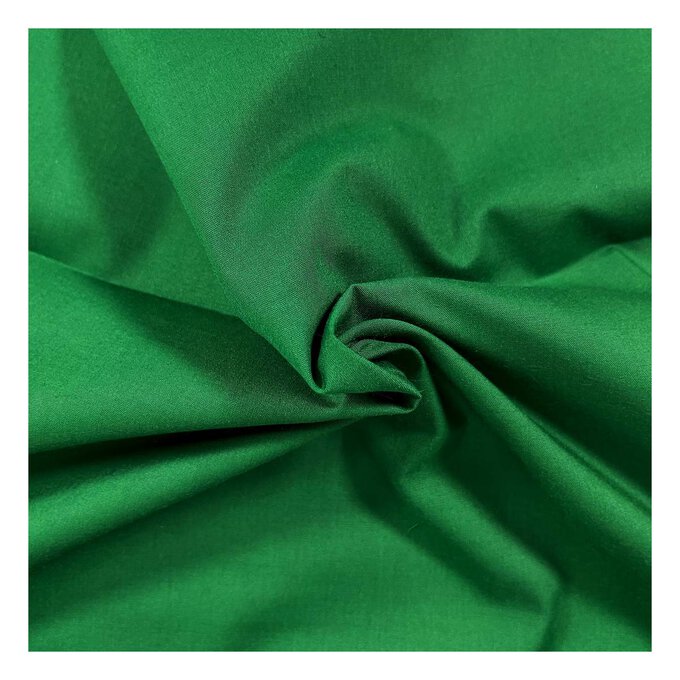
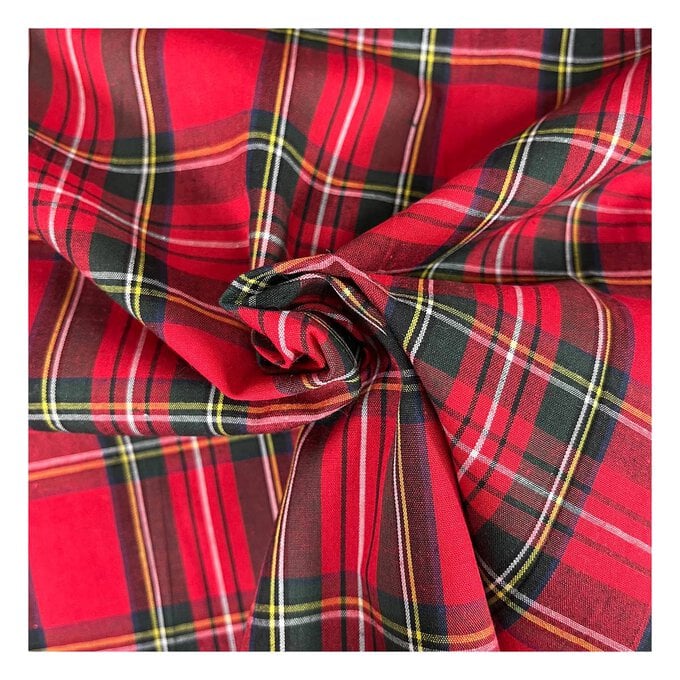
* 1/2 Metre of main fabric for each Cushion
* Contrasting fat quarter fabric for the appliqued stars
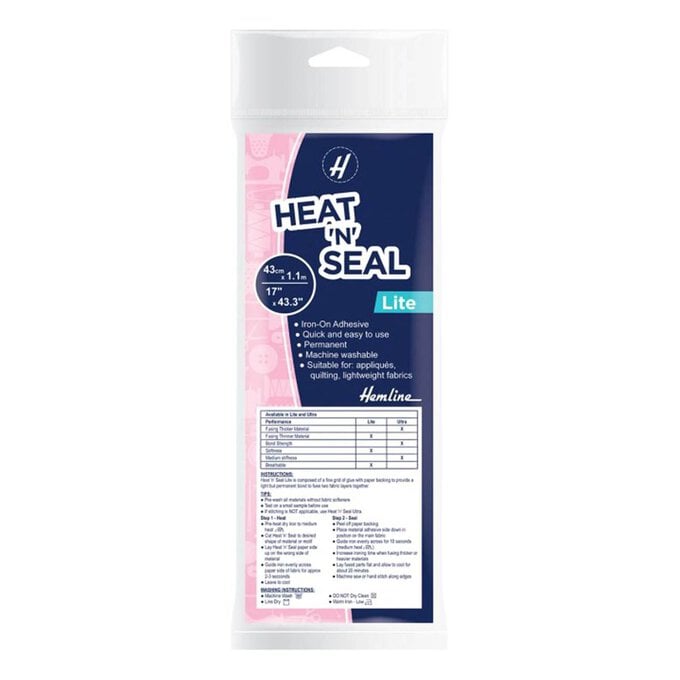
* Heat ‘N’ Seal Lite
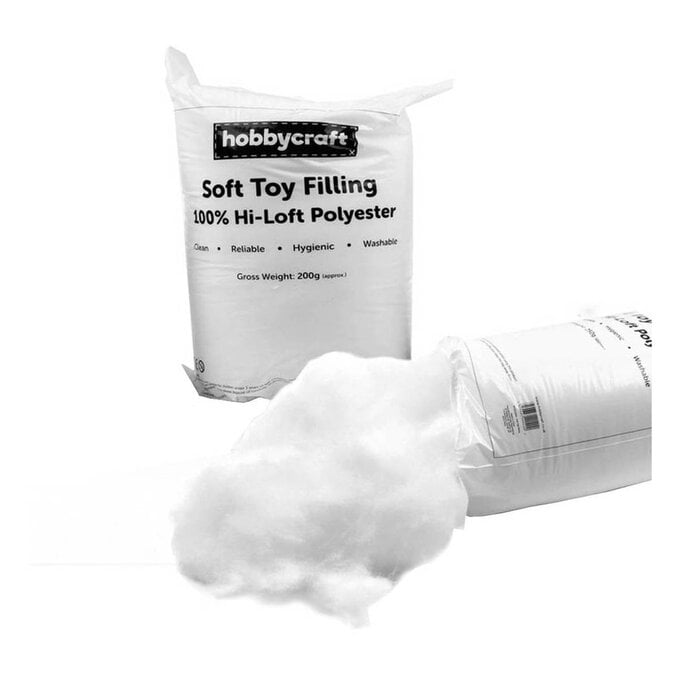
* Soft Toy Filling
* Pinking shears or Fabric scissors
* Pins
* Thread
How to make


If you are adding stars to your cushion, print a selection of stars from the PDF template provided above, and cut them out.
Draw around the stars on the paper side of the Heat ‘N’ Seal and iron onto the wrong side of the contrast fabric according to the instructions on the pack.
Cut out the fabric stars and arrange them on one side of the tree. Remove the paper backing and iron into place.
Allow the fabric to cool before sewing.


Make sure to leave a 10cm gap along the bottom of the tree for stuffing.
Turn the tree to the right side ensuring all the points are fully pushed out, and press.
Stuff with Toy Filling, making sure to get into all the points of the tree.

For the small tree, cut two copies of the small tree template from your fabric.
With right sides together, sew around the edge of the tree using a 1cm seam allowance, making sure to leave a 10cm gap along the bottom for stuffing.
Turn the tree out to the right side and stuff with toy filling.


Craft with us at our workshops


Related Products


.jpg?sw=340&q=85)