How to Make Decorative Letters
Now that the sun is shining (finally!) making things for my home has moved right up to the top of my craft list. I find there's nothing more rewarding than making something for your home, plus it's a great way of getting exactly what you want, without spending ages looking for it and then compromising, often paying more than you had wanted.
Decorative letters are everywhere at the moment, it's a big home trend for 2015, with all manner of letters coming onto the market in every shape and size imaginable.
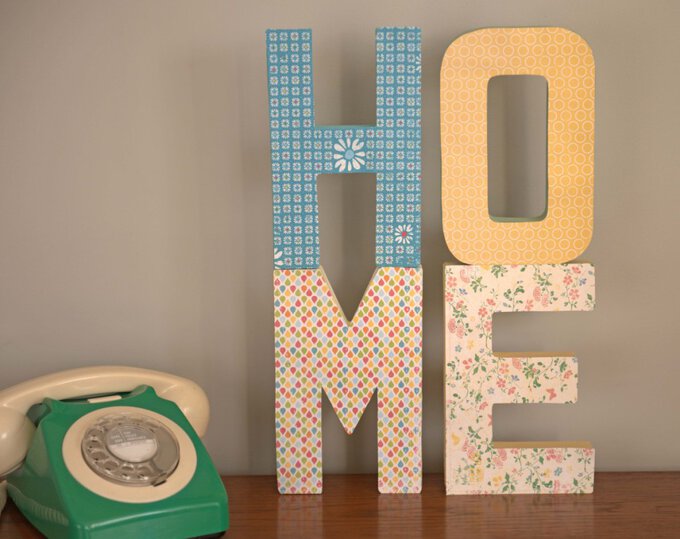
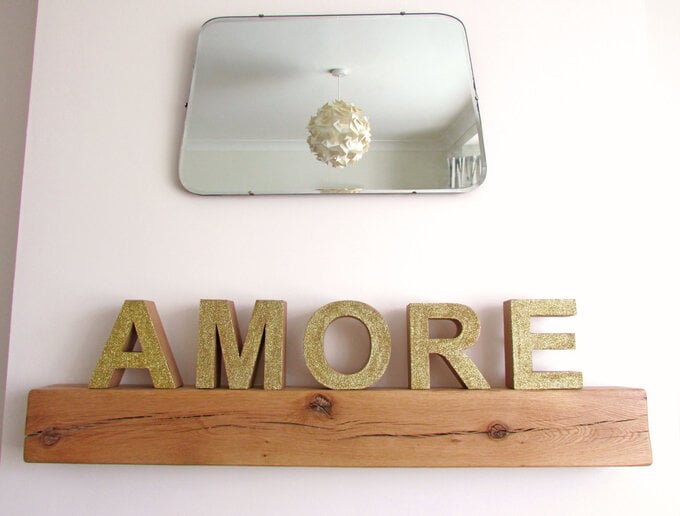
Mache letters are great for making your very own decorative letters, they can be used in any room of the home, you could have the first initial of everyone in your family displayed in the lounge, or spell out the words 'Love' or 'Amore' to have in your bedroom. They also make great bookends if you're looking for something a little bit different, or just to simply have dotted around the house looking pretty!
There are lots of different sizes of letters from small to large, fat to thin, there's no excuse not get out there and get making! Here are two quick and easy ideas to get you started . . .
You will need
Subtotal
Is $ 7.49
Subtotal
Is $ 9.49
Subtotal
Is $ 7.49
Subtotal
Is $ 6.49
1. Cover the front of the letter in a layer of PVA glue and then sprinkle over your glitter.
2. Leave to dry for a few minutes and then tap off the excess and leave to dry.
3. Repeat steps one and two for the remaining letters.
4. Once all of the letters are completely dry use hairspray to 'seal' the glitter, so that it stays put on your letter rather thank on your shelf or carpet! Make sure to do this in a well ventilated area.
1. Start by painting the back and sides with the craft acrylic and leave to dry. You may need to do more than one coat to get a nice even coverage, but make sure to wait until the previous layer has dried before applying the next.
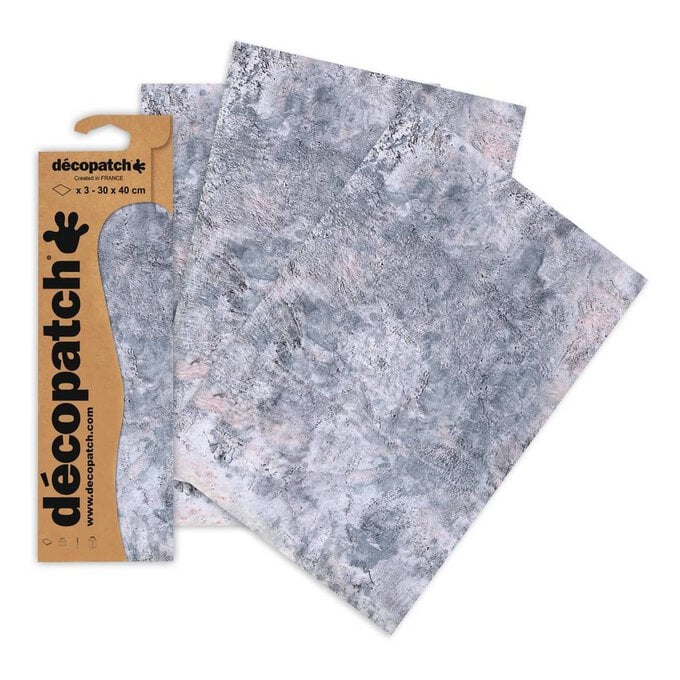
2. Once the letters are dry, draw around the letters face down onto the back of the decoupage paper and then cut out using scissors.
3. Apply the papers to the front of the letters using PVA glue then leave to dry.
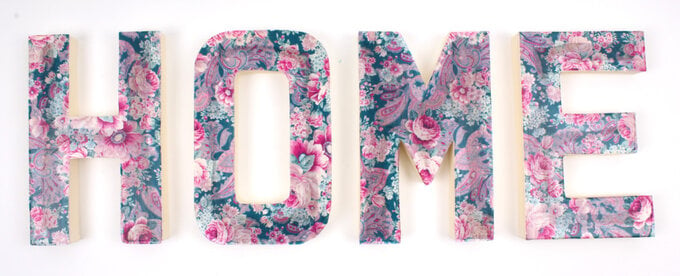
1. Cover the fronts of all your letters in a layer of primer, this will help give the coloured spray paint something to adhere to.
2. Leave to dry for the specified amount of time (see back of can), and then repeat step one for the backs of the letters, and again leave to dry.
3. Spray the front of your letters in your chosen colours (I used two different metallic tones for a slightly more interesting look). Leave to dry and then repeat the process for the back of the letters, again leaving until completely dry.
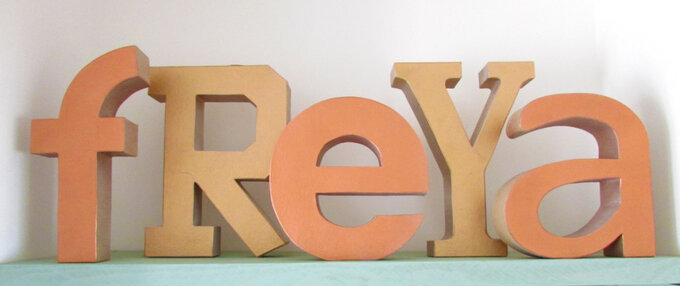
1. Start by painting the entire letter with the craft acrylic and leave to dry. You may need to do more than one coat to get a nice even coverage, but make sure to wait until the previous layer has dried before applying the next.
2. Once the paint has dried, place the letter front face down on to the back of your chosen fabric, and draw around it using a vanishing fabric pen.
3. Cut the letter out of the fabric and attach to the front of the letter using a glue gun, making sure that it is nice and secure around the edges.
4. Using three lengths of twine (roughly two metres in length) plait the strands together until the whole length has been plaited.
5. Using the glue gun gun secure the plaited twine around the edge of the letter (be careful of fingers here, as the glue gun is hot!). Secure the ends with a good blob of glue, using a pair of scissors to make sure that the ends are firmly stuck in place.
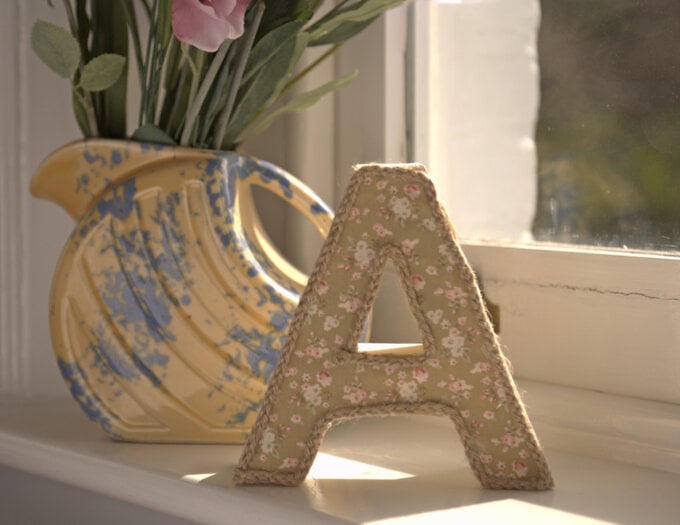
1. Start by painting the back and sides with the craft acrylic and leave to dry. You may need to do more than one coat to get a nice even coverage, but make sure to wait until the previous layer has dried before applying the next.
2. Once the paint has dried, place the letter front face down on to the back of your chosen paper, and draw around it using a pencil.
3. Cut the letter out of the paper and attach to the front of the letter using double sided tape making sure it is nice and secure around the edges.
