How to Make Easter Honeycomb Eggs
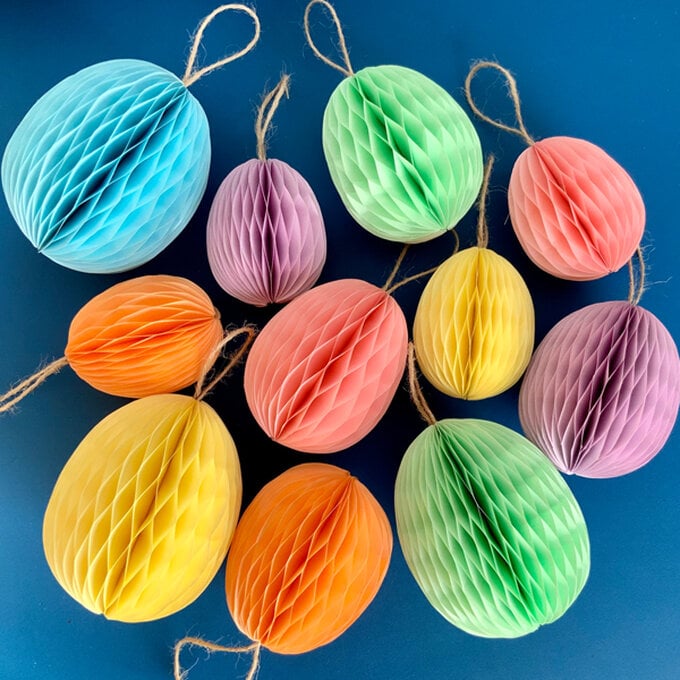
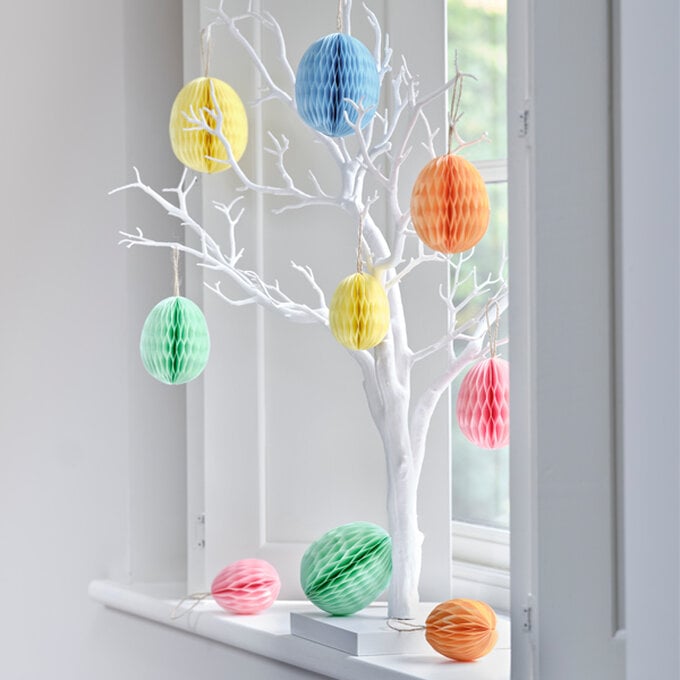
Bring a little bit of springtime wonder into your home with this awesome 3D papercraft project. Our Easter honeycomb eggs are the ideal decoration for your home this Easter.
These gorgeous decorations don’t break the bank either, so you can get started on crafting your own straight away!
Project and instructions by Sue Smith
You will need
Subtotal
Is $ 1.49 , was $ 3.49
Subtotal
Is $ 5.49
Subtotal
Is $ 8.49
Subtotal
Is $ 4.49
You Will Need
* Pastel Paper A4
* Jute Twine
* Black Fine Liner Pen
* Pencil
* Ruler
* Scissors
* Stix 2 in 1 Glue Pen
* A4 Ruled Paper Sheet
* White Card
How to Make
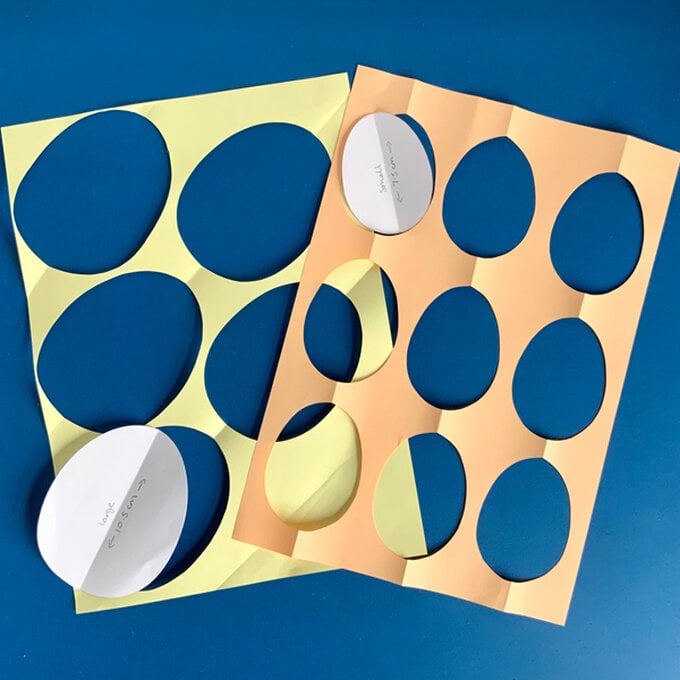
Begin by using the supplied template to cut all three egg shapes with the correct measurements from spare white card.
Then, fold and crease them symmetrically in half.
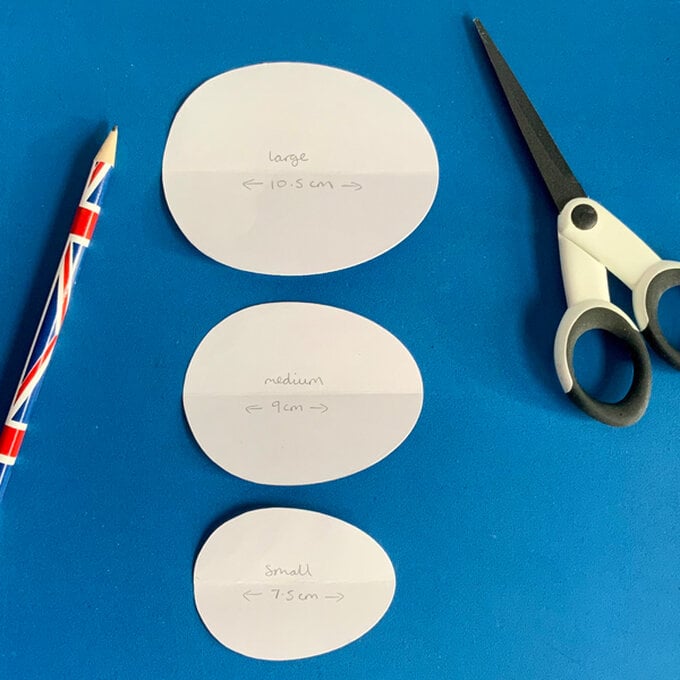
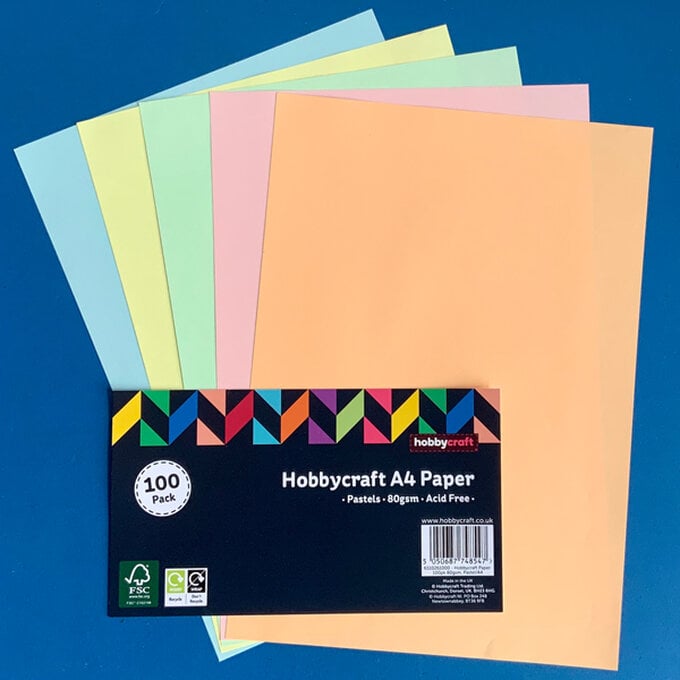
Choose your desired coloured paper from the paper pack to create the eggs.
Make sure you have enough sheets of paper for each egg, as the large egg requires seven sheets of paper, the medium egg four sheets, and the small egg three sheets.
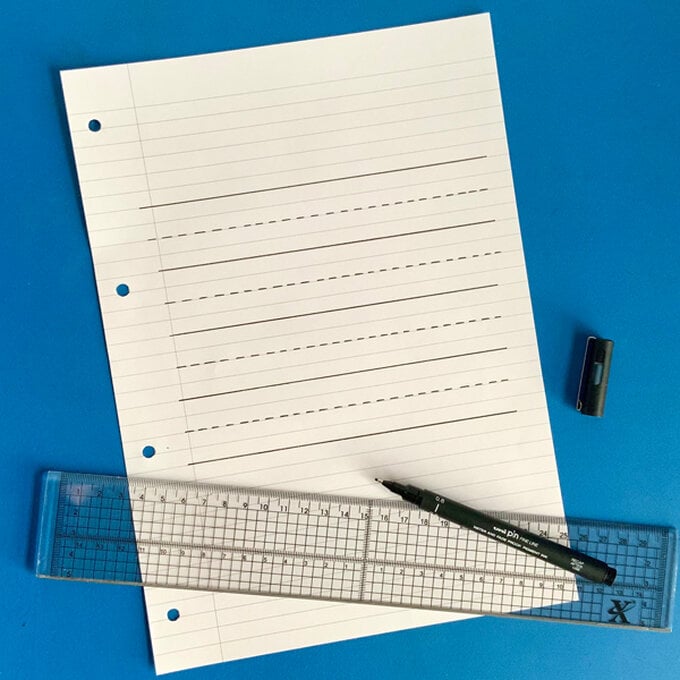
Create a glueing guide from a sheet of A4 ruled paper.
Draw a solid black horizontal line towards the top of the page. On the alternate line below, draw a dashed black line.
Repeat this pattern a few times over to match the image below.
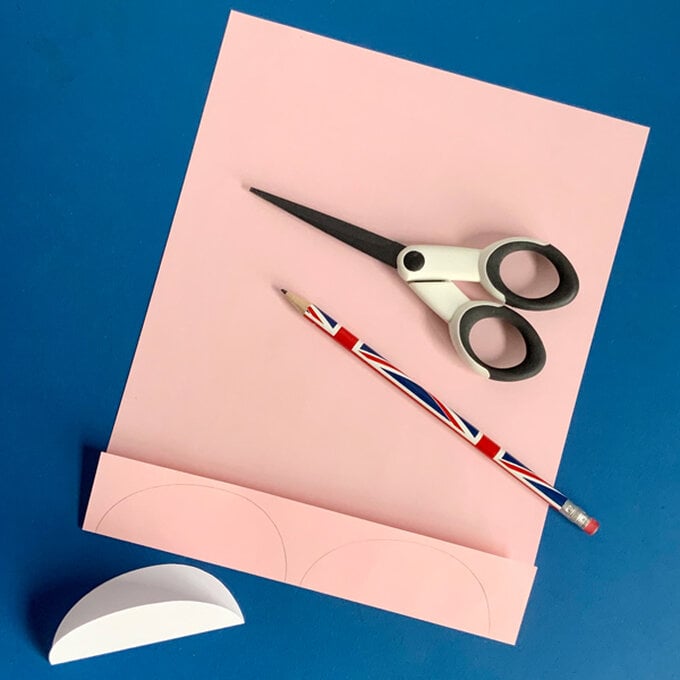
Using the medium egg template, and working from the shorter bottom edge of a sheet of coloured paper. Fold up, and crease just enough paper to draw around the folded template with a pencil.
Draw two along this fold.
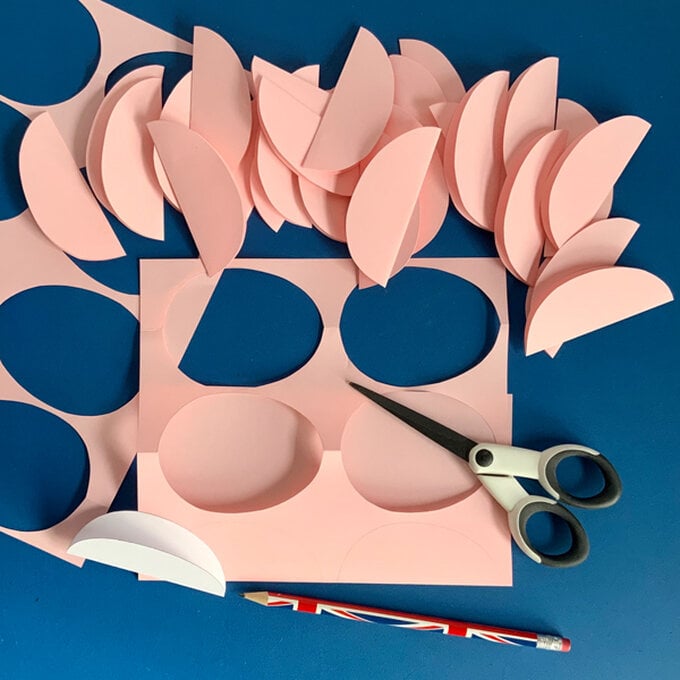
Repeat this process, working across the sheet of paper until you have cut eight eggs.
Repeat for another three sheets until 28 egg pieces are cut. You should have two pieces spare.
Using the prior step as a guide, the large egg can be cut from a diagonal fold, cutting five eggs from seven sheets of paper. 35 large egg pieces are required.
The small egg can be cut from folding along the longer edge of the paper, cutting nine eggs from three sheets. 27 small egg pieces are required.
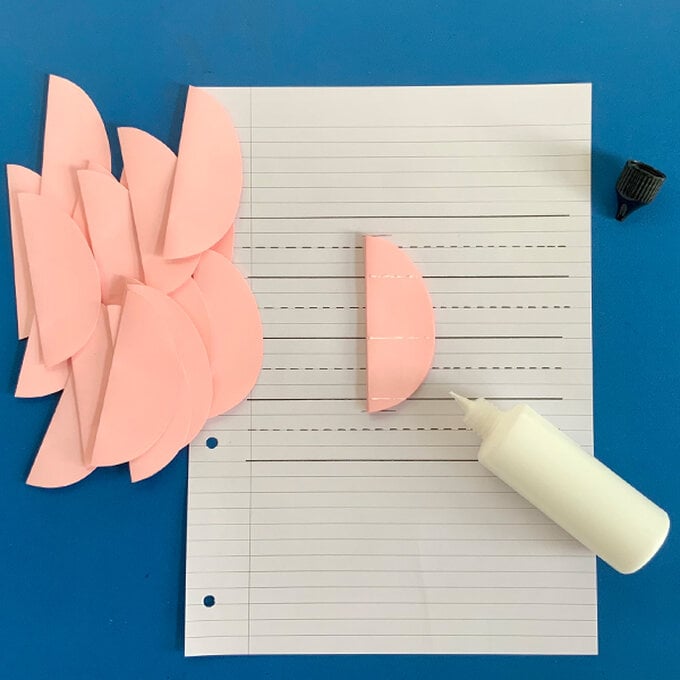
Position one of your unfolded egg pieces onto the prepared glueing guide. Make sure this is placed just above a dashed line, with a similar spacing of the solid line towards the bottom of the egg piece. Mark top and bottom with a pencil line.
Use the glue pen to draw fine lines of glue from the centre fold line out to the edges. Place these lines of glue following only the dashed lines on the glueing guide.
Fold the egg piece closed, and gently press flat.
Repeat this process for all the other egg pieces.
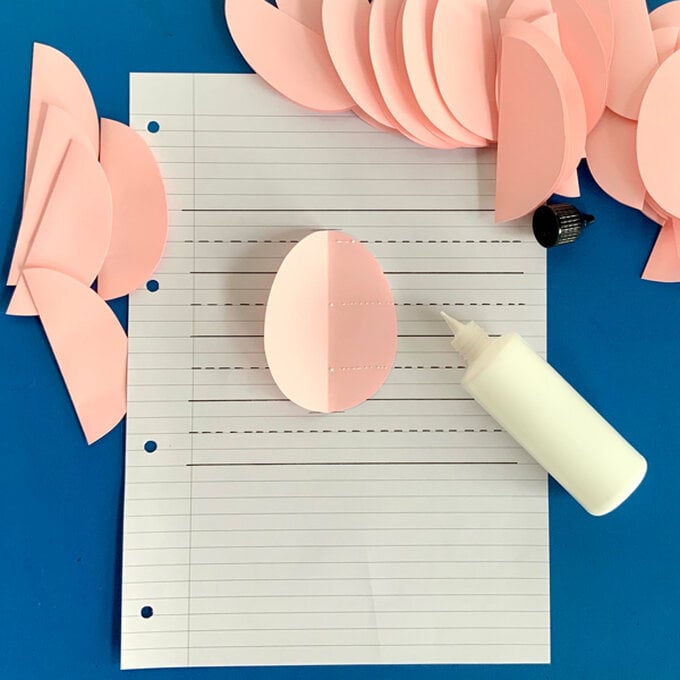
Next, place one of the prepared egg pieces back onto the glueing guide. This time add fine lines of glue across the top surface, following only the solid lines. Then place another egg piece exactly on top and press down.
Repeat this process glueing and adding the remaining egg pieces onto each other, creating a big stack of segments.
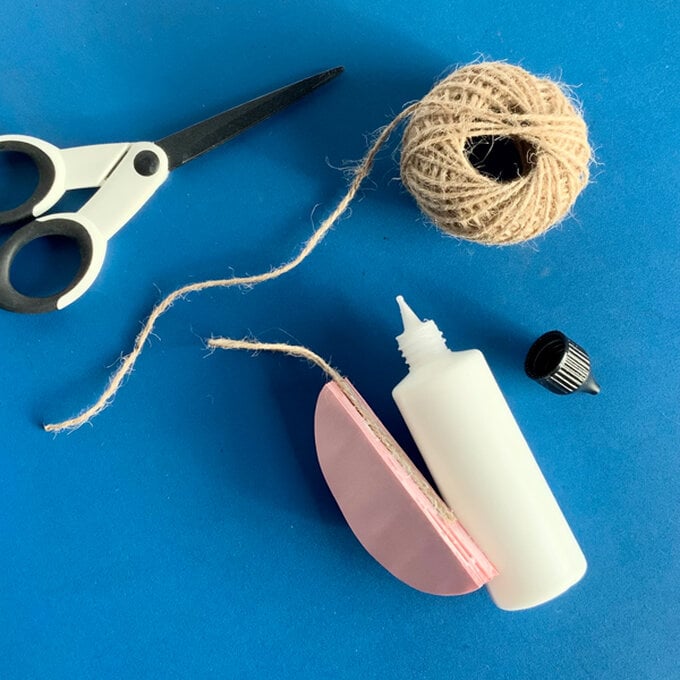
Trim a 26cm length of twine to form a hanging loop for the honeycomb egg.
Apply plenty of glue along the straight folded edge of the prepared egg stack to hold the spine in place. Also glue down the tails of the twine about three quarters down the spine. Leave a nice neat loop of twine from the top of the egg.
Allow to dry completely.
Open out, and secure your honeycomb eggs to form complete 3D shapes.
Make several honeycomb eggs in all three sizes, using different coloured paper.
