How to Make Pinwheels from Felt
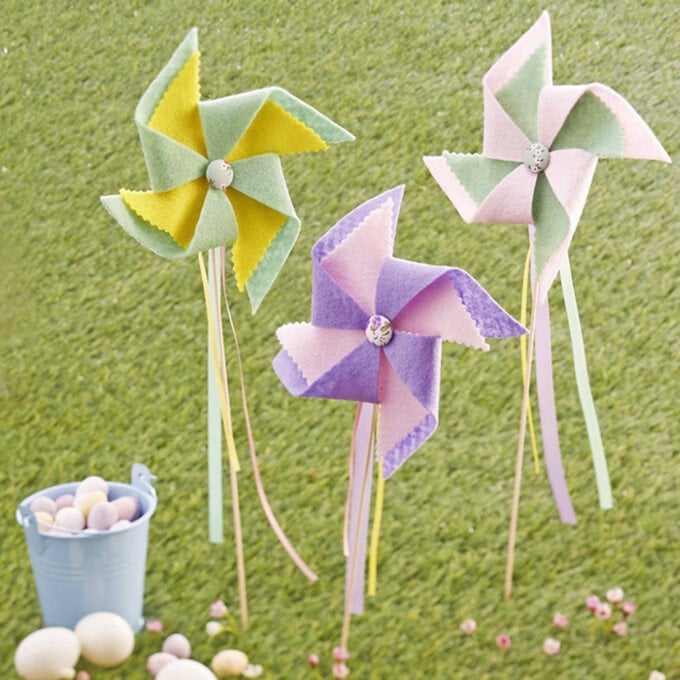
These felt pin wheels would look great out in the garden on a lovely spring day, or even on the morning of your egg hunt or Easter picnic. The pinwheel can be made in all different sizes, you just need to remember to keep the dimensions of each side of your template the same to make a square shape, and when making the inner piece for the pinwheel make sure to draw out the template one centimetre smaller on each side.
You will need
Subtotal
Is $ 1.49
Subtotal
Is $ 1.49
Subtotal
Is $ 4.49
Subtotal
Is $ 3.49
Subtotal
Is $ 7.49
Subtotal
Is $ 3.49
Subtotal
Is $ 18.00
You Will Need
* Paper
* Scissors
* Ruler
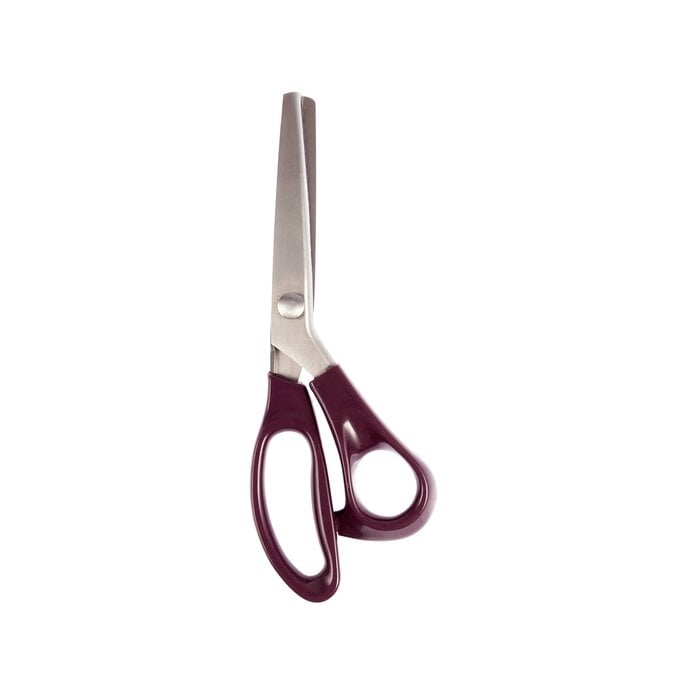
* Pinking Shears
* Pen
* Glue
* Button
* Ribbon
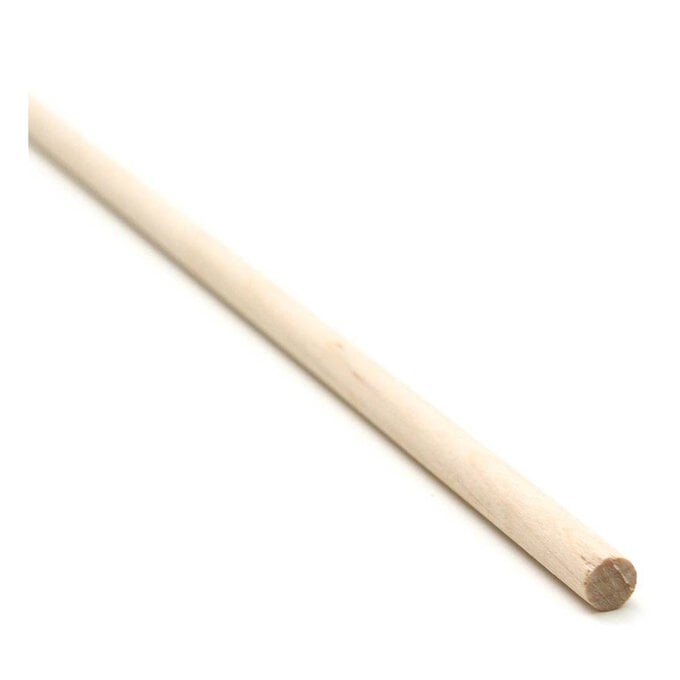
* Wooden Dowel
How to Make
Cut two square templates from paper, measuring 12 x 12cm and 10 x 10cm.
Cut a large square of felt using the template, and a smaller square cut with pinking shears to get a zigzag edge.
On the large square, place the ruler from corner to corner and mark five centimetres up from the edge with a pen. Repeat for each corner and snip up to this point. Repeat for the smaller square but snip four centimetres up, again using pinking shears.
Place the smaller square on top of the bigger square (pen side facing down, so any marks are hidden). Ensure the small square is right in the centre. Place a blob of glue in the middle. Take one side of each of the snipped corners, fold in and glue down.
Glue the button and stick in the centre of the windmill.
Cut a small piece of felt (about 3 x 2cm) in the same colour as the inside pinwheel.
Cut three lengths of ribbon roughly the same size as half your dowel's length.
Place a blob of glue on the back of the pinwheel and stick on the end of the dowel and ribbons. Glue the piece of felt and place over the top to cover the ends of the ribbon and secure the dowel.
