How to Make Snow Globe Cookies
Create a bit of Christmas magic with some yummy snow globe cookies – perfect for an extra special handmade gift! Cut your own trees and gingerbread men from icing or if you need a quick fix, you could use ready-made edible cake toppers in festive designs.
You will need
Subtotal
Is $ 12.00
Subtotal
Is $ 20.00
Subtotal
Is $ 6.49
Subtotal
Is $ 4.49
Subtotal
Is $ 4.49
Subtotal
Is $ 7.49
Subtotal
Is $ 6.49
How to make
You will also need:
White 100s and 1000s
Boiled and cooled apricot jam
Boiled and cooled water
Gingerbread dough or shortbread dough pre-made and chilled
Flour
Equipment:
Lined baking tray
Icing sugar
Pastry brush
Small paintbrush
Sharp knife
1. Roll out the dough on a clean surface lightly dusted with flour to approximately 4mm. Using the snowglobe template cutter and a sharp knife, cut as many shapes as required.
2. Place the shapes on a lined baking tray and bake in the oven for 15 to 20 minutes or until golden brown.
3. Remove from the oven and allow to cool on a wire rack. Clean utensils and work surface.
4. Once cooled, brush over the rounded parts of the biscuits with a thin layer of apricot jam.
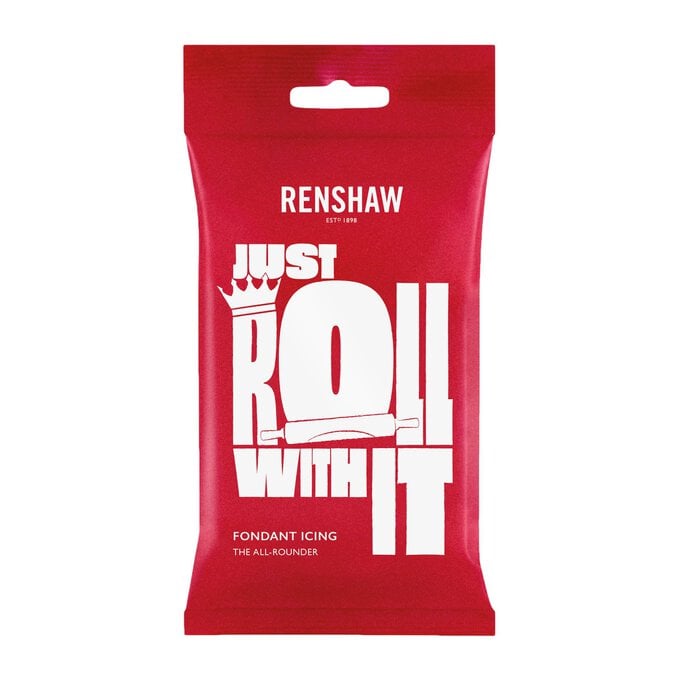
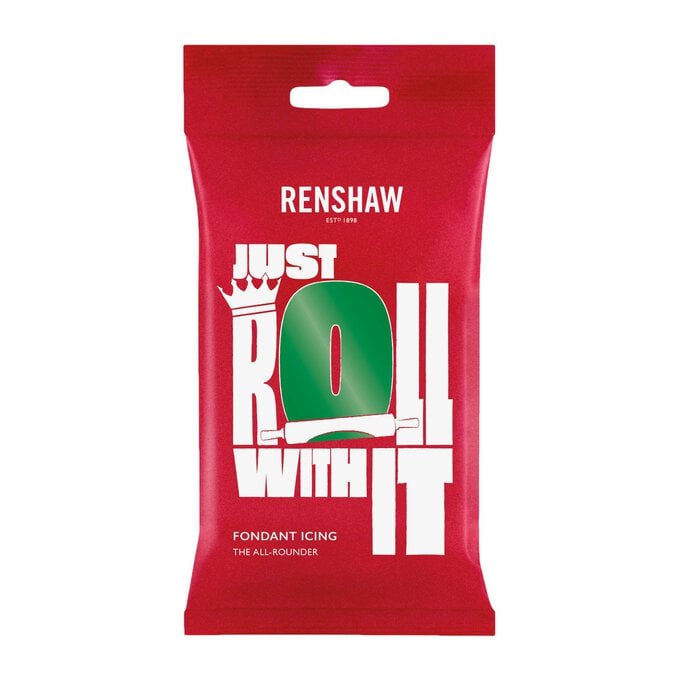
1. On a clean, dry surface knead the Emerald Green, Teddy Bear Brown and White Ready to Roll Icing separately until pliable.
2. Dust the work surface with icing sugar and roll out each colour of the icing in turns to prevent drying until 2-3mm thick.
3. Using the circle cutter, cut out as many circles as required from the White icing. Carefully place the icing circles on to the top of the biscuits and gently smooth down with the palm of your hand.
4. Using the Christmas tree cutter, cut out as many shapes from the Emerald Green icing as required. Using a small paintbrush and a little water, moisten the White icing where you would like to place the tree and gently apply. Do the same with the Teddy Bear Brown icing and gingerbread man cutter.
5. Using a small paintbrush, brush edible glue around the base of the tree or gingerbread man and dab in random places on the white icing background. Sprinkle white 100s and 1000s onto glued areas and shake off excess to create a snow scene.
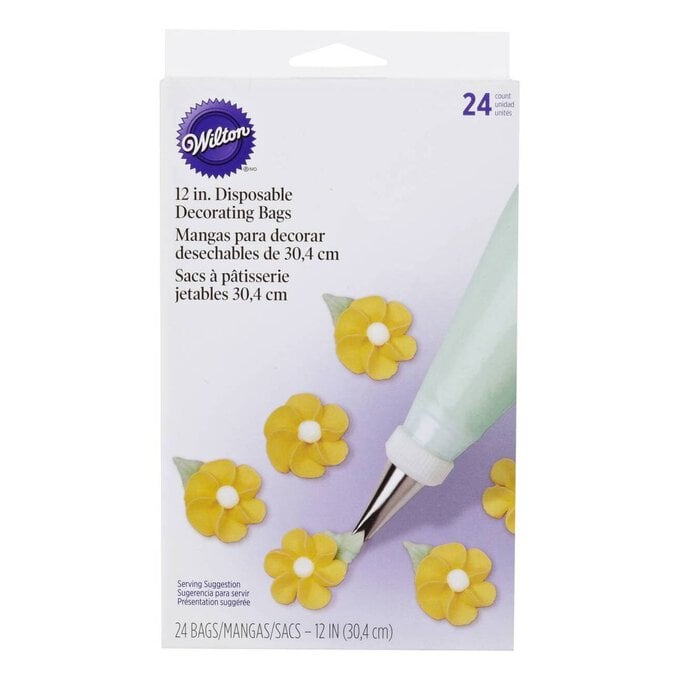
6. Royal Icing preparation: Make 2 piping bags containing a no 12 tube and a no 1 tube.
7. Let down 50g of royal icing to a soft piping consistency by mixing in a couple of drops of water. Spoon the Royal icing into the piping bag containing the no 1 tube.
8. Colour up the remaining Royal Icing with a small amount of the Red ProGel and spoon into the piping bag containing the no12 tube.
9. With the no.1 piping bag, pipe eyes and a smile onto the gingerbread man as well as buttons and wavy lines on his arms and legs. For the Christmas tree, pipe a zig zagging line from the top to the base and then alternate piping white and red dots of Royal icing for decorations. Pop a gold dragee on the top of the tree with a little Royal icing to make it stick.
10. Lastly, using the red Royal Icing prepared in the no12 piping bag, pipe 3 lines from the base of the white iced circle to the bottom of the biscuit.
