How to Make Story Spoons
Let your little ones' imaginations run wild with these easy to make story spoons! Learn how to create a ladybird, grasshopper and sun spoon using the instructions below. Why not create other creatures to add to your collection?
These spoons can be decorated with gems, pom poms, and anything else you can dream up. All you'll need is a few simple materials and our step-by-step guides to help you get started.
Project and instructions by Jocelyn Sheppard
You will need
Subtotal
Is $ 4.49 , was $ 7.49
Subtotal
Is $ 1.49 , was $ 3.49
Subtotal
Is $ 6.49
Subtotal
Is $ 4.49
You Will Need
* Wooden Spoons
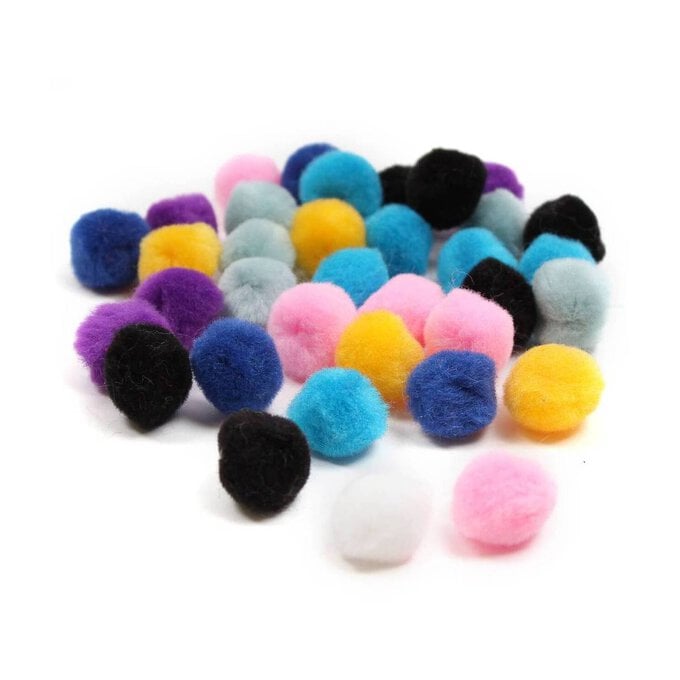
* Assorted Pom Poms
* Tacky Glue
* Paintbrushes
* Black and Green Pipe Cleaners
* Biodegradable Glitter
* Spare Paper
* Multi Assorted Round Gems
* Bright Yellow A4 Paper
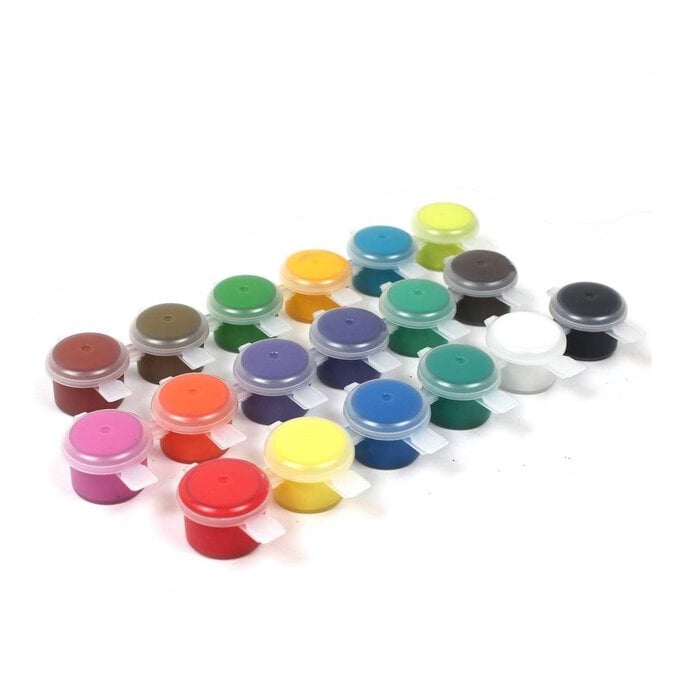
* Acrylic Paint
* Scissors
* Straws
How to make
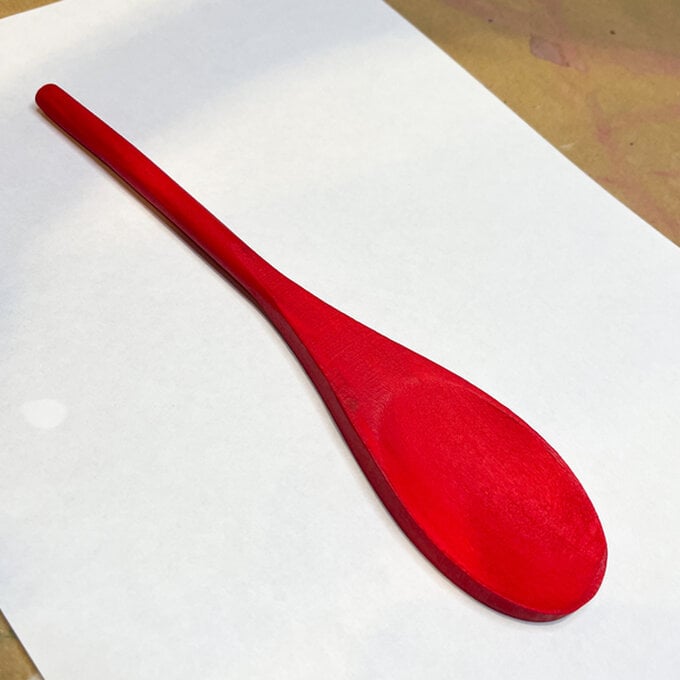
Paint one side of your spoons, leave them to dry and then paint the other side.
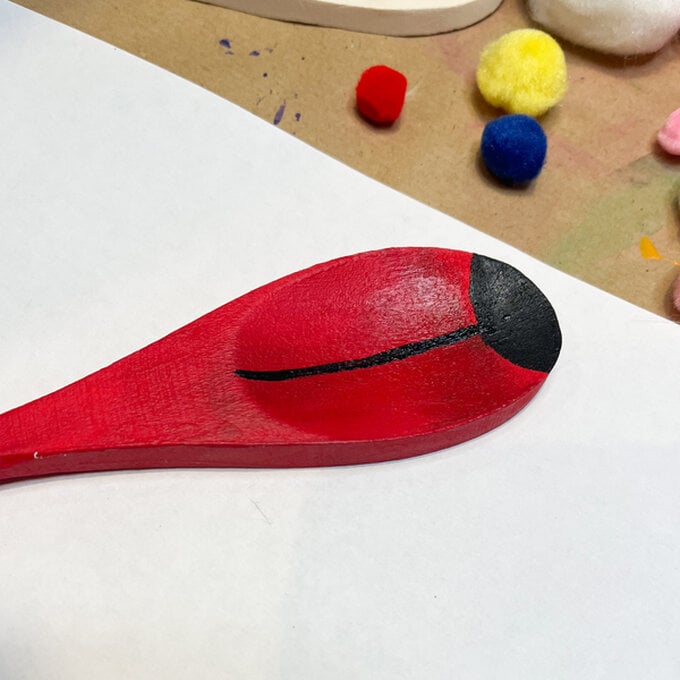
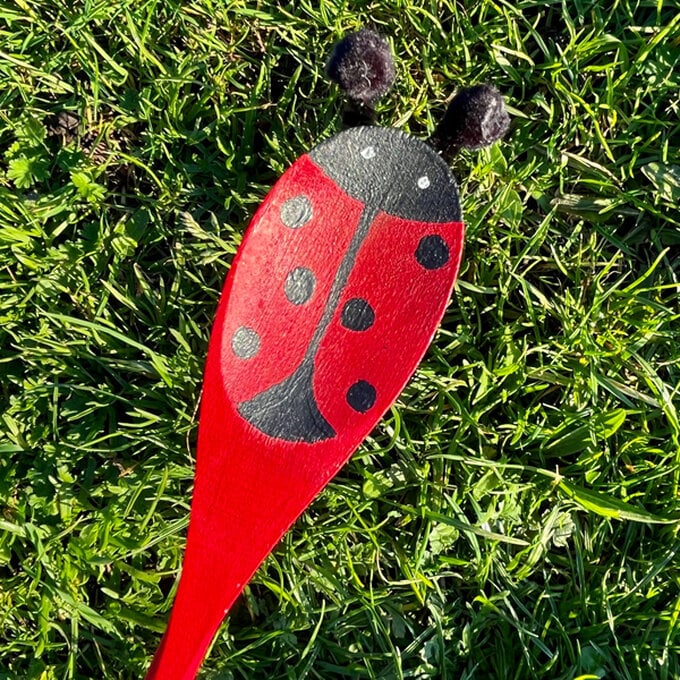
Once dry, use black paint to paint the tip of the spoon and paint a line down the middle of the spoon.
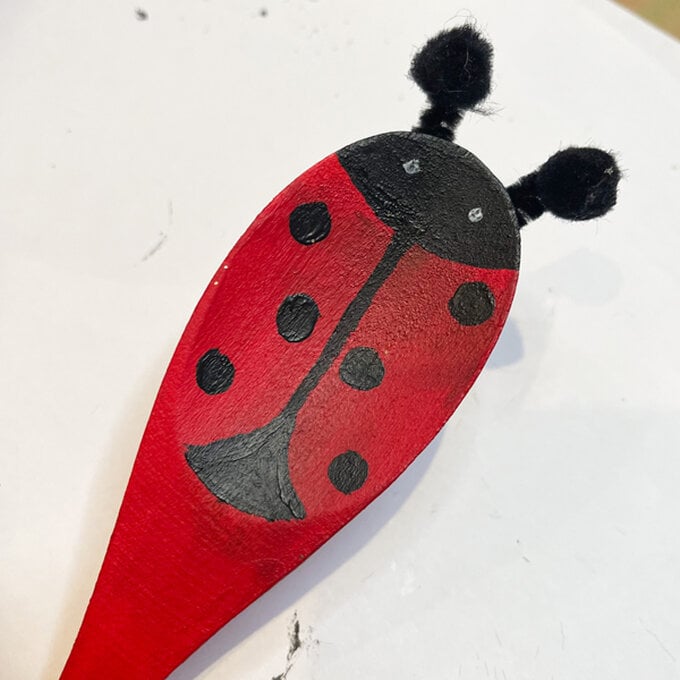
Add spots to your ladybird.
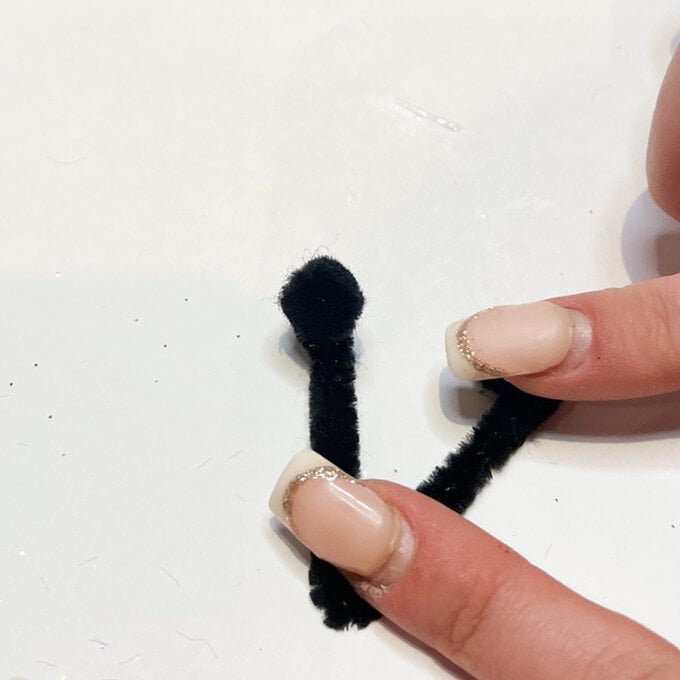
Cut a quarter of a black pipe cleaner and bend it in half. Then, using glue add two black pompoms to the ends of the pipe cleaner to create your antlers.
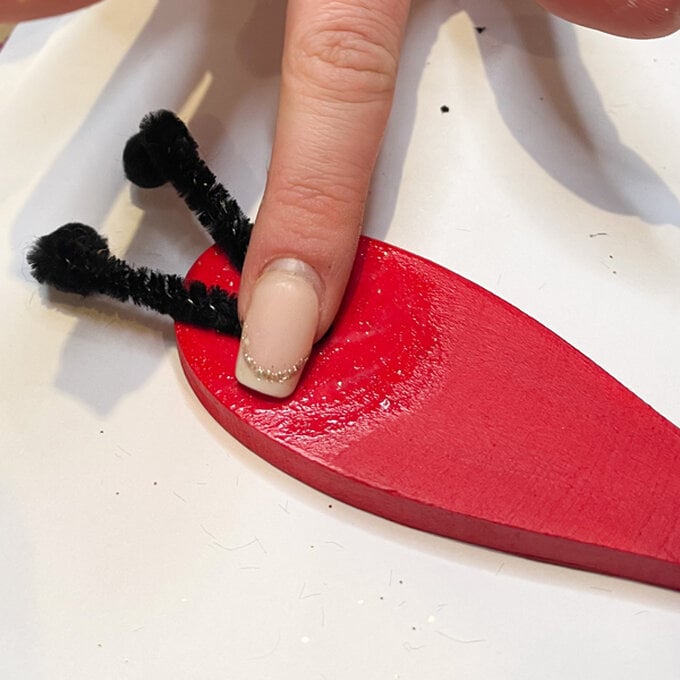
Turn the spoon on its back and glue the feelers to the spoon. Hold it down for a minute or so until it has stuck down.
As an optional extra, add a little face to your ladybird.
Paint the base of your spoons then leave them to dry.
Once dry, paint the other side of your spoons the same colour.
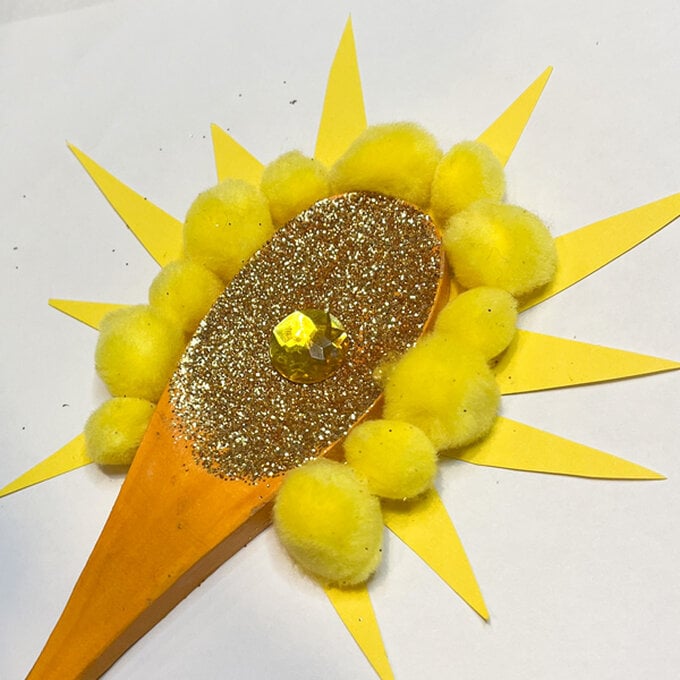
Glue over the middle of the spoon and add biodegradable glitter to create a shiny sun effect.
Tap glitter off on a piece of paper to avoid mess.
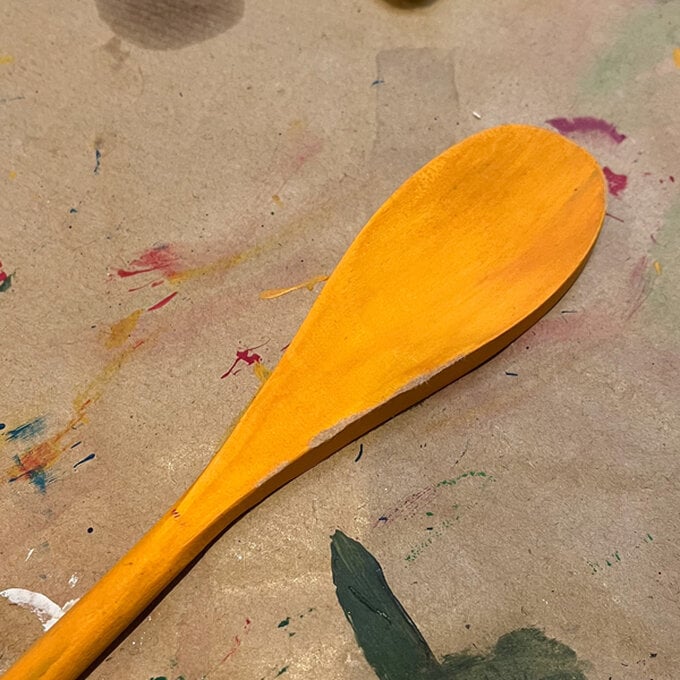
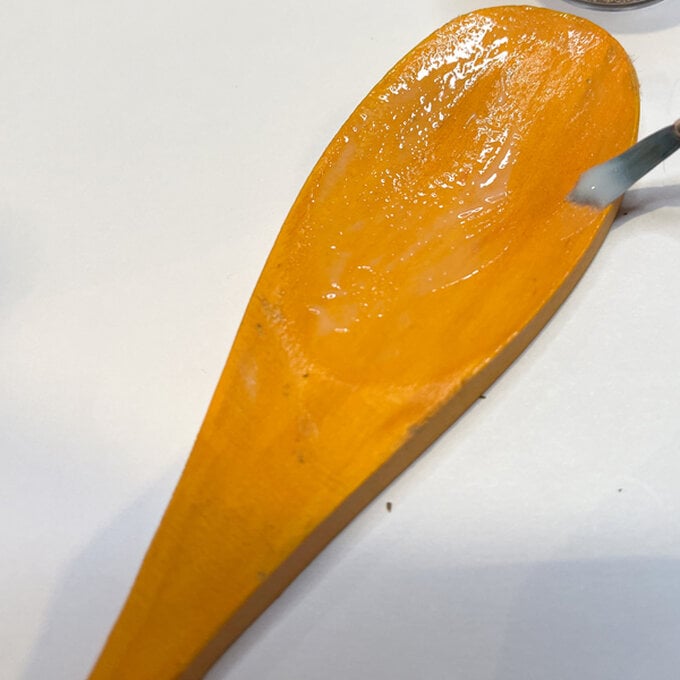
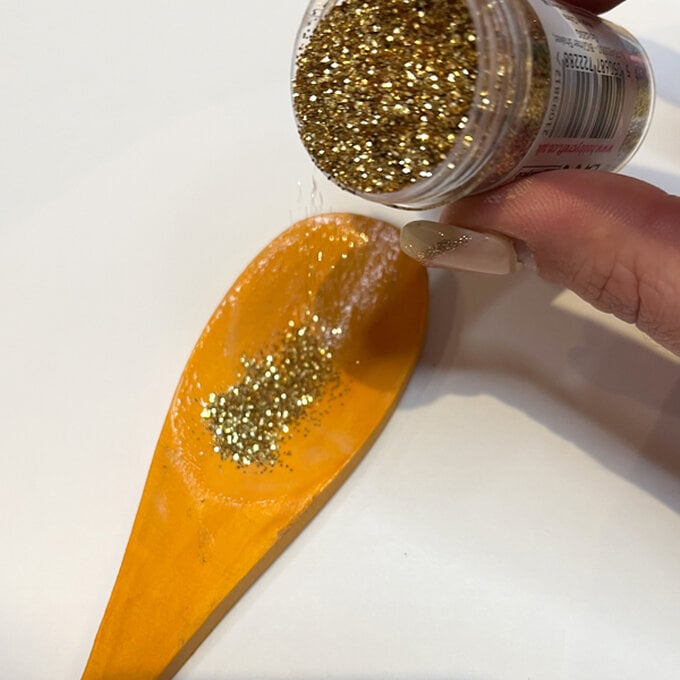
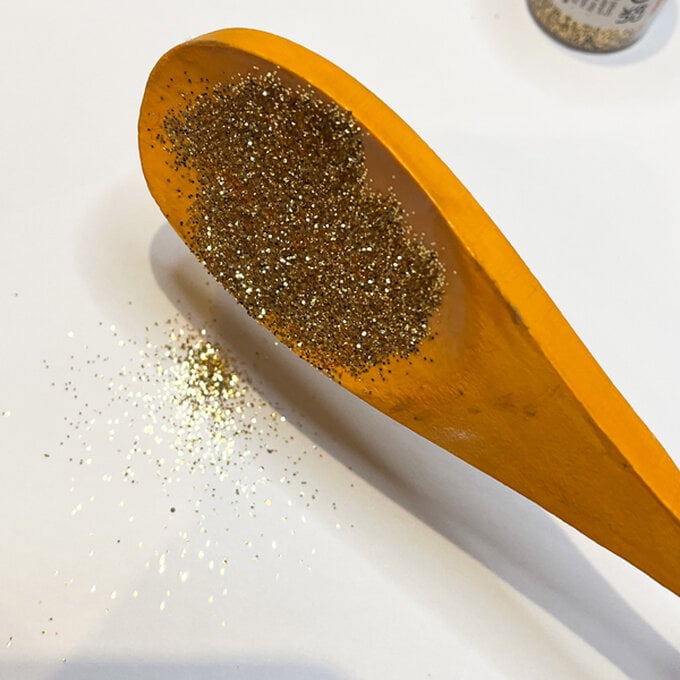
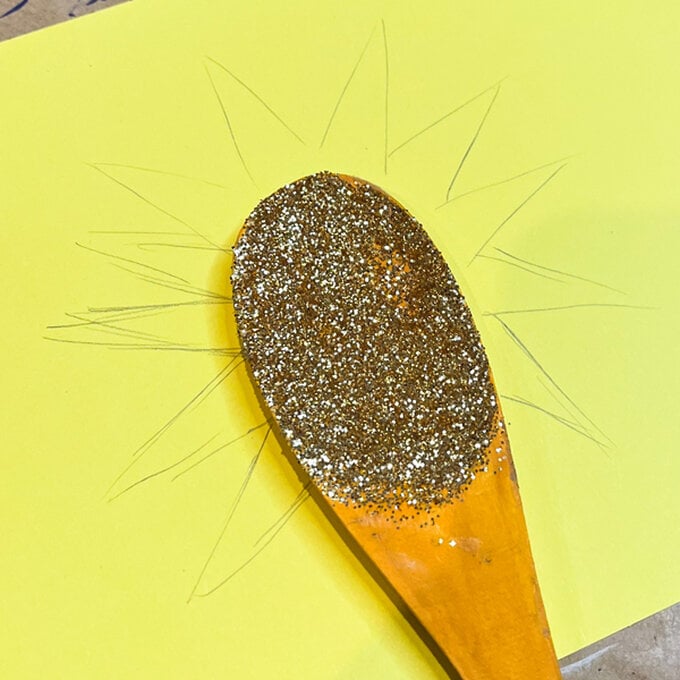
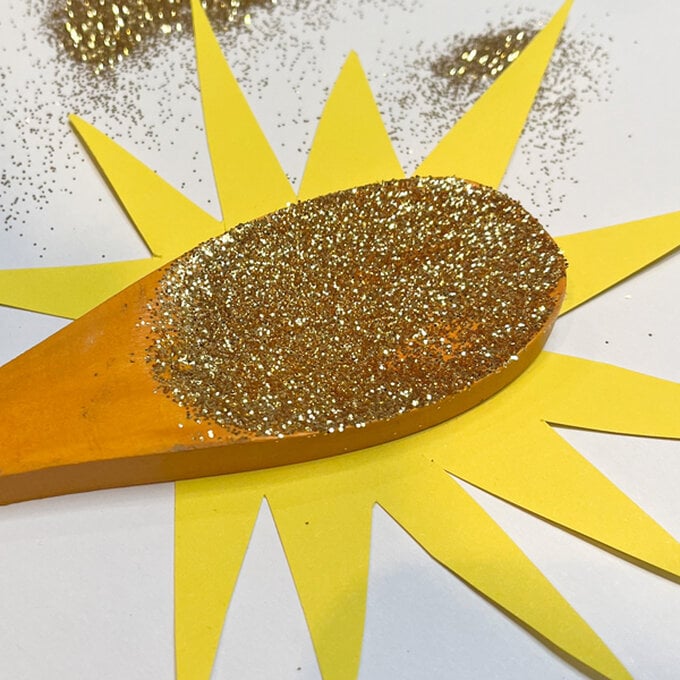
Draw a sun shape around the spoon on some yellow card, then cut it out.
Stick the cut out shape to the back of your spoon.
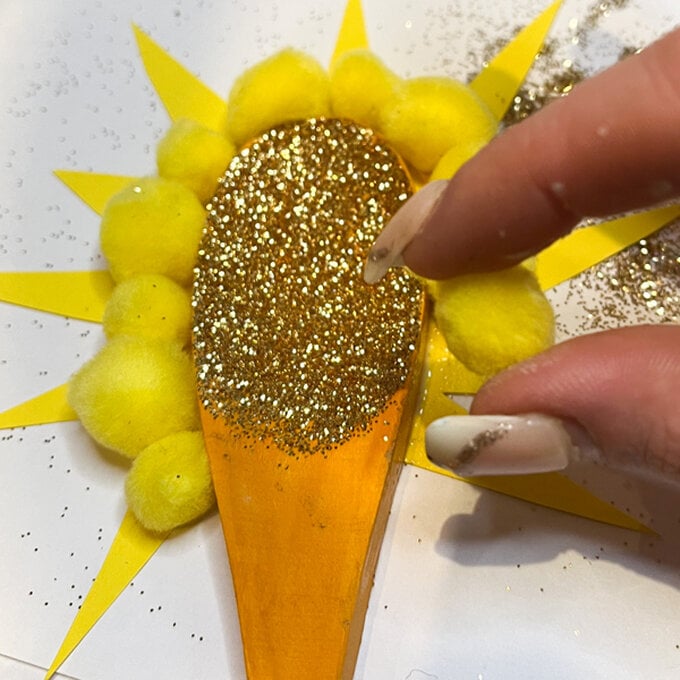
Add embellishments such as pom poms and gems!
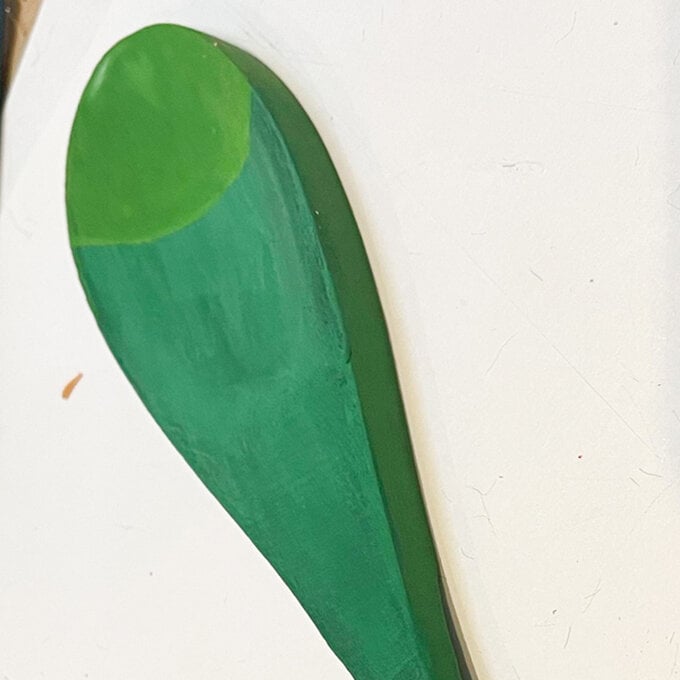
Paint the base of your spoons and then leave them to dry.
Once dry, paint the other side of your spoons the same colour.
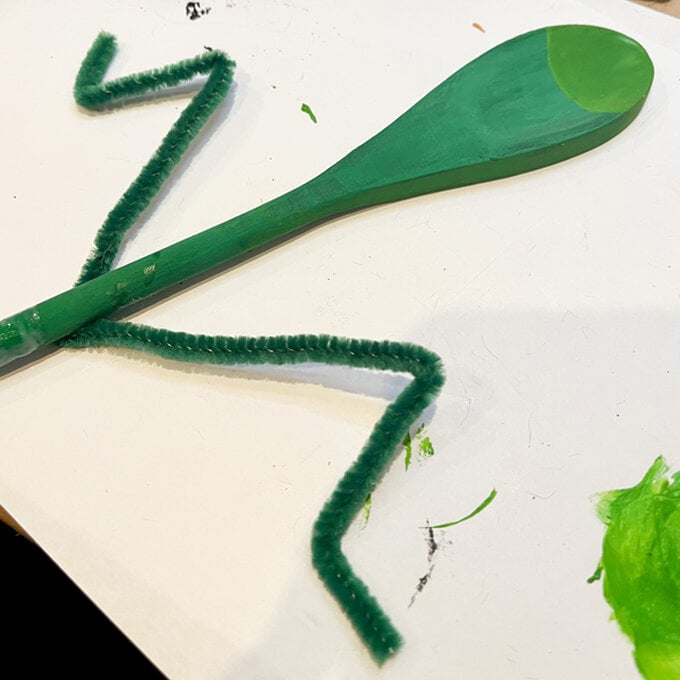
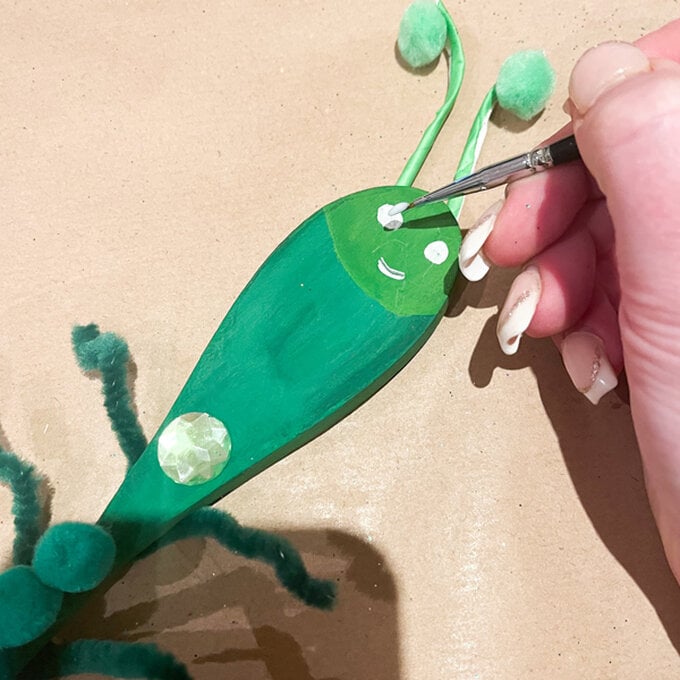
Add a lighter green semi-circle for the head.
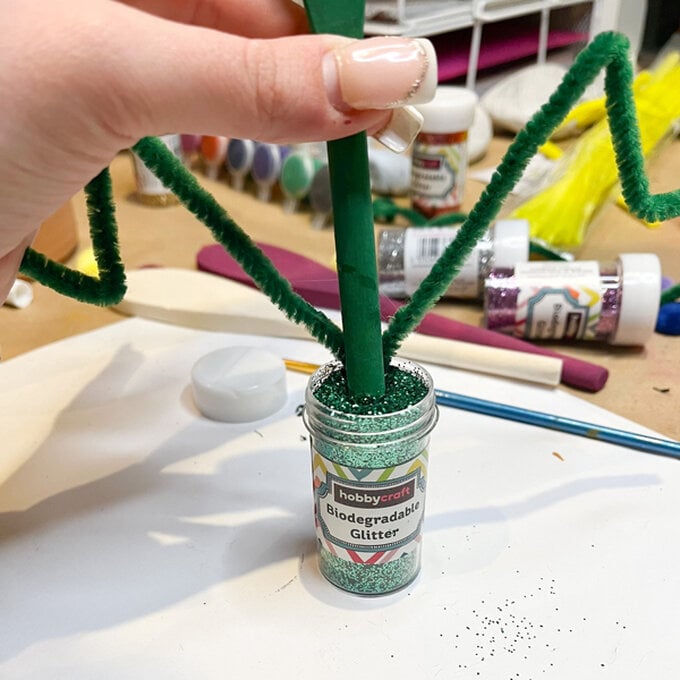
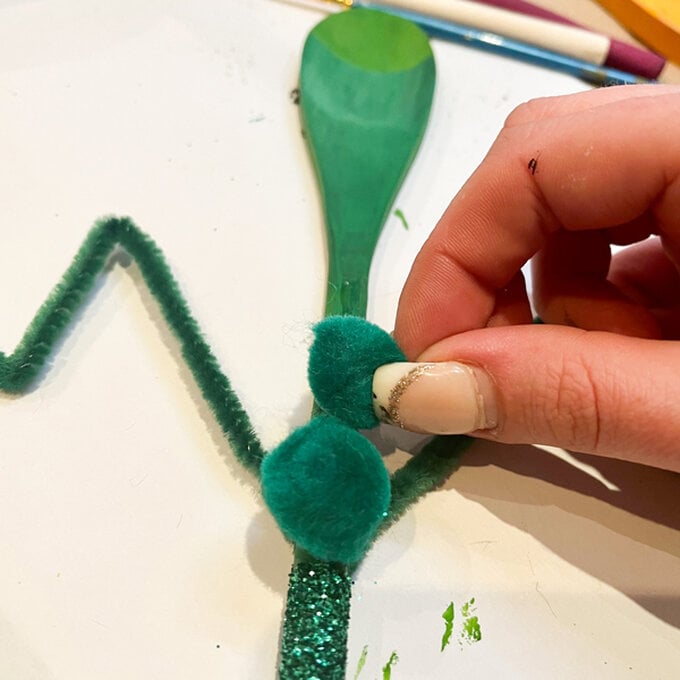
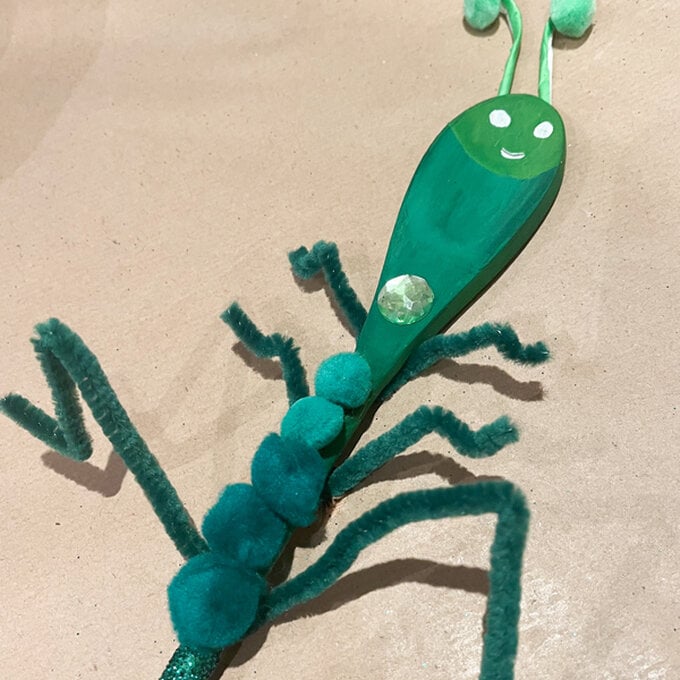
Next, take a green pipe cleaner, bend it in half to create legs, then bend a piece into a small V shape to create feet.
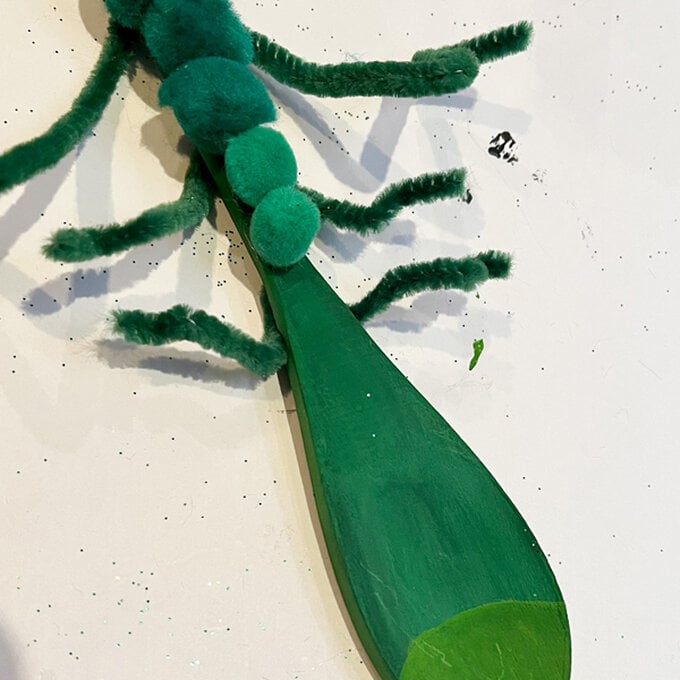
Repeat this step 3 times with smaller pieces of pipe cleaner, then glue to the back of the spoon.
