Skip to Content (Press Enter) Skip to Footer (Press Enter)

How to Make Three Abundant Spring Wreaths

Level
Beginner
Time
1 hour
Budget
10 - 30

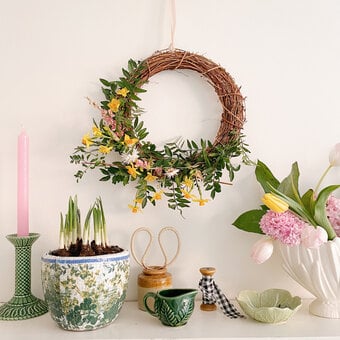
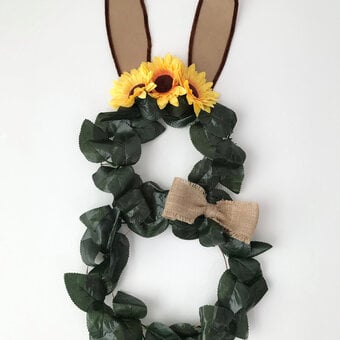
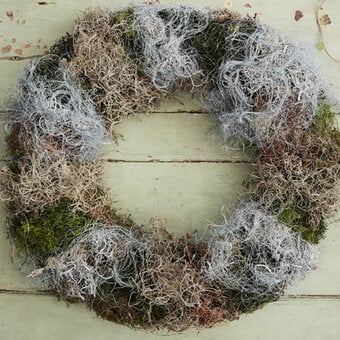
Create endless wreath combinations with the vast faux flower range at Hobbycraft. Follow along with the instructions below to create lasting pieces of home decor that you can bring out time and time again to freshen and lift the spaces in your home.

Find out how to select and combine different florals that sit well together upon a rattan wreath and revamp your home this spring.

Discover more spring wreath projects here >

You will need

Is $ 4.49 , was $ 9.49

Quantity: 1

Subtotal

Is $ 4.49 , was $ 9.49

Is $ 1.49

Quantity: 1

Subtotal

Is $ 1.49

Is $ 3.49

Quantity: 1

Subtotal

Is $ 3.49

Out of stock

Is $ 4.49

Quantity: 1

Subtotal

Is $ 4.49

You’ve viewed 2 of 4 products

Total:

How to make

You Will Need

* Scissors

* Floral Secateurs

* Invisible Thread

* Hot Glue Gun

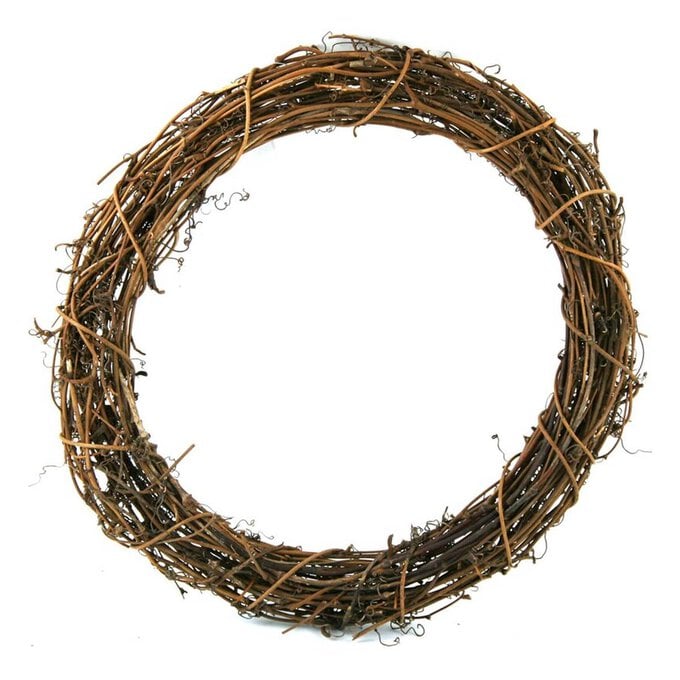
* Rattan Wreath Base

* Eucalyptus

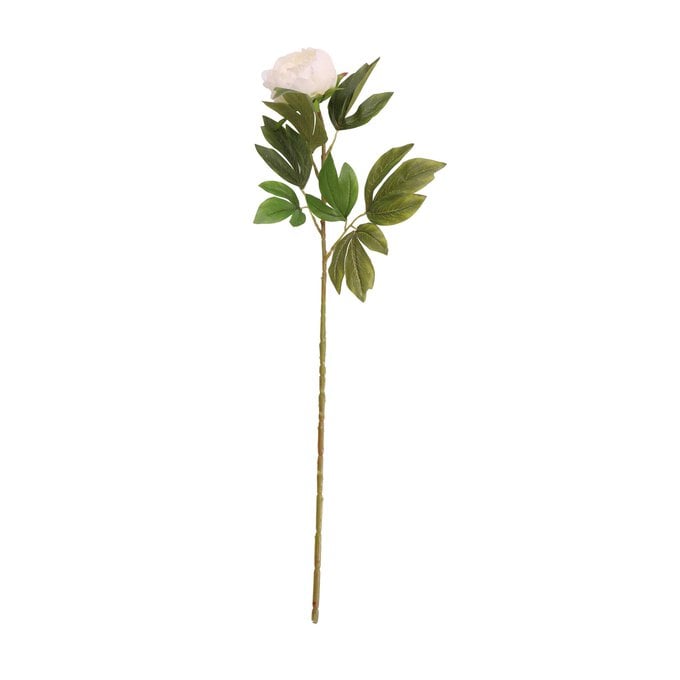
* Peony Stems - Cream and Pink

* Hydrangeas - Champagne and White

* Daisy Picks - Purple

* Cherry Blossom

* Ivy

* Foam Peony - Coral

* White Daisies

* Sunflowers

* Ferns

* Sapphire Verbena


you-will-need-graphic.png?sw=680&q=85
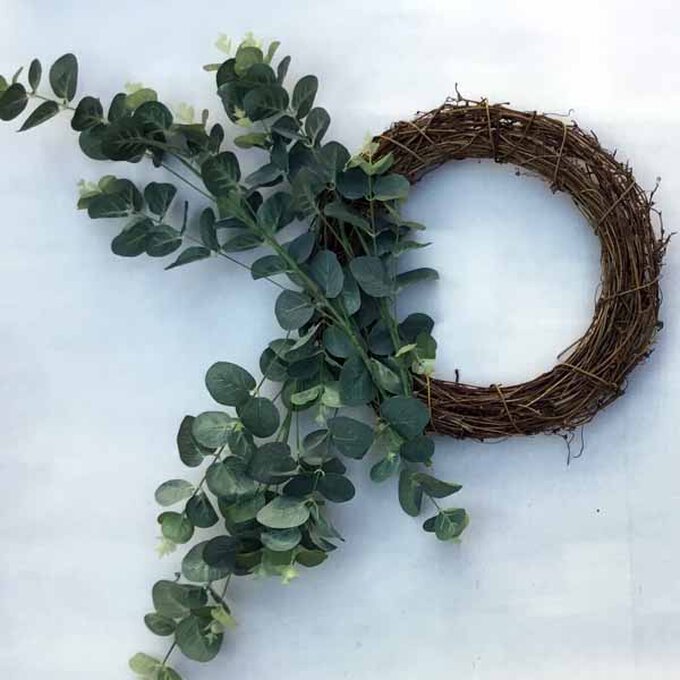
Eucalyptus Wreath: Step 1

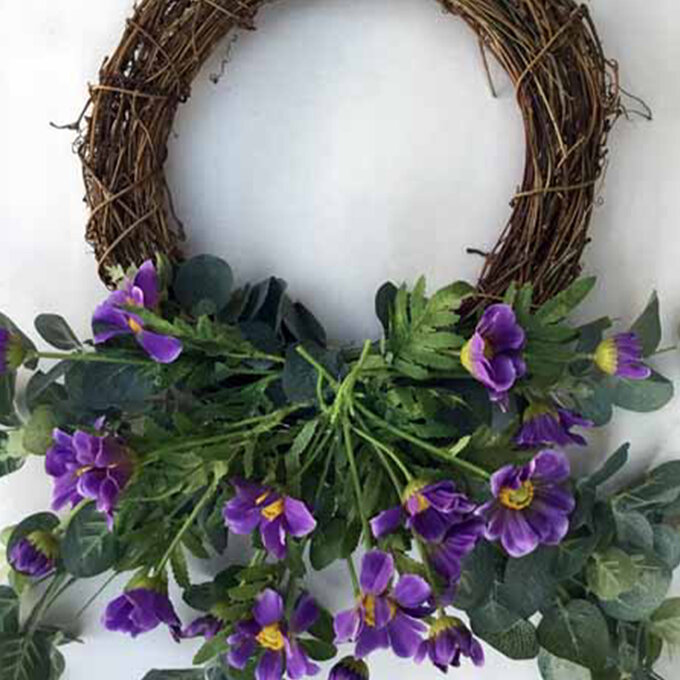
Trim the eucalyptus stems and place them onto the wreath as shown. Tie them into place with invisible thread and then glue them with the glue gun, ensuring the glue touches both the wreath and the stems.
7.jpg?sw=680&q=85
Eucalyptus Wreath: Step 2
Fan out the purple daisies on top of the eucalyptus stems. Tie into place using the invisible thread, then glue into place with the glue gun.
abundant-wreaths-eucalyptus-2.jpg?sw=680&q=85
Eucalyptus Wreath: Step 3
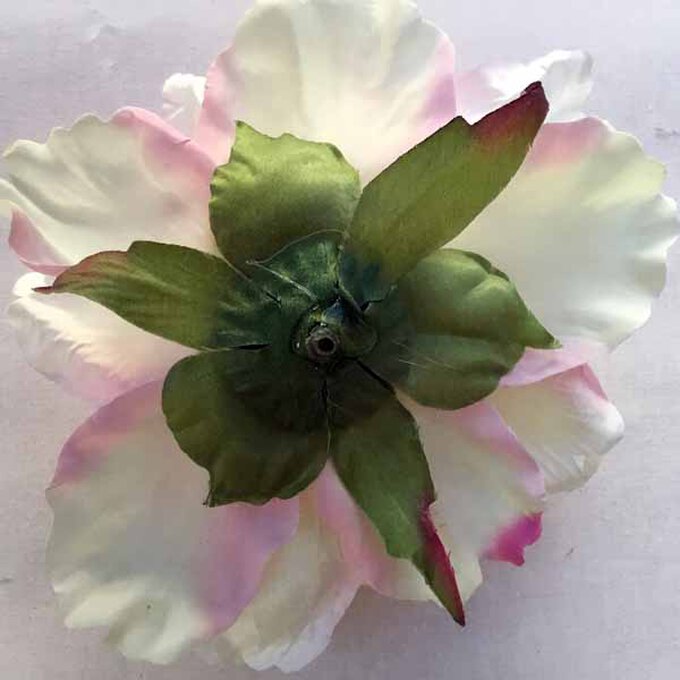
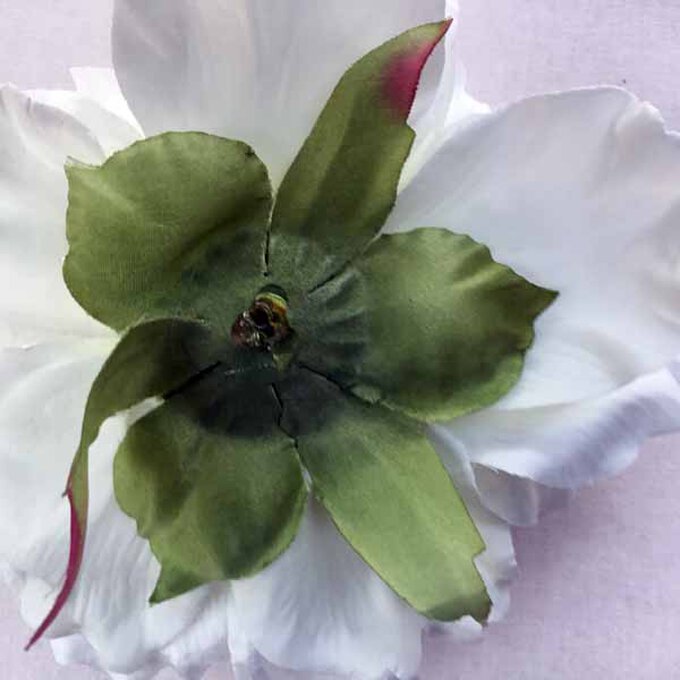
Remove the peony from its stem and take any leaves off.
11.jpg?sw=680&q=85
Eucalyptus Wreath: Step 4
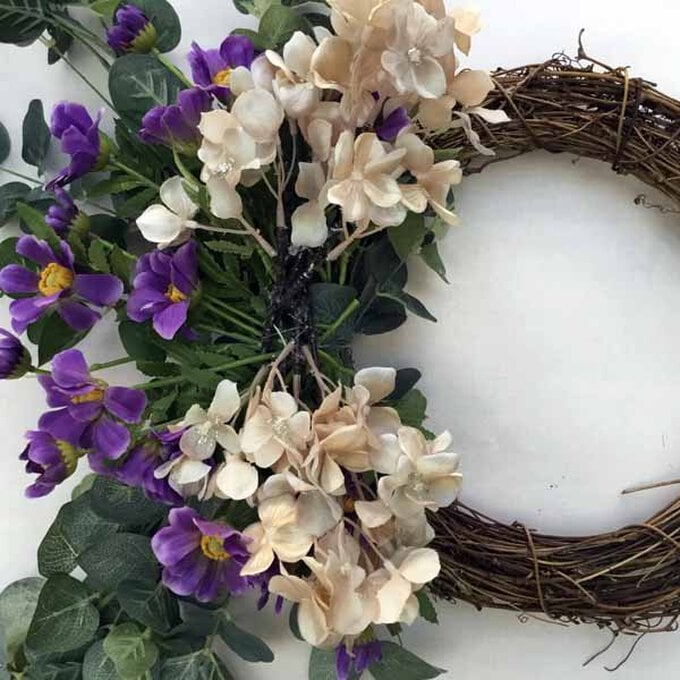
Shorten the hydrangea stems and put them on top of the daisies as shown. Tie then glue into place.
13.jpg?sw=680&q=85
Eucalyptus Wreath: Step 5
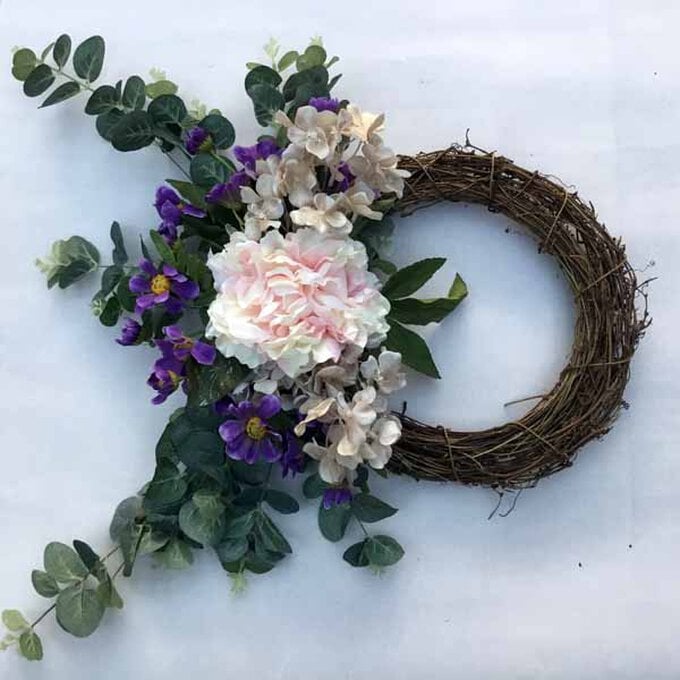
Glue the peony into place in the middle.
18.jpg?sw=680&q=85
Peony Wreath: Step 1

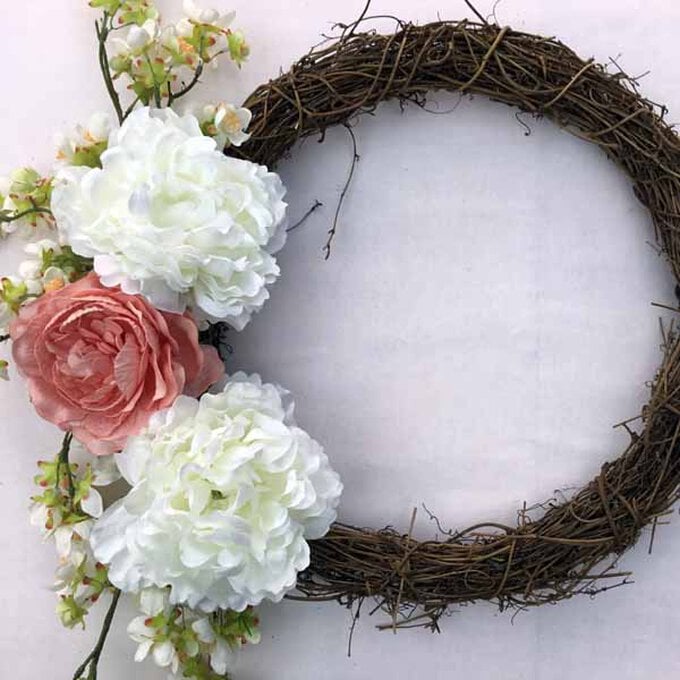
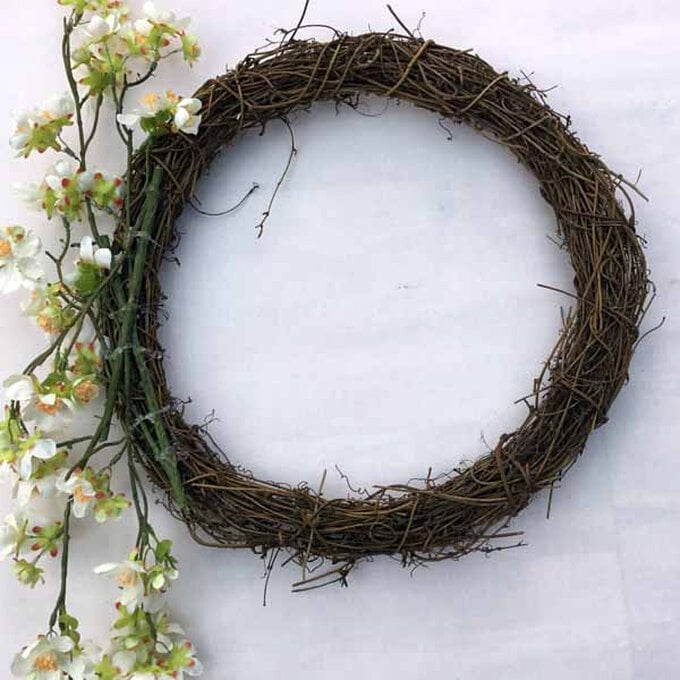
Trim and tie the cherry blossom to the wreath as show and glue into place with the glue gun.
26.jpg?sw=680&q=85
Peony Wreath: Step 2
Take both the hydrangeas and the peony off of their stems.
28.jpg?sw=680&q=85
Peony Wreath: Step 3
Glue into position as shown making sure that you use plenty of glue.
29.jpg?sw=680&q=85
Peony Wreath: Step 4
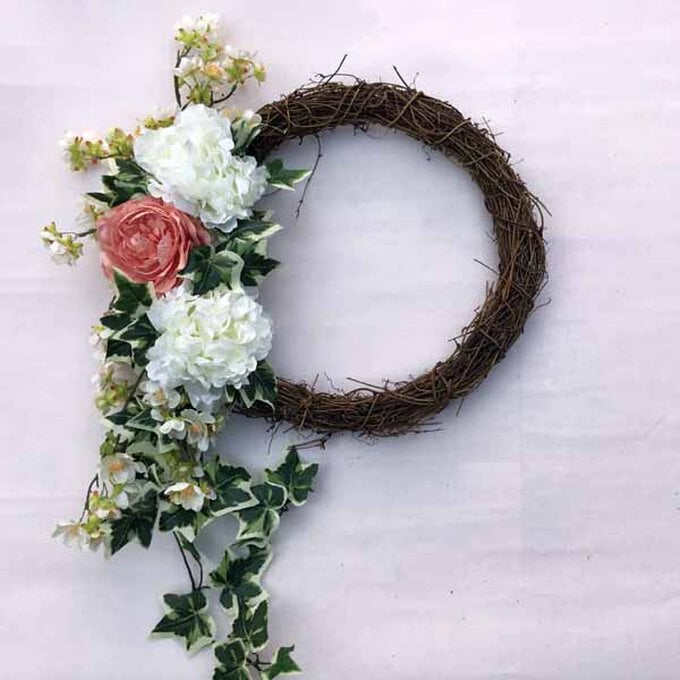
Wind the ivy around the larger flowers and allow it to drape down the side of the wreath. You may need to cut the ivy into two pieces to do this.
29.jpg?sw=680&q=85
Peony Wreath: Step 5
Glue the ivy into place.
30.jpg?sw=680&q=85
Sunflower Wreath: Step 1

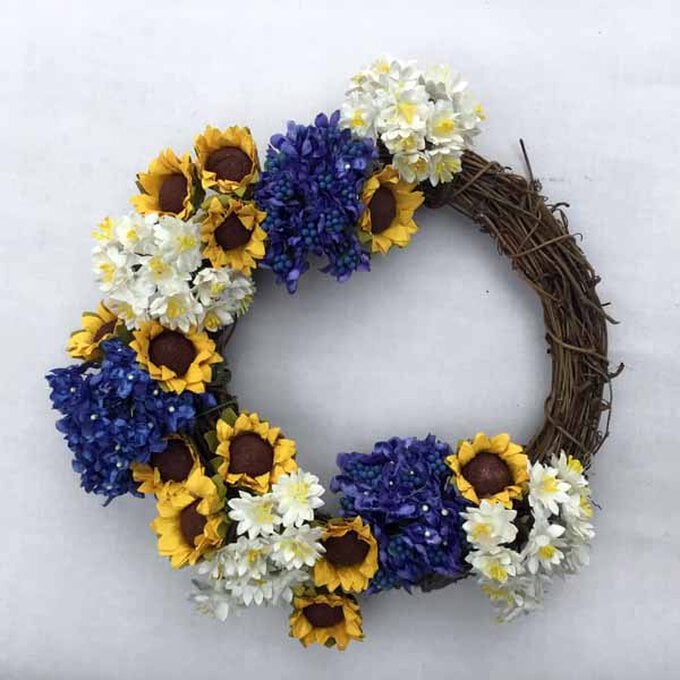
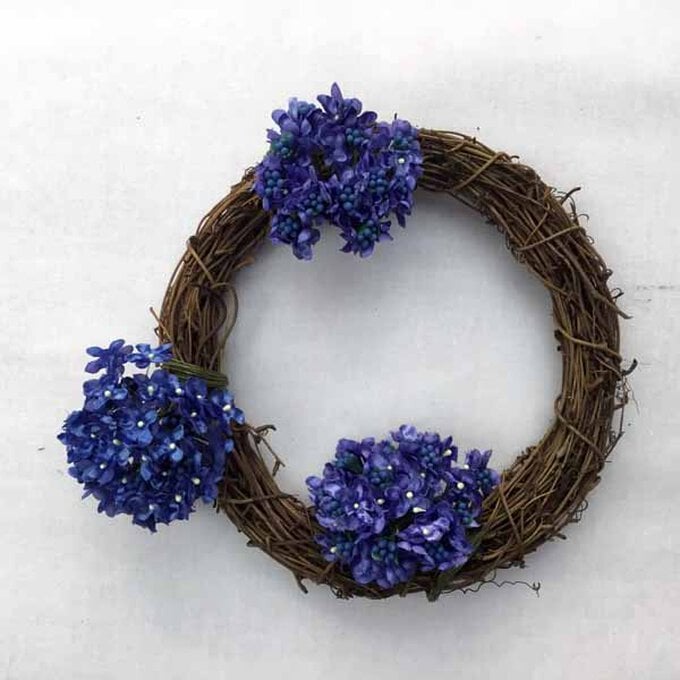
Tie on the blue flower bunches top and bottom and on the left side of the wreath. Point the top and bottom ones inwards and the left hand one outwards. Glue into place with a glue gun.
40.jpg?sw=680&q=85
Sunflower Wreath: Step 2
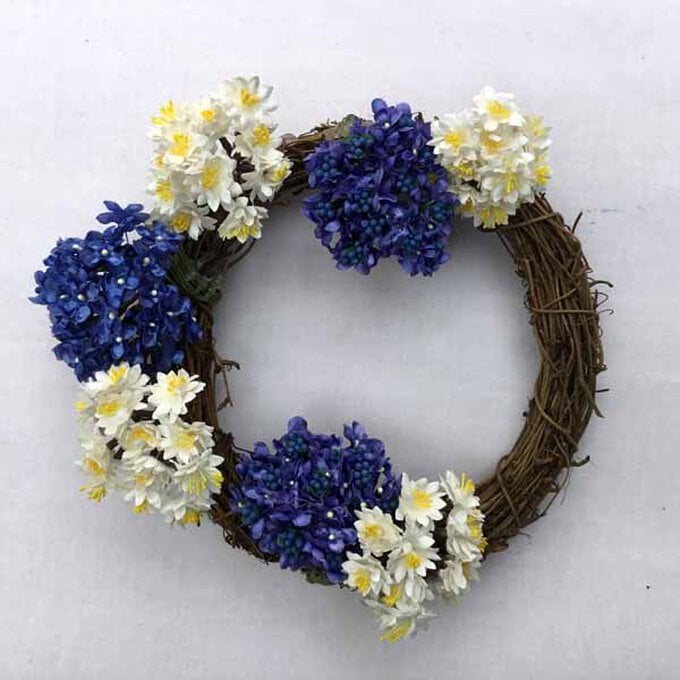
Add the daisies as shown and tie and glue into place.
42.jpg?sw=680&q=85
Sunflower Wreath: Step 3
Separate the sunflowers and add them in ones, twos and threes onto the wreath to fill in the gaps. You can wrap the wire stems around the wreath rather than using invisible thread. Glue into place.
43.jpg?sw=680&q=85
Sunflower Wreath: Step 4
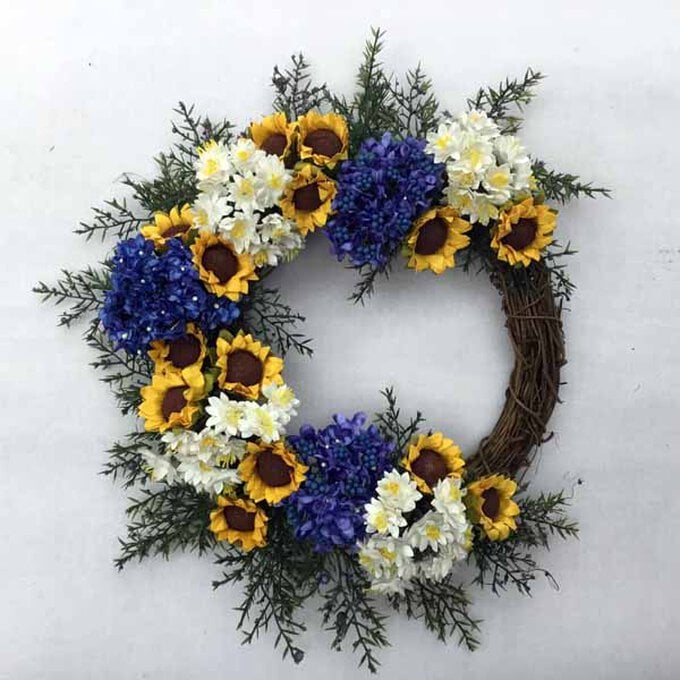
Pull/cut off bits of the fern and insert them around the outside as show. Glue into place. Put three pieces towards the middle as shown and glue down.
44.jpg?sw=680&q=85
  • bvseo_sdk, dw_cartridge, 18.2.0, p_sdk_3.2.0
  • CLOUD, getReviews, 4ms
  • reviews, product
  • bvseo-msg: Unsuccessful GET. status = 'ERROR', msg = 'Not Found.'; Unsuccessful GET. status = 'ERROR', msg = 'Not Found.';

Related Products

Top