How to Make Tie Dye Tassels
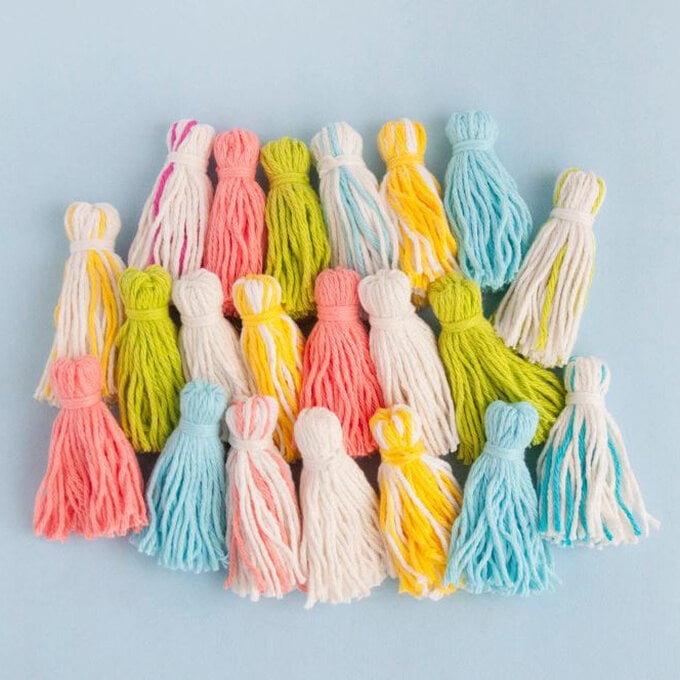
Transform your yarn stash into beautiful tie-dye tassels with this quick and easy project. You'll be able to use the decorative tassels to embellish any accessories you choose, such as your crafting storage baskets or your favourite tote bag – the perfect way to add a pop of colour!
Experiment with a variety of yarn colours and dye to create a pretty collection of tie-dye tassels. The possibilities are endless!
Project and instructions by Rachel Faucett of Handmade Charlotte for Tulip.
You will need
Subtotal
Is $ 9.49
Subtotal
Is $ 5.49
Out of stock
How to make
You will also need:
*A cardboard square cut to your desired tassel size
To make a tassel, tie a strand of yarn around a cardboard square. Then, wrap the yarn around the square in the opposite direction about 45 times and cut.
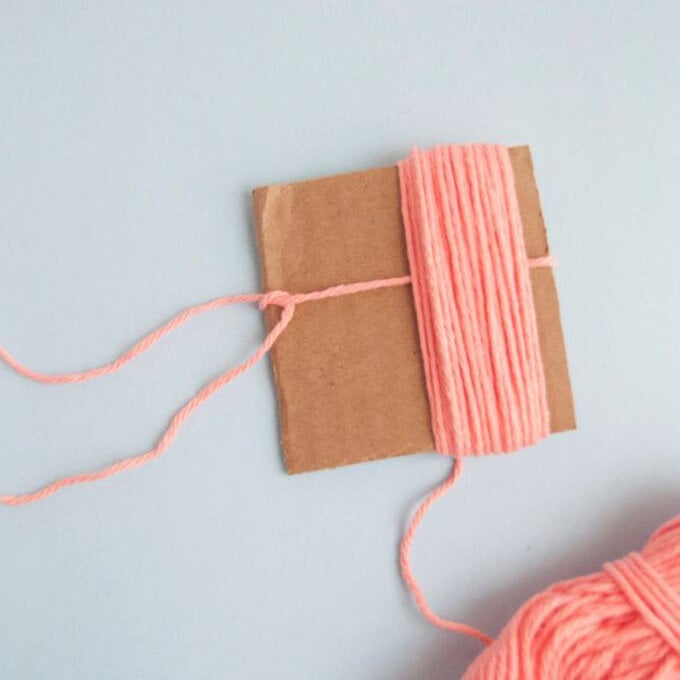
Untie the first strand and tie it around the bulk of strands to secure.
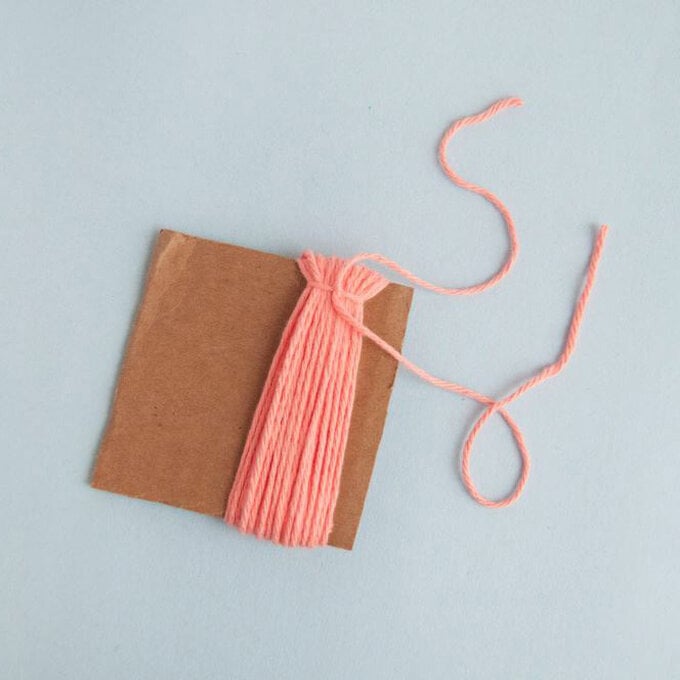
Cut through the bulk of the strands to remove from the cardboard square and straighten.

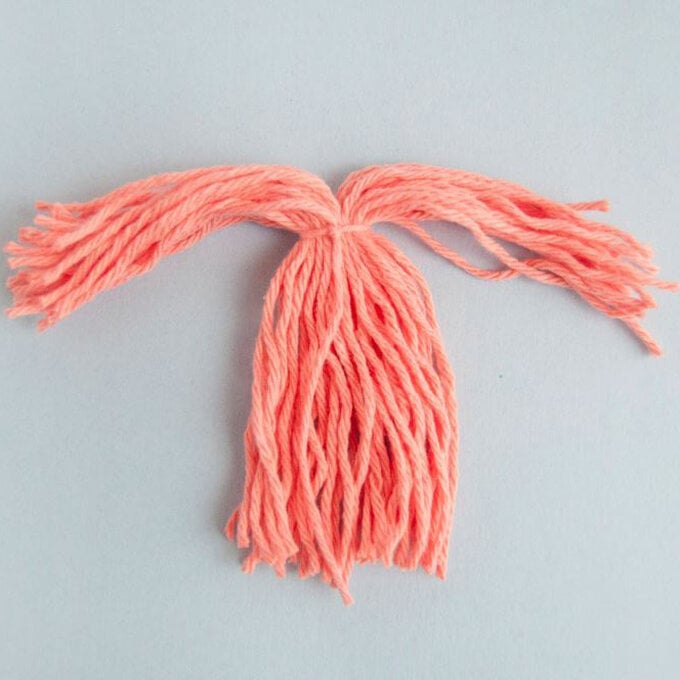
Divide the top half of strands in half and pull them down to the lower half of strands. Wrap a strand around the upper folded over portion and secure to create your tassel. Trim the bottom strands to even out the tassel.
Repeat this process to create as many tassels as desired in a variety of colours.

Soak your tassels in a bowl of water to dampen, then wring out. Place your damp tassels on a covered work surface and prep your dye according to the instructions.
Add desired dye colours along the bottom halves of the tassels to create an ombre/dip-dye effect.

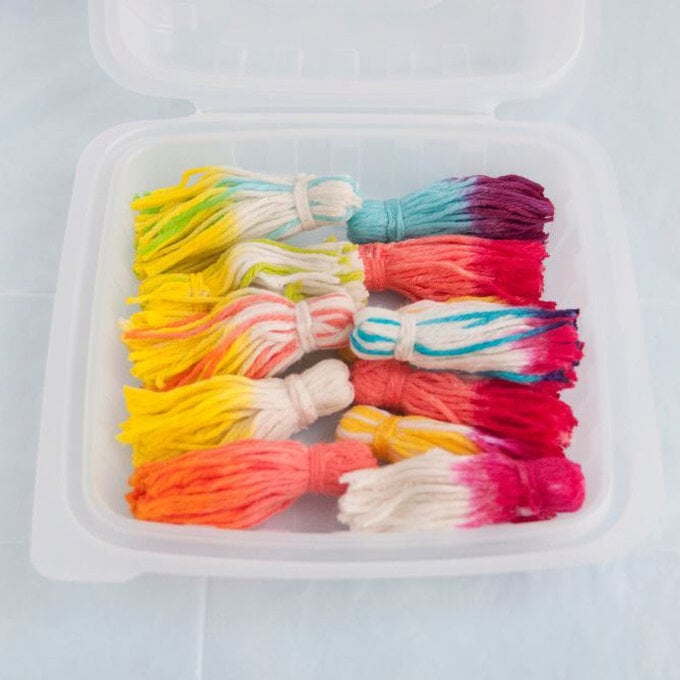
Leave your tassels to air dry overnight.
Top Tip: Protect your work surface using a plastic sheet or old towel, this will avoid dye staining your work surface. If you have an old plastic container this could also be used to store the tassels as they dry.
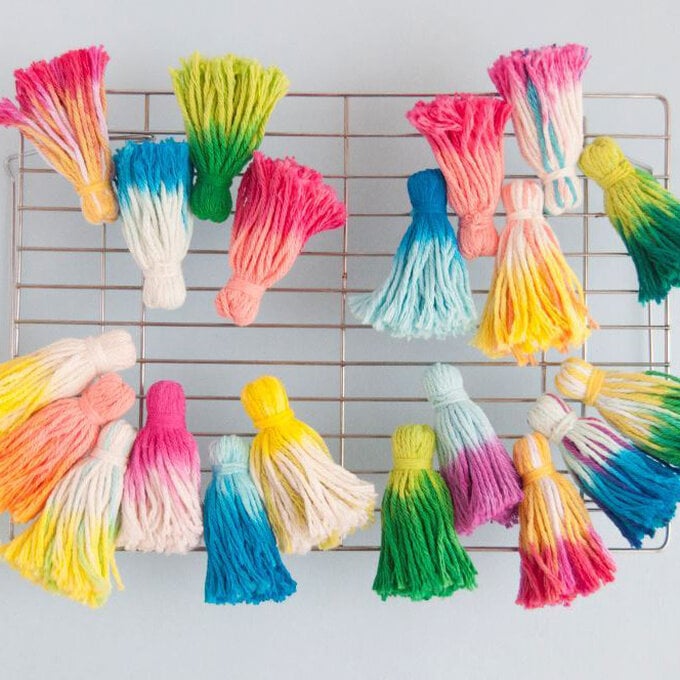
Once your tassels are completely dry, use them to customise as many things as you can think of. For example, why not glue your tassels around the rim of a basket using a hot glue gun!? Or why not add them to keyrings or cushions? The possibilities are endless!
